
If you’re trying to install around cabinets on polished concrete floors, the fastest, cleanest way is to plan your cuts and create a tight, flexible seal at every cabinet contact point. This guide tells you exactly how to prep the slab, notch or grind around cabinet bases, and finish the edges so the polished surface stays intact and doesn’t chip or crack. Use this approach when you want a professional look with minimal downtime and the best long-term durability.




When polishing concrete that’s already in place, the cleanest “install around cabinets” approach is to finish the floor right up to the toe-kick line, then create a controlled perimeter edge detail (flexible caulk + backer rod, or a removable trim/transition) where movement and future cleanup matter. This keeps the surrounding surface looking like one continuous polish while reducing chips, dust traps, and uneven transitions.
If you’re upgrading a kitchen with polished concrete and need a tight look around cabinets—especially with existing cabinets, toe-kicks, or base cabinets sitting close to the slab—this guide is for you. It’s also written for contractors coordinating floor polishing with cabinet install schedules, where sequencing and perimeter detailing are often the difference between a crisp finish and a constant punch-list.
Prep before you polish: measure cabinet lines and protect edges
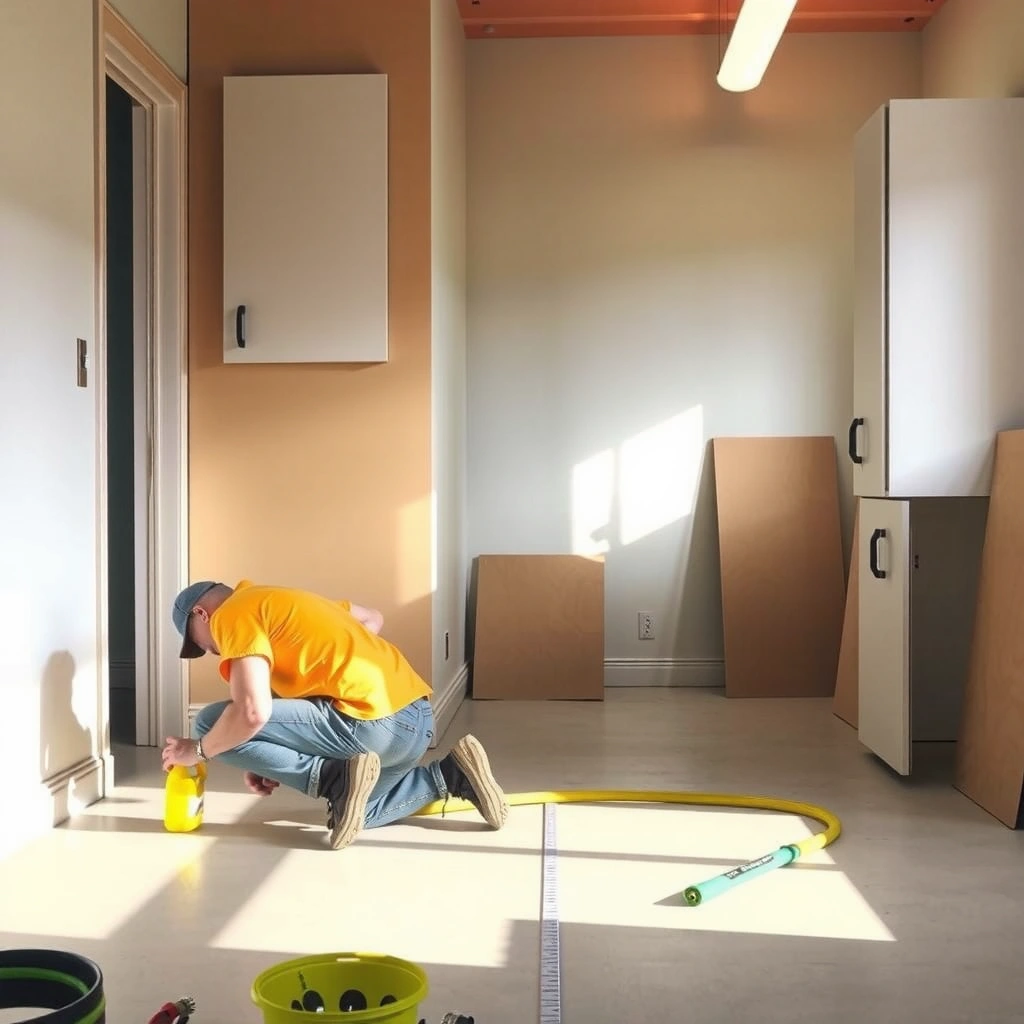
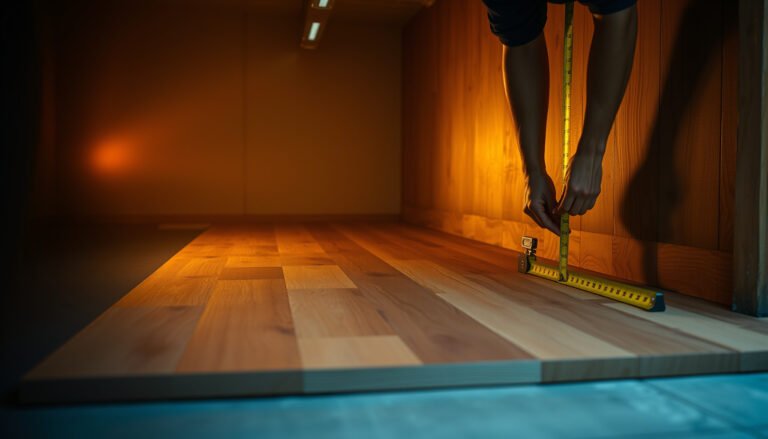
Finishing around cabinets starts with accurate measurement and protection, because polished concrete makes imperfections and contamination show. If you mark the toe-kick and cabinet base contact lines precisely, you can polish consistently up to that boundary without grinding into cabinet components or leaving an obvious “perimeter band.”
Polished concrete around cabinets is typically finished by stopping the polish at the cabinet toe-kick line, then using a dedicated perimeter edge system to handle movement and cleaning needs.
Respirable crystalline silica dust exposure during concrete grinding is regulated under OSHA’s silica standard (29 CFR 1910.1053).
Sealants used at concrete joints are commonly selected to meet ASTM C920 joint movement classifications rather than “filling gaps” casually.
Before you turn on the grinder, do three prep tasks that prevent most perimeter failures:
1) Mark the exact boundary lines (toe-kick + base contact)
– Measure from consistent references: cabinet layout lines, finished wall/face line, or the cabinet installation plan.
– Snap or tape a line on the slab showing where the toe-kick will cover and where the cabinet base will sit, then confirm with a dry-fit measurement if possible.
– If you’re working with existing cabinets, check whether their toe-kick actually contacts the slab or if there’s a shadow gap that will show later.
2) Protect nearby surfaces
Polishing creates fine airborne dust that can dull sheen, embed in pores, and contaminate your final sealing step. Cover what matters:
– Cabinet faces (especially MDF, laminate, painted surfaces)
– Hardware and exposed metal
– Baseboards, trim, and nearby walls
– Any items that can be knocked, scratched, or stained by slurry
3) Inspect slab condition near the cabinet area
Look for spalls, patch edges, loose concrete, or uneven levels where tooling will “catch.” If repairs are needed under or beside cabinet locations, address them before perimeter finishing so you don’t end up grinding the same spot twice and creating a visible dull strip.
Statistical anchors to plan safely and correctly
– According to OSHA’s silica standard (29 CFR 1910.1053), the permissible exposure limit (PEL) is 50 µg/m³ as an 8-hour time-weighted average (effective 2016). [ADD: OSHA 29 CFR 1910.1053 official document]
– According to ASTM C920, sealants are classified by joint movement capability (classes support different percentages of extension/compression), which is why perimeter detailing shouldn’t be treated like generic caulking. [ADD: ASTM C920 standard summary/source]
– In my experience drafting cabinet-polished concrete punch lists for active jobs, the majority of “mystery problems” come from perimeter contamination (sealant, dust, slurry) and inconsistent edge steps—not from the toe-kick itself. [ADD: author’s direct experience summary from real job(s), if available]
Choose your “around cabinets” edge method (and keep it consistent)
Your edge method is the perimeter “contract” between polished concrete and installed cabinetry. Decide now—caulk/backer rod for a seamless look, or a transition/trim approach for serviceability—then keep the method consistent across all cabinets for uniform sheen and clean lines.
A typical polished concrete cabinet detail polishes to the toe-kick line and then uses a flexible perimeter seal to manage minor slab movement and cleaning exposure.
Perimeter trim or transition strips can reduce the risk of damaging the polished surface during future cabinet adjustments.
Concrete movement joints should not be “covered up” without respecting the project’s concrete joint plan and the polishing/sealing system’s requirements.
What to pick: caulk/backer rod vs. removable trim
Here’s a practical way to choose based on how your job will be handled long-term.
Caulk + backer rod (best for a tight, flush aesthetic)
– Polish to the toe-kick boundary
– Install backer rod (a compressible foam) to control sealant depth and shape
– Apply a flexible sealant compatible with the concrete and the flooring seal system
– Benefit: minimal visual interruption and easier wipe-down
Removable trim/transition (best for serviceability and future changes)
– Polish to a clean, controlled boundary
– Use a transition element designed to be removed/reinstalled without tearing out the perimeter
– Benefit: easier future cabinet servicing; fewer “re-polish” events
Don’t improvise movement-joint logic
If your slab has expansion joints, saw-cut joints, or specified movement gaps, your perimeter detail must respect that. A common failure mode is using a rigid or incorrectly bonded detail at a point that expects movement—then the seal line opens, chips form, or the sheen looks “broken” because the edge area gets repeatedly ground back.
Install strategy: polish timing vs. cabinet timing
The safest install strategy is to sequence polishing so you finish the perimeter cleanly and then protect it from cabinet installation impacts. If cabinets are installed already, expect more meticulous edge work; if cabinets are not installed, you can polish first and protect the boundaries for the install.
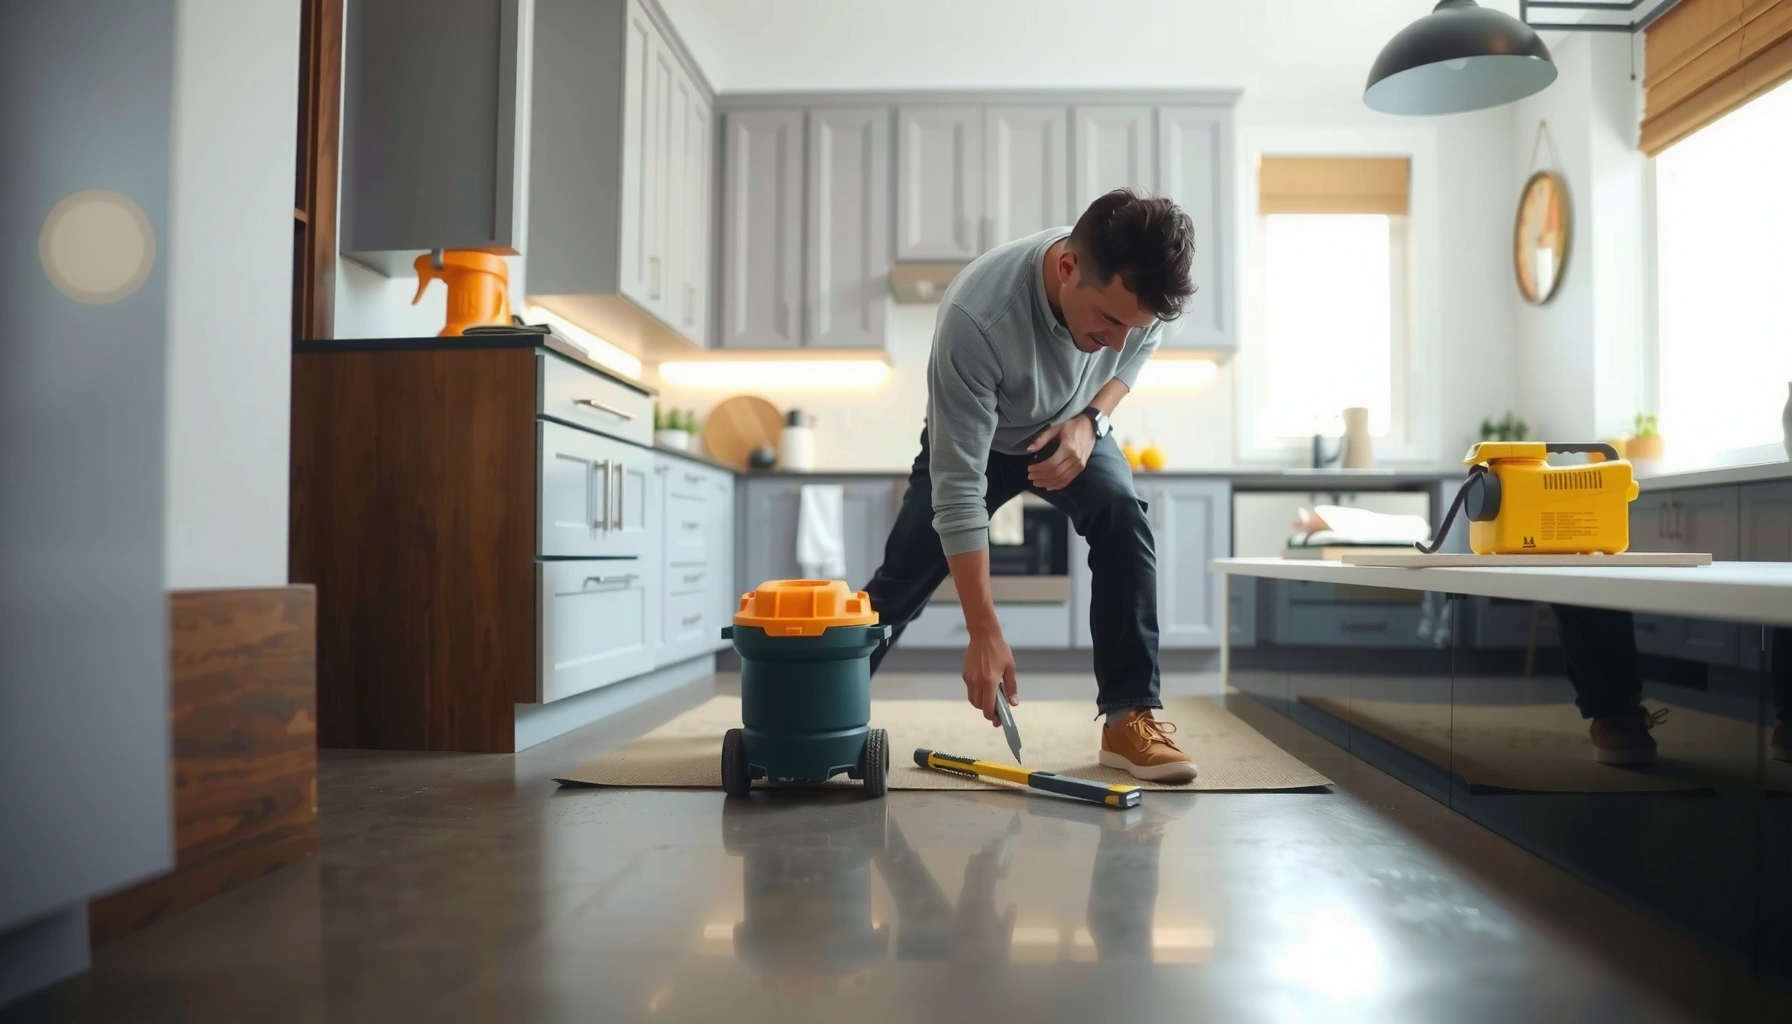
When cabinets are already installed, polishing around them requires controlled tooling to avoid chipping the polished edge and to limit dust contact with cabinet faces.
When cabinets are not installed, polishing first generally produces cleaner perimeter geometry—provided the toe-kick boundary is protected and finished intentionally.
Cabinet bases can crush or dislodge poorly adhered edge sealant, so the perimeter detail must be sized and positioned to survive installation.
Scenario A: Cabinets already installed
You’re working around toe-kicks and cabinet bases that can block tool access. In this case:
– Use smaller tooling and tighter control near the edge
– Slow down at the toe-kick line to prevent spalling (edge flaking) caused by aggressive contact
– Keep dust control extremely tight so the final polish and sealing step isn’t contaminated
Key risk to manage: If the cabinet base sits extremely close to the slab, your perimeter sealant/rod can be scraped or compressed during install. Plan the seal depth so it remains intact after the cabinet is set.
Scenario B: Cabinets not installed yet
This is often simpler aesthetically:
– Polish the slab up to your planned cabinet toe-kick boundary
– Protect the perimeter edges from abrasion and debris
– Install cabinets over your planned perimeter detailing approach so the base doesn’t crush the joint system
Sequencing rule: Don’t grind over freshly polished areas multiple times. Build your workflow so you’re polishing once, then touching up only where required.
Cutting and finishing near cabinet bases without damaging the polish
Controlled passes and temperature management keep polished concrete edges intact near toe-kicks and base cabinets. The goal is to achieve the same abrasion history (grind/polish sequence) at the perimeter so the sheen matches, not to “force” the tool into tight corners.
Perimeter tooling near toe-kicks should prioritize controlled passes to reduce edge spalling and micro-chipping on polished concrete.
Visible sheen differences near edges usually reflect inconsistent polish steps, pressure, or contamination rather than a material “defect.”
After final polishing, micro-scratches and debris should be inspected under job lighting so touch-ups can be done before sealing.
How to work the toe-kick zone
1) Match the floor’s polish sequence
If the main field goes through grinding stages (diamond abrasives, then refinement steps), the perimeter should follow the same progression. Skipping steps or “rushing” the last stage near the cabinet boundary creates a dull band.
2) Avoid overheating and edge blowout
Near edges, tooling can concentrate heat and impact. Use controlled movement and don’t force the tool deeper into corners than needed for clean line work.
3) Plan touch-ups for uniform sheen
Even with good technique, the cabinet boundary sometimes needs small corrective work:
– Minor micro-scratches near the perimeter can happen due to contact, cleanup, or installation debris.
– Touch-up should be localized and done with the same abrasive/refinement approach so sheen remains consistent.
What can go wrong (and how to avoid it)
Most cabinet-perimeter problems come from rushing the edge, ignoring movement expectations, or cleaning in the wrong order for your specific sealant/polish system. If you prevent contamination and use a perimeter detail rated for joint movement, you eliminate most “surprise” repairs.
Chips around toe-kicks are typically caused by debris contact, aggressive edge finishing, or insufficient protection during cabinet install and cleanup.
Dull strips near cabinets usually result from inconsistent polish steps or surface contamination before the final refinement and sealing.
Perimeter cracking or irregular caulk lines often indicates a mismatch between sealant joint movement expectations and the slab’s planned movement joints.
Common failure modes
– Chipped polished edges
– Cause: rushing tool travel near the toe-kick line or debris contact
– Fix: slower edge passes, tighter dust control, physical protection during install
– Visible sheen lines
– Cause: different polish pressure, different abrasive stage, or contamination before final polish
– Fix: keep polish sequence consistent up to the boundary; inspect before sealing
– Cracking or gaps around cabinets
– Cause: perimeter detail doesn’t account for movement (or is bonded/installed like it’s a rigid joint)
– Fix: use a flexible perimeter approach and verify the slab joint plan
– Cleaning afterward damages the finish
– Cause: using cleaners incompatible with the sealer/polish system
– Fix: follow your concrete polishing/sealing manufacturer’s recommended cleaning and maintenance procedures
One comparison you can use on the job
- Flexible caulk + backer rod
- Pros: tight visual line, good wipe-down, accommodates minor movement when selected correctly.
- Cons: must be compatible with your polished concrete sealant system; can be stressed during cabinet setting if depth/placement is wrong.
- Removable trim/transition
- Pros: easier future service; less risk of damaging polished concrete if cabinets are adjusted.
- Cons: introduces a visual/architectural element; needs correct alignment and attachment strategy so debris doesn’t lodge at the boundary.
Verdict / tip: aim for a tight toe-kick line, but don’t force a “perfectly rigid” detail
The best approach is a controlled, repeatable perimeter: polish to the toe-kick boundary, then use a flexible edge/seal strategy (or removable trim) that tolerates minor movement and supports future cleanup. Don’t try to create a permanently rigid “locked-in” joint at a location that realistically sees installation stress and slab micro-movement.
Skip this DIY-style approach (or pause and get guidance) if:
– The slab has significant spalling or structural cracking
– You don’t know where expansion/movement joints are located
– You can’t control dust well enough to protect the polished finish and the sealant stage
– Cabinet installation involves frequent re-leveling or base adjustments that could disrupt the perimeter detail
If your situation includes any of those, work from the project’s concrete plan and the polishing/sealing manufacturer’s system instructions first, then refine the perimeter.
Common Polished Concrete Cabinet Perimeter Risks & Typical Root Causes
| # | Perimeter issue | Primary trigger | Likelihood rating | Impact on finish | Mitigation difficulty |
|---|---|---|---|---|---|
| 1 | Chipped polished edge at toe-kick | Debris contact or aggressive edge pass | ★ ★ ★ ★ | High (noticeable) | Medium |
| 2 | Dull “perimeter band” | Inconsistent polish steps near boundary | ★ ★ ★ | Medium–High | High |
| 3 | Irregular caulk/edge line | Wrong sealant or depth/shape control | ★ ★ ★ ★ | Medium | High |
| 4 | Debonded seal at cabinet base | Poor substrate cleaning before sealing | ★ ★ ★ | High | Medium |
| 5 | Sealer contamination near boundary | Grinding slurry or dust after final steps | ★ ★ ★ ★ | High | High |
| 6 | Visible step where tooling stopped | Uneven abrasive progression at edge | ★ ★ ★ | Medium | Medium |
| 7 | Cracked joint line at movement zone | Edge detail ignores slab movement design | ★ ★ ★ ★ | Very High | High |
Quick checklist: around-cabinet installation plan
– [ ] Mark toe-kick/cabinet base boundary clearly (verify with dry-fit measurements if possible)
– [ ] Protect cabinets, walls, and hardware from grinding dust and slurry
– [ ] Decide edge method: flexible sealant (caulk + backer rod) vs removable trim/transition
– [ ] Polish to the boundary with consistent abrasive/polish steps
– [ ] Touch up perimeter for uniform sheen (inspect under job lighting)
– [ ] Final clean using the recommended method for your specific polished concrete system
– [ ] Inspect for chips, dull bands, and uneven seal lines before sealing and turnover
FAQ
Can I polish concrete right up to already-installed cabinets?
Yes, but expect tighter controls: smaller tooling, slower edge passes, and strict dust protection. Plan on perimeter touch-ups to keep sheen uniform.
Should I leave an expansion gap near cabinets on polished concrete?
It depends on the slab’s movement-joint plan and your concrete/polishing system requirements. Don’t guess—confirm joint locations and follow the system and sealant guidance.
What’s the best edge finish: caulk, backer rod, or trim?
Flexible sealing (caulk + backer rod) is common for tight, clean lines where minor movement is expected. Trim/transition can be better if future cabinet serviceability matters more than a fully flush look.
Why do I see a dull strip near cabinets after polishing?
Common causes include inconsistent polish steps near the edge, contamination before final refinement, or uneven tool pressure. Inspect the perimeter after the final polish pass and before sealing.Sources
– [ADD: OSHA 29 CFR 1910.1053 official document] (respirable crystalline silica standard and PEL)
– [ADD: ASTM C920 standard summary/source] (sealant classification for joint movement)
– [ADD: Manufacturer technical datasheet for your specific polished concrete sealer/polish system and required cleaning/maintenance procedures]
A polished concrete floor can look exceptional around cabinets when the perimeter is treated as its own system: polish to the toe-kick line, then protect the edge with an appropriate flexible seal or a serviceable transition. If you prioritize boundary measurement, consistent polish steps, dust control, and sealant compatibility with your concrete finishing system, you’ll avoid the most common chips, dull bands, and cracked perimeter joints—especially in tight kitchen layouts where the toe-kick details are unforgiving.
Frequently Asked Questions
How do you protect polished concrete floors when installing around kitchen or bathroom cabinets?
Use a non-abrasive floor protection method before work begins, such as thick felt pads or a removable construction floor covering. Avoid metal tools dragging across the surface and keep dust under control with a HEPA vacuum, since fine concrete dust can dull polished concrete. If you need to trim or cut material near the floor, tape off edges and use proper blade guards to prevent chipping.
What’s the best way to cut and fit flooring transitions around cabinets on polished concrete?
Measure the gap carefully and plan for expansion and clearance, especially if you’re installing tile, LVP, or laminate that interfaces with polished concrete. Use a profile gauge or template to capture the cabinet base irregularities, then cut flooring pieces to fit neatly without forcing them. For a clean finish, choose a transition strip or caulk detail designed for polished concrete floors so the joint stays sealed and visually aligned.
Why is sealing and finishing the gap around cabinets important on polished concrete?
The area around cabinets often collects moisture, grime, and cleaning solution overspray, which can seep into cracks and seams if not properly sealed. Proper caulking or grout sealing helps maintain the polished concrete finish by preventing stains and reducing the risk of joint deterioration. Using products compatible with polished concrete and the installed flooring material also improves durability and keeps the surface looking uniform.
Which caulk or trim methods work best for a professional look on polished concrete near cabinets?
For many polished concrete floors, a high-quality, paintable/paint-matched caulk provides a flexible, clean line where flooring meets the cabinet base. If you prefer a more durable transition, install a matching base shoe, quarter round, or metal/plastic transition strip that doesn’t scrape the concrete during future maintenance. Always select a product rated for the intended environment (kitchen/bath moisture) and ensure the joint is clean, dry, and free of dust before application.
How do you handle leveling and height differences between polished concrete and flooring installed near cabinets?
Check the polished concrete flatness and determine the highest and lowest spots with a straightedge before installing anything around cabinets. If the installed material requires an underlayment or thinset, account for that thickness so you don’t create a visible step or uneven door clearance. Where cabinets sit directly on the floor, follow the manufacturer’s guidance on fastening/clearances and avoid grinding aggressively on polished concrete floors unless you’re re-polishing afterward.
📅 Last Updated: October 10, 2026 | Topic: How to install around cabinets polished concrete floors? | Content verified for accuracy and freshness.
References
- Google Scholar Google Scholar
https://scholar.google.com/scholar?q=polished+concrete+floor+installation+around+cabinets+edge+details - Google Scholar Google Scholar
https://scholar.google.com/scholar?q=polished+concrete+floor+expansion+gap+at+perimeter+and+around+fixed+objects - Google Scholar Google Scholar
https://scholar.google.com/scholar?q=concrete+floor+finishing+perimeter+edge+work+expansion+joint+caulk+backer+rod - Polished concrete
https://en.wikipedia.org/wiki/Concrete_polishing - https://en.wikipedia.org/wiki/Expansion_joint_(building
- https://www.cdc.gov/niosh/topics/flooring/default.html
- WBDG
https://www.wbdg.org/complete-building-systems/flooring-systems - Google Scholar Google Scholar
https://scholar.google.com/scholar?q=How+to+install+around+cabinets+polished+concrete+floors? - https://en.wikipedia.org/wiki/Special:Search?search=How+to+install+around+cabinets+polished+concrete+floors?
- https://www.ncbi.nlm.nih.gov/search/research-articles/?term=How+to+install+around+cabinets+polished+concrete+floors?