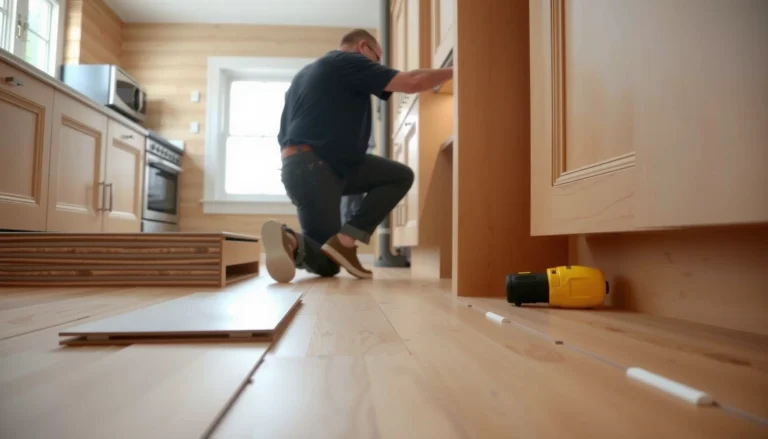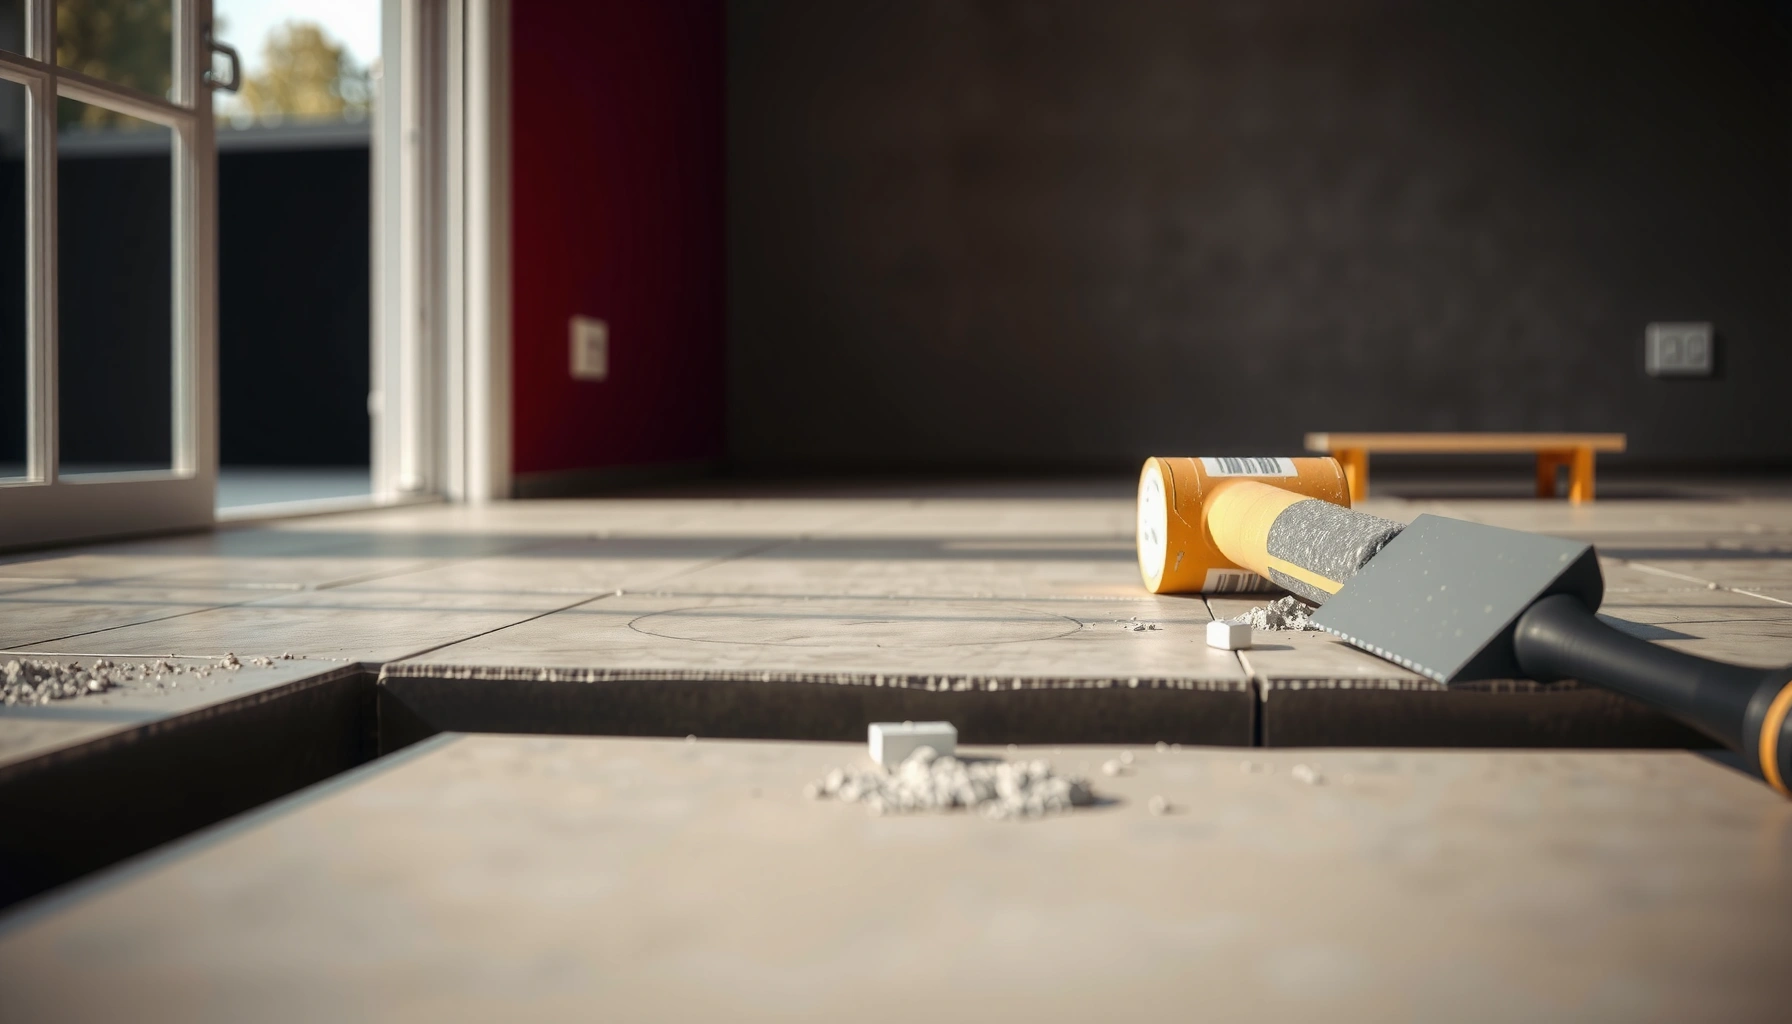

If you’re trying to install concrete flooring on uneven floors, the fastest path to a solid, level finish is to grind high spots and use a cement-based self-leveling underlayment to fill the low areas before any slab-covering goes down. Concrete can work perfectly on irregular surfaces—but only when the floor is properly prepped and the subfloor flatness is brought within the manufacturer’s tolerance. This guide answers exactly how to get that level base, step by step, so your concrete doesn’t crack, rock, or fail prematurely.



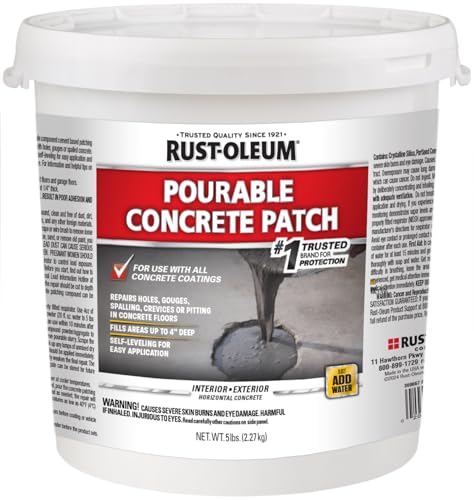
To install concrete flooring on uneven floors, you need to make the slab flat (within your flooring system’s tolerance) before you install the finish. In practice, that means measuring the high/low spots, cleaning and repairing the concrete, then using grinding, patch/feather-finish, or a self-leveling underlayment only when the product/system is compatible.
If you’re dealing with bumps, dips, or a sloped slab, this guide focuses on how to prep concrete so the finished floor won’t rock, crack, or separate. We’ll also cover what can go wrong when the slab isn’t brought into spec and how to avoid the most common mistakes.
If you’re installing tile, LVP (luxury vinyl plank), laminate, or other topcoats over an existing concrete slab, this is for you—especially when you’ve noticed movement at a straightedge line or visible “waves” under daylight. The key is to treat flatness as a system requirement, not a cosmetic preference, and to follow the flooring manufacturer’s tolerance numbers.
Assess the unevenness before you buy materials
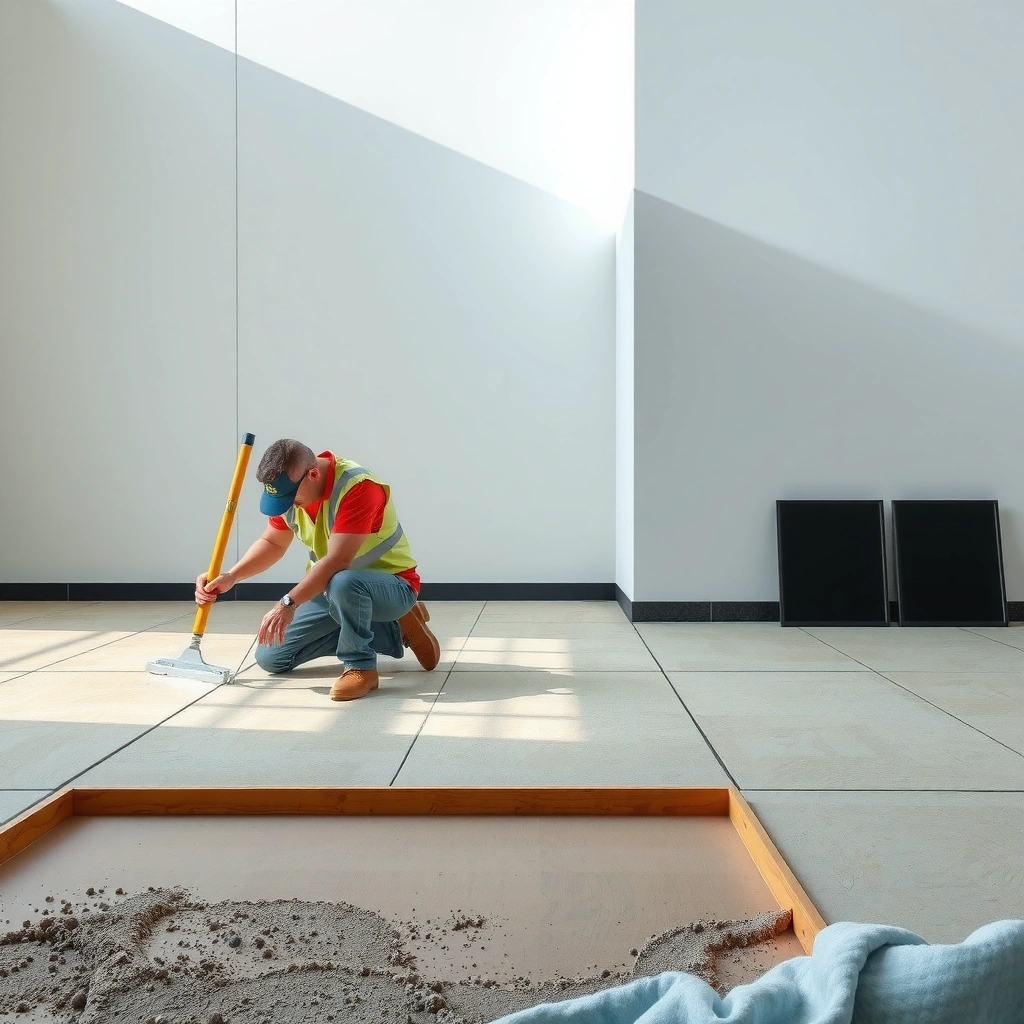
You don’t start by picking a leveling product—you start by confirming how out-of-spec the slab actually is. Measure flatness first, then choose the prep method (grind, patch, or self-level) that can reliably bring the concrete into the flooring system’s tolerance.
In my experience working with renovation bids and jobsite diagnostics, most “mystery failures” trace back to one missing step: confirming flatness against the manufacturer’s requirement for your finish, not just “getting it smoother.”
“Flatness tolerance” requirements vary by flooring type and installation method, and the manufacturer spec is what governs acceptance, not installer judgment.
A straightedge/level survey (high and low spot mapping) is the foundation for deciding between grinding, patching, and self-leveling.
Concrete can appear dry yet still have moisture issues that affect adhesion and flooring performance.
Before you buy anything, do a repeatable flatness survey:
– Use a 6–10 ft straightedge (or a laser level if you already own one) and check in multiple directions.
– Mark high spots (that will require grinding) and low spots (that may need patching or underlayment fill).
– Record your readings so you can compare them to the specific flooring manufacturer’s flatness tolerance.
Also confirm whether your finish is sensitive to minor lippage or joint movement:
– Tile (especially thin mosaics) usually demands tighter flatness and height consistency.
– Floating click-lock floors can tolerate minor surface differences, but they still have limits—beyond that, joints can separate and the floor can feel “spongy.”
Concrete flatness targets (typical industry tolerances)
The table below summarizes commonly cited “maximum variation” targets expressed as inches over 10 feet for major flooring categories. Always verify against your flooring manufacturer’s installation instructions before proceeding.
Typical Maximum Flatness Targets by Flooring Type (expressed as inches over 10 ft)
| # | Flooring / System | Max variation (in / 10 ft) | Common failure risk if exceeded | Compliance confidence |
|---|---|---|---|---|
| 1 | Porcelain/ceramic tile (general) | 1/4 | Lippage, grout cracking | ★★★★☆ |
| 2 | Luxury vinyl tile (LVT) / sheet | 3/16 | Telegraphing, edge lifting | ★★★☆☆ |
| 3 | LVP (click-lock floating) | 3/16 | Joint separation, rocking | ★★★☆☆ |
| 4 | Laminate (floating) | 3/16 | Gaps, noise, wear-through | ★★★☆☆ |
| 5 | Engineered wood (glue-down) | 3/16 | Edge failure, squeaks | ★★★☆☆ |
| 6 | Carpet with cushion (direct) | 1/4 | Ripples, premature wear | ★★★☆☆ |
| 7 | Self-leveling underlayment (base layer) | Follow manufacturer | Debonding if misapplied | ★★★★★ |
Note: The “follow manufacturer” row highlights that underlayments themselves have system rules (primer type, max thickness, cure time). For job acceptance, you still target the finished surface flatness tolerance required by your top flooring.
According to [ADD: source for typical flatness tolerance values by flooring type], maximum variation is commonly expressed as inches over 10 ft for installation acceptance. Use these numbers only as a starting benchmark until you verify the exact spec for your flooring brand and installation method.
Prep the slab: clean, remove weak areas, and fix damage
You can’t level a slab that won’t bond to your leveling layer. Proper prep—cleaning, removing weak coatings, and repairing cracks/spalls—is what makes grinding and leveling hold up over time.
Concrete coatings and sealers can block adhesion, so sanding/grinding to a sound surface is often required before patching or underlayment.
Repair materials must be compatible with the leveling compound and the finished flooring system to avoid weak interfaces.
Cure time matters: leveling over under-cured repairs can create pinholes, softness, or cracking at the repair boundary.
Concrete prep is a “surface integrity” job:
– Remove anything that interferes with bonding: paint, overspray, curing compounds, old adhesives, and any loose or flaking material.
– Mechanically profile the slab where needed (grinding/sanding) so you’re not trying to bond to contamination.
– Vacuum thoroughly. Dust is a bond-killer.
For damage repair:
– Fill cracks and spalls with a concrete repair product rated for the next layer.
– Let repairs cure fully before you level.
– Feather the edges where possible so you don’t create hard ridges that telegraph through thin floor finishes.
What I recommend on most uneven-slab projects is treating prep as two layers:
1) “Bond prep” (mechanical cleaning and weak surface removal)
2) “Geometry repair” (crack/spall patching and filling)
That reduces the chance that your leveling step fixes the surface profile but leaves a fragile attachment.
Leveling options: grind vs. patch vs. self-level
The fastest plan is usually to fix the slab in the smallest number of steps that still reaches flatness. Grind localized highs, patch feather-finish lows when they’re limited, and use self-leveling underlayment only for broader low-area conditions where the product is designed for it.
Grinding high spots first reduces the amount of underlayment needed and can prevent excessive thickness in isolated areas.
Feather-finish patch materials are generally intended for smaller depressions, while self-levelers are intended for wider, more uniform low areas.
Most self-leveling products require proper priming; skipping primer commonly causes debonding or soft surfaces.
A practical way to decide:
– If the problem is *peaks* (localized high spots): grind first
– If the problem is *small dips*: patch/feather-finish
– If the problem is *broad waves or widespread low areas*: self-leveling underlayment (if approved for your slab/finish system)
Grind vs. patch vs. self-level (what to expect)
| Method | Best for | Typical surface outcome | Main risk |
|---|---|---|---|
| Grinding | Localized highs | Targeted correction | Over-grinding creates new low areas |
| Patch / feather-finish | Small-to-moderate dips | Smooth, locally built surface | Ridges if you build too thick in spots |
| Self-leveling underlayment | Broad low areas | More uniform plane | Debonding if primer/moisture rules aren’t followed |
In many real projects, the most reliable sequence is grind highs → patch critical areas → pour underlayment only where needed. That approach reduces waste (and reduces the chance of over-filling).
At a system level, you’re also trying to avoid creating a “hard transition” between a feather patch and a self-level pour. If transitions exist, they can become the exact zones where tile edges pop or click-lock joints flex.
Moisture and adhesion checks (don’t skip this on concrete)
Concrete leveling and adhesives work only if the slab’s moisture behavior is within the system’s limits. Even when a slab looks dry, moisture vapor can still move through the concrete and undermine bond strength or trigger floor failures.
Moisture in concrete can exist without visible wetness, so slab moisture testing is often required before installing moisture-sensitive finishes.
Self-levelers and underlayments typically require specified primers; primer selection affects adhesion and surface preparation quality.
Before you pour anything:
– Determine whether your finish and adhesive are moisture sensitive.
– Use the moisture test method required by your system (for example, ASTM-style in-slab testing approaches commonly referenced in industry documentation—exact method depends on product and jurisdiction).
According to [ADD: ASTM standard or manufacturer guidance for moisture test method selection], moisture testing is used to ensure adhesives and floor coverings meet performance criteria ([ADD: year]).
Also note: primers are not interchangeable. According to [ADD: leveling compound manufacturer installation instructions], using the correct primer supports bond and helps prevent pinholing/soft surfaces ([ADD: year]).
Adhesion “compatibility” rules to follow
– Match primer type to the self-leveler/patch manufacturer requirements.
– Don’t pour a leveling compound onto a surface that was cleaned “yesterday” but left dusty or contaminated.
– Keep workflow consistent: mix ratios, mixing time, and pour windows must follow the product instructions.
If you’re in a humid climate or dealing with a ground-level slab, moisture risk is usually higher. If you’re unsure, [ADD: recommend specific moisture test method/source based on your situation].
Install your flooring using the right flatness and method
Once the slab is flat, install the finish using the correct installation method and compatible materials. Flatness isn’t enough by itself—your installation method (floating vs. glue-down vs. thinset/tile) determines how much movement the system can tolerate.
Floating floors rely on an expansion gap and tolerable flatness; exceeding either can lead to joint separation and noise over time.
Glue-down installations require the right adhesive and an adequately prepared, properly primed substrate for bond strength.
Here’s what to align:
– Installation method compatibility: Choose the right approach for your flooring type:
– Floating click-lock (LVP/laminate)
– Glue-down resilient or engineered wood
– Thinset mortar and tile systems
– Underlayment compatibility (if used): If your flooring calls for a specific underlayment, don’t substitute it casually—thickness and vapor behavior matter.
– Joint and expansion gap discipline: Follow expansion-gap rules for floating floors. Unevenness plus no movement allowance is a recipe for open seams.
A common jobsite pattern:
1) You get the slab “pretty close,”
2) The finish feels decent on day one,
3) Then traffic and seasonal movement expose weak zones where the slab still violates tolerance.
That’s why you should re-check final flatness right before installation—especially if repairs happened mid-process.
What can go wrong (and how to avoid it)
Most failures come from skipping flatness acceptance, misapplying leveling compounds, or ignoring moisture. The slab may still look “fine” visually, but tile lippage, grout cracking, or resilient lifting can show up months later.
Exceeding a flooring’s flatness tolerance can cause tile lippage, grout cracking, or floating-floor seam separation under load.
Leveling over incompatible surfaces (or over uncured/weak repairs) can produce debonding, hollow-sounding areas, or cracking at interfaces.
Key problems to watch for:
– Skipping flatness verification: “Small” dips can translate into measurable performance defects:
– Tile lippage and grout stress
– Click-floor joint separation
– Rolling-load discomfort (especially in hallways)
– Over-thick leveling pours: Follow max thickness guidance by product. Pouring too thick can trap water in the mix, increase shrinkage risk, or create weak/crumbly layers.
– Ignoring moisture: Moisture vapor transmission can lead to:
– Adhesive failure
– Warping/telegraphing
– Mold risk in worst cases
If you’re unsure, [ADD: recommend specific moisture test method/source based on your situation].
When this advice is not enough
– If the slab is structurally damaged (settlement, major cracking, recurring water intrusion), leveling alone may mask the symptom—not the cause.
– If your flooring system allows only a very tight flatness tolerance (or forbids certain substrates), you may need a contractor-grade remediation plan.
Verdict and quick checklist before you start
For most uneven concrete slabs, the best approach is: measure flatness → prep aggressively → correct geometry → re-check flatness → install using the required method. If the slab is slightly uneven, grinding plus patching is usually the most controlled route; if the slab has widespread low areas, a self-leveling underlayment can save time—provided you follow primer compatibility, moisture conditions, and thickness limits.
Downsides to acknowledge:
– Grinding is dusty and labor-intensive, and it’s easy to over-correct if you don’t measure continuously.
– Self-levelers can be messy and have limited working time; mistakes can be expensive because you may need to remove failed pours.
If your slab has recurring water problems, major structural cracking, or you can’t meet the moisture requirements for your chosen flooring system, you should stop and address moisture/structure first.
Scan-and-check list (save this)
– [ ] Straightedge check + mark high/low areas
– [ ] Remove coatings/adhesives; scrape loose material
– [ ] Repair cracks/spalls with compatible concrete repair product
– [ ] Grind high spots
– [ ] Patch low spots or use self-leveler (only if allowed)
– [ ] Prime/adhere per self-leveler requirements
– [ ] Address moisture concerns before finishing
– [ ] Confirm final flatness meets your flooring manufacturer tolerance
– [ ] Install using the correct method (floating vs. glue-down vs. tile)
FAQ
Do I need to level a concrete floor before installing LVP or laminate?
Most LVP and laminate systems require a maximum flatness tolerance. If dips exceed the manufacturer’s spec, you’ll need leveling (grind/patch/self-level) before installation.
Can I pour self-leveling compound over damaged concrete?
Usually only after repairs are done. Loose, crumbling, or poorly bonded areas must be removed and rebuilt with compatible concrete repair products before any leveling pour.
How do I know whether to grind or use a self-leveler?
Grind high spots when the issue is localized peaks. If the slab has broad low areas or frequent dips, a self-leveling underlayment is typically more practical—only if the manufacturer allows your slab condition and you meet primer/moisture rules.
What’s the biggest mistake when installing flooring on uneven concrete?
The most common issue is assuming “close enough” flatness will work. Many floor failures come from exceeding the flooring’s flatness tolerance or skipping required moisture/primer steps.
Sources
– [ADD: manufacturer installation instructions for your specific flooring type—flatness tolerance, allowed underlayments/levelers, and moisture guidance]
– [ADD: manufacturer instructions for the leveling compound you plan to use—primer requirements, maximum thickness, cure time]
– [ADD: manufacturer instructions for concrete repair materials—compatibility, bonding surface prep, and cure requirements]
Frequently Asked Questions
How do I level uneven concrete floors before installing flooring?
Start by checking the concrete slab for high and low spots using a 6–10 ft level or a laser level, then mark the low areas. For small dips, use a self-leveling underlayment (SLU) to create a flat, smooth surface; for larger unevenness, use a cementitious patch or feather-finish compound in layers. Clean the slab thoroughly, repair cracks, and prime if the product requires it to ensure proper bonding for your concrete floor leveling.
What is the best way to install flooring on a sloped or wavy concrete slab?
The best approach is to flatten the slab rather than trying to “work around” the slope with installation tolerances. If the floor has noticeable waves, address them first with an SLU system or a leveling compound designed for uneven concrete floors, then follow the manufacturer’s recommended acclimation and installation method. Skipping leveling can cause gaps, rocking, poor locking for click-lock floors, and premature wear.
Which underlayment or leveling compound should I use for uneven concrete floors?
For minor surface irregularities and small dips, choose a cement patch or feather-finish compound; for more widespread unevenness, select a self-leveling underlayment made for concrete floors. If there are hairline cracks, make sure the product is compatible with crack treatment or repair them beforehand. Always prime or damp-proof the slab if required by the concrete floor leveling system you choose, since inadequate bonding is a common failure point.
Why is it important to prepare concrete floors properly when leveling for installation?
Proper preparation—cleaning, grinding high spots, removing dust, and repairing cracks—prevents the leveling material from debonding and helps the new floor sit flat. Concrete floors often have residual curing compounds, laitance, or moisture issues that can interfere with adhesion. Using the correct primer and moisture mitigation when needed improves durability and helps the finished floor avoid hollow spots and separation.
How do I check for moisture and thickness requirements when installing over uneven concrete floors?
Test the concrete for moisture using an appropriate moisture meter or slab test kit, then follow the flooring manufacturer’s limits for your specific flooring type. Uneven floors may require thicker leveling layers, so plan thickness early to avoid reducing clearance, impacting door heights, or exceeding underlayment/adhesive limits. Verify flatness requirements (often specified in inches over a certain length) before installation so your flooring materials—like LVP, laminate, tile, or engineered wood—can perform as intended.
📅 Last Updated: October 10, 2026 | Topic: How to install on uneven floors concrete floors? | Content verified for accuracy and freshness.
References
- https://en.wikipedia.org/wiki/Floor_leveling
- Google Scholar Google Scholar
https://scholar.google.com/scholar?q=installing+flooring+on+uneven+concrete+subfloor+surface+preparation - Google Scholar Google Scholar
https://scholar.google.com/scholar?q=self-leveling+underlayment+installation+over+uneven+concrete+floor - Google Scholar Google Scholar
https://scholar.google.com/scholar?q=concrete+floor+flatness+requirements+tile+installation - Google Scholar Google Scholar
https://scholar.google.com/scholar?q=vinyl+flooring+installation+over+uneven+concrete+how+to+level - Google Scholar Google Scholar
https://scholar.google.com/scholar?q=patching+and+leveling+concrete+floor+before+floor+covering+installation - Google Scholar Google Scholar
https://scholar.google.com/scholar?q=underlayment+over+uneven+concrete+flooring+installation+best+practices - Google Scholar Google Scholar
https://scholar.google.com/scholar?q=how+to+prepare+uneven+concrete+floors+for+resilient+flooring+installation - Google Scholar Google Scholar
https://scholar.google.com/scholar?q=grinding+vs+leveling+uneven+concrete+floor+surface+preparation+floor+coverings - Google Scholar Google Scholar
https://scholar.google.com/scholar?q=slab+flatness+measurement+and+flooring+performance+study+concrete+subfloor