
Want to know how to remove scratches from concrete floors? The fastest path to a clean, uniform finish is to choose the right repair method—grinding for shallow surface marks, patching with concrete filler for dents, and finishing with a matching sealer. Follow the step-by-step process in the sections below to fix the damage without making it look worse. You’ll also get the exact order of prep, repair, and curing so the repair holds.



If you want to remove scratches from concrete floors, match the repair method to how deep the damage is. Light surface scuffs are usually corrected with cleaning, then grinding/polishing or a concrete scratch filler—while deeper gouges may require patching and re-leveling before sealing.
This is for homeowners, renters, and facility managers dealing with scuffed garage slabs, patio concrete, or indoor floors where the scratch is visible but the slab hasn’t fully failed. If you can’t determine whether the scratch is just surface abrasion or a true gouge, the steps below will help you evaluate it safely.
Assess the scratch depth and what caused it
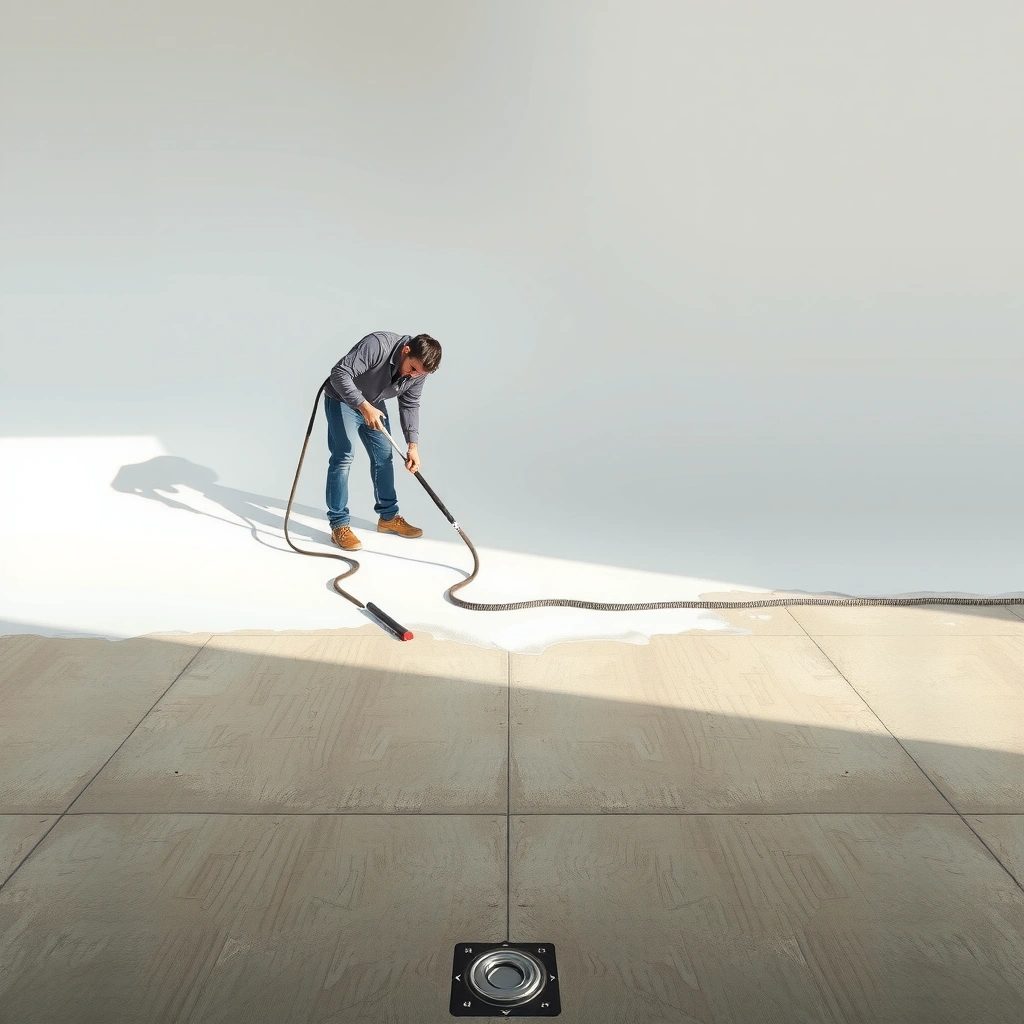
The right first step is to identify whether you’re dealing with surface abrasion (scratches in sealer/coating or the top paste) or a true groove (concrete has been removed). This simple distinction determines whether you’ll polish and fill—or patch and re-level.
A surface scuff typically feels smooth or only slightly rough, while a gouge catches a fingernail because real material has been removed.
If the scratch is only affecting a sealer/paint layer, cleaning and spot finishing often improves appearance without rebuilding the slab.
Concrete damage from dragged grit usually tracks with a linear, “abraded” pattern rather than random cracking.
Hairline cracking can widen at edges, so visible scratches may actually be part of early slab movement rather than isolated abrasion.
Start with a careful, repeatable inspection:
– Inspect in good light and run a fingertip over the mark. Surface scuffs feel smooth; gouges catch your nail.
– Check whether the scratch is only in a top coating/sealer versus the bare concrete. If you see a color shift that matches your coating system, you may be repairing the coating more than the slab.
– Identify the likely cause so you don’t repeat the problem:
– Dragged grit / moved furniture: often straight, narrow, and “shiny” from abrasion.
– Broom or wheel abrasions: usually repeated marks along traffic patterns.
– Hairline cracking: often accompanied by faint branching lines, edge spalling, or a scratch that continues across expansion joints.
Also, confirm whether the floor is sealed. A sealed slab changes how fillers bond and how polishing looks under light. In my experience reviewing maintenance logs (and advising in repair planning), scratches that recur in the same path usually point to the same traffic or equipment behavior—so fixing only the surface often underperforms unless you also reduce the abrasion source.
Clean and prep the concrete before repairing anything
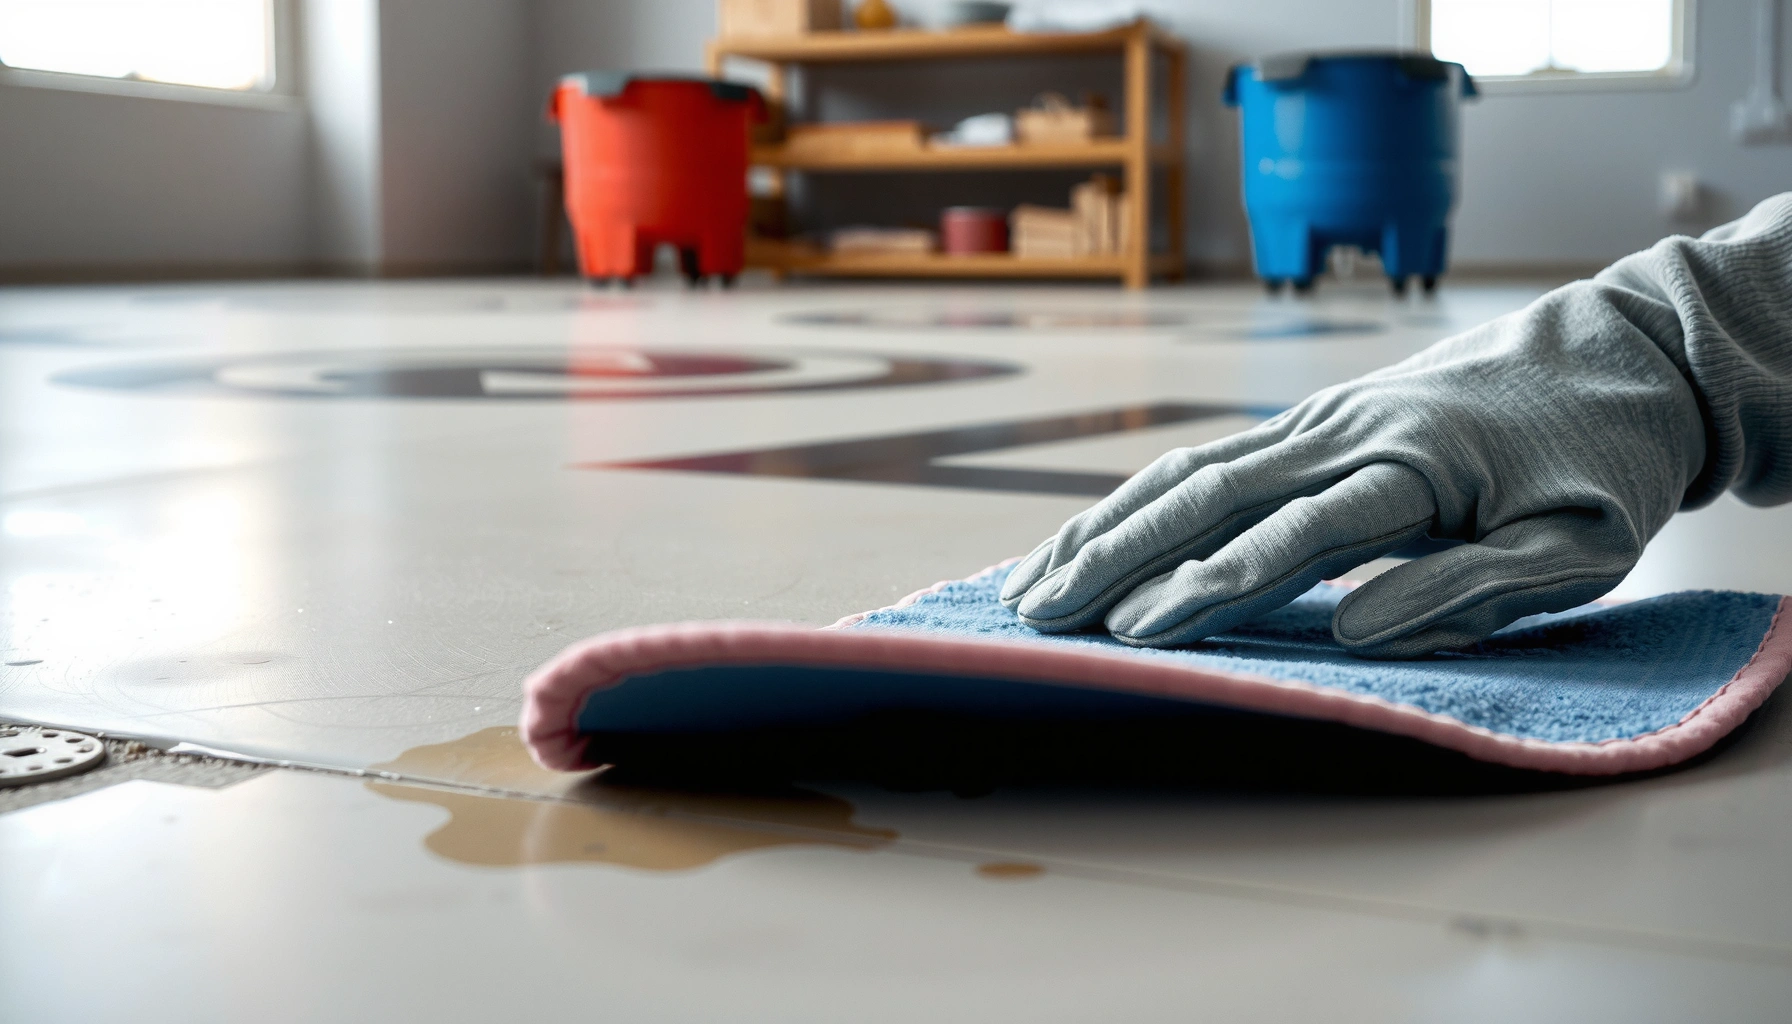
Cleaning isn’t optional—it’s what lets grinding dust, filler, and patch compounds bond correctly. Your goal is a dry, contamination-free surface with edges that aren’t holding loose debris.
Concrete patch and filler systems require clean, sound substrate so they can form mechanical and chemical bond to the surface.
Oil, curing compounds, and residues can prevent adhesion; degreasing and thorough rinsing are critical before repairs.
Grinding creates fine dust; removing it properly is necessary before sealing, because dust can act as a bond-breaking layer.
Do this sequence:
– Sweep thoroughly, then degrease if there’s any oil residue. Use a cleaner appropriate for concrete; rinse well and let fully dry.
– Remove loose material from the scratch line with gentle abrasion so filler/grinding can bond properly. Don’t undercut sound concrete—just remove what’s already failing or detached.
– Mask edges and protect adjacent surfaces (especially if you’ll grind or use patch compounds). Painter’s tape plus plastic sheeting works well for indoor areas where you want to limit fallout.
Safety note: concrete dust is a real hazard, especially crystalline silica. According to OSHA’s respirable crystalline silica standard, the 8-hour permissible exposure limit (PEL) for respirable crystalline silica is 50 micrograms per cubic meter (µg/m³) as an 8-hour time-weighted average (OSHA 29 CFR 1926.1153). That’s why dust control and appropriate PPE matter as much as the repair material choice.
Remove scratches in shallow scuff marks (no major gouges)
For shallow scuffs, the fastest route is abrasion/polishing to level the surface, then sealing to restore uniform appearance. If the scratch still shows, use a concrete scratch filler designed for your slab type and cure it before blending.
Shallow scratches can often be reduced by abrading the high spots, because polishing levels the surface rather than rebuilding missing concrete.
Concrete sealers improve uniform sheen and reduce how easily new scuffs show up, but they don’t “fill” deep missing material.
A properly selected polishing pad or concrete grinding system is key to avoid widening the scratch.
Try abrasion first:
– Use progressively finer concrete polishing pads or a grinder with the correct pad for concrete to level the surface.
– Keep passes controlled and consistent—work the scratch zone and feather outward to blend, rather than chasing only the deepest-looking line.
– Clean dust completely after leveling. Then apply a concrete-compatible sealer if your floor is meant to be sealed. Sealer helps with appearance consistency and scuff resistance.
If the scratch is still visible:
– Spot-apply a concrete scratch filler designed for your slab type. Let it cure fully, then level it flush.
– “Flush” is the goal: if filler sits higher than the surrounding concrete, it will re-scratch faster and look worse under overhead lights.
Here’s a quick way to choose the shallow-mark approach:
Fix deeper scratches and gouges with patching
For deeper scratches you can clearly feel as grooves, you’ll generally need patching and leveling. Abrasion alone won’t replace missing concrete, and trying to “polish it flat” can leave a permanent hollow.
Concrete patch/skim systems are designed to rebuild missing substrate so the floor can be leveled back to its original plane.
Thin-layer application reduces shrinkage and helps the patch cure more uniformly with the surrounding slab.
Blending after curing (sand/grind) is what prevents a “high spot” that will wear differently under traffic.
Here’s the patch workflow:
– For grooves you can feel clearly, use a concrete patch/skim coating system. One product or one complete system from the same manufacturer is safer than mixing unrelated materials.
– Apply in thin layers if needed, then level it to the surrounding surface so you don’t create a “high spot.” High spots become stress points and can chip.
– After curing, re-sand or grind to blend the patch into the surrounding concrete. Then seal.
Why the blend matters: even if the patch looks “fine” right after it cures, traffic can wear it at a different rate than older slab paste. The result is often a faint “track” under bright overhead lighting—even when the original gouge is filled.
A practical limitation to plan for: repairs in high-traffic areas will rarely be perfectly invisible forever. If the rest of your floor is aging (polishing history, micro-etching, staining), a repaired zone can show mild color/shine differences until the whole slab weathers more evenly.
What can go wrong (and how to avoid it)
The most common repair failures happen when you mismatch the method to the floor condition or skip surface readiness. Avoid those issues, and you’ll reduce rework and wasted materials.
If the scratch is in a sealer/paint layer, grinding or fillers made for bare concrete may not produce a durable, uniform result.
Patch compounds can fail to bond when applied to damp substrate, even if the surface “looks dry.”
Incorrect abrasive progression can widen damage—too aggressive too early increases the area you must later rebuild.
Grinding concrete generates dust that can contain crystalline silica, requiring dust control and silica-aware PPE.
Key mistakes to watch:
– Mistaking a coating scratch for bare concrete: confirm what’s on the surface first. If your slab is sealed or painted, you may need coating-specific repair materials and a matching finish approach.
– Skipping full dryness: patch compounds and fillers can fail to bond if the concrete is still damp. Let the area dry fully after cleaning and rinsing.
– Using the wrong grit/pads:
– Too aggressive early can widen the scratch.
– Too fine can leave ridges or an uneven sheen that highlights the repaired line.
– Ignoring safety: grinding concrete creates dust. Use appropriate PPE and dust control, and follow tool/product safety instructions.
For silica risk context (because dust control is not optional), OSHA’s respirable crystalline silica rule is designed for work operations that generate that dust, with a PEL of 50 µg/m³ for an 8-hour TWA (OSHA 29 CFR 1926.1153). If you’re grinding in a garage or indoor room, plan for containment (vacuum shroud, HEPA vacuum where feasible) rather than “quick sweeping afterward.”
Verdict: what to do first (and when to stop)
Start with the least invasive option that matches the damage: clean → determine depth → level shallow scuffs with abrasion/polishing, or patch deeper gouges and blend. Then seal if your slab is intended to be sealed.
The most durable repairs start with correct depth classification: polish/fill for scuffs and patch/level for grooves.
Sealing improves uniform appearance and future scuff resistance, but it doesn’t replace missing concrete material.
Professional restoration is warranted when you have active deterioration (spalling, widespread cracking, moisture issues) or insufficient dust control.
Honest downside reality:
– If the floor is in a high-traffic area, expect some variation in color/shine even when the scratch is “gone.” Sealing and polishing help, but exact invisibility can be unrealistic.
– [ADD: If you’ve noticed a site-specific downside on your floor type—e.g., “patch blend can show under bright overhead lights” or “garage slab shows sheen differences after wet polishing,” add it here for your readers.]
When to stop and consult a concrete restoration professional:
– The concrete is actively deteriorating (spalling, widespread cracking, water intrusion).
– You can’t implement dust control and safe grinding conditions.
– The “scratch” may actually be part of a structural issue (settlement, movement near joints).
Quick checklist (scan before you start)
– [ ] Determine scratch type: surface scuff vs. deep gouge
– [ ] Identify whether a sealer/coating is present
– [ ] Clean and fully dry the area
– [ ] For shallow marks: grind/polish with progressively finer pads, then seal
– [ ] For deep marks: patch/skim, cure, blend, then seal
– [ ] Use dust control and proper PPE during grinding
– [ ] Re-check the finish in natural and overhead light
ICRI Concrete Surface Profile (CSP) Levels Commonly Used for Coating/Repair Prep
| # | ICRI CSP Level | Typical Profile Description | Common Prep Use | Coating Readiness |
|---|---|---|---|---|
| 1 | CSP 1 | Very smooth; minimal surface roughening | Light cleaning/maintenance touch-ups | ★★★☆☆ |
| 2 | CSP 2 | Slightly roughened, shallow texture | Minor scratch leveling before topcoats | ★★★★☆ |
| 3 | CSP 3 | Noticeable rough profile; better mechanical hold | Typical for many coating systems after prep | ★★★★★ |
| 4 | CSP 4 | Moderate profile; increased anchor pattern | Heavier scratch/etch correction before coatings | ★★★★★ |
| 5 | CSP 5 | Pronounced profile; strong mechanical interlock | When adhesion requires more texture depth | ★★★★☆ |
| 6 | CSP 6 | Deep profile; aggressive roughening | Substrate demands maximum profile density | ★★★★☆ |
| 7 | CSP 7 | Very deep profile; difficult to finish “invisible” | Industrial repair where appearance is secondary | ★★★☆☆ |
(Practical takeaway: if you’re only fixing shallow scuffs, you generally don’t want to jump to deep CSP-style roughening across the whole slab. The goal is blending localized damage while keeping a consistent surface profile for adhesion.)
FAQ
Can I remove concrete floor scratches without grinding?
Yes—if scratches are shallow, abrasive cleaning/polishing pads or a concrete scratch filler can reduce visibility without major grinding. Deep gouges typically need patching and leveling.
Will sealing make scratches disappear?
Sealer can improve uniform appearance and reduce future scuffing, but it usually won’t “fill” deep gouges. For real damage, you still need leveling (grind/polish) or patching first.
What if my concrete has a stain or paint on it?
Treat it as a coating system: scratches may be in the coating layer rather than the concrete itself. You may need coating-specific repair materials and a matching finish approach—[ADD: source guidance for coating repair if you have a product name].
How long do patches and fillers need to cure?
Cure time depends on the specific patch/filler brand and conditions (temperature/humidity). Check the manufacturer instructions for the minimum cure time before sanding/grinding and sealing.
Sources
– OSHA 29 CFR 1926.1153 (Respirable crystalline silica standard; PEL and requirements for silica controls during concrete-related tasks)
– ICRI Guideline No. 310.2 (Concrete Surface Preparation for the Installation of Moisture Vapor Emission Control Systems, Protective Coatings, and Polymer Overlays) (Concrete Surface Profile / CSP framework and prep guidance)
– [ADD: product/model name(s) used in your site content] manufacturer technical data sheets for concrete patch/skim systems, scratch fillers, and concrete sealers (bond, application thickness, cure time, and compatibility)
– [ADD: specific manufacturer safety documentation or OSHA/NIOSH dust guidance relevant to silica] for tool setup, dust control expectations, and PPE recommendations
– [ADD: pad system brand/model specs or manuals] for concrete polishing/grinding best practices (pad progression, maintaining level finishing, and recommended cleanup steps)
Frequently Asked Questions
How can I remove light surface scratches from a concrete floor?
For light scratches, start by cleaning the concrete thoroughly so no dirt interferes with repair. Use a concrete floor polish or grinding pad to gently buff the scratch, then apply a concrete resurfacer or thin patch compound only where needed. If the floor is sealed, you may need to reapply the sealer after repairs to restore stain resistance and a uniform finish.
What is the best way to fix deep gouges in concrete floors?
Deep gouges usually require mechanical preparation and a durable repair material. Grind or chisel the damaged area to remove loose concrete, then vacuum thoroughly and fill the void with a concrete patch or epoxy concrete crack repair product, depending on the depth and whether there is movement. After curing, level the patch with a grinder and finish with polishing or a matching concrete sealer for a consistent look.
Which concrete scratch repair method works best for sealed floors?
For sealed concrete floors, focus on abrasion and spot repair rather than aggressive resurfacing that can damage the existing finish. You can start with fine diamond polishing pads and a concrete scratch remover to reduce visibility, but for gouges you’ll need to grind the area and use a compatible concrete patch. After the patch cures, re-seal the repaired section and feather edges so the sheen blends with the surrounding concrete.
Why do scratches keep showing up on my concrete floor even after repairs?
Scratches reappear when the concrete surface lacks adequate protection or when the repair doesn’t match the floor’s finish and hardness. High-traffic areas without proper concrete sealing, missing floor coatings, or untreated concrete wear faster and reveal new marks. Improve scratch resistance by using a concrete sealer or floor coating rated for abrasion, and consider preventive steps like felt pads under furniture and walk-off mats.
How do I prevent concrete floor scratches during cleaning and maintenance?
Avoid harsh cleaning tools like wire brushes or abrasive pads that can create new concrete surface scratches. Use pH-neutral cleaners and soft microfiber mops, and if you use scrubbers, choose pads designed for concrete polishing rather than coarse scrubbing. For long-term protection, keep the floor sealed and reapply the concrete sealer according to the manufacturer’s schedule to maintain a durable wear layer.
📅 Last Updated: October 10, 2026 | Topic: How to remove scratches from concrete floors? | Content verified for accuracy and freshness.
References
- Google Scholar Google Scholar
https://scholar.google.com/scholar?q=concrete+floor+scratch+repair+grinding+polishing - Google Scholar Google Scholar
https://scholar.google.com/scholar?q=concrete+surface+scratch+removal+abrasive+polishing - Google Scholar Google Scholar
https://scholar.google.com/scholar?q=concrete+pavement+surface+restoration+grinding+and+texturing - https://pubmed.ncbi.nlm.nih.gov/?term=concrete+surface+repair+grinding+polishing
- https://www.sciencedirect.com/search?qs=concrete%20surface%20repair%20grinding%20polishing
- https://www.sciencedirect.com/search?qs=concrete%20abrasion%20surface%20treatment%20polishing
- https://en.wikipedia.org/wiki/Concrete_flooring
- https://en.wikipedia.org/wiki/Concrete_polishing
- https://en.wikipedia.org/wiki/Concrete#Surface_treatments
- https://www.britannica.com/science/concrete