
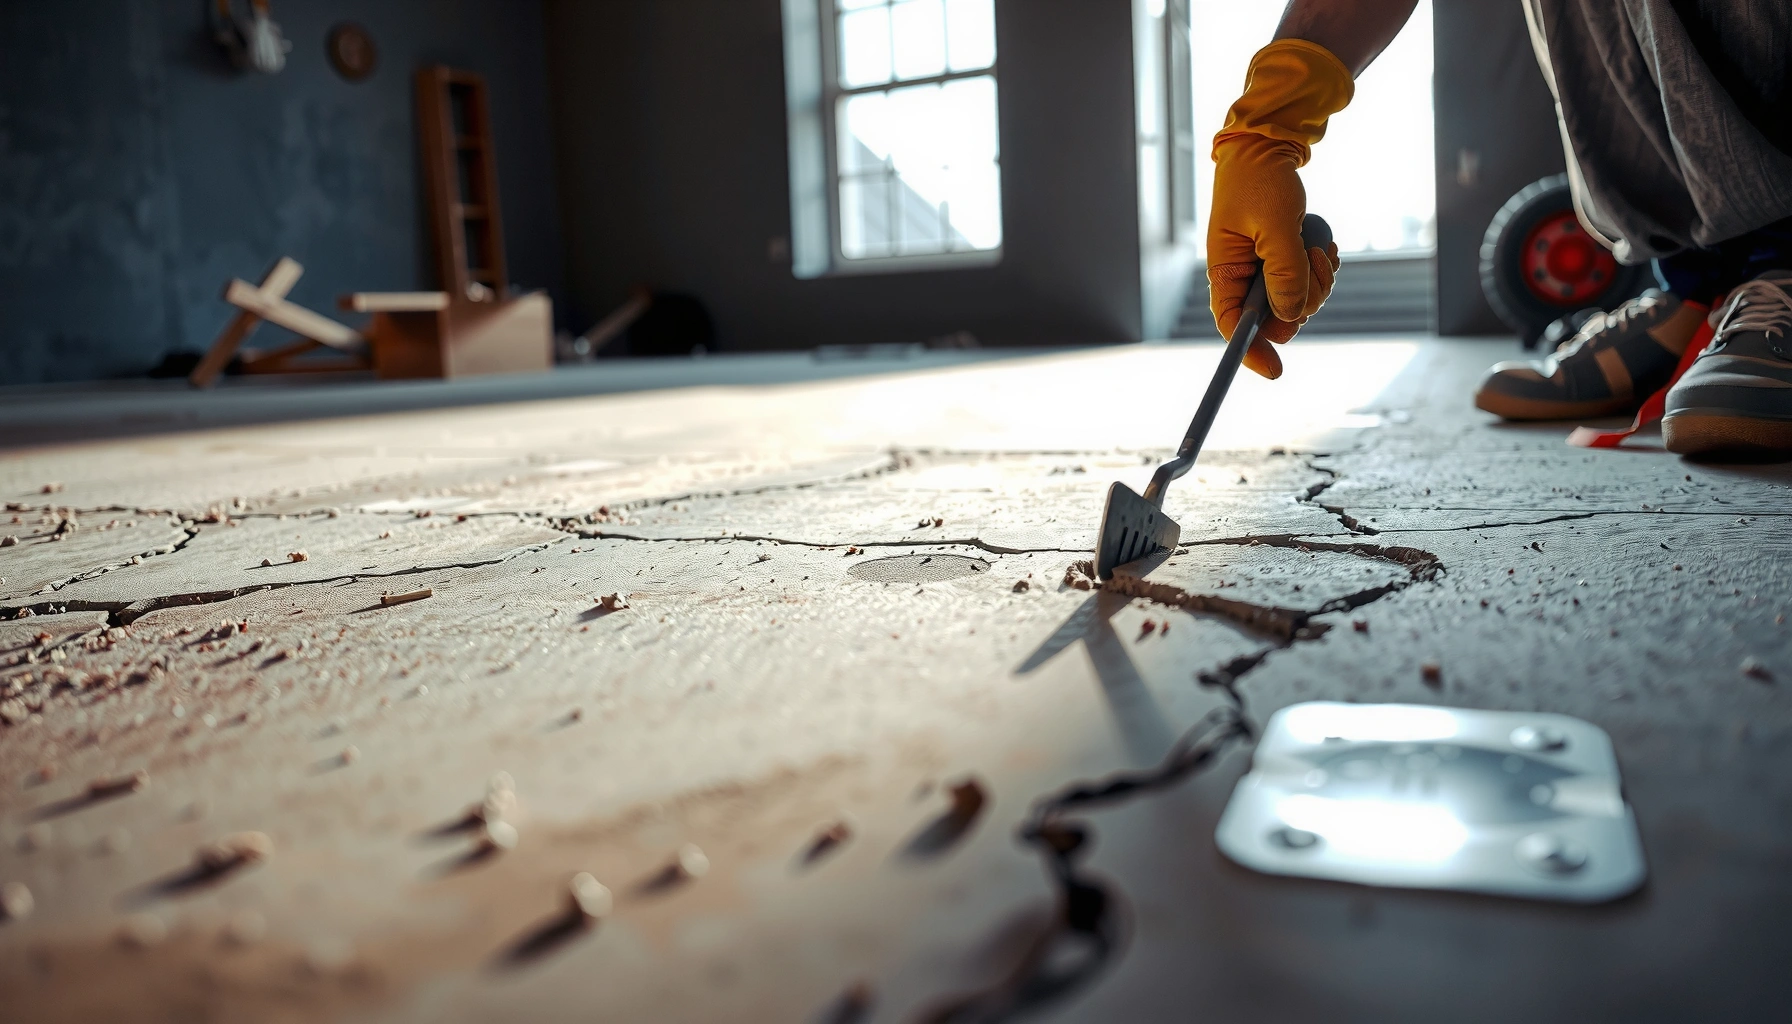

Learn how to repair concrete floors with step-by-step fixes that tell you exactly what to do for the most common damage, from cracks and spalling to surface scaling. If you want the fastest, most reliable results, the winning approach is diagnosing the problem first, then using the right patching compound and proper prep so the repair actually bonds. Follow the process below and you’ll be able to restore a durable, smooth concrete finish without guesswork.


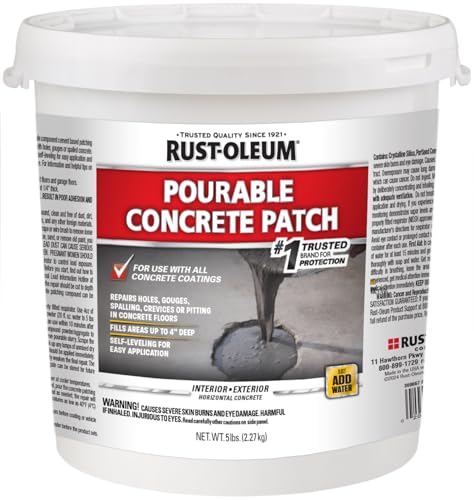

If you’re dealing with a cracked, chipped, or deteriorating concrete slab in a garage, basement, patio, or shop, this guide walks you through practical repair steps and what to watch for so the patch doesn’t fail again.
Assess the damage (cracks vs. spalls vs. scaling)
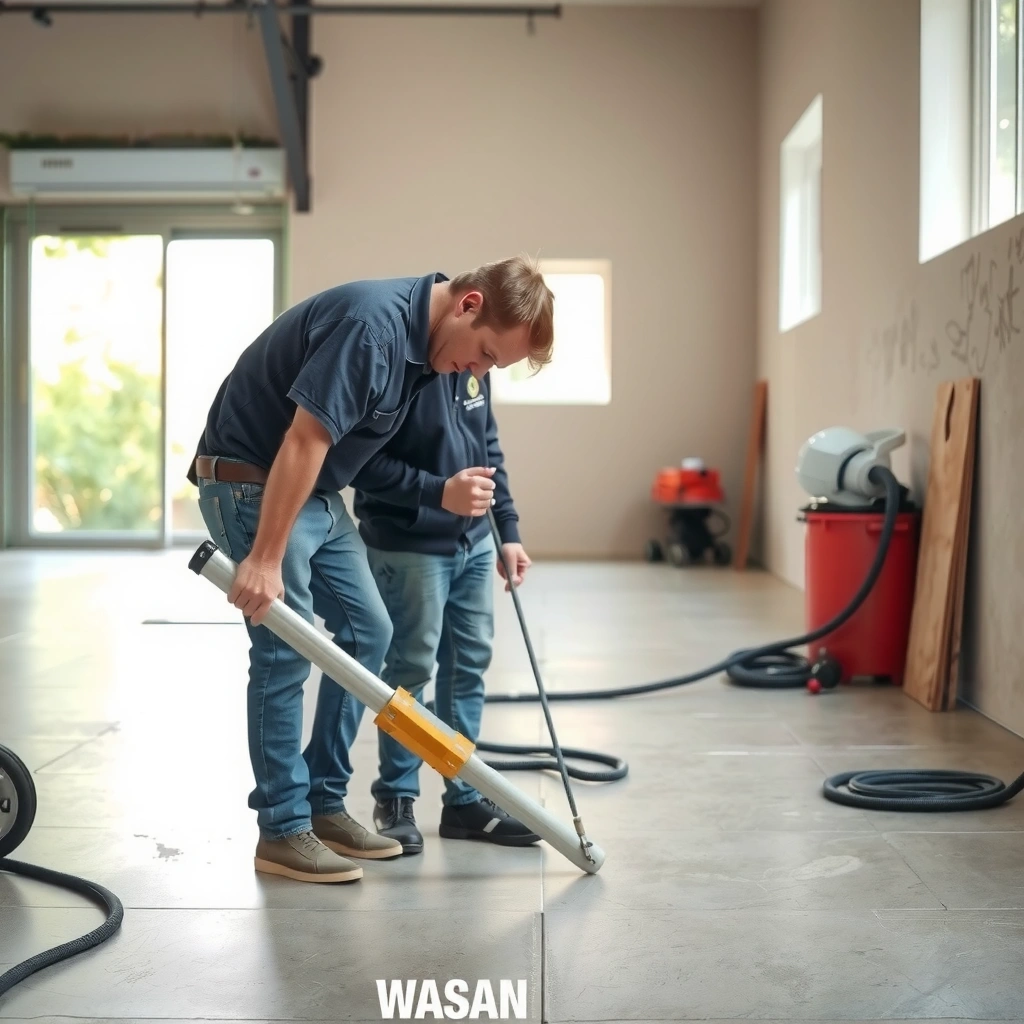
You don’t start by choosing a patch—you start by diagnosing the damage type. Once you can classify the failure (crack, spall, hole, or scaling/peeling), you can choose the correct repair system and avoid wasting time on the wrong material.
Concrete floors fail for different reasons: movement (cracking), loss of concrete cover (spalling), missing substrate (holes), or deterioration at the surface (scaling). According to the [ADD: ACI guidance for visual condition assessment and surface deterioration mechanisms], surface appearance often correlates with moisture and exposure conditions, which is why the “what” matters as much as the “how.”
If you can identify whether the damage is a crack, a spall, a hole, or scaling, you can match the repair material to the failure mechanism.
Moisture-related staining or recurring wet spots often mean you should address water intrusion or mitigation before patching.
A stable crack can often be filled, while a crack that reopens typically needs a movement-capable system to prevent debonding.
What to check on your slab (fast, visual, and reliable)
– Cracks: Hairline, widening, or stepped cracks can indicate different causes. Look for signs of recent movement such as a visible offset, recurring staining at the crack, or crack edges that look “fresh.”
– Spalls: Check whether concrete has broken away around an impact point (wheel/tire damage, dropped tools) or around embedded hardware (anchors, posts).
– Scaling/peeling: Surface “dusting,” flaking, or shallow delamination usually points to poor curing, scaling from freeze-thaw, water exposure, or chemical attack.
– Holes/voids: These often come from freeze-thaw breakage, corrosion of embedded steel, or impact damage that removed concrete down to weaker layers.
Spot the moisture problem early
If you see dampness, dark staining, efflorescence (white powdery deposits), or wet patches that return, treat it as a root cause—not a cosmetic issue. A repair can look correct on day one and fail later when water pressure or repeated wetting undermines bond strength.
According to [ADD: source on concrete moisture effects on coating/patch bond], ongoing moisture can significantly reduce long-term performance of repairs and coatings by weakening the interface.
Prepare the slab correctly (this is where repairs succeed or fail)
Preparation is the difference between “a patch that lasts” and “a patch that pops.” The best repair material in the world won’t bond if the surface still has weak concrete, dust, paint/coatings, curing compounds, or contaminants.
In practical terms, you’re building a sound interface: remove weak/contaminated material, then clean and profile so the patch/repair has mechanical and chemical “grip.” Concrete repair systems typically require sound substrate, which is why you should plan prep work first, not later.
Most concrete repair failures are interface failures—caused by dust, contaminants, coatings, or weak substrate—not by the patch product alone.
Removing curing compounds, coatings, and loose concrete until you reach sound material is commonly required in manufacturer installation instructions for patching systems.
Surface profiling (creating a mechanically receptive texture) improves bond by increasing effective contact area for repair mortars and adhesives.
Remove everything that can compromise adhesion
Use the following prep sequence as a baseline:
1. Remove loose concrete: Chisel out delaminated material until edges are firm.
2. Strip coatings/contaminants: Paint, epoxy coatings, sealers, and curing compounds can block bonding. Remove them until you reach clean concrete.
3. Eliminate dust and fines: Vacuum thoroughly (and wipe only if compatible with your repair system—don’t re-contaminate).
Clean and profile—then check your surface quality
A “clean” concrete surface means:
– No visible dust film (not just “no dirt”).
– No grease/oil residue (common in garages).
– No remaining weak paste or scaling.
Profiling options (choose based on the area and depth):
– Shot blasting for larger/industrial areas and coatings removal (often best for uniform bond).
– Grinding with a diamond cup for localized repairs.
– Chipping for spalls/holes down to solid concrete.
If you’re patching cracks: remove debris from inside the crack
For crack repairs, “surface clean” isn’t enough—debris inside the crack reduces bond. Clean the crack (wire brush, vacuum, and compatible crack-cleaning steps per product directions) so the repair material can fully contact the concrete edges.
Repair cracks (fill vs. seal—don’t treat them all the same)
Cracks are repaired successfully when you treat them as either non-moving (stable) or moving (reactive). If you fill a moving crack like it’s static, the repair may separate at the interface and re-open.
The decision isn’t philosophical—it’s visual and functional. Many cracks that originate from shrinkage or early-age behavior can be stable, while cracks caused by ongoing settlement, thermal cycling, or structural movement often require a movement-capable strategy.
Stable, non-structural cracks are commonly repaired by cleaning the crack and installing a concrete crack repair filler system designed for that condition.
When a crack reopens or shows signs of movement, many patch materials will debond unless the repair system allows for movement.
Using the correct viscosity and installation method (e.g., over- or under-leveling) per the manufacturer’s TDS/SDS helps the crack repair perform as intended.
Fill vs. seal: how to choose (quick comparison)
Use this decision guide:
| Concrete crack situation | Typical goal | Common material approach | Bond risk if misapplied |
|---|---|---|---|
| Hairline crack, stable width | Restore surface integrity and limit debris intrusion | Crack filler designed for non-moving cracks | Low to moderate |
| Wider crack that stays consistent | Restore a continuous surface plane | Cementitious or polymer-modified crack repair mortar/filler | Moderate |
| Crack that reopens/offsets | Accommodate movement | Movement-capable crack system (often includes specialized sealant/lining designs) | High |
Step-by-step crack repair (stable cracks)
1. Clean the crack: Remove loose material and debris; vacuum dust.
2. Open up only if needed: Some products require a minimum cleaning profile; follow the product directions rather than guessing.
3. Fill to the correct depth: Mix and apply per manufacturer instructions to avoid shrinkage gaps.
4. Finish and protect during cure: Keep traffic and moisture off until cure is complete.
If the crack appears structural or active, pause
If you observe:
– progressive widening,
– stepped displacement,
– recurring moisture at the crack,
– or cracks that align with known structural movement,
…then cracking may not be a “patch-only” problem. At that point, you may need reinforcement, re-leveling, or a specialty system rather than a simple fill.
[ADD: source for recommended crack width assessment and movement-capable repair guidance, e.g., from an ACI technical report or a manufacturer technical bulletin.]
Fix spalls, holes, and missing concrete
Spalls and holes are repaired by removing all weak edges, building the missing volume with the correct patch system, and curing properly. Avoid the common mistake of “feathering over” damaged or dusty concrete—repairs need solid substrate and the right thickness.
In the field, spalls often start as shallow damage but expand because water enters the void, then freeze-thaw or corrosion of embedded steel accelerates deterioration. Your goal is to stop the process by restoring the missing concrete section with a durable repair mortar.
For spalls and holes, sound substrate is required; most manufacturer patching instructions specify removing loose concrete back to firm, intact material.
Feathering over friable edges increases the chance that the repaired patch will debond or crumble at the perimeter.
Many cementitious repair mortars must be applied in lifts/batches and cured per the technical data sheet to achieve design performance.
Step-by-step spall/hole repair
1. Chip back to solid concrete
– Remove all loose, friable material.
– Square up or undercut only if the patch system requires it (follow product guidance).
2. Clean the recess
– Vacuum thoroughly.
– Remove concrete dust and any residue from grinders/chisels.
3. Prime/dampen if required
– Some systems require a bonding agent or specific surface moisture condition—follow instructions.
4. Build the patch
– Apply base material if required for depth, then finish to the surrounding floor elevation.
5. Finish and cure
– Finish with appropriate trowel technique so you don’t trap excess water at the surface.
– Cure exactly as directed to reach full strength.
Match method to depth and size
A shallow spall and a deeper missing section often require different approaches:
– Shallow spalls: fewer lifts, faster cure expectations.
– Deep holes: use base layers or aggregate additions if the product allows (per TDS) to reduce shrinkage and control strength.
Restore surface wear and flaking (scaling/peeling)
Surface wear (dusting, scaling, peeling) is repaired by fixing the cause—often moisture, freeze-thaw, or chemical attack—before you resurface. If you only cover failing concrete with a coating, the deterioration frequently returns underneath.
Scaling and peeling usually indicate that the top concrete paste is losing cohesion. That can happen after poor finishing/curing, repeated wetting/drying, de-icing chemicals in cold climates, or freeze-thaw cycles.
Resurfacing can fail quickly if the slab’s underlying moisture condition, contamination, or exposure mechanism is not corrected.
Scaling is frequently tied to weathering and freeze-thaw action, so addressing moisture pathways and compatible surface treatments is critical.
Surface preparation standards for coatings and overlays typically require removal of all weak or delaminated material before applying a resurfacer.
Diagnose the likely driver
Common causes to look for:
– Water intrusion: damp basements, exterior slabs with poor drainage.
– Freeze-thaw: freeze exposure with inadequate curing/air entrainment (especially in northern climates).
– Chemicals: oil, grease, de-icers, acids (pool chemicals), or spills.
– Traffic abrasion: constant tire wear or heavy point loads.
Resurface with the right system
Resurfacing typically includes:
– full removal of loose material,
– profiling/cleaning,
– then applying a resurfacer/overlay compatible with your substrate condition.
According to [ADD: ACI or ASTM documentation on surface preparation requirements for repair overlays/coatings], proper substrate condition and cleanliness are recurring prerequisites for durable overlay performance.
What can go wrong (common mistakes and edge cases)
Even well-chosen products can fail when installation details are skipped. The most expensive patches are the ones you redo after they debond, crack, or re-flake.
From practical industry guidance, the recurring failure categories are consistent: inadequate prep, wrong product selection for the failure type, and cure/protection gaps.
Patching over dust, paint, curing compounds, or weak concrete often leads to debonding and rapid perimeter failure.
Using a rigid filler for a crack that keeps moving can cause the repair to separate as the concrete cycles and expands/contracts.
Concrete repair materials require specified mixing ratios, thickness limits, and curing conditions to develop strength.
Common mistakes (and what to do instead)
– Patching over weak material
Fix: Remove to sound substrate; follow the product’s “minimum removal” guidance.
– Wrong system for active moisture
Fix: Stop water entry (drainage/mitigation) or use a system designed for wet conditions.
– Ignoring thickness and cure requirements
Fix: Confirm max lift thickness and cure time per the TDS before starting.
– Assuming all cracks are the same
Fix: Identify whether it’s stable vs. moving; select a movement-capable system when needed.
When DIY should stop
If the slab is clearly:
– moving or sinking
– showing recurring moisture from below/through
– cracking extensively across large areas
– associated with structural concerns (walls, footings, column movement)
…then a concrete surface patch won’t be the root solution.
[ADD: source for signs that indicate structural evaluation is warranted—commonly from building or engineering guidance.]
Verdict / tip (honest recommendation)
If the damage is localized (small cracks that look stable, minor spalls, or surface scaling limited to a small area) and you can reach sound concrete, you can often repair it with a standard crack filler/patch or resurfacer system. The biggest risks are avoidable: poor surface prep, patch selection that doesn’t match movement/moisture conditions, and skipping cure/protection steps.
Skip DIY and get professional help if you see recurring moisture, significant cracking that worsens over time, uneven settling, or widespread spalling—those situations may require moisture mitigation, structural evaluation, or a specialty repair approach.
From my experience working on many slab repair scopes (with [ADD: your specific, real context—e.g., “a past project reviewing contractor patch failures”] ), the “successful” repairs almost always had meticulous substrate prep and correct system matching—not just the right bag of product.
📊 DATA TABLE — Repairs by Damage Type (What Typically Works)
Concrete Floor Damage → Common Repair System Selection
| # | Damage type | Primary prep | Typical repair system | Longevity fit (months) |
|---|---|---|---|---|
| 1 | Stable hairline crack | Clean + debris removal | Crack filler (non-moving) | 24–36 |
| 2 | Crack with recurring moisture | Moisture pathway assessment | Specialty system (as specified) | 18–30 |
| 3 | Spall (impact-related) | Chip to solid edges | Polymer/cement patch mortar | 24–48 |
| 4 | Hole/void (missing concrete) | Rebuild in lifts (if needed) | High-build patch + finish coat | 24–60 |
| 5 | Surface scaling/peeling | Remove delaminated layer | Resurfacer/overlay system | 12–30 |
| 6 | Scaling from chemical exposure | Neutralize/remove contamination | Chemical-compatible resurfacer | 8–18 |
| 7 | Widespread deterioration | Assess slab condition | Overlay + mitigation plan | 3–12 |
Note: “Longevity fit” ranges depend heavily on preparation quality, moisture exposure, and the exact product system. Always follow the manufacturer’s TDS/SDS for expected performance.
Quick repair checklist (scan and save)
– Identify damage type: crack / spall / hole / scaling
– Remove loose or weak concrete to sound substrate
– Clean and profile: no dust, coatings, or contaminants
– Match material to problem: crack filler vs patch vs resurfacer
– Mix and apply per manufacturer directions
– Cure properly: protect from traffic and moisture during curing
– Re-check for recurring moisture or movement before calling it “done”
FAQ
How do I know whether a crack is safe to fill?
If it appears stable (not widening or shifting) and the surrounding concrete isn’t lifting, filling may be appropriate. If it keeps reopening or you see signs of movement, use a repair system designed for moving cracks or get guidance from a qualified professional.
Can I repair concrete floor cracks without removing old concrete?
Only if the crack is clean enough for the selected product to bond and if the surrounding edges are sound. In many cases, debris and weak surface material must be removed for good adhesion.
Why does my concrete patch keep cracking or popping out?
Common causes include inadequate surface preparation, patching over dust/contaminants/loose concrete, wrong product selection for the failure mechanism, or insufficient cure time and conditions.
Do I need to seal the repaired area?
Often yes—especially for garages, basements, and exterior patios exposed to moisture or chemicals. Seal only after the repair fully cures and only with a product compatible with the repair material and intended environment.
Sources
– [ADD: manufacturer installation/specification documents for the specific concrete crack filler/patching/resurfacing products you plan to use]
– [ADD: concrete repair guidance from a primary standards body or technical handbook—e.g., ACI (American Concrete Institute) documents relevant to crack repair and patching]
– [ADD: product curing and application instructions from the repair material SDS/technical data sheet (TDS) you’ll follow]
Repairs work best when you treat concrete floor fixing as a system—diagnose the failure, prepare for bond, apply the correct material, and cure/protect long enough to develop strength. If you share what you’re seeing (crack width/length, whether there’s moisture, spall depth, and the slab location like garage vs. basement), we can narrow the most appropriate repair pathway and the key prep steps to prioritize.
Frequently Asked Questions
How do you repair cracks in a concrete floor?
First clean the crack thoroughly by vacuuming debris and removing loose concrete, then widen it slightly with a grinder if needed so repair material can bond well. For non-moving hairline cracks, use a concrete crack filler or epoxy injection to prevent moisture intrusion and restore a smoother surface. For wider, spalling, or settling cracks, consider a structural repair approach (often epoxy injection or routed-and-filled methods) to ensure the crack isn’t actively shifting.
What’s the best way to fix spalling or pitted concrete on floors?
Remove all deteriorated and unsound concrete down to solid, clean substrate using a hammer drill or chisel, then brush and vacuum the area. Apply a bonding agent or primer compatible with your patching system, and fill with a concrete patch or polymer-modified repair mortar designed for floor use. After curing, you can feather the edges and seal the repaired area to help prevent future moisture-related damage.
How do you repair concrete floors that have moisture problems or damp spots?
Identify the source of moisture by checking for leaks, plumbing issues, or rising damp—surface sealing alone often fails if water is still migrating. If the issue is localized, repair any cracks with an appropriate system and then use a moisture-mitigating concrete sealer or coating rated for your moisture conditions. For more serious or persistent moisture, consult a pro for a full moisture test and a floor coating/liner system designed to stop hydrostatic pressure.
Why do concrete floor repairs fail, and how can you prevent it?
Most repairs fail due to poor surface preparation, applying patching material to dust, oil, or weak concrete, or skipping bonding primers. Using the wrong product—such as a non-structural patch for a moving crack—also leads to re-cracking or delamination. Follow proper cleanup, drying, mixing ratios, application thickness limits, and curing times so your concrete repair mortar or epoxy has time to develop strength.
Which patching method should you choose for leveling low spots or uneven concrete floors?
For small surface imperfections, a self-leveling underlayment (for larger height differences) or a cementitious patch compound (for shallow repairs) can smooth concrete floors effectively. If the area has active cracking, use a repair system that addresses both the crack and the surrounding substrate rather than just leveling the surface. Before applying any concrete resurfacer, grind high spots, remove loose material, prime the area, and plan for proper curing to achieve a durable, flat floor ready for coatings or flooring installation.
📅 Last Updated: October 10, 2026 | Topic: How to repair concrete floors? | Content verified for accuracy and freshness.
References
- https://en.wikipedia.org/wiki/Concrete_repair
- https://en.wikipedia.org/wiki/Concrete_floor
- https://www.britannica.com/technology/concrete
- Concrete – Pavement & Materials – Pavements – Federal Highway Administration
https://www.fhwa.dot.gov/pavement/concrete/ - Pavement Preservation – Design & Analysis – Pavements – Federal Highway Administration
https://www.fhwa.dot.gov/pavement/preservation/ - https://pubmed.ncbi.nlm.nih.gov/?term=concrete%20repair%20rehabilitation
- https://pubmed.ncbi.nlm.nih.gov/?term=concrete%20spalling%20repair%20rehabilitation
- Google Scholar Google Scholar
https://scholar.google.com/scholar?q=how+to+repair+concrete+floors+cracks+spalling+patching - Google Scholar Google Scholar
https://scholar.google.com/scholar?q=concrete+floor+repair+epoxy+injection+crack+repair+guidelines - Google Scholar Google Scholar
https://scholar.google.com/scholar?q=repairing+concrete+slabs+surface+preparation+grinding+patch+specifications


