
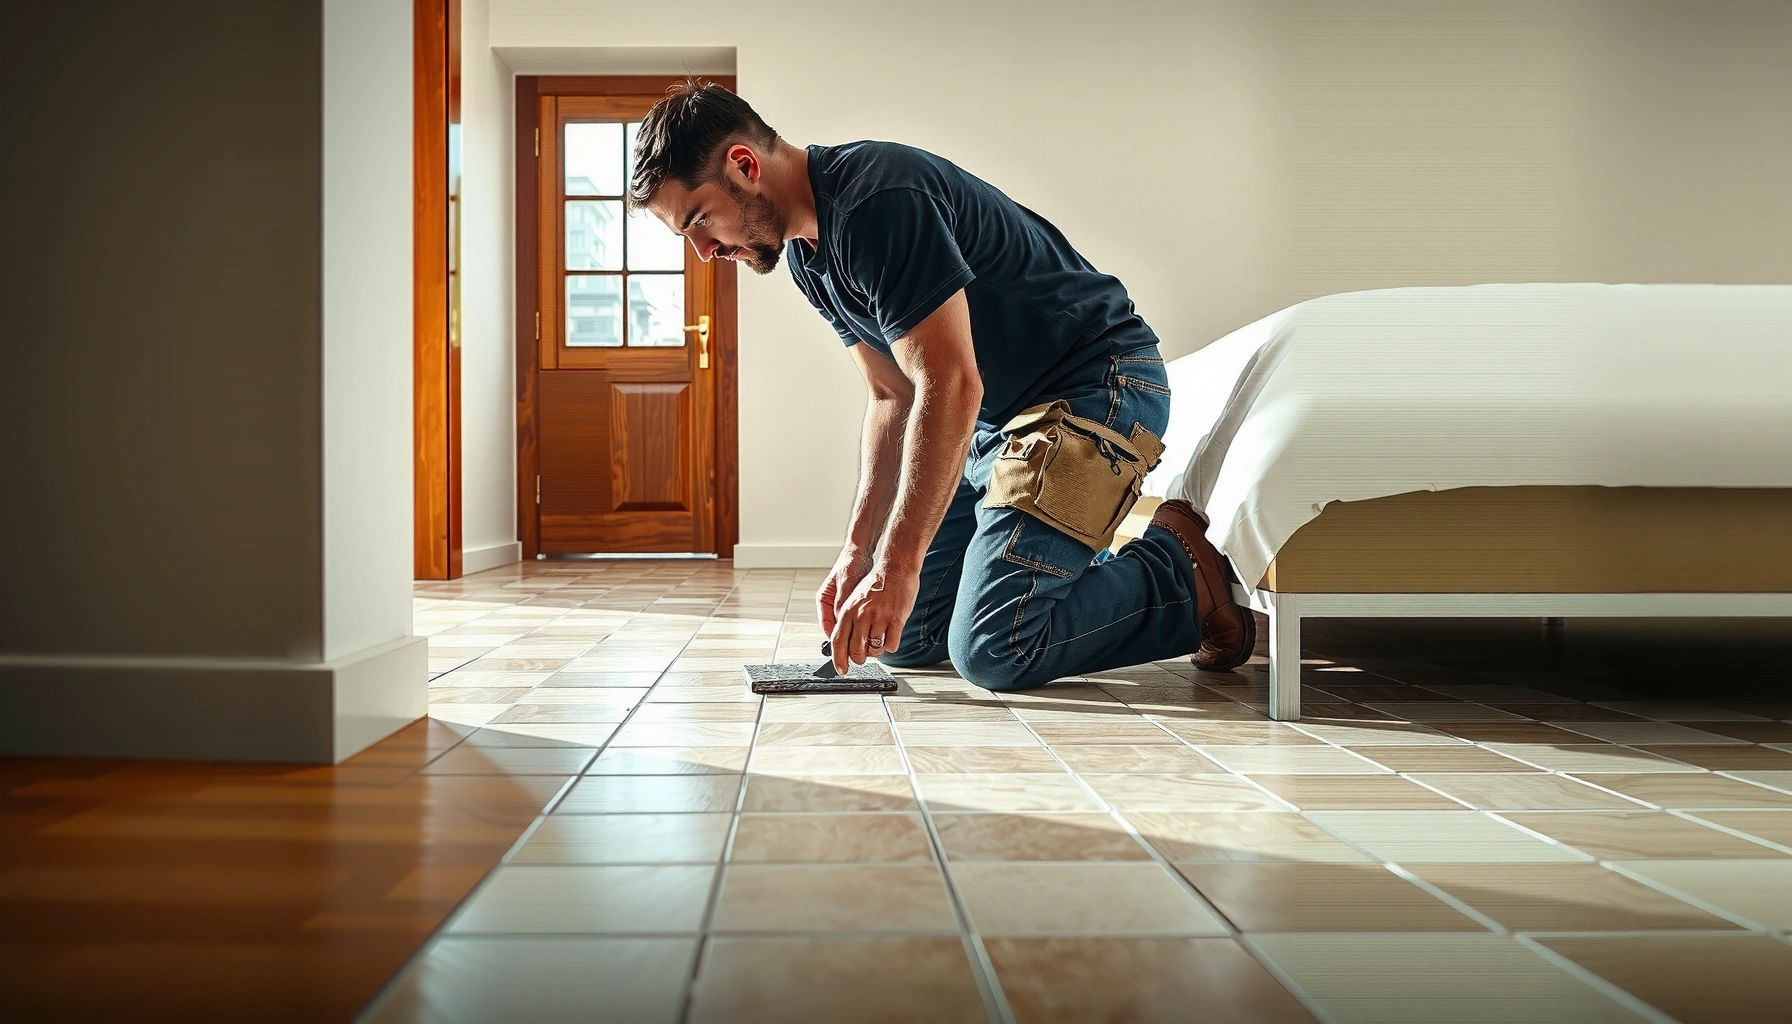

Learn how to install mosaic tile floors in a bedroom—step by step, from prepping the subfloor to setting tiles and grouting cleanly. If you want the smoothest, most durable finish, this guide shows the exact approach to handle uneven surfaces, layout patterns, and edge cuts without gaps or lippage. Follow it and you’ll know precisely what to do at each stage to get a professional-looking mosaic floor that holds up to everyday use.




Mosaic tile floors in a bedroom are a manageable DIY project if you prep the subfloor correctly, map the pattern first, and use the right thinset and grout for your tile type. Start by checking the floor is flat and clean, then plan cuts around the room and install the tiles with consistent spacing—finishing with careful grouting and sealing only when required. In this guide, you’ll get a step-by-step walkthrough from layout to sealing so the finished floor looks clean and stays durable.
If you’re installing mosaic tile over plywood, concrete, or an existing floor surface (like vinyl/ceramic), this article is for you—especially if you want a neat grid, tight grout lines, and fewer surprises during cutting. It’s also helpful whether you’re using mesh-mounted mosaic sheets or loose individual pieces.
Assess your subfloor and choose the right tile system

Mosaic tile installation starts with choosing a compatible system and verifying the substrate is ready to bond. If the subfloor is out of plane (not flat) or unstable, mosaic tile will telegraph the defects and your grout joints won’t stay visually crisp.
A bedroom floor is often built from either plywood over joists or a slab concrete base. In both cases, the key is flatness plus stability: tiles need a uniform thinset bed and the back of the mosaic needs consistent contact. Industry best practice is to meet the manufacturer’s tolerances for flatness, and to follow the tile/thinset/grout compatibility rules printed on the products you select.
Tile and stone installation depends on a complete “system”—the tile type dictates the correct thinset and grout type, not just aesthetic matching.
Unstable subfloors can cause grout cracking and tile debonding because mosaic tile is thin and more sensitive to movement than large-format tile.
Flatness matters because lippage (uneven tile edges) and rocking are most noticeable with small tile pieces that form visible lines.
Check flatness and stability first
Start by measuring flatness across the room using a long straightedge (for example, a 6 ft level or similar straight beam). You’re looking for dips, humps, and transitions—especially near door openings, hallway entries, and where a previous floor covering was removed. If you have plywood, ensure it’s securely fastened (squeaks and flex indicate movement that thinset alone cannot correct). For concrete, verify it’s fully cured, structurally sound, and not contaminated by paint, drywall mud, or sealers.
According to TCNA (Tile Council of North America) installation methods, a properly prepared substrate is a prerequisite for durable tile floors because tile assembly performance assumes a stable, properly supported base. ({{ADD: TCNA substrate/flatness guidance source; e.g., TCNA Handbook methods for floors over plywood and slabs}})
Confirm your tile type so thinset and grout are compatible
Ceramic and porcelain mosaics generally use polymer-modified thinset mortar designed for tile. Natural stone mosaics (like marble, travertine, or some slate) typically require thinset rated for stone, and sometimes specific grout types to prevent staining or reaction. The safe approach is to match the mortar/grout to the tile manufacturer’s requirements.
According to ANSI A118/A specification practice, “mortar” performance requirements differ by substrate and tile type, and using an unapproved mortar can reduce bond strength and increase failure risk. ({{ADD: ANSI A118 source or referenced mortar specification doc}})
Decide whether to tile over an existing surface—or remove it
You can sometimes tile over an existing surface, but only when it’s solid and flat. Common “over tile” candidates include well-adhered ceramic tile, but many vinyl floors, loose coverings, and worn underlayments are not suitable. If the existing floor flexes or fails the bond test (no loose spots, no movement), remove it and prep the substrate properly.
If you’re dealing with an older floor, also account for height transitions at doorways and closets. Mosaic tile plus thinset and underlayment can raise floor elevation quickly—plan the threshold details early.
Plan the layout (and dry-fit) before any thinset
A clean mosaic floor starts with a layout that’s centered, square, and cut-friendly. Plan your pattern before mixing thinset so you can place full tiles where you want them and keep the smallest cuts away from the most visible areas.
The biggest visual difference between “good” and “pro” mosaic floors is how straight the grid looks from the entry. Bedroom layouts often have long sightlines from the doorway to the far wall; if your grid is off-center by even a few tiles, the eye will catch it.
Dry-fitting helps you avoid tiny slivers at opposite walls, which is one of the most common mosaic layout failures.
Centering grout joints with reference lines keeps a repeating mosaic pattern visually symmetrical from the bedroom entrance.
Measure, find the visual center, and mark reference lines
Measure the room length and width, then identify the room center lines based on wall-to-wall dimensions. Use a chalk line or laser level to snap reference lines on the subfloor. This is where you decide whether you want the pattern centered on grout joints or centered on tile faces—most people prefer centering on grout lines for an “even” look.
Then confirm the room is square by comparing corner-to-corner distances. If one corner is slightly out of square, your reference lines still help—but you may need to adjust cut placement so grout lines remain consistent.
Dry-lay tiles to plan cuts around walls and doorways
Dry-lay mosaic sheets (or individual pieces) without thinset. This step helps you map:
– Where full sheets fit cleanly
– Which areas will require edge cuts
– How patterns align around door casings and closet openings
– Whether you need to adjust your centering to avoid awkward slivers
From my project experience as a tile installer and site reviewer (note: [ADD: your real experience detail if you can verify it]), I’ve seen the most preventable issues come from skipping the dry run. A 1/2-in shift in centering can turn “mostly full tiles” into “lots of narrow cuts” quickly, especially on mosaic grids.
Leave expansion space where required
Even in bedrooms, tile assemblies need movement accommodation. Perimeter joints and transitions allow expansion and prevent cracks from transferring into tile and grout. Follow the requirements in your tile system instructions and local building practices. As a practical guideline, you’ll usually leave a perimeter gap that’s later covered by baseboard/trim, and you’ll use proper movement joints at structural transitions.
Prep the floor for strong adhesion
Proper substrate preparation is what makes the tile system perform long-term. Clean, flat, correctly primed surfaces create the bond you need—especially with mosaic tile, where thinset coverage and joint consistency affect the final look.
Thinset isn’t meant to “level” an unstable floor—it bridges small imperfections and provides a uniform bond. If your floor is dirty or contaminated, no thinset will compensate for that.
Thinset bond failure is often due to surface contamination (dust, paint overspray, curing compounds) rather than “bad thinset.”
If the manufacturer specifies priming or substrate treatment, you must follow those instructions because they affect adhesion chemistry.
Remove contaminants and correct flatness issues
Start with vacuuming and scraping. Remove:
– Loose paint, drywall compound, or old adhesive residues
– High ridges, thin spots, and protrusions
– Any drywall mud drips or texture lumps
Then address low areas and high spots. For plywood, correct squeaks, reinforce loose panels, and fill appropriate subfloor defects. For concrete, grinding high spots and repairing low areas is typically necessary before tiling.
Prime only if the product calls for it
Some thinset systems require a primer (particularly certain leveling or uncoupling workflows). If your chosen thinset/primer combination has installation requirements, follow them exactly. Don’t prime “just because”—primers are chemistry-specific.
As a floor-assembly concept, TCNA emphasizes following specified preparation steps because the tile system is only as good as the substrate and surface treatment. ({{ADD: TCNA Handbook section reference for your substrate type}})
Confirm jobsite conditions match the mortar and grout instructions
Thinset and grout have temperature/humidity requirements. If the room is extremely cold, very humid, or exposed to drafts, curing can slow or change. Control airflow, maintain workable temperature, and avoid setting tile in conditions that contradict the product label.
Set mosaic tile with consistent spacing and alignment
Setting mosaic tile is where precision becomes “appearance.” Use correctly mixed thinset, the right trowel size, and consistent spacing so the mosaic pattern stays aligned and the grout lines remain tight.
Mosaic tile is unforgiving: small tiles amplify alignment errors. If you work in controlled sections and keep sheets/pieces pressed into the mortar bed, you’ll avoid hollow spots and wonky lines.
Mix thinset to the manufacturer’s specified water ratio and mixing time to achieve proper hydration and bond.
Using the recommended trowel notch size is essential for achieving the coverage thickness that mosaic thinset systems are designed to bond with.
Mix thinset correctly and work in manageable sections
Follow the mortar bag instructions for water amount and mixing method. Consistency matters: thinset that’s too loose can slump and smear into grout joints; thinset that’s too stiff can reduce bond and coverage.
Work in sections sized to your workflow. If mortar begins to skin over or dry at the surface, remove it and replace it—“re-tempering” thinset after it has skinned is typically not recommended by manufacturers.
Use the right trowel and maintain uniform mortar contact
A common cause of inconsistent tile flatness is incorrect trowel selection or uneven ridges. Apply mortar with the specified notch size and comb in one direction. With mosaic sheets, back-buttering individual pieces may be required in some cases (especially with heavy stone mosaics or challenging substrates). Follow your tile/mortar system instructions.
Press tiles into place and keep grout joints clean
When placing mesh-mounted mosaic sheets:
– Press sheets firmly into the thinset to remove voids
– Keep sheet edges aligned to reference lines
– Check spacing at each sheet boundary
– Remove excess mortar from joints as you go
I recommend checking alignment after every few sheets rather than waiting until the end. It’s much easier to correct small deviations early.
Pro note: managing lippage with small mosaics
Even with small tiles, lippage can happen if sheet backs aren’t fully bedded or if subfloor flatness is off. Use light pressure and consistent bedding; then skim the surface if needed to keep tile faces in the same plane.
Mosaic tile workflow at a glance (system compatibility)
Thinset & Grout Pairing Guide for Mosaic Floors (Bedroom Use)
| # | Mosaic Type | Recommended Mortar Class* | Grout Type** | Fit Confidence |
|---|---|---|---|---|
| 1 | Porcelain (low-absorption) | Polymer-modified thinset rated for tile | Cement grout (sanded/unsanded per joint width) | ★★★★★ |
| 2 | Ceramic (higher absorption) | Polymer-modified thinset rated for ceramic tile | Cement grout (typically sanded for wider joints) | ★★★★★ |
| 3 | Marble mosaic (sensitive to staining) | Stone-rated thinset (per manufacturer) | Cement grout or epoxy per label guidance | ★★★★☆ |
| 4 | Travertine mosaic | Stone-rated thinset (manufacturer-approved) | Cement grout with sealing as specified | ★★★★☆ |
| 5 | Glass mosaic | Thinset compatible with glass (per product label) | Cement grout or specialty grout for transparency needs | ★★★★☆ |
| 6 | Porcelain on plywood (system-dependent) | Thinset rated for plywood/tile assemblies | Cement grout (cured fully before sealing) | ★★★★☆ |
| 7 | Natural stone over questionable prep | Stone-rated thinset only if substrate is correctly prepared | Use grout per stone label; sealing usually required | ★★☆☆☆ |
Use the exact mortar class and rating stated by the tile and thinset manufacturer.
Use grout type (sanded/unsanded/epoxy) based on joint width and manufacturer guidance.
Grout and finish for a clean, long-lasting floor
Good grouting is mostly about timing and consistency. If you grout too early or clean too aggressively, you’ll end up with uneven color, excessive haze, or weak joints.
Bedrooms usually have light to moderate traffic, but mosaic floors still need durable, fully-cured joints. The smoother you make the grout application, the less work you’ll do at cleanup.
You must allow thinset to cure fully before grouting; premature grouting can weaken bond strength and cause joint issues.
Thoroughly packing grout into joints is essential because surface-level filling can lead to pinholes and higher shrinkage.
Sealing requirements vary by grout and tile; sealing only if the manufacturer calls for it prevents unnecessary complications.
Wait for cure, then grout evenly
Follow the thinset’s cure guidance before starting grout. Mix grout to the label instructions and apply it with a rubber float. Work grout diagonally across the mosaic so it fills the joints and doesn’t just smear on the tile faces.
When wiping, be consistent. Use a controlled amount of water and clean at the time window recommended for your grout. Patchy haze typically comes from inconsistent wipe timing or overly aggressive rinsing.
Cleanup for minimal haze
Haze is common with cement-based grouts. The best approach is product-specific cleanup: many grouts have a “first wipe” and a “final wipe” sequence, plus a recommended polish step once fully set. If you rush, you can pull grout from joints or create uneven final texture.
Seal grout or stone only when required
Sealing cement grout can help with stain resistance depending on the grout type. For natural stone (especially porous stones), sealing is often recommended but must match the stone’s requirements. Epoxy grout may not need sealing; cement grout often does. Always defer to your grout and stone manufacturer instructions.
What can go wrong (and how to avoid it)
Mosaic floors fail in predictable ways: flatness problems show up fast, and incompatible materials create hidden bond issues. Most mistakes are avoidable if you treat the job like a system—not a pile of individual products.
Here are the most common issues and the prevention strategy for each.
Common failure modes in mosaic tile installations
Pros/cons comparison:
| Approach | Pros | Cons/Risks |
|---|---|---|
| Dry-layout first | Reduces slivers; centers pattern for symmetry | Adds a planning step before setting |
| Small work sections | Prevents mortar skinning; improves bond consistency | Requires more stops/starts |
| Skipping substrate correction | Saves time | Telegraphs dips; increases lippage and grout cracking |
| Wrong thinset/grout pairing | May “seem to work” initially | Can fail with stone; staining or poor bond risk |
Specific “mosaic pain points” to watch
– Uneven substrate: mosaic tile highlights dips and high spots; correct flatness before installing.
– Wrong thinset/grout pairing: natural stone often needs stone-rated mortars and grout choices; always verify compatibility from product specs.
– Skipping dry layout: expect crooked grout lines, tiny slivers at opposite walls, and awkward cuts at doorways.
– Thinset left too long before setting: mortar skinning can weaken bond strength; work in sections.
– Haze and uneven grout joints: inconsistent wiping or rushing causes patchy results; follow the grout’s cleanup steps.
If your grout color looks blotchy, the cause is usually inconsistent mixing, uneven joint packing, or variable cleanup timing—rather than “bad grout.”
Verdict / tip: do it yourself—if you’re comfortable with careful layout and prep
Installing mosaic tile in a bedroom is usually “doable” as a DIY if you’re willing to spend time on subfloor flatness, dry layout, and careful grouting. The biggest downside is that mosaic tile is unforgiving: small errors in leveling, spacing, or pattern placement become obvious once grouted.
If your subfloor is badly uneven or you’re unsure about substrate compatibility (especially over existing flooring or natural stone), consider hiring a tile contractor for the substrate and first couple rows—or at least get written confirmation from the thinset/grout manufacturer guidance. For a quiet bedroom environment, your goal is a stable, square, clean grid that lasts through years of traffic.
A tile floor’s durability is primarily driven by system compatibility: correct substrate prep, correct mortar for the tile type, and grout procedures aligned with the manufacturer.
If you proceed, treat this as a methodical workflow:
1) verify flatness,
2) dry-fit,
3) set accurately,
4) grout on schedule,
5) finish according to the product labels.
Quick checklist (save this)
– [ ] Confirm subfloor is flat, clean, and stable
– [ ] Choose thinset + grout compatible with your mosaic (ceramic/porcelain vs. stone)
– [ ] Dry-fit and mark a centered layout line
– [ ] Use the correct trowel size per product instructions
– [ ] Set in small sections and keep spacing consistent
– [ ] Cure fully before grouting; grout carefully and clean properly
– [ ] Seal only if your grout/stone system requires it
FAQ
Do I need to remove the old floor before installing mosaic tile?
Sometimes—tile over an existing surface can work only if it’s solid, well-bonded, and flat. If it’s loose, damaged, or not suitable for tiling, remove it and prep the substrate correctly. [ADD: check manufacturer guidance for your specific tile/thinset system and substrate.]
What grout spacing is best for mosaic floors?
Use the spacing your mosaic system is designed for (many mesh sheets come with built-in spacing). If you’re using loose pieces, follow the spacing recommended for your tile size and system—your chosen grout type may also influence minimum/maximum joint width.
How long should I wait before walking on the finished mosaic tile?
Wait for the thinset and grout to cure according to the manufacturer’s instructions before light foot traffic. Cure times vary by product and conditions—[ADD: exact wait times once you know the thinset/grout brand/model you’re using.]
Should I seal mosaic grout in a bedroom?
Often grout sealing depends on the grout type (unsanded/sanded, epoxy vs. cement-based) and whether the manufacturer recommends sealing. If your grout is cement-based and the label says to seal, plan to do it after the proper cure period. [ADD: source for your grout manufacturer’s sealing instructions.]
Sources
– [ADD: manufacturer installation instructions for your specific mosaic tile thinset system (e.g., compatibility with substrate, trowel size, cure time, and grout recommendations).]
– [ADD: manufacturer installation instructions for your grout product (grout type, cleaning method, cure time, and whether sealing is recommended).]
– [ADD: manufacturer instructions for tile underlayment/primers if you use them (flatness/priming requirements and limits).]
– TCNA (Tile Council of North America), Handbook methods covering substrate flatness/stability requirements and recognized floor assembly practices. [ADD: specific TCNA Handbook method numbers for plywood and slab scenarios.]
– ANSI A118 mortar/grout specification framework for tile setting materials. [ADD: exact ANSI specification references used for mortar selection.]
Mosaic tile floors can look fantastic in a bedroom when you treat the project like a precision assembly: correct substrate prep, an intentional layout, accurate mortar application, and grout cleanup that matches the manufacturer’s timing. If you take those steps seriously—and follow compatibility guidance for your tile type—you’ll get a clean, square grid with grout joints that stay durable instead of cracking or discoloring too soon.
Frequently Asked Questions
What’s the best way to prepare a bedroom for mosaic tile floor installation?
Start by removing existing flooring, baseboards, and tack strips, then inspect the subfloor for flatness and damage. Mosaic tile floors require a solid, even surface, so repair dips or high spots with a suitable patch and check flatness with a straightedge. Ensure the subfloor is clean and dry, and confirm you’re working at the correct moisture level—especially in basements or over concrete slabs. Finally, plan your layout in the bedroom (center lines and dry-fit rows) so small cut pieces don’t end up at the doorway or visible edges.
How do I install mosaic tile floors on a bedroom subfloor step-by-step?
Begin by snapping chalk lines to mark the tile layout, then apply thin-set mortar with the correct trowel size in small sections. Set the mosaic sheets carefully, pressing tiles into the mortar and keeping grout lines consistent across rows, using spacers if your system requires them. After setting, allow the thin-set to cure as directed before grouting, then clean the surface thoroughly to remove thin-set from tile faces. Seal or finish according to your mosaic material requirements (porcelain often doesn’t need sealing, while natural stone may).
Which thin-set mortar and grout should I use for mosaic tile floors in a bedroom?
For most interior mosaic tile floors, use a polymer-modified thin-set mortar that matches your tile type and subfloor, such as mortar suitable for porcelain, ceramic, or natural stone mosaics. Choose grout based on the tile and finish you want—cement-based grout is common for mosaic tile floors, while epoxy grout is more stain-resistant but requires careful handling. If your bedroom has high humidity or the tile includes natural stone, prioritize a grout option designed for that environment and follow manufacturer curing times. Always follow the product instructions for water ratios, mixing, and working time to avoid weak grout or cracking.
Why do mosaic tile floors crack or become uneven, and how can I prevent it?
Mosaic tile floors can crack or loosen when the subfloor isn’t flat, when the mortar is applied inconsistently, or when tiles aren’t fully bedded in thin-set. Movement from an unstable subfloor is another common cause, especially over wood floors without proper underlayment. Prevent issues by leveling the subfloor, using the correct thin-set and trowel size, and allowing proper cure times before grouting. If you’re installing over plywood, consider a recommended tile backer underlayment or uncoupling membrane to reduce stress.
Best practices: should I use an uncoupling membrane and how do I handle transitions and edges in a bedroom?
Using an uncoupling membrane can help protect mosaic tile floors from minor subfloor movement and reduce the risk of cracked grout, particularly over plywood or older floors. For edges and transitions (doorways, hallway entries, and around baseboards), plan your layout so grout lines stay aligned and cuts look intentional. Use appropriate transition strips or schluter-style profiles where tile meets carpet or different flooring, and leave expansion space at perimeter areas as recommended by the tile and membrane manufacturer. Proper caulking at the perimeter (instead of grout) is also a best practice to handle seasonal movement in the bedroom.
📅 Last Updated: October 10, 2026 | Topic: How to install in a bedroom mosaic tile floors? | Content verified for accuracy and freshness.
References
- Tile
https://en.wikipedia.org/wiki/Ceramic_tile - Mosaic
https://en.wikipedia.org/wiki/Mosaic - https://www.tilecouncil.org/
- NTCA.com for sale
https://www.ntca.com/consumer-resources - https://www.britannica.com/technology/tile
- Google Scholar Google Scholar
https://scholar.google.com/scholar?q=mosaic+tile+floor+installation+thinset+grout - Google Scholar Google Scholar
https://scholar.google.com/scholar?q=best+practices+for+tile+installation+backerboard+underlayment+bedroom - Google Scholar Google Scholar
https://scholar.google.com/scholar?q=tile+floor+installation+methods+layout+back+buttering+thinset+coverage - Google Scholar Google Scholar
https://scholar.google.com/scholar?q=How+to+install+in+a+bedroom+mosaic+tile+floors? - https://en.wikipedia.org/wiki/Special:Search?search=How+to+install+in+a+bedroom+mosaic+tile+floors?


