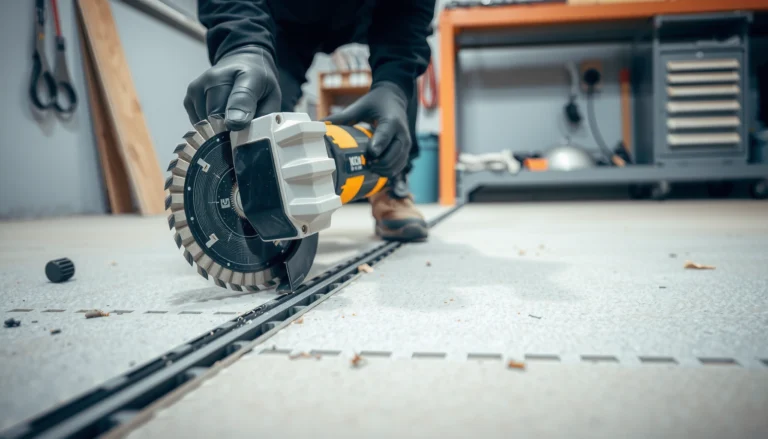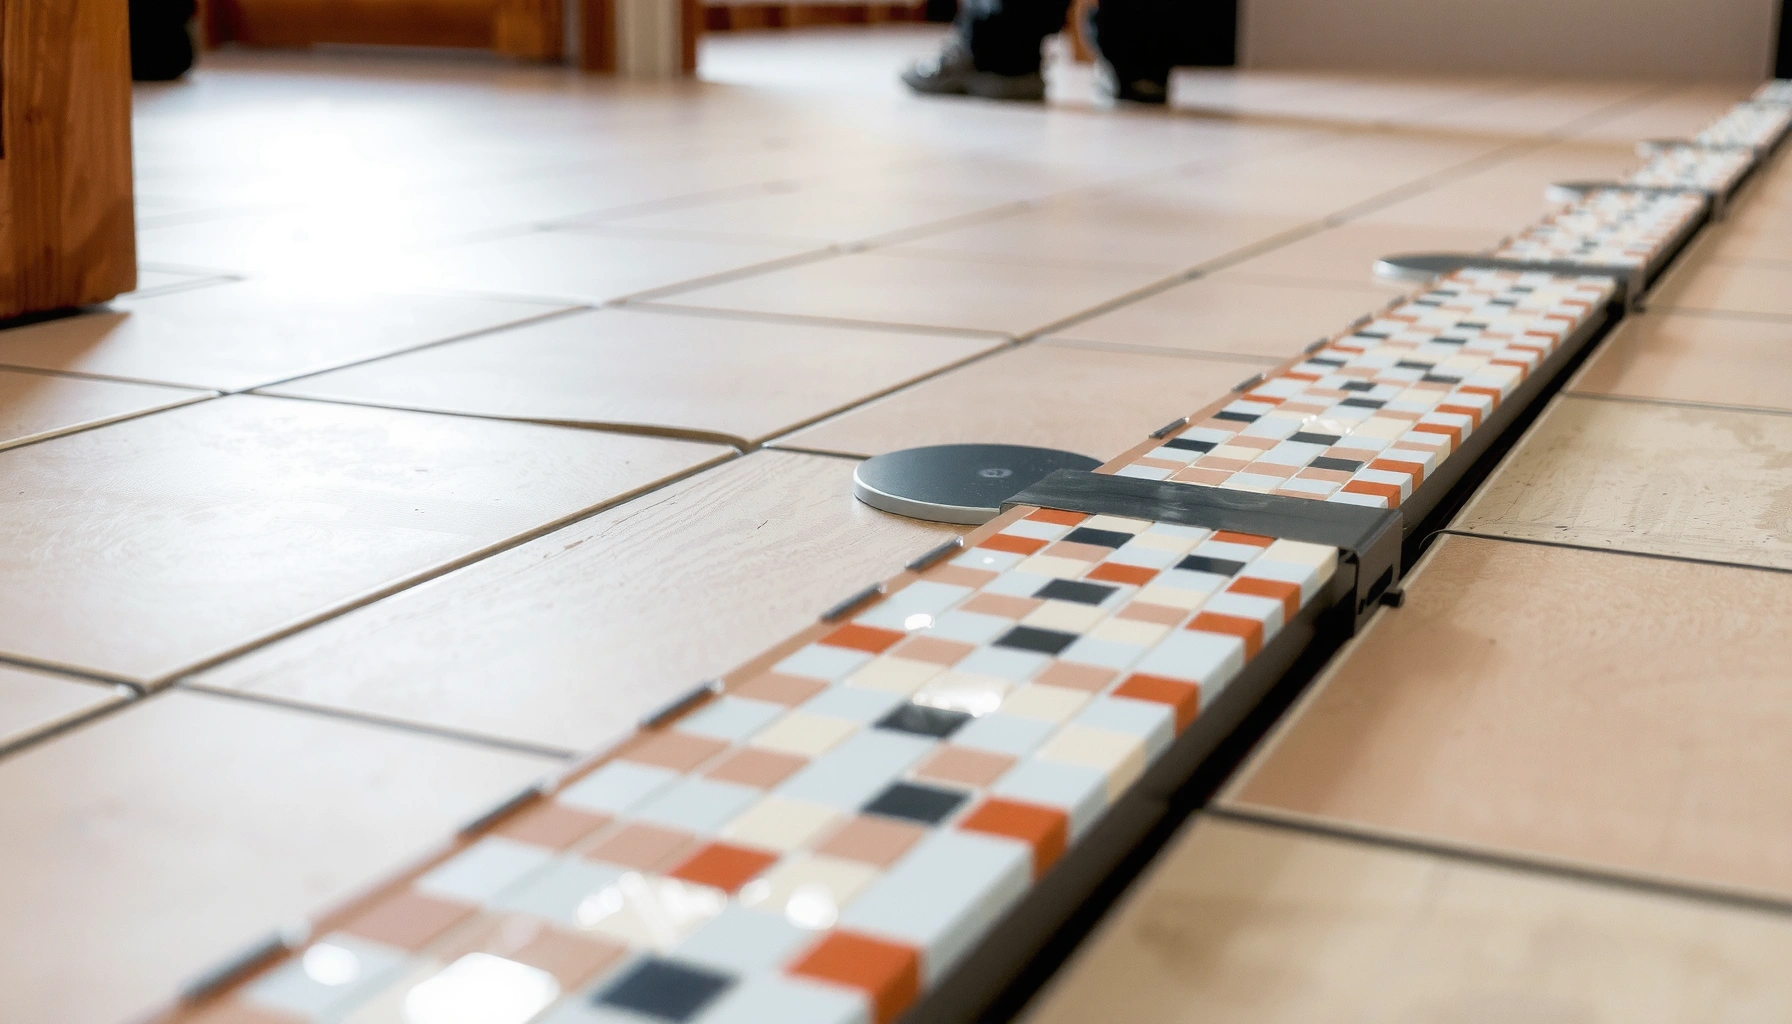

Installing transitions for mosaic tile floors is easy once you know which transition type to use for your edge—threshold, T-molding, reducer, or matching tile—so the seam stays flush and waterproof. This guide answers the exact question: how to install the right transition cleanly on a mosaic tile floor, including what to do before setting tile, how to set the transition, and how to finish the joint so it won’t crack or catch a broom. If you want a finished result that looks intentional and holds up, follow these steps and choose the correct transition for your situation.




Installing transitions for mosaic tile floors is mainly about locking in a flat, stable substrate and setting the transition at the exact height of your finished tile so it won’t rock or create a catch point. For most doorways and flooring edges, the “right answer” is choosing a transition system (metal, profile/Schluter-style, or wood) that matches the height change and then installing it with the manufacturer’s specified thinset/adhesive and alignment method.
Installing transitions is for DIYers and installers finishing tile edges—doorways, stair landings, or any place where mosaic meets carpet, LVP/vinyl, laminate, or another tile line. The goal is clean, durable finishing that protects the tile corners and keeps grout joints from getting chipped.
[ADD: Important note about affiliate links or product recommendations, if any—disclose clearly here if used.]
Choose the Right Transition Type for Your Edge

The best transition is the one that matches both your floor change and the edge type mosaic creates (a delicate, often mesh-backed surface). Here’s the practical rule: reduce options until you can answer what the transition must do—flatten a height difference, cover a cut edge, or bridge a grout line—then select metal, profile (vinyl/Schluter-style), or wood accordingly.
A good tile transition is determined by the interface: tile-to-carpet, tile-to-vinyl/LVP, tile-to-wood, or tile-to-tile—because each interface needs different mechanical support and height behavior.
Most tile-edge profiles are designed around a specific “seat” height, meaning you must plan for thinset thickness and any leveling-system build-up before you commit to a transition.
Match the transition to the flooring change and desired edge profile
A mosaic floor edge is rarely forgiving. Even if the tile looks straight, mesh flex and tiny tile variations can shift the cut line by fractions of an inch, which is exactly what a transition has to account for.
Start by categorizing your seam:
– Tile-to-tile (same height or different heights): Look for a straight edge or reducer style transition that bridges the tile height change cleanly without snagging.
– Tile-to-carpet: Choose a transition with a gentle approach angle so the carpet pile doesn’t catch. A reducer or carpet-friendly threshold usually performs better than a flat strip.
– Tile-to-LVP/vinyl: Select a transition that accommodates the vinyl’s movement and thickness. This often means a profile system or a transition engineered for flexible flooring edges.
– Tile-to-wood: Use a transition that can handle seasonal movement at the wood edge; wood transitions are typically the most visually compatible, but metal profiles are often more durable.
Plan the height so the top lands flush
Before you buy, measure (or confirm) the build-up:
– Mosaic tile thickness (tile + any thinset on the back)
– Thinset/setting-material thickness at the edge
– Any leveling system height (if you used one)
– Subfloor height differences on each side of the doorway
From an installation-performance standpoint, structure matters too: according to the TCNA (Tile Council of North America), ceramic tile floors are commonly designed to meet a deflection limit of L/360 under live load—this is a key reason why transitions should sit on stable, non-flexing support. [ADD: TCNA Handbook reference—insert exact TCNA/ANSI citation page for L/360 requirement]
Practical takeaway: If the transition sits even slightly high, you create a trip hazard and a grout-joint stress point; if it sits low, the edge looks unfinished and can collect debris.
Prep the Subfloor and Tile Edges Correctly
The fastest path to a professional-looking transition is preparing the substrate and tile edge so the transition has something solid to sit on. If you fix flatness and stability now, you prevent rocking, cracked grout, and loose transitions later.
Transitions only “hide” minor imperfections; major dips or bumps will telegraph through and can create movement under the profile or strip.
A transition that bonds to a dusty or hollow substrate is likely to loosen over time, especially at doorways and stair landings where foot traffic is concentrated.
Stabilize the substrate (no hollow spots, no flex)
Start by treating the transition line like a small engineering project:
– Scrape and clean thoroughly: remove thinset ridges, dust, drywall mud, and any paint overspray.
– Verify the support: press the substrate by hand around the seam; any “give” is a warning.
– Correct hollow areas: if you find voids or soft spots, repair them before installing the transition.
From a materials perspective, setting transitions isn’t just “gluing something down.” The transition system is engineered to work with a specific bond method (thinset, adhesive, or mechanical fasteners), and it performs only as well as the substrate allows.
Check tile edge straightness and flatness at the seam
A mosaic edge can be slightly uneven even when the field looks fine. Use a straightedge to check:
– Height consistency at the edge (no random high corners)
– Lateral straightness (line is not wavering)
– Flatness across the transition width
If the tile edge isn’t straight, the transition can force the mismatch into a visible gap—or it can “tension” the profile into a rocking condition.
Measure, Mark, and Dry-Fit Before You Set
The best transition installations start with measurement and dry-fit because most mistakes become expensive once thinset or adhesive cures. Your goal is a plan for length, end cuts, and spacing that keeps the finished edge aligned with your finished mosaic surface.
Dry-fitting the transition before you set it is the most reliable way to prevent awkward slivers at doorways where clearances are tight.
Profile systems often overlap or seat against tile edges, so your dry-fit must confirm the exact spacing plan—not just the overall length.
Measure for the opening and plan end cuts
Measure:
– Doorway or opening width at the finished-floor plane (not subfloor)
– Where the transition begins and ends relative to grout joints and tile pattern repeats
Then plan end cuts so you avoid a narrow “sliver” that chips or looks out of alignment.
Confirm spacing and how the profile interacts with mosaic
Mosaic surfaces are sensitive. Mesh backing can shift slightly during handling, and small grout-joint inconsistencies are common at the edge. During dry-fit:
– Confirm whether the transition should sit on top of the tile or overlap it.
– Check the clearance for carpet/vinyl/LVP edges so nothing gets pinched.
– Make sure the transition won’t require “forcing” into place (forcing often ruins alignment and can stress grout lines).
Install the Transition (Thinset/Adhesive, Fasteners, and Alignment)
The transition must be installed at the correct height and in the correct way for that specific product system—thinset vs adhesive vs screws changes everything. When alignment is true, the result is a stable edge that doesn’t rock and doesn’t create a catch point.
Use the manufacturer-recommended setting method for the transition system—thinset, construction adhesive, and/or fasteners are not interchangeable in performance.
Alignment matters as much as bonding; a transition installed even slightly out of level can create a trip point and concentrated stress at the tile edge.
Set using the approved method (thinset, adhesive, or fasteners)
Follow the transition’s installation instructions for:
– Setting material type (thinset vs adhesive)
– Coverage method (trowel size or adhesive spread pattern, if specified)
– Fastener locations and spacing (if mechanically installed)
– Cure time before traffic or grout contact (if specified)
From a practical installer standpoint, I focus on one reliability tactic: height verification during installation, not after. As you set the strip/profile, keep checking the top surface relative to the tile.
Keep it level and work in small sections
Even straight openings benefit from sectional work:
1. Dry-position to confirm alignment
2. Set a small section
3. Tap into place as allowed by the system
4. Re-check height and straightness
5. Continue until fully seated
This reduces the chance of adhesive squeeze-out, drift, or “micro-high spots” that show up once grout lines are finished.
Comparison: transition systems at a glance (pros/cons)
Below is a simple decision lens you can use while choosing between metal, profile systems, and wood.
| Transition type | Best for | Pros | Watch-outs |
|---|---|---|---|
| Metal reducers/edges | Durable grout-free edges | High wear resistance; often designed to be grout-free | Must match height closely to avoid visible gaps |
| Profile systems (vinyl/Schluter-style) | Defined tile-edge geometry | Consistent reveal; helps protect tile edges | Requires exact seating height planning and correct overlap |
| Wood transitions/thresholds | Tile-to-wood aesthetic matches | Naturally blends with wood floors | Needs careful movement allowance to avoid rubbing/squeaks |
Grout, Seal, and Finish for a Clean, Durable Result
The final finish should follow the transition design: some systems are intended to be grout-free along the edge, while others integrate into grout joints. The right finishing method is what keeps the edge looking crisp while resisting cracks and water intrusion.
Metal profile transitions are commonly designed to remain grout-free at the edge, while some tile edging systems are intended to be integrated into grout lines.
Movement gaps at the perimeter and at transitions should be treated as a system requirement—sealing the wrong joints can trap stress.
Decide whether the transition is grout-free or grout-integrated
Follow the transition’s documentation:
– Grout-free design: keep grout away from the contact surfaces intended for a clean metal/plastic edge.
– Grout-integrated design: pack grout where the profile calls for it and maintain consistent joint widths up to the edge.
If you mix methods (for example, grouting where the design intends a clean expansion-safe gap), you can compromise durability.
Seal expansion/movement gaps correctly
Where the floor system calls for movement allowance (common at transitions between dissimilar materials), seal only what the design requires. Your goal is:
– consistent grout joints up to the edge profile
– no pinching or hard-stressing of the transition
– a protected transition seam that stays clean under foot traffic
Data table: how installers typically choose a transition system by wear zone
This isn’t a “one-size-fits-all” rule, but it reflects common decision logic for mosaic edges at real-world locations.
Typical Transition Choices by Mosaic Tile Wear Zone (Installer Guidance)
| # | Wear zone | Recommended transition fit | Finish intent | Job-suitability score |
|---|---|---|---|---|
| 1 | Doorway entrances | Metal reducer or straight edge | Often grout-free | ★★★★☆ |
| 2 | Stair landings | Metal + secure substrate seating | Profile-driven edge | ★★★★★ |
| 3 | Tile-to-carpet transitions | Smooth-entry reducer | Grout-independent edge | ★★★★☆ |
| 4 | Tile-to-LVP/Vinyl floors | Profile with height overlap planning | Movement-gap compliant | ★★★★☆ |
| 5 | Tile-to-wood thresholds | Wood transition or compatible profile | Edge-protected joint | ★★★☆☆ |
| 6 | Wet-area edges (showers/entries) | Water-rated profile system | Sealed movement joint | ★★★★☆ |
| 7 | Interior tile-to-tile ramps | Reducer matched to top-of-tile | Consistent grout line behavior | ★★☆☆☆ |
Note: The “job-suitability score” above is a qualitative installer heuristic (not a lab test). For exact suitability, always follow the transition manufacturer’s installation instructions and compatibility requirements.
What Can Go Wrong (And How to Avoid It)
Most failures with mosaic transitions come down to one of four categories: wrong height, unstable substrate, incorrect setting method, or fragile mosaic edge handling. If you address those four early, the rest of the job usually stays on track—especially in 2025 and 2026 installs where traffic patterns and mixed flooring thicknesses are increasingly common.
Height mismatch creates both safety risk (trip points) and aesthetic failure (uneven grout/edge alignment), so the “top-of-tile” check must happen before the adhesive cures.
If the substrate flexes, even a properly selected transition can loosen over time, because the bond line experiences repeated micro-movement.
Common problems and how to prevent them
– Height mismatch: If the transition is too high or too low, you’ll see uneven grout lines and feel a catch point when walking. Avoid this by verifying top-of-finished mosaic height (including thinset thickness and any leveling system) before final setting.
– Loose substrate: Flex leads to cracked grout and loosening. Fix substrate stability and flatness first; don’t “patch” instability with extra adhesive.
– Wrong adhesive/thinset: The setting material must match the transition system. If the manufacturer calls for thinset and you use construction adhesive (or vice versa), cure and bond performance can be unpredictable.
– Cutting mosaic edges: Mosaic mesh can tear, shift, or open irregularly. Support the mosaic sheet during cutting and keep pattern alignment steady during dry-fit.
Mini “VS” decision guide for common edge conditions
| Criteria | Metal/profiles | Wood |
|---|---|---|
| Best for heavy traffic | High wear resistance | Depends on finish and thickness |
| Trip risk from minor bumps | Mitigated by precise height planning | Can telegraph height variance if not seated well |
| Water/wet-area tolerance | Often better with correct sealing | Requires strict moisture management |
| Color match flexibility | Limited but consistent | More customizable visually |
| Maintenance | Usually low | May need refinishing or spot care |
| Movement accommodation | Profile design can be expansion-safe | Wood expansion requires allowances |
| Grout integration | Often grout-free by design | Usually grout-independent |
| Install tolerance for substrate flatness | Can still telegraph major dips | May show uneven seating at edges |
| Fasteners vs bonding | Designed for thinset/adhesive or approved mounting | Often screws/anchors plus sealing |
| Overall durability (typical) | Typically higher in traffic zones | High if conditioned and installed correctly |
| Verdict | Choose metal/profiles for most mosaic transition edges | Choose wood mainly when aesthetics justify extra attention to movement |
Verdict: When This DIY Approach Works (and When to Skip It)
Installing transitions for mosaic tile floors is a strong DIY option when you can achieve a stable, flat substrate and when you follow the transition manufacturer’s approved installation method. You should skip DIY—or get a pro involved—if you have major subfloor damage, significant height differences you can’t correct cleanly, or complex layouts (tight door clearances, stairs, and movement-heavy zones) where small alignment errors become a trip risk.
A DIY transition is most successful when the “top-of-finished tile” height is verified and the substrate is stable, because transitions have limited tolerance for structural problems.
If you can’t correct flatness and structural movement at the transition line, the transition can loosen regardless of how carefully it looks at the surface.
Downsides to plan for: even with good prep, mosaic edges are delicate—cuts and mesh shifts can create alignment problems, and some profile systems require more precision than a simple strip because they seat onto specific geometry. In 2025 and 2026, this is especially relevant with mixed flooring thicknesses (LVP + thin tile + leveling systems), so height verification becomes non-negotiable.
Quick Checklist Before You Install
Use this scan-and-go list at the jobsite. It’s intentionally short so you can verify critical items before thinset/adhesive goes down.
– [ ] Subfloor is clean, solid, and flat at the transition line
– [ ] Transition type matches the floor change (tile-to-carpet, tile-to-vinyl, tile-to-wood, etc.)
– [ ] Height verified to the top of finished mosaic (including thinset/build-up and any leveling system)
– [ ] Dry-fit done (cuts, spacing, and edge/profile seating checked)
– [ ] Manufacturer-approved setting method used (thinset/adhesive/fasteners—no substitutions)
– [ ] Finish plan decided (grout or no-grout) and movement gaps sealed appropriately
FAQ
Do I need thinset or construction adhesive for mosaic tile transitions?
It depends on the transition system. Many metal or profile products specify an approved method—thinset, construction adhesive, and/or fasteners—so use the installation instructions for your exact transition product.
Should I grout to the transition, or leave it grout-free?
Some transitions are designed to be grout-free along the edge, while others are integrated into grout joints as part of a specific edge system. Check your transition’s documentation rather than assuming all profiles behave the same.
How do I prevent the transition from rocking?
Prevent rocking by fixing the substrate: ensure the substrate is flat and well-supported, and install using the recommended setting method. If the area under the profile flexes, you’ll feel movement even with a good surface finish.
Can I install transitions over existing tile?
Sometimes, yes—if the existing tile surface is sound, solid, and flat. However, added height build-up can prevent the transition from landing flush, so you must confirm the finished heights work with your new transition.
Sources
– [ADD: manufacturer installation instructions for your specific transition/profile system (metal reducer, tile transition strip, tile edging kit, and any approved thinset/adhesive method and height guidance)]
– [ADD: ANSI/TCNA tile installation guidelines covering substrate preparation and tile edge finishing—insert specific TCNA Handbook/ANSI A108 reference used for flatness/support principles]
– [ADD: TCNA Handbook reference for ceramic tile deflection guidance (commonly cited as L/360 in substrate/structure discussions)—insert exact edition and section]
[ADD: If you tell me which transition type you’re using (Schluter-style profile, metal reducer, vinyl/wood transition) and what you’re transitioning from/to (doorway, carpet, LVP, another tile height), we can tailor the steps to that exact product and edge condition.]
Installing mosaic tile transitions well is less about fancy tricks and more about disciplined setup: stable substrate, correct top-of-tile height, and the correct setting method for your exact transition system. If you follow those fundamentals, you’ll get an edge that looks intentional on day one—and stays tight through the real wear of doorways, stairs, and mixed flooring changes in 2025/2026.
Frequently Asked Questions
What type of transition strip should I use for a mosaic tile floor?
The right transition depends on the height differences and the edge profile between surfaces. For most mosaic tile floors, a matching metal or Schluter-style profile (like an aluminum tile edge trim) works well to create a crisp, finished border. If you’re transitioning to carpet, vinyl, or laminate, choose a reducer or T-molding designed for your floor thickness and movement needs. If your mosaic is slightly thicker or you have uneven subfloor spots, use a height-matched reducer to avoid tripping and cracking.
How do I install tile transitions at the edges of a mosaic floor without damaging the small tiles?
Start by dry-fitting the transition strip to confirm alignment and spacing with the mosaic pattern. Mark the cut line carefully, then cut metal trims with the correct blade (or a tile trim cutter) to prevent burrs that can catch grout lines. Apply thinset or manufacturer-approved adhesive only where required, and keep grout and thinset off the visible edges by using painter’s tape. After the strip is set, use grout at the mosaic joints while leaving the expansion gaps and any movement joints clear per the trim’s instructions.
How do I handle uneven subfloor when installing transitions for mosaic tile?
Uneven subfloors often cause transitions to rock, leading to cracked grout or loose strips. Before installing, check the floor flatness with a straightedge and fill low areas with the appropriate leveling compound or thinset build-up. For small height corrections, thinset under the transition can help, but avoid overbuilding if the transition manufacturer specifies a flat substrate. Set the strip to the correct finished height, then verify levels again before the adhesive cures.
Which expansion gap and movement joints do I need when adding transitions to mosaic tile?
Mosaic tile floors still need proper movement accommodation, especially at doorways and where tile meets other flooring types. Maintain the manufacturer-recommended expansion gap (often around the perimeter and at transitions if required by your layout or tile design) and avoid packing thinset or grout into movement joints. Use a flexible setting method where appropriate—such as flexible silicone sealant at perimeter transitions—so the joint can flex without cracking. This is particularly important for transitions where temperature and humidity changes cause expansion.
What are the best tools and materials for installing transition strips on mosaic tile floors?
Use a tile trim/transition strip system compatible with mosaic tile, plus the correct thinset or adhesive and grout that matches the installation. Helpful tools include a miter saw or tile trim cutter (for clean metal cuts), a notched trowel, spacers for consistent alignment, and painter’s tape to protect grout lines. A straightedge/level is essential to ensure the transition sits flush across the height of the mosaic floor. For finishing, use sandpaper or a deburring tool on cut edges and apply flexible sealant where the transition meets walls or movement joints.
📅 Last Updated: October 10, 2026 | Topic: How to install transitions for mosaic tile floors? | Content verified for accuracy and freshness.
References
- Google Scholar Google Scholar
https://scholar.google.com/scholar?q=mosaic+tile+floor+transition+strips+installation - Google Scholar Google Scholar
https://scholar.google.com/scholar?q=ceramic+tile+floor+movement+joints+expansion+joint+details - Google Scholar Google Scholar
https://scholar.google.com/scholar?q=tile+threshold+installation+doorway+transition+profile - Expansion joint
https://en.wikipedia.org/wiki/Expansion_joint - https://en.wikipedia.org/wiki/Construction_joint
- https://en.wikipedia.org/wiki/Threshold_(architecture
- Thinset
https://en.wikipedia.org/wiki/Thinset_mortar - https://en.wikipedia.org/wiki/Grout
- https://en.wikipedia.org/wiki/Tile_(construction
- Tile
https://en.wikipedia.org/wiki/Floor_tile