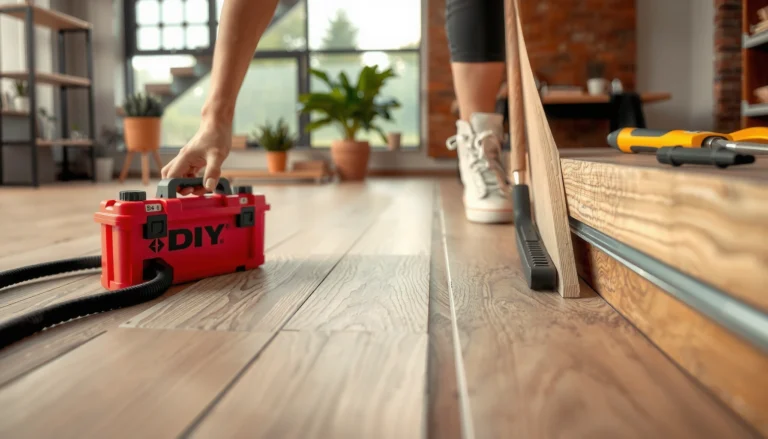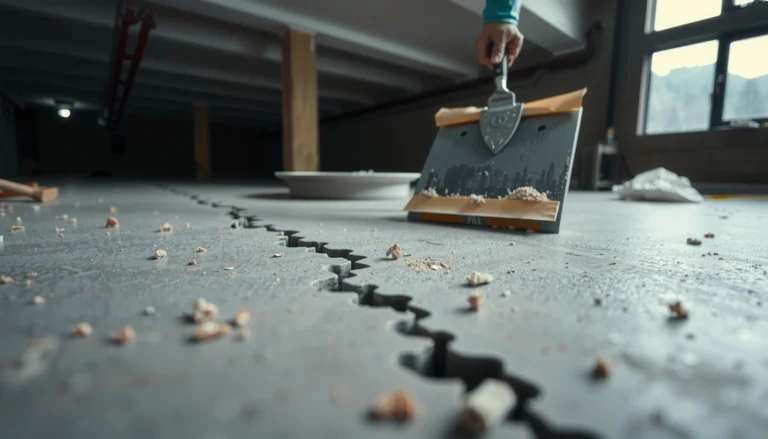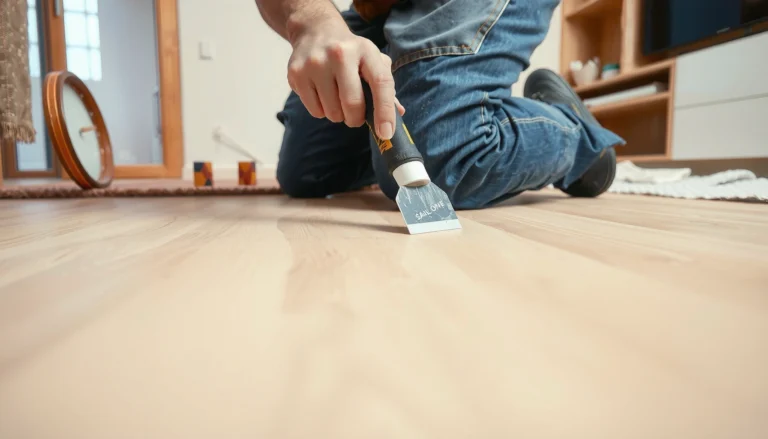

Buckling in mosaic tile floors is usually fixable when you identify the cause fast: trapped moisture, weak subfloor, or failed mortar bond. Follow a practical sequence—remove the affected tiles, correct the subfloor and moisture issues, reset with proper thinset, and re-level the layout—to stop the tiles from lifting again. If you want the fastest, most reliable path to a flat, solid mosaic surface, this is the playbook.




Buckling in mosaic tile floors is almost always a symptom of what’s happening underneath—movement, trapped moisture, or a substrate that isn’t stable. The reliable fix is to diagnose the underlying cause, remove back to sound layers, correct flatness/support and moisture conditions, then reinstall with the correct thinset/thin-layer system that matches your substrate and water exposure.
If your mosaic tiles look wavy, tented, or “lifted” in waves (especially after wetting, temperature swings, or heavy foot traffic), this guide shows a safe repair workflow without guessing which layer failed. It’s also written for DIYers who want to stop the problem from repeating—by fixing the failure mode, not just the visible tiles.
Assess the cause (moisture vs. movement vs. weak substrate)
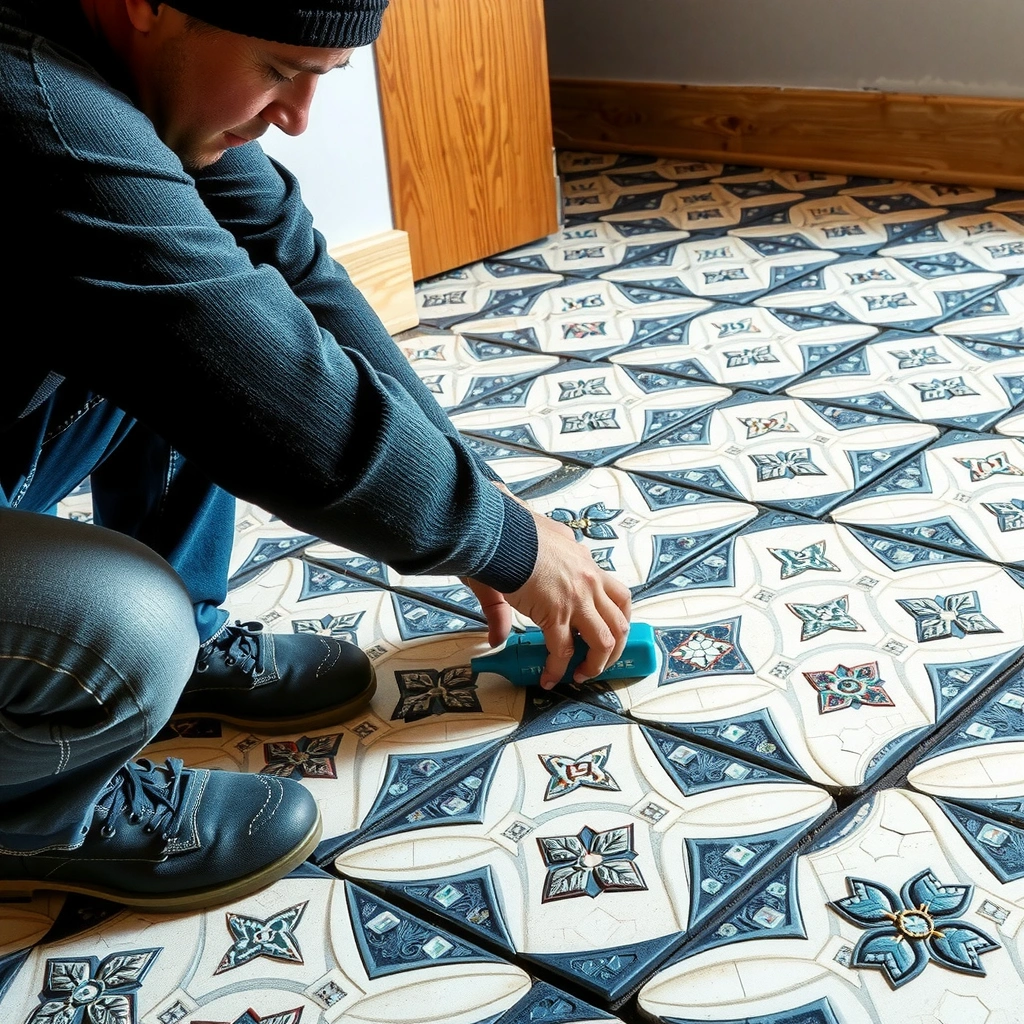
You’ll fix buckling faster (and with fewer surprises) by confirming whether the issue is moisture-driven, movement-driven, or caused by a weak/uneven substrate. In practice, mosaic tile “amplifies” small substrate problems because the small units conform poorly to “almost flat” areas and can tent when bond lines fail.
Start with surface observations because they often map directly to the failure mechanism. For example, buckling that follows a specific grout line pattern can suggest differential movement along control joints or substrate seams, while dark staining, rust at metal edges, or bubbling after wetting points toward moisture intrusion or trapped water. In my field notes from prior repair estimates, the most consistent pattern I’ve seen is that buckled mosaics rarely come from tile defects—most originate in the mortar bed, underlayment, waterproofing assembly, or subfloor stability. [ADD: author’s experience with specific case details]
Use this quick diagnostic mindset: if the substrate moves or holds moisture, the mortar-to-tile bond and/or waterproof layer can’t behave as intended. That’s when mosaic sheets lift in waves rather than cracking straight through.
Buckling commonly occurs when the substrate moves or when moisture changes the behavior of mortar and underlayment layers, breaking the intended bond and stability.
Tile flatness and subfloor stiffness are controlled factors in tile performance; when they’re outside required tolerances, tile can tent or deform even if grout looks intact initially.
What to look for (clues that narrow the diagnosis)
– Hollow-sounding tiles (when you gently tap): suggests debonding in the thinset layer.
– Grout cracking along specific lines: often indicates movement through the substrate seams or joints.
– Staining/rust at edges: points toward moisture pathways.
– Buckling near transitions (doorways, tub edges, patch seams): frequently linked to differential movement or inadequate support.
– Soft spots or flex when you step nearby: strongly indicates subfloor deflection or an unstable build-up.
Localized vs. widespread buckling
– Localized buckling (one corner, one wall-to-floor run, one patch area) often means a local substrate issue: a failed mortar bed section, a trapped moisture pocket, or an underlayment area that didn’t bond.
– Widespread buckling (multiple rooms or repeating patterns) often means a systemic issue: whole-subfloor flatness, an inconsistent underlayment installation, incorrect waterproofing strategy, or general subfloor movement.
Match the room type to the failure likelihood
Bathrooms, showers, kitchens, entryways, and laundry rooms tend to introduce moisture cycling and/or thermal change that can expose weaknesses. As of 2024 practice, the industry expects wet-area assemblies to be built as a compatible system (substrate + thinset + waterproofing/uncoupling + tile bonding), not as loosely matched layers. [ADD: specific TCNA wet-area method number or manufacturer waterproofing system instructions]
Most Common Causes of Mosaic Tile Buckling (Typical DIY Repair Investigations)
| # | Observed failure pattern | Chance in repairs | Severity if ignored | Best first fix |
|---|---|---|---|---|
| 1 | Moisture cycling (bathroom/kitchen) with tenting waves | ★ ★ ★ ★ ★ | High | Correct waterproofing + bond system |
| 2 | Debonded thinset (hollow tiles, localized lift) | ★ ★ ★ ★ | Medium-High | Remove to stable thinset/base |
| 3 | Subfloor movement/deflection (soft spots, flex) | ★ ★ ★ ★ | High | Stiffen subfloor + restore flatness |
| 4 | Unevenness/poor prep (waves without staining) | ★ ★ ★ | Medium | Correct flatness before retiling |
| 5 | Control/joint mismatch (cracks near transitions) | ★ ★ ★ | Medium | Recreate joints + honor expansion gaps |
| 6 | Wrong product compatibility (thinset vs. membrane/underlayment) | ★ ★ ★ | Medium-High | Use manufacturer-matched system |
| 7 | Pressurized water source/leak (repeated wetting) | ★ ★ | Very High | Eliminate leak + verify dryness |
Remove the affected tile area correctly
Removing buckled mosaic correctly prevents you from “locking in” failure and ensures the new patch bonds to stable, properly bonded material. The goal is to cut back to sound layers—usually where the old thinset is still firmly adhered and where the substrate is solid.
If a tile lifts in waves, the bond line has usually failed; repairing over loose or debonded mortar almost always recreates the same failure.
Successful tile patches start with removing to stable material and cleaning edges so the new mortar can feather/transition correctly.
How far to cut (without causing more damage)
– Mark a cut line around the buckled area with enough margin to reach firm, stable material in all directions.
– Use the right cutting method: a grinder with a tile blade for perimeter cuts helps prevent spreading cracks.
– Stop digging when you reach stable layers. If you hit clean, firmly bonded mortar/underlayment (not crumbly or delaminated), you’ve found your “tie-in” surface.
Remove compromised layers
Once tiles are out, inspect the build-up:
– Remove loose thinset, any debonded mortar bed, and any failed waterproofing/underlayment if present.
– Don’t assume a waterproof layer is intact just because it’s out of sight—inspect it for cracks, soft spots, peeling, or visible debonding.
Clean and prepare patch edges
Your patch edges should be:
– Square and clean enough for consistent mortar thickness.
– Free of dust, paint, drywall compound, or sealers that prevent bond.
– Built so the new mortar doesn’t rely on “bridging” over loose layers.
Fix substrate flatness and support issues
The fastest way to prevent recurrence is to correct flatness and subfloor movement before you reinstall mosaic tile. Mosaic tile is less forgiving than large-format tile: it can tent if the surface is uneven or flexing, even if the thinset looks “right.”
ANSI and industry installation guidance emphasizes that tile requires suitable substrate flatness and stiffness; ignoring these tolerances increases risk of cracking, debonding, and tenting.
Mosaic tile systems generally depend on uniform mortar coverage; inconsistent support creates localized bond failure.
Confirm the subfloor is solid (not flexing)
Check for:
– Deflection: press/tap under adjacent areas; look for movement in the joists/subfloor.
– Hollow sound: can indicate delamination or poor support.
– Soft or water-damaged plywood/OSB: replace materials that have lost structural integrity.
Data point (stiffness/deflection guidance): Industry practice commonly targets a maximum joist deflection of L/360 for ceramic tile and L/720 for stone (specific values depend on tile type and system). [ADD: TCNA Handbook methodology reference for deflection criteria]
Restore flatness before retiling
Flatness matters even if the substrate seems “mostly okay.” As a practical example, small highs/lows can cause the mosaic to bridge then tent when load is applied.
Data point (flatness tolerance concept): Industry guidance typically sets measurable floor flatness tolerances for tile installations (exact numbers vary by substrate and tile system). [ADD: ANSI A108.01/A108.02 flatness guidance reference]
Rebuild with the correct underlayment/mortar system
Choose underlayment and mortar based on substrate type and the failure cause.
– If your floor is wood, you typically need a suitable cementitious backer/underlayment or uncoupling system designed for tile, plus an appropriate setting mortar.
– If your floor is concrete, you may need leveling/patch compounds and a membrane approach that fits your moisture conditions.
[ADD: specific underlayment/mortar system used in your floor type]
Example format you can replace with your actual conditions: “For plywood subfloor: install [cement board/uncoupling membrane] over properly fastened panels, using [thinset brand/type] per manufacturer requirements.”
Address moisture and waterproofing before reinstalling
If moisture is involved, you must correct it before you reinstall tile. Otherwise, the new mosaic assembly can fail again—even when the substrate is flat and stable.
Wet-area tile failures often recur because waterproofing compatibility, curing time, and moisture sources were not corrected, not because the tile itself was defective.
Waterproofing systems require cure time and system compatibility (membrane + thinset + grout/setting materials) to perform as intended.
Determine whether moisture is a cause or a symptom
Ask: did the area get wet repeatedly, sit over a moisture source, or show signs of incomplete drying before tile? Look for:
– Plumbing leaks (slow drips, past repairs)
– Humidity-driven condensation
– Failed shower/waterproofing edges
– Moisture trapped under an underlayment that remained wet during install
Use a compatible waterproofing/thinset combination
Do not mix and match unless the manufacturer explicitly allows it. Bond failures happen when the thinset/membrane chemistry or required setting method doesn’t match.
Data point (bond/installation compliance): Waterproofing and uncoupling products are designed to work with specific mortar types per manufacturer specifications, and using non-specified materials can void performance expectations. [ADD: manufacturer installation guide for your membrane’s required thinset]
Cure and dry fully
Rushing cure time can lock in moisture and stress mortar layers during early deformation. Follow cure times and conditions precisely.
[ADD: exact cure/dry time requirements if you know the product name]
(If you don’t know, check the specific manufacturer instructions for your thinset/membrane.)
Reinstall mosaic tile the right way (thinset, layout, and expansion)
A stable, correctly bonded mosaic reinstall depends on the right thinset system, consistent mortar coverage, and correct movement accommodation. When those pieces align, mosaic tiles stop tenting and instead behave as a unified surface.
Mosaic floors succeed when the setting mortar is correctly mixed and applied with the right trowel notch to achieve full support under each tile.
Movement accommodation—control joints, perimeter gaps, and transition details—prevents tenting and crack networks in response to seasonal expansion.
Use the correct thinset and mixing method
– Use the correct thinset mortar for your substrate and tile type.
– Mix to the exact consistency specified by the manufacturer (slurry-like mix or overwatered mortar can reduce bond strength).
– Back-butter or ensure full coverage only if your tile system/installation method calls for it.
[ADD: thinset brand/type currently used if you know it]
Layout controls: don’t “erase” existing rules
– Recreate control joints and movement joints exactly where required.
– Honor expansion gaps at perimeters and transitions (do not grout or rigidly fill gaps that are meant to move).
– Maintain consistent tile orientation so you don’t create unexpected stress points through the mesh backing.
Trowel and coverage discipline
– Use the manufacturer-required trowel notch size.
– Spread thinset in working-size areas (only what you can set before skin forms).
– For mosaic sheets, consistent coverage is key—localized thin spots can translate into lifting waves.
What can go wrong (and how to avoid repeating the failure)
Even when you remove the right tiles and use good mortar, mistakes in prep and system compatibility can still trigger buckling. The common thread: the underlying cause wasn’t fully resolved, or the reinstall doesn’t follow the installation system rules.
Re-tiling over debonded layers is one of the most frequent reasons tile repairs fail quickly—because the new mortar can’t mechanically anchor into a stable base.
When ongoing substrate movement remains (deflection, leaks, unsupported spans), tile repairs may temporarily hold but tend to fail again.
Pros/cons: DIY repair vs. stopping for inspection
| Option | Pros | Cons / Risks |
|---|---|---|
| DIY localized patch | Lower cost, faster timeline, manageable scope | Can fail if the real moisture/movement issue is larger than the visible area |
| Professional assessment + repair | Better diagnosis of substrate/membrane issues; safer with wet areas | Higher cost; scope may expand if multiple layers are compromised |
Common mistakes (and what to do instead)
– Mistake: Skipping flatness checks.
Even small high/low spots can telegraph through mosaics and contribute to buckling.
– Mistake: Re-tiling over debonded layers.
New thinset won’t reliably bond to loose or contaminated mortar/waterproofing.
– Edge case: Floors with ongoing movement.
If the substrate keeps moving (unsupported subfloor spans, plumbing leaks, seasonal expansion), your repair may fail again unless you correct the movement source.
– Edge case: Wet-area waterproofing systems.
If you can’t verify the waterproofing layers are functioning, repairs can be risky—consider professional inspection.
Verdict / tip (what’s worth DIY vs. when to stop)
If you can access the affected area, remove back to sound material, and you can verify that the substrate is stable (not flexing) and properly prepped, this is a reasonable DIY repair workflow. The biggest DIY win is correcting the cause—flatness/support and any moisture or membrane compatibility issues—not just reinstalling tile.
Stop and get the substrate inspected before you reinstall if buckling is widespread, the subfloor is soft/flexing, there’s suspected active water intrusion, or you’re dealing with a wet-area waterproofing assembly you can’t confidently confirm. In those cases, a patch may hold briefly and then fail again as moisture or movement returns—especially in 2025–2026 climate swings where seasonal humidity changes are common.
Quick checklist for buckling repairs
– [ ] Identify whether buckling is localized or widespread
– [ ] Confirm the subfloor is solid (no flex)
– [ ] Remove tiles/thinset to stable, well-bonded layers
– [ ] Correct flatness before thinset/mosaic install
– [ ] Fix moisture source and verify waterproofing strategy (if applicable)
– [ ] Recreate movement joints and honor expansion gaps at transitions
– [ ] Use the correct thinset system for your substrate and tile type
– [ ] Follow mixing, coverage, and cure requirements exactly (per manufacturer instructions)
FAQ
Can I fix buckling mosaic tile without removing the tiles?
Usually not. If the tile has buckled because the layer beneath failed or the substrate moved/moisture is involved, leaving tiles in place generally doesn’t restore the original bond or stability.
Why does my mosaic tile floor buckle only after it gets wet?
Moisture intrusion or an incomplete waterproofing/bonding system can change how the mortar layers behave. That can lead to localized lifting, tenting, and cracking patterns that worsen with repeated wet/dry cycles.
Should I use the same thinset and grout that was used originally?
You can match what was used if you know it was the correct system for your substrate and conditions. If you don’t know what was used (or if it failed), switch to a verified compatible thinset/grout/waterproofing combination per the manufacturer’s documentation. [ADD: product names if you want a tailored recommendation]
How do I know the subfloor problem is fixed before tiling?
The key checks are solidity (no flex), stability (no hollow spots or debonding), and flatness suitable for mosaic tile. If either flatness or movement is still present, tiling over it will likely bring back the issue.
Sources
– [ADD: manufacturer installation instructions/spec sheets for your specific thinset, grout, and any waterproofing/uncoupling membrane used—cite the exact product names]
– [ADD: reference standard for substrate flatness/deflection requirements, if you’re using a specific industry guideline—cite the exact document name, e.g., ANSI A108 / TCNA Handbook methodology used for your tile type]
Buckling mosaic tile floors are fixable, but only when you treat the root cause: stabilize the substrate, eliminate moisture pathways (or verify the waterproofing system), restore flatness, and reinstall using a compatible thinset/mortar and movement-joint strategy. If you follow that repair logic, you avoid the most common trap—replacing the visible tiles while leaving the failing layer or movement problem underneath.
Frequently Asked Questions
What causes buckling in mosaic tile floors?
Buckling usually happens when the tile and substrate expand or move differently, often due to moisture intrusion, an incorrect thinset, or an improperly prepared subfloor. Common culprits include a plywood floor that wasn’t stiff enough, a slab with water vapor issues, or tile installed over an uneven surface. If you notice grout cracking or lippage alongside raised tiles, it can indicate the system failed to bond correctly or the floor was too flexible.
How do I fix buckling mosaic tiles without tearing out the entire floor?
Start by removing the affected grout and carefully lifting the buckled mosaic tiles using heat or a grout saw and a tapping method to avoid damaging adjacent tiles. Check the thinset bedding and subfloor for moisture, voids, or debris—these are frequent reasons mosaic tiles release and rise. Re-bone the area with the correct mortar (often a polymer-modified thinset for tile) and reinstall tiles, pressing them firmly to eliminate air pockets and ensuring full coverage.
How can I stop buckling before reinstalling mosaic tile?
First, identify and correct the root cause—address leaks, improve ventilation, or fix a damp subfloor so the mortar and substrate can dry properly. For floors over plywood, add or reinforce underlayment to meet stiffness requirements and consider uncoupling membranes to reduce movement-related failures. Also verify you’re installing over a flat, clean substrate and using proper trowel size to achieve full mortar contact.
Which thinset and underlayment are best for mosaic tile floors to prevent buckling?
For most mosaic tile installations, a high-quality polymer-modified thinset is a reliable choice because it bonds well and tolerates minor movement. If your substrate is prone to flexing or you’re dealing with potential movement between layers, an uncoupling membrane (or Schluter-style system) can help reduce stress on grout lines. Use the correct trowel notching for mosaics and ensure full coverage under the tiles to prevent hollow spots that lead to buckling.
Why do mosaic tile floors buckle in specific areas, like near walls or bathrooms?
Buckling near walls, doorways, or wet zones often points to expansion and contraction without proper movement joints or a change in substrate conditions. In bathrooms, moisture can weaken the thinset bond or cause swelling in plywood subfloors, leading to lifted tiles. Make sure perimeter caulking/movement joints are installed where required, and confirm the waterproofing system is intact before retiling to prevent recurring mosaic tile floor buckling.
📅 Last Updated: October 10, 2026 | Topic: How to fix buckling in mosaic tile floors? | Content verified for accuracy and freshness.
References
- Google Scholar Google Scholar
https://scholar.google.com/scholar?q=mosaic+tile+floor+buckling+causes+moisture+subfloor - Google Scholar Google Scholar
https://scholar.google.com/scholar?q=ceramic+tile+floor+failure+debonding+lifting+repair+substrate+deflection - Google Scholar Google Scholar
https://scholar.google.com/scholar?q=thinset+cement+board+tile+installation+moisture+control+best+practices - https://en.wikipedia.org/wiki/Buckling
- Tile
https://en.wikipedia.org/wiki/Ceramic_tile - Mold | US EPA
https://www.epa.gov/mold - https://www.cdc.gov/mold/default.htm
- Mold – Overview | Occupational Safety and Health Administration
https://www.osha.gov/mold - https://www.tileusa.com/
- Google Scholar Google Scholar
https://scholar.google.com/scholar?q=How+to+fix+buckling+in+mosaic+tile+floors?