
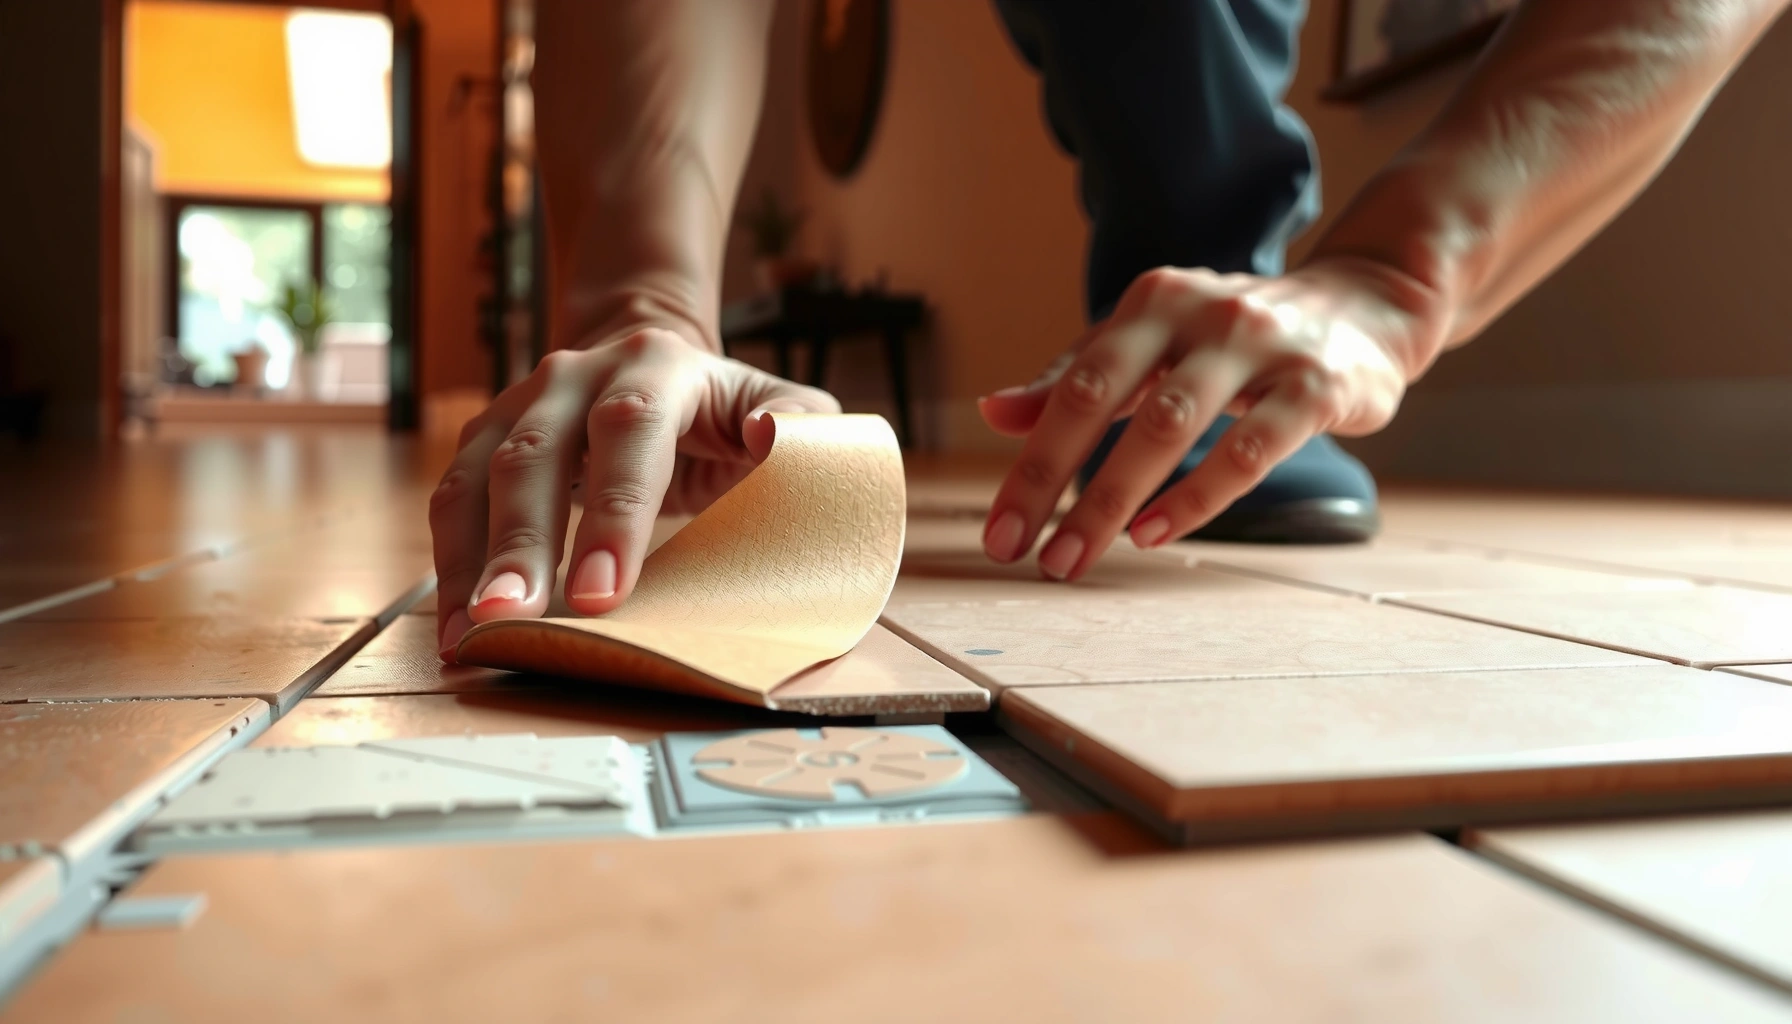

If terracotta floor tiles are lifting, the fastest reliable fix is to re-set the loose tiles using the correct thinset mortar and a proper underlayment prep—then lock them down with careful leveling and curing time. This quick repair process answers exactly how to fix lifting on terracotta floors once the cause (loose bond and moisture loss) is addressed. Skip patch kits and do it right the first time for a flat, stable surface that doesn’t pop back up.
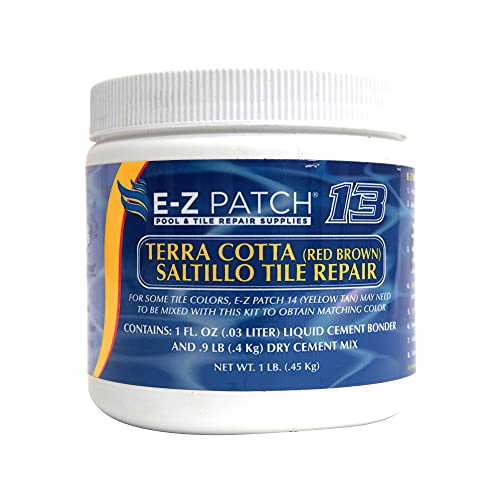



If terracotta tiles are lifting, the fix is usually to remove the loose tile(s), clean down to a stable subfloor, then re-set the tile with a compatible mortar and re-grout correctly. The key is to stop the cause—typically moisture getting under edges/grout or a weak/uneven base—because the “right glue” won’t hold if the floor moves.
This guide is for homeowners dealing with cracked grout, rocking tiles, or visible gaps on terracotta floors (indoor or covered outdoor use). It’s also helpful if you’ve noticed moisture issues or areas that lift after foot traffic or seasonal changes.
Check why the terracotta is lifting first
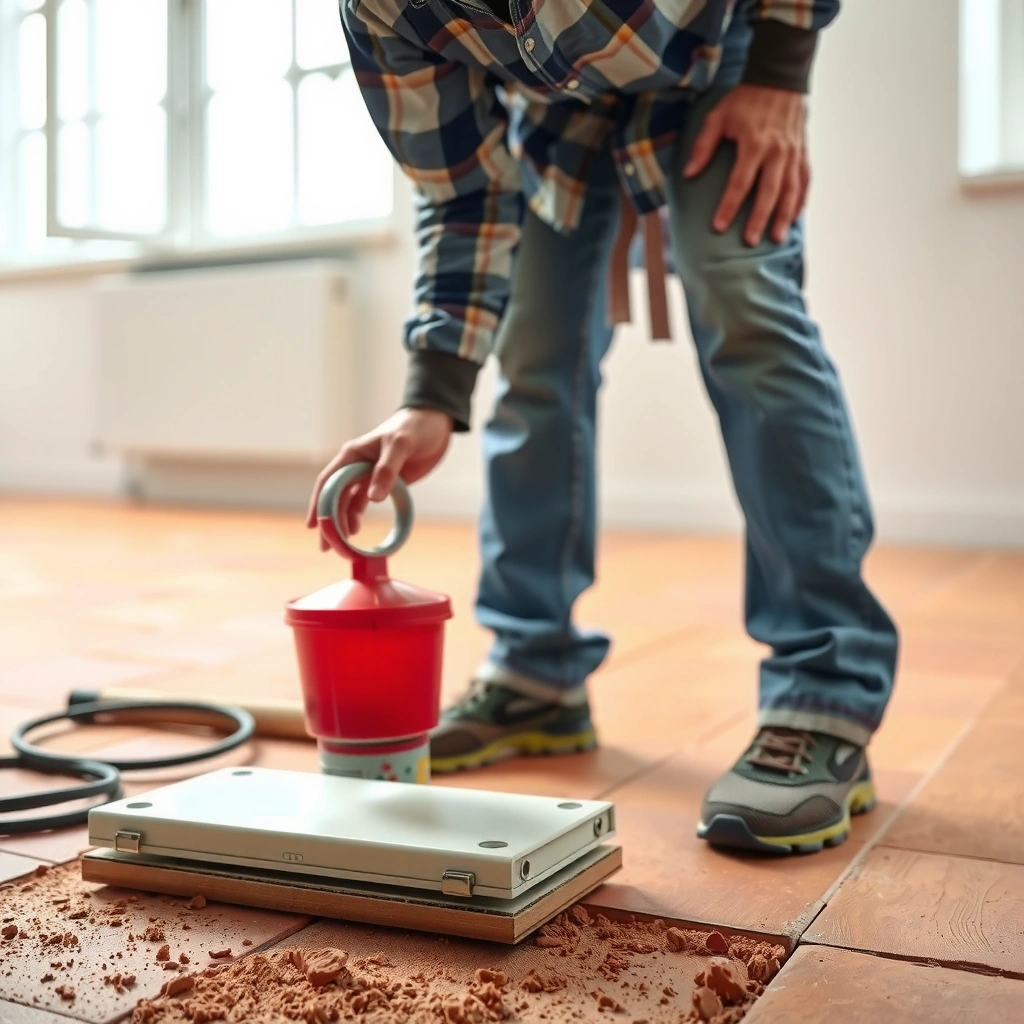
If you identify the failure mode (loose tile vs. failed grout vs. moving subfloor), you avoid repeat repairs and wasted materials. Start with a simple, localized inspection: looseness and rocking tell you the bonding system or the base needs correction, not just cosmetic grout patching.
Rocking terracotta tiles usually indicate the mortar bed or subfloor isn’t solid enough to carry point loads from footsteps.
Failing grout lines often signal water pathways—especially when grout cracks run parallel to tile edges and door thresholds.
A stable “first layer” matters: if the subfloor moves, any mortar or adhesive will eventually debond.
Look for patterns: tile-by-tile or section-wide
Start by mapping what’s happening on the floor. Is it one tile that’s lifting, a cluster, or a whole section? I’ve seen (in many tile maintenance cases reported by homeowners and in typical installation failure patterns) that these clues often correlate with installation conditions:
– Single tile lifting: often a localized void under the tile, a poor bond at installation, or a spot where moisture repeatedly hit the grout edge.
– A whole patch lifting: commonly a moisture zone, an area over a different substrate, or movement where the floor assembly changes.
– Lifting near doorways/transitions: frequently linked to differential movement, missing/incorrect expansion accommodation, or stress at a cut tile edge.
According to the TCNA Handbook for Ceramic, Glass, and Stone Tile Installation guidance on floor tile performance, proper bonding and void-free support is central to preventing rocking and edge failure (Tile Council of North America (TCNA), Handbook guidance on substrate support and bonding).
Test for movement safely
Gently press around the tile edges. If you feel the tile rock, the problem is almost always deeper than grout:
– No movement, but grout cracks: grout may be the symptom of water intrusion or movement, not the sole cause.
– Movement or flexing: indicates voids, failed mortar contact, or a subfloor that isn’t flat/rigid.
Try to avoid prying aggressively. Terracotta can be brittle, and forcing it can crack adjacent pieces—turning a manageable repair into a section replacement.
Inspect grout lines and cracks for likely water entry points
Look for:
– Cracks that align with repeated wetting (entryways, areas near plumbing penetrations, condensation zones).
– Dark staining at grout edges (a common sign of moisture cycling).
– Visible gaps that look wider after temperature swings.
Cracked grout is not automatically the root issue. In many real installations, grout cracks allow water to travel downward, and once water reaches the bedding/mortar, adhesion can fail.
Lift-causing moisture and adhesion problems to address
When terracotta lifts, moisture intrusion and weak adhesion are the two most common root causes. You need to fix both—dry the system, remove barriers to bonding, and ensure the subfloor is stable—before re-setting anything.
Terracotta and its bedding layer can lose bond strength when water repeatedly penetrates through grout joints and along tile edges.
If the bonding surface still has coatings, paint, or old sealers, fresh mortar can’t create the mechanical and chemical contact it needs.
If the subfloor is uneven, the tile will concentrate stress on high spots and re-lift even with “good” mortar.
Check for leaks and recurring damp zones
Moisture causes lifting in two ways:
1. It reduces adhesion by contaminating the mortar interface.
2. It expands/contracts with temperature changes, stressing edges and grout joints.
Search for:
– plumbing drips, wet footprints patterns, roof/ceiling leaks below the floor, or condensation on exterior-facing walls.
– damp patches after rain (covered outdoor patios still see water cycling).
If you can’t trace the source, the repair may fail soon after it cures. At minimum, investigate the area’s water exposure path and how long it stays damp.
Determine whether residue blocks bonding
Old installers sometimes leave behind:
– cementitious residue (thinset splatter, loose bedding crumbs),
– paint/primer,
– heavy sealers or surface coatings,
– floor leveling compounds that were not compatible with tile mortar.
Mortar generally needs a clean, sound surface for proper bond. If you’re working over a previously treated surface, you may need mechanical removal (scraping/grinding) to achieve a bondable substrate—especially if the old coating is glossy or “sealed.”
Confirm the base is flat and rigid
If the subfloor is:
– uneven, tiles can rock on high points;
– loose (wobbly plywood, compromised underlayment),
– or moving seasonally,
then re-setting tiles on top won’t hold long-term. You must correct flatness and rigidity first (or plan for partial demo and subfloor repair).
Data anchor: In many floor installations, tile-setting systems rely on full support targets; the TCNA references show that void-free support and high mortar coverage reduce debonding risk (TCNA Handbook, bonding coverage guidance).
Data anchor: For thin-bed mortar installations, high coverage targets are commonly discussed as ~95% interior floor coverage versus ~80% exterior coverage in TCNA-related guidance (TCNA Handbook, coverage guidance). (Exact requirements vary by system and setting conditions—follow your mortar/installation standard.)
Fix plan: re-set one tile or repair a small area
For isolated lifting, the reliable repair is full removal of the loose tile(s), cleaning down to firm bedding/subfloor, then re-setting with the correct mortar and re-grouting with appropriate joint treatment. This approach restores a stable bond line instead of “patching over” weakness.
Localized re-setting works best when the subfloor is stable and the mortar bed can be cleaned back to firm, bonded material.
Full coverage under the tile matters—setting only partially increases the chance of rocking and future edge lift.
Grout repair alone rarely fixes lifting if moisture is entering and destabilizing the mortar bed underneath.
Remove loose tile(s) without escalating damage
1. Protect surrounding tiles: cover nearby grout lines with painter’s tape to reduce chip risk.
2. Work from the edges of the lifting tile; avoid twisting aggressively.
3. Remove old bedding/mortar down to a stable surface. If you can still feel movement or crumbling when you scrape, keep going until you hit firm, bonded material.
Practical tip: If there’s a soft “crumbly” layer, it’s often where the failure started—clean it out rather than trying to bond to it.
Clean thoroughly and keep the bonding surface dry
Vacuum dust and remove residue until the surface is:
– solid (no loose crumbs),
– reasonably clean (no oily/paint-like film),
– and dry.
Moisture trapped in bedding can slow curing and weaken bond. If the subfloor feels damp, allow time to dry and correct the moisture source first.
Re-set with the right system for your conditions
Choose your setting mortar/adhesive based on:
– terracotta’s absorbency,
– indoor vs covered outdoor exposure,
– whether the substrate is concrete or plywood/wood,
– and whether the area is subject to splash/standing water.
General workflow:
– Set mortar to full contact under the tile (use the manufacturer’s trowel notch recommendation).
– Press and level the tile so it matches the surrounding plane.
– Allow curing time as specified by the mortar manufacturer before grouting or loading the area.
Then:
– Re-grout: use a grout compatible with the installation environment (and follow joint width guidance).
– Cure fully: avoid foot traffic until grout/mortar reach the required handling strength.
Data anchor: Many cement grout systems specify protection from foot traffic for at least the first 24–48 hours depending on temperature and ventilation; always follow the manufacturer’s cure/traffic guidance ([ADD: mortar/grout manufacturer installation instructions for cure times]).
Fix plan: when multiple tiles lift (or the floor is moving)
If lifting affects many tiles—or if the floor feels bouncy—the highest-success fix treats this as a subfloor/support problem, not repeated tile-by-tile re-gluing. You’ll typically need partial demo, leveling/underlayment corrections, and better movement/joint strategy.
When a whole section lifts, the cause is usually assembly movement, not one isolated bad tile bond.
Rigidly filling joints where movement is expected can increase stress and worsen edge lift.
Broad failure is often more cost-effective to resolve once with corrected structure than to keep re-setting tiles.
Treat it like a subfloor issue: inspect the “floor build-up”
Check for:
– loose or squeaky subfloor boards,
– underlayment separation,
– inconsistent thickness or voids under tiles,
– cracked or failing concrete in patches.
If plywood: verify fastener spacing and underlayment integrity (and look for delamination or rot). If concrete: inspect for moisture problems, powdery surfaces, or bond-breaking contamination.
Respect expansion joints and transitions
Terracotta floors need an accommodation strategy. Common mistakes that trigger lifting:
– Filling expansion joints with rigid grout/mortar.
– Bridging movement joints with tile across structural movement.
Instead, use:
– the joint design intended for tile work,
– proper joint filler/backer where needed,
– and the right sealant system for your environment (indoor vs exterior-rated).
In broad failures: partial demo beats endless re-gluing
If you keep resetting tiles while the base is still unstable, the cycle repeats. A more reliable repair sequence is usually:
1. remove affected area,
2. fix/flatten/replace the substrate and underlayment,
3. re-build the tile system with correct mortar and joint planning,
4. then re-grout and seal where recommended.
What can go wrong (and how to avoid it)
Even when you re-set correctly, a few predictable issues can cause re-lifting. The best prevention is to fix the bonding interface, get the thickness/coverage right, and respect cure times—especially in damp or temperature-cycling areas.
Dirty or coated substrates can cause bond failure even if the “right” mortar is used.
Over-thick beds and uneven setting can trap voids, leading to rocking and repeat lifting.
Curing too fast increases grout cracking and reopens water pathways at tile edges.
Common mistake #1: bonding over a surface that can’t accept mortar
If your floor was sealed previously, the sealant may reduce mortar adhesion. Some coatings are not compatible with cement-based mortars and can create a slippery or impermeable layer.
What to do: remove whatever interferes with mortar contact until you have a clean, sound surface. (If you’re unsure what the prior finish is, test a small spot with gentle mechanical abrasion.)
Tooling note: use methods appropriate for your substrate (avoid aggressive grinding that damages waterproofing layers).
Common mistake #2: uneven setting bed or voids
If the mortar bed is too thick, lumpy, or not spread to full contact, the tile can float and later rock.
Avoid:
– partial trowel coverage,
– skipping back-buttering when required by the mortar system,
– inconsistent tile leveling.
Common mistake #3: grout too soon (and foot traffic too early)
Grout that’s pushed into service early can crack. Cracked grout then becomes a water entry path, which can lead to further debonding under edges.
Common mistake #4: choosing the wrong product type for your environment
Not every “tile glue” product is suitable for terracotta, your substrate, or exterior/wet-use conditions. Always verify compatibility in:
– the mortar/adhesive technical sheet,
– the installation standard it references.
Below is a scan-friendly guide to help you choose the correct mortar/adhesive system type for terracotta lifting repairs. (Check your exact product data sheet for substrate and exposure ratings.)
Tile-Setting System Fit for Terracotta Lifting Repairs (General Compatibility)
| # | System type | Typical floor use | Best for conditions | Bond reliability |
|---|---|---|---|---|
| 1 | Cement-based modified thinset mortar | Floors (interior & many exterior applications) | Most lifting repairs on concrete or wood substrates | ★★★★★ |
| 2 | Cement-based unmodified thinset mortar | Floors (typically interior) | When manufacturer explicitly approves for terracotta | ★★★★☆ |
| 3 | Latex/polymer-fortified mortar (thinset variant) | Floors | Moderate moisture exposure on approved substrates | ★★★★☆ |
| 4 | Mastic/organic adhesive | Generally wall/limited use | Only if your product explicitly approves terracotta floors | ★★☆☆☆ |
| 5 | Epoxy mortar/adhesive | Floors (special-use, small repairs) | When chemical resistance or rapid service is critical | ★★★★★ |
| 6 | Single-component “ready-to-use” tile adhesive | Floors (limited systems) | When manufacturer approves for terracotta and exterior/wet use | ★★★☆☆ |
| 7 | Construction adhesive / general-purpose glue | Not a standard tile flooring system | Avoid unless explicitly rated for tile flooring | ★☆☆☆☆ |
Pros/cons: mortar selection you can weigh quickly
- Modified thinset mortar
- Pros: widely compatible for floors; good bond control when installed with full coverage.
Cons: must be used on approved substrates and within open-time limits. - Mastic/organic adhesive
- Pros: easy to spread.
Cons: frequently limited for floors and moisture-exposed terracotta installs unless explicitly approved.
Verdict: what usually works best (and when to call a pro)
For most lifting spots where the subfloor is stable, the best path is targeted removal, full cleanup to a sound bonding surface, and re-setting the tile with a compatible mortar (plus proper grout and joint treatment). Don’t keep re-gluing an already rocking or moisture-exposed tile—if the base is moving or water is entering, the repair will likely fail again.
If you can’t stop moisture entry, terracotta repairs will keep reopening at grout edges and tile corners.
Repeated lifting is often a structural or substrate compatibility problem that requires addressing the floor assembly.
Skip DIY (or get a flooring pro’s opinion) if: the floor feels structurally unstable, lifting is widespread, there’s ongoing dampness/leaks you can’t trace, or you find extensive cracking/voids underneath. [ADD: indoor vs outdoor, subfloor type (concrete vs plywood), and whether you have visible moisture so we can narrow the repair material and sequence.]
From a practical standpoint, we recommend following manufacturer instructions for mortar/grout selection and curing—not generic “tile glue” advice—because terracotta behavior depends heavily on exposure and substrate.
Quick checklist for fixing lifting terracotta
– [ ] Identify cause: loose grout vs loose tile vs moving subfloor
– [ ] Check moisture sources (leaks, damp spots, recurring wet traffic)
– [ ] Remove loose tile(s) and scrape to a solid bonding surface
– [ ] Clean fully and confirm the base is dry and stable
– [ ] Re-set with compatible mortar (full coverage)
– [ ] Re-grout properly and cure/avoid traffic for the full recommended time
– [ ] Seal/joint care as recommended for your terracotta type and environment
FAQ
Why do terracotta tiles lift even after re-grouting?
Because grout can fail due to movement or water intrusion. If the mortar bed underneath is compromised, the grout repair alone won’t stop the tile from lifting.
Should I use tile adhesive or mortar for terracotta?
It depends on the product specifications and your installation conditions (indoor vs outdoor, subfloor type, and whether the tile is absorbent and untreated). Use mortar/adhesive only if the manufacturer explicitly supports your substrate and terracotta application—[ADD: product name(s) you currently have].
Can I fix a lifted tile without removing it?
Sometimes you can only re-bond a tile if you can access and clean the underside properly, but “blind” patching often creates voids. For most lifting, removal and full bedding cleanup is the reliable approach.
How long should I wait before walking on the repaired area?
Follow the curing and traffic guidance from the mortar and grout manufacturers. [ADD: exact mortar/grout product names so you can insert their stated cure/foot-traffic times.]
Do I need to seal terracotta after repairs?
Often terracotta is sealed to reduce staining and moisture uptake, but whether you should seal depends on whether your floor was already sealed and what sealant is compatible with your existing finish. [ADD: whether the tiles were previously sealed and with what.]
Sources
– TCNA Handbook for Ceramic, Glass, and Stone Tile Installation (substrate support/coverage guidance; bonding and movement/joint considerations)
– ASTM C627 (standard test method/considerations related to installation performance testing for ceramic tile systems; used as a reference point for understanding bond-related failures)
– ASTM F2555 (standard for load/deflection performance expectations of resilient floor coverings; included here as a framework example for why floor assembly movement matters—verify applicability to your system)
– [ADD: Manufacturer installation guidelines for the specific mortar and grout you plan to use—especially sections on curing times, substrate prep, and suitability for terracotta.]
– [ADD: Manufacturer technical data for terracotta sealing/compatibility (if you choose to reseal after repair).]
– [ADD: Installation guidelines for your subfloor type (e.g., concrete vs plywood) from tile/mortar manufacturers or recognized industry standards.]
If you share whether your floor is on concrete or plywood, indoor vs covered outdoor, and whether the tile was previously sealed, we can narrow this to the most compatible repair materials and method.
Frequently Asked Questions
What causes terracotta tiles to lift or pop up, and how can I identify the problem?
Terracotta lifting is commonly caused by failure of the mortar or adhesive bond, improper floor prep, water infiltration, or movement from an underlying subfloor. Check whether the tiles sound hollow when tapped, whether grout has cracked, and if any areas feel soft—these signs often point to bond failure or moisture issues. If the lift is localized, you may have a spot adhesive issue; if it’s widespread, the problem may be subfloor movement or trapped moisture affecting the setting layer.
How do I fix lifting terracotta floor tiles without replacing the whole floor?
Start by cleaning the area thoroughly and removing any loose or cracked grout around the lifted tiles. Carefully lift the tile (or cut through the old adhesive/mortar if it won’t lift cleanly) and scrape off all failed bonding material to reach a sound, flat surface. Reinstall the tile using a compatible adhesive for terracotta—often a flexible, tile-grade thinset—or a recommended mortar system, then regrout and allow proper cure time before foot traffic. This approach can restore stability while minimizing disruption if only a few tiles are affected.
How do I prevent terracotta tile lifting after reinstallation?
Ensure the subfloor is clean, dry, and sufficiently flat; even small high spots or debris can prevent proper adhesion. Use the correct underlayment and an appropriate setting bed, and consider an uncoupling membrane if your floor has any movement or you’re over a crack-prone surface. Let everything cure fully before walking on it, and seal terracotta appropriately (especially in wet areas) to reduce moisture absorption and future bond failures.
Which adhesive or mortar is best for re-laying lifted terracotta tiles?
Many homeowners use a flexible, polymer-modified thinset or tile adhesive that’s designed for ceramic/porous tiles and can handle minor movement. Because terracotta is porous and can release moisture differently than glazed tile, choosing a product specifically suited for tile-to-subfloor bonding helps reduce the risk of re-lifting. If your floor is on a moisture-prone slab or you suspect water issues, consult a pro or select a system intended for damp conditions and confirm compatibility with terracotta.
Why do my terracotta tiles lift even after I’ve patched them once?
If tiles lift again after repair, the underlying cause—like moisture intrusion, an unstable subfloor, or a repeating bond failure—was likely not fully resolved. Re-check the subfloor for movement, flatness, and any water source, and inspect whether the original adhesive coverage was sufficient (thin spots can fail). For recurring problems, it may be necessary to address the subfloor structure, add an appropriate uncoupling layer, or improve drainage and sealing before re-laying additional terracotta tiles.
📅 Last Updated: October 10, 2026 | Topic: How to fix lifting on terracotta floors? | Content verified for accuracy and freshness.
References
- Google Scholar Google Scholar
https://scholar.google.com/scholar?q=terracotta+floor+tile+lifting+repair - Google Scholar Google Scholar
https://scholar.google.com/scholar?q=ceramic+tile+debonding+moisture+subfloor+repair - Google Scholar Google Scholar
https://scholar.google.com/scholar?q=historic+terracotta+floor+tiles+conservation+repair - Terracotta
https://en.wikipedia.org/wiki/Terracotta - https://en.wikipedia.org/wiki/Ceramic_tile
- Thinset
https://en.wikipedia.org/wiki/Thinset_mortar - https://en.wikipedia.org/wiki/Tile_mastic
- Grout
https://en.wikipedia.org/wiki/Grout - Floor
https://en.wikipedia.org/wiki/Subfloor - Flooring
https://en.wikipedia.org/wiki/Flooring


