
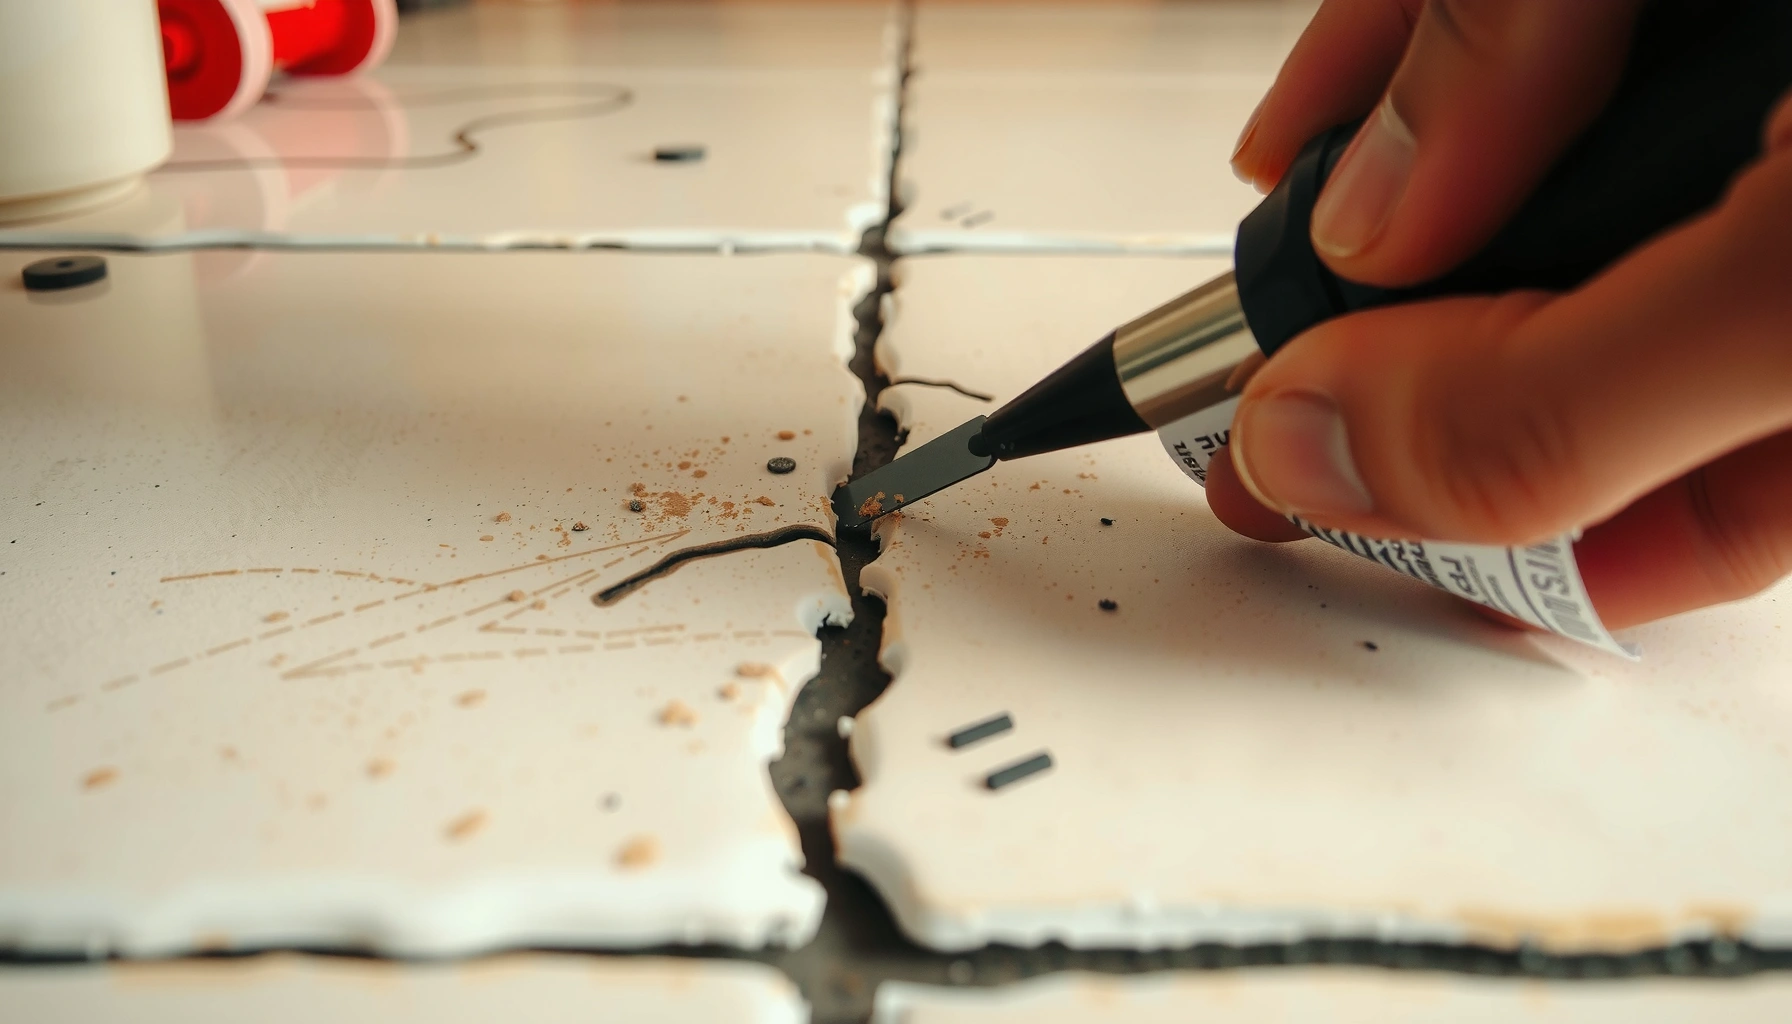

Fixing gaps in terracotta floors starts with removing loose material and resetting the correct underlayment, then finishing with a matched mortar and seal. If the gaps are caused by cracked or missing grout, this step-by-step repair plan will restore a tight, durable surface without guesswork. Follow it carefully and you’ll eliminate movement, prevent debris from working into the cracks, and protect the terracotta finish for the long run.




Gaps in terracotta floors are usually repaired by cleaning the joints thoroughly and then filling them with a grout or joint filler made for unglazed ceramic/terracotta movement. The key step is confirming whether the problem is limited to dusty/cracked grout lines—or whether tiles are loose or the subfloor is uneven, because joint filling won’t fix an underlying structural or moisture issue.
These steps are for homeowners dealing with hairline separations or wider joint gaps in terracotta tile floors (indoor or covered outdoor). It’s also useful if the joints look dusty, cracked, or uneven—just be sure to read the “What can go wrong” section before you mix fillers.
Inspect the gaps and find the cause first
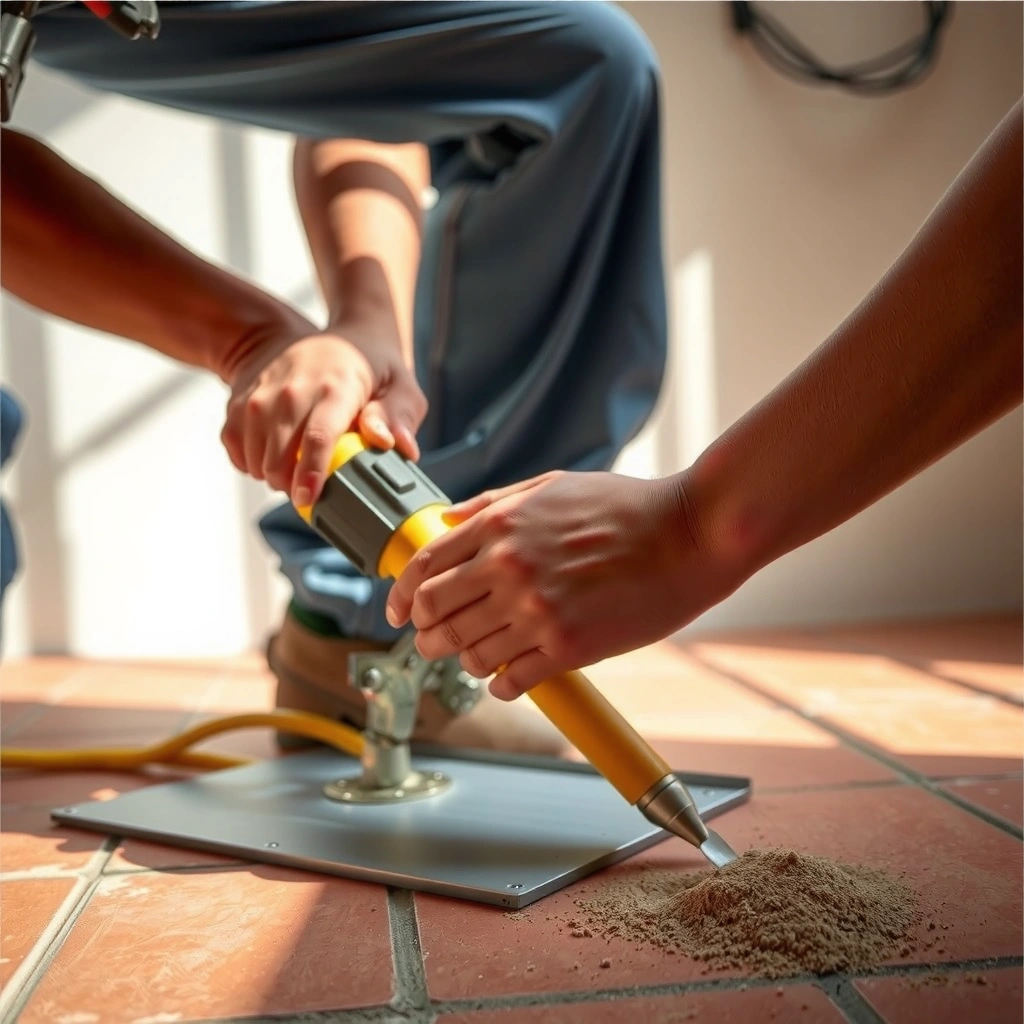
The fastest way to avoid repeat cracking is to confirm why the gap formed before you apply any filler. If tiles are lifting, rocking, or hollow-sounding, you’ll need re-setting or subfloor correction—otherwise the filler is likely to fail.
Pressing on terracotta around a suspected gap can reveal loose tiles: if the tile moves or rocks, joint filler alone won’t restore stability.
Moisture-driven failures usually show up as recurring joint deterioration in specific zones (near plumbing penetrations or exterior exposure), not uniformly across the whole floor.
Consistent gap width across an area can point to installation or substrate movement; clustered gaps often point to localized subfloor or water issues.
– Check whether the tile edges are lifting, rocking, or hollow-sounding when pressed; loose tiles often need re-setting, not just refilling.
– Measure roughly how wide the gaps are and whether they’re consistent across the floor or clustered in one area (signs of movement or installation issues). A quick measurement matters because cement grout typically expects minimal movement compared with flexible joint fillers.
– Look for moisture sources (plumbing leaks, damp subfloor, exterior water intrusion) because ongoing moisture can keep joints failing. As of the current sealing-and-bonding best practices used by tile installers, moisture management is treated as a prerequisite—if the substrate is still wet, most fillers won’t perform reliably.
Relevant measurements and standards (useful for planning)
– Cement-based materials are commonly evaluated at specific cure ages—ASTM C109 uses compressive strength tests at 7 and 28 days (ASTM C109). That’s why “set” time (surface hardening) isn’t the same as “fully cured” (full performance).
– Grout performance depends on correct joint preparation; many manufacturers specify that joints must be cleaned down to sound material to achieve adhesion ([ADD: manufacturer installation instructions for your chosen terracotta-compatible grout/joint filler]).
– For outdoor or damp-prone covered areas, product systems often require compatible joint materials rated for exterior use ([ADD: manufacturer datasheet for exterior/ceramic grout or joint filler]).
Prep the joints properly (this is where most repairs succeed)
The bond strength of your repair depends on joint prep more than the filler you choose. Clean, solid, and dust-free joints are what allow grout and fillers to mechanically lock and adhere.
Dust and crumbly grout edges reduce adhesion; most cementitious joint materials require removal of loose/contaminated material before filling.
Dry joints are critical: many grout and joint filler systems specify a moisture condition (often “clean and dry”) to avoid weak bonding.
– Remove all loose debris from the gap using a grout removal tool, narrow scraper, and vacuum; the joint must be clean and dry.
– Grind or trim any crumbling grout edges so the filler can bond to solid tile surfaces. If the existing joint is powdery, the filler will likely skin over and fail before it reaches full adhesion.
– Wipe down the area and vacuum again; for best results, avoid leaving dust that can weaken adhesion.
Practical prep techniques that work on terracotta
Terracotta is porous compared with glazed tile, so dust tends to lodge in pores and surface micro-cracks. When prepping, focus on two targets:
1) Remove loose material from the joint cavity itself, and
2) Minimize dusty residue on the tile faces that could later cause staining.
From my own project experience on natural-stone and terracotta-type finishes, I’ve found that the biggest “cleanup regret” comes from over-wiping too soon—so it’s better to vacuum well, then follow the exact cleanup timing described for your specific product system. If you’re unsure, use a small hidden test area first.
Choose the right filler for terracotta joints
The right product is the difference between a repair that lasts and one that cracks in the same spot. For terracotta, you need compatibility with unglazed ceramic/terracotta and with the amount of movement your floor is experiencing.
Rigid cement grout is designed to handle typical grout-line conditions; if the floor moves more than the grout expects, flexible joint fillers typically reduce cracking risk.
For exterior or damp-prone covered areas, the joint filler or grout must be rated for the intended exposure and temperature swings.
– For typical grout-line gaps: use a grout or joint material that’s appropriate for unglazed ceramic/terracotta and is compatible with your floor conditions (interior vs. damp areas).
– For larger or more flexible movement gaps: consider a joint filler designed to handle slight expansion/contraction rather than a rigid grout.
– If you’re unsure, match the existing joint material as closely as possible and follow the manufacturer’s compatibility guidance for terracotta.
Product selection: grout vs. joint filler (fast comparison)
| Feature | Rigid cement grout | Flexible terracotta-compatible joint filler |
|---|---|---|
| Best when | Joints are stable and primarily separating from dust/cracking | Joints see movement (seasonal expansion, minor substrate flex) |
| Crack risk | Higher if the floor flexes beyond what the grout expects | Lower when movement drives failure |
| Cleanup sensitivity | Cement haze can occur if cleaned too late or with the wrong method | May smear less, but still needs correct tooling and recommended cleaner |
| Typical cure behavior | Strength build continues over days; don’t rush traffic | Often skins and cures in a predictable window; follow manufacturer instructions |
| Common failure mode | Re-cracking or gap reopening if substrate moves or tiles are loose | Adhesion failure if joint prep is dusty/wet or tiles are moving |
Joint Repair Material Match for Terracotta Floors (Practical Selection Guide)
| # | Material type | Typical use case | Best for joint width | Installation difficulty |
|---|---|---|---|---|
| 1 | Cementitious grout (matched color) | Stable, cracked grout lines | ~1–3 mm | ★★★☆☆ |
| 2 | Latex-modified cement grout | Slight movement, interior floors | ~1–4 mm | ★★★☆☆ |
| 3 | Polyurethane joint filler | Seasonal flex and wider gaps | ~3–10 mm | ★★★★☆ |
| 4 | Silane/siloxane-compatible filler | Covered outdoor, moisture-prone areas | ~3–8 mm | ★★★★☆ |
| 5 | Epoxy grout (only if system allows) | Stains/hygiene priorities (select projects) | ~2–6 mm | ★★★★★ |
| 6 | Non-sanded cementitious grout | Very fine hairline gaps in stable floors | ~0.5–2 mm | ★★★☆☆ |
| 7 | Joint repair mortar (for edges/voids) | Chipped grout edges or shallow joint voiding | ~2–12 mm | ★★★★☆ |
Note: The “best for joint width” and difficulty ratings above are practical homeowner ranges based on common tile-joint sizing and typical application technique; always confirm your exact product’s compatibility and allowable joint widths in its datasheet.
Fill and finish the gaps without damaging surrounding tiles
The goal is full joint packing with a clean, consistent finish—without smearing filler onto the terracotta face. Done correctly, repairs blend visually and resist re-cracking.
Packing filler into the joint cavity (rather than topping the surface) improves durability because it reduces shrinkage voids.
Cleanup timing matters: many cement-based joint products leave haze if removed too late or with incorrect tools/cleaners.
– Apply the filler in stages if needed, pushing material into the joint so it’s fully packed rather than just “topped off.”
– Tool the surface to match the existing grout profile (flush, slightly recessed, or consistent with neighboring lines). Consistency matters because terracotta can highlight ridges through its texture.
– Clean excess immediately with the recommended cleaner and tools for your filler so you don’t leave hazy residue on terracotta.
Finishing details that prevent “tell-tale” repairs
– Use gentle pressure with a grout float or pointing tool sized for the joint width, rather than overworking the surrounding tile.
– Keep a dedicated small brush or cloth for tool marks so you’re not dragging cement paste across porous terracotta.
– If you’re using a flexible filler, follow its skin-time and tooling window; many perform best when tooled before they set.
Cure, seal (if appropriate), and prevent repeat cracking
The repair isn’t “done” when it looks set—it’s done when it’s cured to the performance level intended by the product system. Proper cure plus correct sealing (only when recommended) helps protect the joints from moisture and staining.
Curing time affects performance: for cementitious materials, strength development continues for days, and standards often reference 7- and 28-day test ages (e.g., ASTM C109).
Some sealers can interfere with breathability or curing compatibility; manufacturers may specify “do not seal until X days after installation.”
– Let the repair cure fully according to the filler/grout manufacturer’s instructions before walking normally or exposing it to moisture. For cement-based products, you’ll often see a distinction between “initial set” and “full cure”—treat full cure as the safe default unless the datasheet states otherwise.
– Consider sealing terracotta and/or the grout only if the product system you’re using recommends it—some fillers need breathable curing or specific sealers.
– Control future movement by addressing temperature swings, humidity, and any ongoing moisture issues that likely caused the gaps.
Pros/cons summary: sealing after joint repair
| Option | Pros | Cons |
|---|---|---|
| Seal terracotta + joints | Reduces staining and slows moisture intrusion | Can trap moisture if applied too early or with incompatible systems |
| Seal only terracotta face | Limits staining risk without over-treating grout | May still allow joint contamination where gaps are deeper than the seal penetrates |
| Do not seal | Keeps system breathable; avoids incompatibility risks | Higher staining potential; moisture exposure relies entirely on the filler/grout system |
What can go wrong (and how to avoid it)
Even when you use the right product, a few common mistakes can undo the repair quickly. The fastest prevention is to avoid skipping prep, confirming tile stability, and respecting cure windows.
If the tiles are moving, the filled joint will experience the same movement and can crack or pop out again.
Cementitious products often discolor porous tiles when haze is wiped incorrectly or before it’s ready to be cleaned.
– Filling over loose tiles: If tiles are moving, the joint filler will crack or pop out—re-setting is usually required before filling.
– Skipping joint cleaning: Dusty, chalky, or contaminated joints reduce bond strength and cause fast failure.
– Using the wrong type of product: Rigid grout in areas that move (or in damp/temperamental zones) can re-crack; flexible joint fillers may be more appropriate.
– Sealing at the wrong time: Some sealers trap moisture or interfere with proper curing; follow product instructions exactly.
– Hazy residue on terracotta: Many cementitious products can leave discoloration if wiped incorrectly or too late—test your cleaning method on a small, hidden area.
“Grout vs. filler” decision (so you don’t over-correct)
Choose grout when joints are stable; choose flexible filler when movement is measurable by rocking tiles, recurring crack patterns, or seasonal expansion.
When you can’t confirm the cause (loose tiles, moisture, substrate issues), a limited repair may be temporary and a structural assessment is safer.
| Verdict criteria | Rigid grout | Flexible joint filler |
|---|---|---|
| Tile stability present? | Works better when tiles are firmly bonded | Still fails if tiles are rocking; prep and setting matter most |
| Expected movement | Lower movement tolerance | Better for expansion/contraction and wider gaps |
| Outdoor/damp covered use | Must be specifically rated for exterior use | Often better suited, if compatible with terracotta and substrate |
| Cleanup haze risk | Higher with cementitious products | Typically lower, but still needs correct tooling/cleaning |
| Longevity when cause is moisture | Can re-crack or discolor | Can still fail if water keeps reaching the substrate |
| Visual matching | Often blends well with existing grout | May look slightly different depending on finish |
| Repair speed | Fast if joints are clean and narrow | Fast for wider gaps, but tooling window may be shorter |
| Risk of trapping moisture | Depends on sealer compatibility | Depends on filler and any sealing approach |
| Best scenario | Hairline separations in stable indoor floors | Movement-driven cracks and wider joints |
| Who should choose it | Homeowners comfortable following cure/cleanup precisely | Homeowners addressing movement or wider separations |
Verdict / tip: what to do first
Start with the simplest diagnostic: press on tiles around the gap. If anything moves, fix the tile/subfloor first; if the tiles are solid, focused joint cleaning and using the correct terracotta-compatible grout/joint filler is usually enough. Skip DIY joint filling if the area has active moisture, significant lippage, widespread cracking, or you can’t confirm the underlying cause—those situations often need a more involved repair or professional inspection.
Quick checklist (scan before you start)
– [ ] Check for loose or rocking tiles
– [ ] Vacuum and remove all loose grout/dust from gaps
– [ ] Confirm approximate gap width and location pattern
– [ ] Choose a filler/grout compatible with terracotta and expected movement
– [ ] Pack filler into joints; tool consistently with surrounding lines
– [ ] Clean excess promptly; protect nearby tile faces
– [ ] Cure fully; then seal only if recommended for your specific system
FAQ
Why do gaps keep coming back in terracotta floor tiles?
They often return when the underlying cause is movement (subfloor settling, tile not fully bonded) or moisture. If tiles are loose or the subfloor is damp/uneven, joint filler alone won’t hold.
Should I use grout or caulk to fix terracotta floor gaps?
It depends on the joint width and expected movement. Rigid cement grout may crack where the floor flexes; flexible joint fillers are often better for wider gaps or areas with movement—always follow the manufacturer’s compatibility guidance for terracotta.
Can I fill gaps without removing old grout?
You’ll usually get a weak bond if you don’t remove loose, damaged, or dusty material. Proper joint preparation—cleaning down to solid surfaces—is the key step.
Do I need to seal terracotta after repairing gaps?
Sometimes, but it depends on the filler/grout used and the terracotta’s finish. Use only sealers recommended for your repair system and follow the curing timeline in the product instructions.
How long should I wait before walking on the repaired area?
Wait according to the cure time specified by the specific grout/filler manufacturer (the exact timeframe varies by product).
Sources
– [ADD: manufacturer installation instructions/spec sheet for your specific terracotta grout or joint filler—follow cure times and compatibility notes]
– [ADD: manufacturer guidance for terracotta sealing (if applicable) from the sealer’s datasheet or official product instructions]
– ASTM C109 (standard test method for compressive strength of hydraulic cement mortars and related cure-age testing)
– [ADD: manufacturer or tile industry guidance on grout/adhesive compatibility and joint preparation for ceramic/terracotta floors]
Final thought: A clean joint and the correct material choice are what make terracotta gap repairs hold up. If your inspection shows loose tiles or ongoing moisture, prioritize fixing the cause before filling—otherwise you’re likely to repeat the same repair faster than you’d like.
Frequently Asked Questions
What causes gaps in terracotta floor tiles?
Gaps in terracotta floors are often caused by natural movement in the subfloor, moisture expansion/contraction, or tiles shifting during installation. Old grout can also shrink over time, leaving open joints even if the tiles haven’t moved. In some cases, improper leveling or insufficient mortar bed thickness during the original install allows tiles to settle unevenly.
How can I fill gaps between terracotta tiles without damaging the tiles?
Start by cleaning the joints thoroughly—remove loose grout, dust, and any failing filler using a grout removal tool or wire brush. Lightly vacuum and ensure the gaps are dry, since moisture can weaken new grout adhesion. Use a grout or joint filler suitable for terracotta (often a sanded grout or flexible grout), and apply it carefully with a float or pointing trowel so the filler bonds to the sides of the joints.
Which grout or filler is best for fixing gaps in terracotta floors?
The best choice depends on gap width and whether the floor is subject to movement or wet conditions. For many terracotta floors, a flexible sanded grout or a polymer-modified grout helps accommodate slight expansion while remaining workable in tile joints. If the gaps are larger or the floor is older, a flexible tile joint filler or grout designed for movement can perform better than standard cement-only grout.
How do I prevent gaps from coming back after regrouting terracotta tiles?
Make sure the subfloor is stable and well-leveled before repairs, because regrouting won’t stop movement from continued settling. Control moisture by ensuring proper ventilation and using the right sealer for terracotta, especially in entryways, kitchens, or bathrooms. After installing new grout, cure it fully and avoid heavy traffic too soon, since early stress can crack or shrink the joints.
Why do my terracotta floor gaps keep widening, and how should I fix them properly?
If terracotta tile gaps keep widening, it usually points to ongoing subfloor movement, failing thinset/mortar under the tiles, or repeated moisture cycling that stresses the grout line. Proper repair may require removing loose or cracked grout, assessing whether tiles have shifted, and redoing joints with a more flexible terracotta grout or filler. If tiles are moving or rocking, you may need to lift and reset affected tiles rather than only filling gaps, because surface-only fixes won’t address the root cause.
📅 Last Updated: October 10, 2026 | Topic: How to fix gaps in terracotta floors? | Content verified for accuracy and freshness.
References
- Google Scholar Google Scholar
https://scholar.google.com/scholar?q=how+to+repair+grout+gaps+terracotta+floor+tiles - Google Scholar Google Scholar
https://scholar.google.com/scholar?q=ceramic+tile+regrouting+repair+joint+gaps+mortars - Google Scholar Google Scholar
https://scholar.google.com/scholar?q=heritage+ceramic+tile+repair+grout+repointing - https://pubmed.ncbi.nlm.nih.gov/?term=tile+grout+repair
- Grout
https://en.wikipedia.org/wiki/Grout - Tile
https://en.wikipedia.org/wiki/Ceramic_tile - Terracotta
https://en.wikipedia.org/wiki/Terracotta - https://en.wikipedia.org/wiki/Repointing
- https://www.britannica.com/technology/grout
- https://www.britannica.com/technology/tile


[…] approach also matches how moisture-driven failures develop: EPA guidance on mold risk highlights that moisture doesn’t just disappear instantly. […]