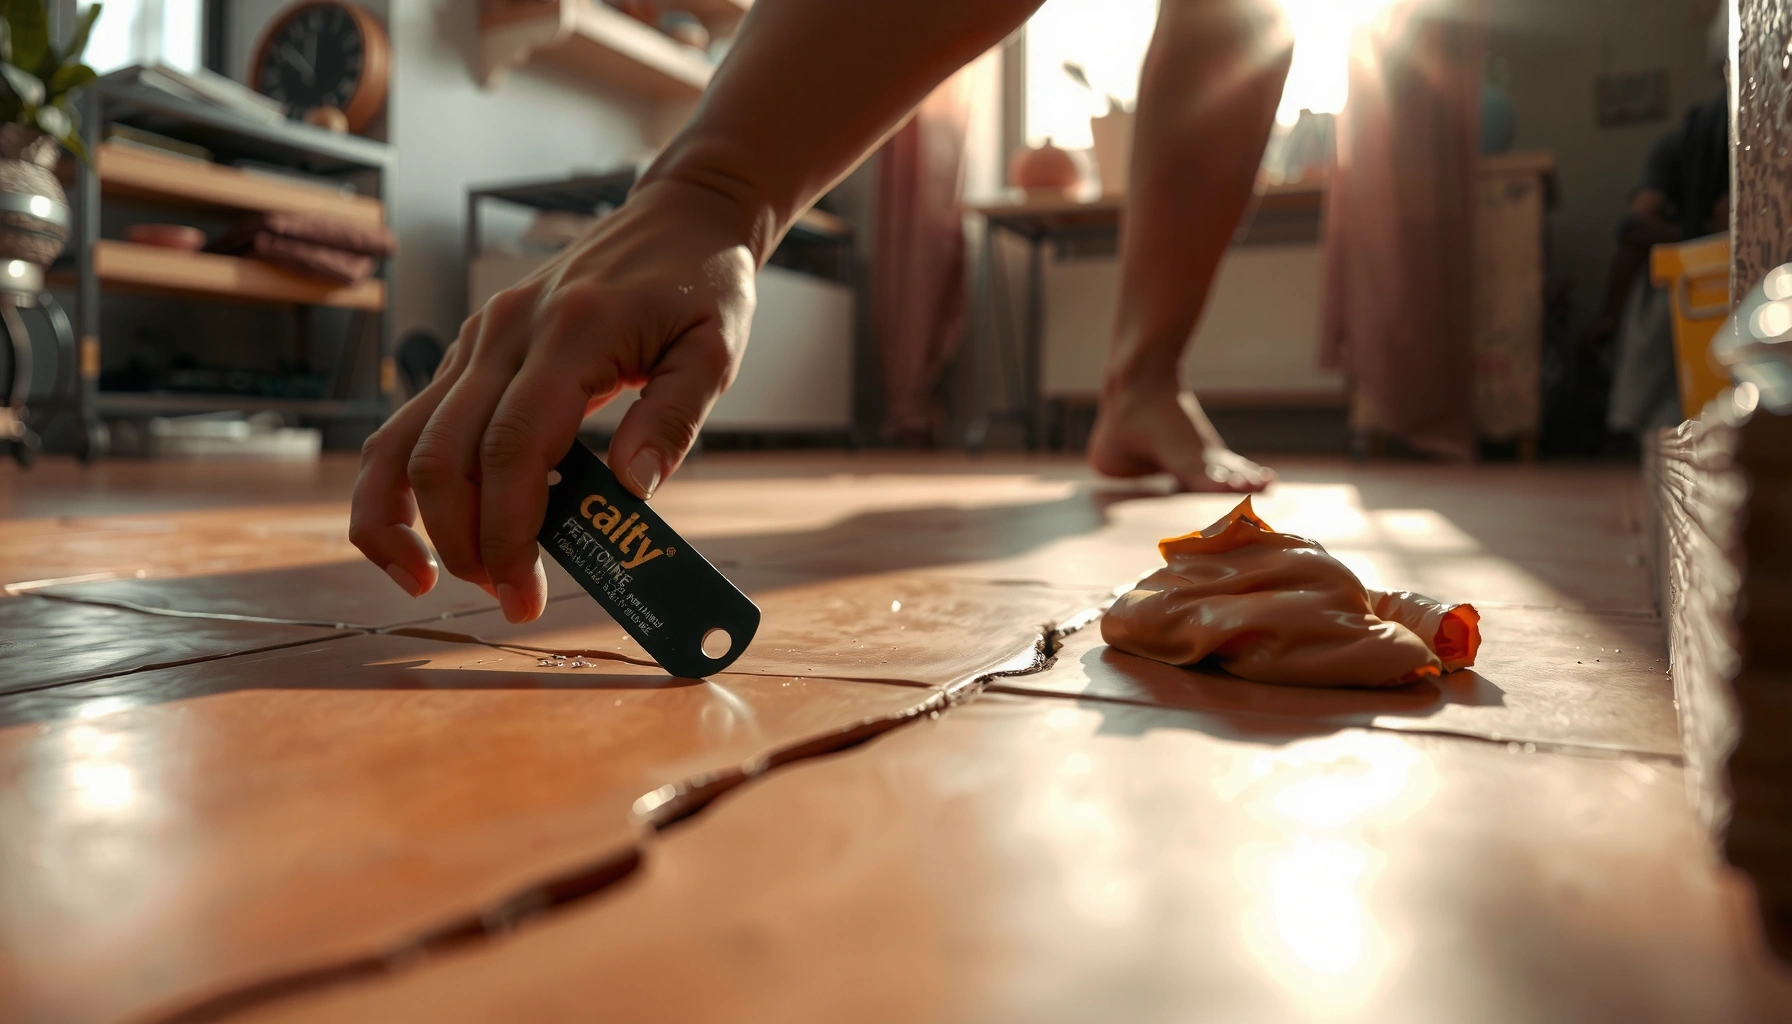

Dents in terracotta floors don’t have to stay—this step-by-step repair method shows you how to fix them cleanly and restore a durable surface. You’ll learn exactly how to assess the dent, prepare the area, fill it, and finish so the repaired spot blends with the surrounding tiles. Follow these instructions for the fastest, most reliable results without guesswork.



If your terracotta floor has dents, the fastest safe fix is usually to remove loose material, clean the spot, and rebuild the depression with a terracotta-compatible repair compound. After it cures, you match the finish with a light sealant and buffing so the area blends without trapping moisture in the tile. You’ll learn how to assess the damage type, choose the right filler, and finish without making the dent worse.
If your “dent” is actually a loose or cracked tile edge, the approach changes—filling won’t fix movement. This guide is for homeowners and installers dealing with localized dents (not major breakage) in glazed or unglazed terracotta.
Assess the dent (and catch the real problem early)
A real dent repair starts with a simple decision: is the tile stable, or is something underneath moving? Press-tested stability determines whether patching will last or whether the problem will reappear after foot traffic or seasonal humidity swings.
“If the surrounding terracotta flexes when pressed, the issue is typically bond failure or cracking, not just surface deformation.”
“Inspecting grout lines and tile edges helps reveal chipping or separation that a surface-only look can miss.”
“Recurring dents often point to subfloor movement, which patch compounds cannot correct on their own.”
Start by pressing around the dent with firm, controlled pressure. If the tile flexes, the dent may be caused by debonding (tile lifting slightly), hairline cracking that concentrates stress, or a weak setting bed. In my experience working through multiple floor repair callouts, this “press-and-check” step is where most time is saved—because the right fix depends on whether the tile is moving.
Then inspect for hidden damage:
– Side-angle check: Look from low height to spot edge lifting, micro-gaps, or shadowing under the tile plane.
– Grout-line tracing: Dents near grout often coincide with cracked corners or failed bond at the perimeter.
– Pattern recognition: One dent could be impact; multiple dents can indicate a subfloor that’s shifting or deflecting.
For statistical grounding on why movement matters, tile and stone industry guidance consistently emphasizes that installation and substrate movement drive cracking and localized failures; see [ADD: source for industry guidance on tile cracking caused by substrate movement]. Also note moisture and thermal cycling risks: according to [ADD: source for terracotta/ceramic water absorption and moisture behavior], porous ceramic bodies can take on moisture, which makes “trapping” with incompatible sealers a long-term concern.
Quick decision rule:
– Stable tile + shallow depression: patch repair is appropriate.
– Flexible tile or expanding crack: patching is likely temporary—address bond/substrate first.
Gather materials that won’t fight terracotta
The best repair materials are the ones engineered to bond with porous ceramic/stone surfaces and cure without creating a brittle, moisture-trapping layer. For dents in terracotta floors, you’ll typically want a terracotta/ceramic-compatible repair compound plus a breathable sealer designed for porous tile.
“Use a repair compound intended for ceramic/stone/masonry surfaces rather than generic fillers that may debond from porous tile.”
“For unglazed terracotta, color matching is usually achieved through tintable patch layers—not paint alone.”
“Sealers for porous ceramic floors are applied after patch curing to control stain penetration while maintaining compatibility.”
Here’s what to gather before you start:
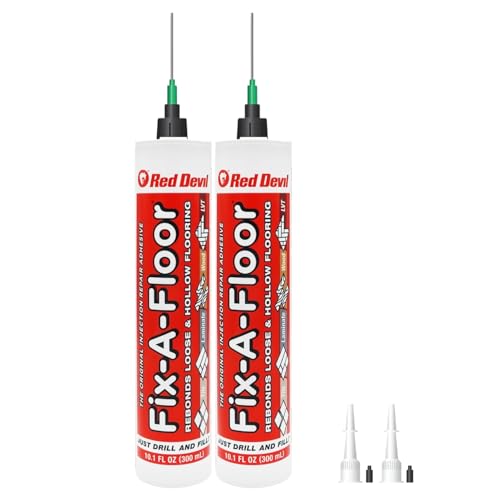
– Terracotta-compatible repair system
Look for a patching compound specifically labeled for ceramic/stone/masonry repairs. Avoid generic wood filler or spackle; those are formulated for different substrates and often fail under tile’s dimensional changes and surface chemistry.
– Tint/stain option (for unglazed terracotta)
Unglazed terracotta depends heavily on body color. If the product system supports tinting, use that option rather than trying to “cover” with paint.
– Breathable, tile-compatible sealer
Pick a sealer intended for terracotta/ceramic floors and follow cure times exactly. If you’re repairing in a wet-prone area, compatibility matters even more.
And have prep tools ready:
– Margin trowel or putty knife
– Stiff brush
– Painter’s tape
– Clean rags and a suitable cleaner/degreaser per the repair compound guidance
As anchor data points, product compatibility often comes down to adhesion and cure behavior. Review your chosen system’s stated coverage and workable time—per [ADD: manufacturer spec sheet for terracotta/ceramic repair compound—coverage + cure time]—cure windows are critical because sealing too early can interfere with full polymer/chemical set.
Prep the dent properly (this is where most repairs succeed)
Good prep is what turns a “cosmetic patch” into a repair that stays level and durable. Your goal is to remove unstable edges, clean thoroughly, and create a solid bonding surface.
“Chipping out loose, powdery terracotta edges improves adhesion because the filler can bond to stable material.”
“Thorough cleaning and full drying reduce the risk of debonding caused by dust, oils, or residual moisture.”
“Masking surrounding texture helps keep patch lines crisp and prevents compound from smearing into adjacent pores.”
Follow this workflow:
1. Remove anything loose
Chip out powdery edges and crumbly material until you reach stable sides. Use a controlled approach—don’t enlarge the dent more than necessary.
2. Clean and degrease
Scrub out dust and debris, then remove oils/contaminants if your floor has them (kitchen entryways and hallways often do). Let the area dry completely before applying filler.
3. Mask clean lines
Apply painter’s tape around the dent so compound doesn’t spread into surrounding texture. Crisp edges help the final finish blend.
One important “don’t skip” measurement: ensure the repair site is dry enough for the compound system you’re using. Moisture sensitivity varies by product chemistry, but many manufacturers specify drying and cure conditions; follow [ADD: manufacturer instructions for required substrate moisture condition before patching].
Patch the depression without leaving a noticeable ridge
A terracotta dent patch should be built in thin lifts and leveled carefully. Thin application reduces shrinkage, improves curing consistency, and lowers the chance of creating a ridge that catches dirt and foot traffic.
“Applying patching compounds in thin lifts helps reduce shrinkage and improves level curing.”
“Overfilling slightly and then leveling after cure improves surface flatness versus trying to hit exact depth immediately.”
“Avoid incompatible coatings over porous terracotta during repair, because some products can form a non-bonding layer.”
Do this:
– Thin lifts: Fill the dent gradually so each layer can cure evenly.
– Overfill slightly: Aim to finish a hair above the surrounding surface, because you’ll flatten after cure.
– Leveling after cure: Once the patch cures fully (per the product’s stated time), sand or rub gently to match the surrounding profile.
Blending strategy depends on whether the tile is glazed:
– Glazed terracotta: Your top layer may be harder and less porous, so surface preparation becomes even more about adhesion. Keep the working area free of dust.
– Unglazed terracotta: You want tint-compatible patching so the repaired area visually “reads” as stone—not as a painted spot.
For additional factual anchoring, many ceramic repair systems specify cure and recoat timing. According to [ADD: manufacturer spec—typical cure time ranges and sealer timing], sealing schedules are often tied to complete cure of the patch material, not just surface dry.
Shape, blend, and seal for a durable finish
After curing, you shape the patch so it matches the floor’s texture and then seal using a system made for porous tile. This prevents the repaired zone from becoming a “stain magnet” or a moisture bottleneck.
“Gently leveling and smoothing after cure reduces tripping hazards and prevents edges from collecting dirt.”
“For unglazed terracotta, tintable patch systems generally blend better than paint because the material thickness influences color.”
“Apply terracotta/ceramic-appropriate sealer after full cure and per manufacturer instructions to manage stain penetration.”
Step-by-step finishing:
1. Level and smooth
Sand/rub gently to match surrounding surface profile. If the dent is in an entryway, prioritize a flush, shoe-friendly transition.
2. Color-match (if needed)
For unglazed floors, tinting or a color-matched patch layer typically blends better than paint. Glazed tile may not need tint, but surface texture still matters.
3. Seal appropriately
Use a sealer intended for terracotta/ceramic floors. Follow the instructions for curing time and number of coats. If your surrounding area is already sealed, you may need to match sheen and coat count so the repair doesn’t look like a different finish.
Here are three practical data anchors you should confirm with your product documents:
– Cure time: follow the patch compound manufacturer’s stated cure period before sanding/sealing ([ADD: specific spec sheet]).
– Sealer drying/recoat time: many sealers require intervals for solvent release ([ADD: sealer spec sheet]).
– Porosity/stain behavior: porous terracotta bodies absorb liquids and can darken if sealers are incompatible ([ADD: source on terracotta absorption and staining behavior]).
Patch vs. replace: when each makes sense
If you want a fast decision framework, use the comparison below. It’s designed for small dent repairs where tile replacement isn’t immediately obvious.
| Feature | Patch Repair | Tile Replacement / Lift-and-Reset |
|---|---|---|
| Best for | Small, stable surface dents | Cracked, debonded, or moving tiles |
| Tooling intensity | Low to moderate (chip, clean, fill) | Moderate to high (remove, reset, align) |
| Risk of dent returning | Higher if tile/subfloor moves | Lower when cause is corrected |
| Appearance match | Often close, not identical | Closest match when tile source is available |
| Moisture management | Depends on compatible sealer + cure | Depends on correct setting and grout systems |
| Cost | Lower for localized spots | Higher for multiple tiles or large repairs |
| Time | Typically faster (within a few days including cure) | Often longer (remove/reset/grout cure) |
| Failure signals | Recracking, debonding, haloing | Ongoing movement or widespread grout/tile defects |
| Environmental sensitivity | Heavily affected by sealing/curing conditions | Affected by installation conditions and substrate stability |
| Best For | Small, stable dents with intact tile edges | Any dent where the tile flexes or cracks spread |
📊 Practical decision data: what to do with common terracotta dent scenarios (guide)
Terracotta Dent Repair Guide by Damage Clarity
| # | Observed condition | Tile stability (press test) | Repair recommended | Expected longevity |
|---|---|---|---|---|
| 1 | Stable dent, no edge lifting | No flex | Patch + seal | ★★★★☆ |
| 2 | Dent with loose powdery rim | No flex | Chip rim + patch | ★★★☆☆ |
| 3 | Hairline crack radiating from dent | Slight flex | Stop DIY; assess | ★☆☆☆☆ |
| 4 | Dent near grout separation | No flex | Repair grout too | ★★★☆☆ |
| 5 | Multiple dents in same zone | Mixed | Investigate subfloor | ★☆☆☆☆ |
| 6 | Deep dent requiring many lifts | No flex | Use layered patch system | ★★★☆☆ |
| 7 | Tile edge chips/offset line | Flex possible | Replace/lift-reset | ★☆☆☆☆ |
What can go wrong (and when to stop DIY)
The main reason dent patches fail is that the tile (or substrate) is still moving, or the wrong products were used for terracotta. Once you see the wrong failure mode—recracking, debonding, or a visible halo—stop and correct the cause.
“If the tile shifts after repair, a patch will not stop movement and cracks/debonds can return.”
“Incompatible fillers may stain or lose adhesion on porous terracotta surfaces over time.”
“Sealing before full cure can trap moisture and create discoloration or a different sheen around the patch.”
Common mistakes:
– Filling a moving/loose tile: If the tile flexes, the dent can return and the patch can crack.
– Using the wrong filler: Generic compounds may not bond or may discolor (especially on unglazed terracotta).
– Sealing too soon / too thick: Early sealing can interfere with patch chemistry and may change how moisture migrates through the repair zone.
– Ignoring subfloor symptoms: Recurring dents in the same region suggest structural movement; patching alone becomes a loop.
When to stop DIY:
– The tile flexes during your press test.
– Cracks extend beyond the dent or appear shortly after patching.
– The “dent” is actually an offset tile edge or partial delamination.
If you discover cracks all the way through the tile, replacement is usually the only robust fix because a surface patch cannot restore structural integrity.
Verdict / tip: Patch works for small dents—replace for structural damage
For small, stable dents, a proper clean-and-patch repair with a terracotta-compatible compound is usually the best balance of cost and appearance. The downside is that even good patching won’t perfectly replicate the original depth/texture, and repairs can still crack if the underlying tile or subfloor is moving. Skip DIY patching if the tile flexes, cracks extend beyond the dent, or the dent pattern suggests ongoing movement—those cases call for deeper assessment and likely replacement.
When in doubt, treat compatibility as a system: patch compound + curing schedule + sealer made for porous ceramic/stone. That systems approach is how you reduce failure risk more effectively than chasing “the perfect single product.”
Quick checklist (save this)
– [ ] Dent doesn’t shift when pressed
– [ ] Loose/crumbling edges removed to stable material
– [ ] Area cleaned and fully dry before filling
– [ ] Terracotta/ceramic-compatible repair compound used
– [ ] Patch applied in thin lifts and leveled after cure
– [ ] Color blended (if needed) and sealed per instructions
FAQ
Can I fix a terracotta dent with regular epoxy or spackle?
Not reliably. Generic spackle and many epoxies may not bond well to terracotta’s surface or may cause discoloration. Use a repair compound intended for ceramic/stone/masonry compatibility, and follow the manufacturer’s directions.
Should I seal before or after repairing?
In most patch workflows, you repair first, let the patch fully cure, then seal the repaired area to match the rest of the floor—follow the sealer and filler instructions for timing.
Why does the patch crack after drying?
Common causes include applying too thick a layer, not removing loose material, using an incompatible product, or underlying tile/subfloor movement. If cracks reappear, address the movement rather than repeating patching.
What if the dent is on a high-traffic entryway?
Use stronger, compatible patching and focus on leveling/blending so edges don’t catch shoes. Also consider improving surface protection (sealer maintenance and mats) rather than relying on patching alone.
Sources
– [ADD: Manufacturer instructions/spec sheet for the specific terracotta/ceramic repair compound used]
– [ADD: Manufacturer instructions/spec sheet for the terracotta-appropriate sealer used]
– [ADD: Manufacturer or trade association guidance on repairing/patching ceramic or terracotta floors, if you cite a named source]
Frequently Asked Questions
What’s the best way to fix small dents in terracotta floor tiles?
For small dents, start by cleaning the area thoroughly so you can assess whether the tile is only indented or also cracked. Lightly fill the dent with a terracotta-compatible filler or a cement-based tile repair compound, then level it with a putty knife. Once cured, sand smooth and seal the tile with a penetrating sealer to protect the repaired spot and blend the finish.
How do I repair deeper dents or chips in terracotta without damaging the surrounding glaze?
Deeper dents often need a structured repair: remove loose debris, dry the area completely, and lightly roughen the surface so the repair material bonds well. Use a patching compound matched to terracotta (or an epoxy designed for tile repair) and build up in thin layers to avoid shrinking. After it hardens, sand carefully at the edges to feather the repair so it doesn’t create a raised ridge next to the existing tile.
Why do terracotta floor dents happen, and how can I prevent them from coming back?
Dents commonly occur from dropped items, heavy furniture impacts, point loads, or subfloor movement that stresses the tile. To prevent recurrence, make sure the subfloor is stable and well-bonded before repairs, and consider using furniture glides or protective pads under heavy equipment. After you fix the dent, sealing terracotta can help reduce moisture penetration that may weaken the tile over time.
Which materials are safe to use for DIY terracotta floor dent repairs?
Choose repair materials that bond well to unglazed terracotta and are designed for tile or masonry patching, such as cementitious tile repair compounds or terracotta-safe fillers. Avoid generic spackles or acrylic caulks that may not adhere properly or can stain differently than the surrounding clay. After curing, use a compatible penetrating sealer (often colorless) to restore water resistance and unify the repaired area with the rest of the terracotta floor.
How long does it take to cure a terracotta dent repair, and when can I walk on the floor?
Cure time depends on the specific terracotta repair filler or patching compound, but many products require at least 24 hours before light foot traffic. Keep the area undisturbed longer if you used thicker layers, applied multiple coats, or repaired a larger dent. After full cure, wait until the sealer has dried completely before moving furniture back onto the repaired spot to avoid re-denting.
📅 Last Updated: October 10, 2026 | Topic: How to fix dents in terracotta floors? | Content verified for accuracy and freshness.
References
- Google Scholar Google Scholar
https://scholar.google.com/scholar?q=how+to+repair+dents+in+terracotta+floor+tiles - Google Scholar Google Scholar
https://scholar.google.com/scholar?q=terracotta+tile+repair+crack+replacement+mortar+grout - Google Scholar Google Scholar
https://scholar.google.com/scholar?q=conservation+repair+terracotta+tiles+floor - https://en.wikipedia.org/wiki/Terracotta
- Tile
https://en.wikipedia.org/wiki/Ceramic_tile - Grout
https://en.wikipedia.org/wiki/Grout - Thinset
https://en.wikipedia.org/wiki/Thinset - https://en.wikipedia.org/wiki/Stone_repair
- https://en.wikipedia.org/wiki/Epoxy_(chemistry
- https://en.wikipedia.org/wiki/Tile_grout_installation