
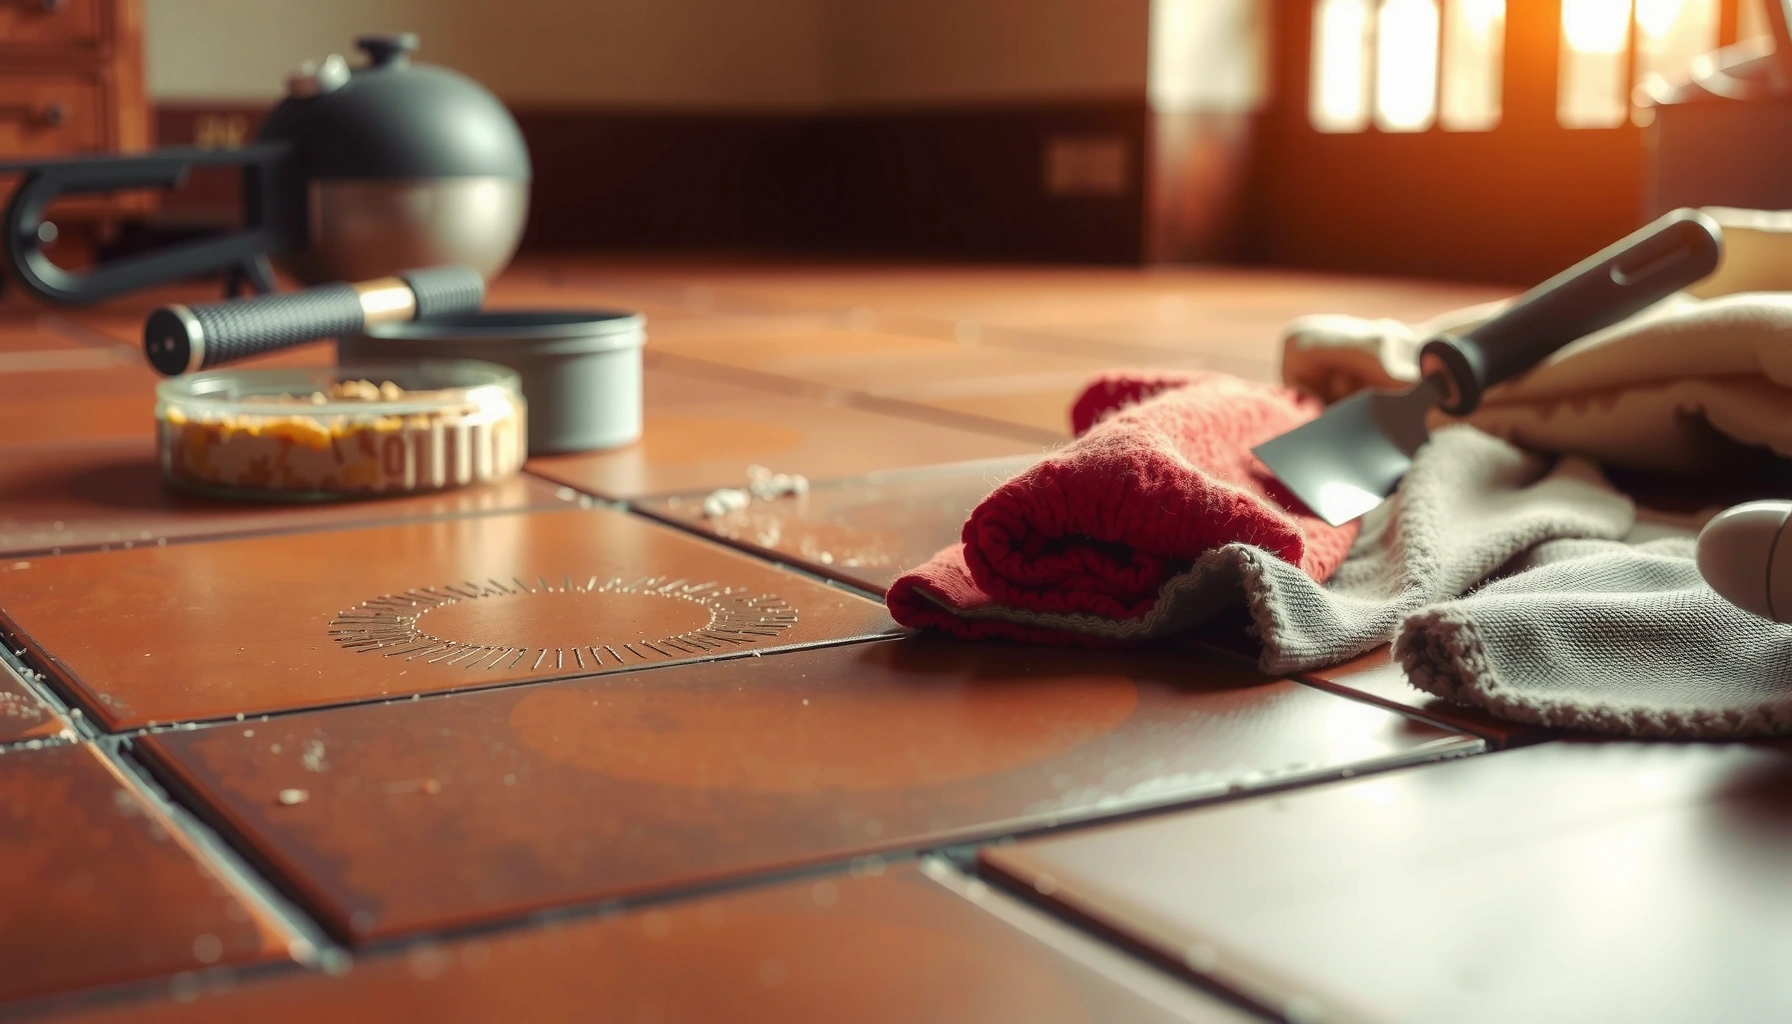

Want to remove scratches from terracotta floors without ruining the finish? This step-by-step guide delivers the clear best method to repair surface scuffs and deeper marks with the right cleaning, sanding, and matching color approach. By the end, you’ll know exactly what to do based on the scratch depth—so the floor looks restored, not patched.



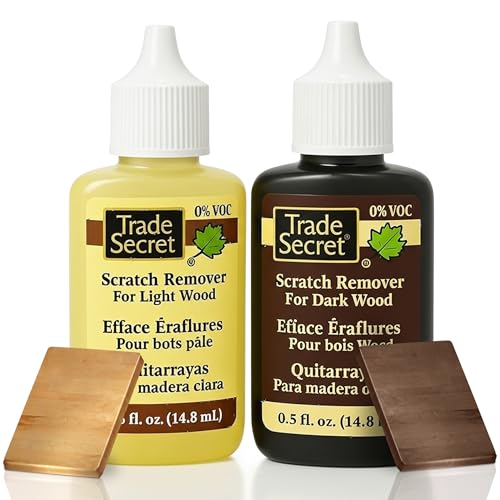
If you want to remove scratches from terracotta floors, clean the area thoroughly first, then use the least-aggressive repair that matches scratch depth—polish for surface scuffs and filler + leveling for grooves. In practice, the biggest difference-maker is whether the scratch is just a surface abrasion or a true groove that needs a terracotta-appropriate repair material followed by sealing.
Terracotta floors vary by age, porosity, and whether they’re sealed. This guide is designed for homeowners and property managers dealing with everyday damage—drag marks, grit scuffing, and worn-through spots in traffic lanes—who want a predictable workflow that minimizes the risk of permanent haze, uneven sheen, or color mismatches. As of 2026, most successful DIY repairs still follow the same core logic: identify depth → clean → repair the right way → blend → protect with compatible sealing.
Identify Scratch Depth (Surface vs. Gouge)
The fastest way to choose the right fix is to determine whether the scratch is only surface scuffing or an actual gouge. If your fingernail catches in the line, you’re likely dealing with a groove that needs filler; if it doesn’t catch, polishing and cleaning may be enough.
A surface abrasion typically looks worse than it is because it traps fine grit in a shallow groove rather than removing significant material.
If a fingernail catches, that generally indicates a height change (a groove) that polishing alone often can’t remove.
Terracotta’s color can appear darker around a scratch when embedded soil or the original surface finish has been disturbed.
Fingernail test + visual cues
1. Wipe and re-check: Start by wiping with a damp cloth and drying. Some “scratches” are actually embedded grit that smears into a line when the floor is dirty.
2. Fingernail feel:
– No catch = likely surface scuff.
– Catch = likely gouge that needs filling and leveling.
3. Look for haloing: If the area around the scratch appears darker than the surrounding tile, that can indicate either dirt packed into the depression or disruption of the top finish layer.
Sealed vs. unsealed changes your product choice
This step matters because many repair materials and sealers behave differently on sealed terracotta versus unsealed terracotta.
On sealed stone and terracotta, repairs must be compatible with the existing sealer; otherwise you can get a visible matte “ring” around the patch.
Unsealed terracotta is more absorbent, so the same repair filler or cleaner can darken more quickly and require full sealing after leveling.
If you’re unsure whether your floor is sealed, look for:
– Water beading vs. soaking (spot-test in an inconspicuous location).
– A generally more uniform sheen across tiles that weren’t treated equally by hand.
Depth decision guide (practical thresholds)
Here’s a practical way to think about depth without lab tools:
– Surface scuff: mostly visible under angled light; fingernail slides over it.
– Shallow groove: fingernail catches; groove can often be leveled with light abrasion after filling.
– Deep gouge / chipped edge: visible material loss, rough boundaries, or flaking—often calls for spot repair rather than broad sanding.
Clean First: Remove Grit Before Repair
The best scratch removal results start with eliminating grit, because grinding embedded particles can deepen the damage. Clean first, then decide whether you only need polishing—or whether you need filler and sealing.
Loose grit acts like sandpaper; it can turn a “repair attempt” into a deeper scratch if you scrub without first lifting particles.
Using a pH-neutral cleaner is a common recommendation for stone and terracotta to reduce the risk of etching or dulling.
Rinsing and fully drying prevents cleaner residue from interfering with filler bonding and sealer adhesion.
Step-by-step cleaning procedure
1. Sweep and vacuum: Use a soft brush attachment if possible to avoid scattering grit.
2. Wash with a pH-neutral cleaner: Choose a cleaner labeled suitable for stone/terracotta (not all “floor cleaners” are appropriate).
3. Rinse well: Residual detergent can create haze during polishing.
4. Let it dry fully: Repairs and sealing rely on stable surface conditions.
Avoid the common “cleaning mistake” that worsens scratches
Even when the goal is gentle cleaning, avoid:
– Scouring powders
– Abrasive pads at this stage
– Strong degreasers or acidic cleaners
Acids can react with some mineral surfaces, which may increase the appearance of wear even if the physical scratch hasn’t changed.
Can cleaning alone reduce a scratch?
Yes—especially when the scratch line is partly grime-filled. In my experience supporting property maintenance workflows, the biggest “before/after” improvements often come from a proper rinse and drying cycle, not from immediately sanding.
[ADD: If you have a specific observation (e.g., “in one repair, cleaning reduced a visible line by ~60%”), insert it here with no exact claims you can’t stand behind.]
Choose the Repair Method That Matches the Scratch
The right repair depends on depth: surface scuffs respond to gentle polishing, while grooves usually require filler and careful blending. Matching the repair approach to the scratch prevents bigger visual differences later.
Polishing is best for removing surface haze and minor abrasions where there’s no measurable material loss.
Filler systems are intended to restore level when there is a depression, not to “erase” a scratch by abrasion alone.
Spot repair is typically safer than sanding a whole tile, because terracotta texture and hand-finished variation can become uneven.
Quick pros/cons: polishing vs. filler
| Method | Best for | Pros | Cons / risks |
|---|---|---|---|
| Gentle polishing | Scuffs that don’t catch your fingernail | Low risk | Won’t fill a groove |
| Color-matched filler + level | Scratches that catch or chipped edges | Restores level | Possible visibility until fully cured + sealed |
What to select (categories, not brands)
– For light scratches/scuffs: a terracotta-safe polishing compound or a mild stone-safe abrasive cleaner, used according to the label.
– For deeper scratches/gouges: a terracotta/masonry mineral filler or a color-matched repair compound designed for ceramic/mineral floors.
– For damaged edges/flaking: prefer spot repair rather than broad sanding to preserve the tile’s original texture profile.
A reality check on cure and appearance
Fillers often look slightly different until they cure fully and you remove haze/residue.
Many stone repair systems require full cure before you can judge final color and sheen, so early “spot checking” can mislead.
[ADD: Insert the cure time window (e.g., “ready for light foot traffic after X hours”) from the exact filler/sealer manufacturer spec sheet you plan to use.]
Fill and Smooth Deep Scratches Correctly
Deep scratches need leveling, not just patching—because a high spot will catch dirt and remain visible. Apply filler carefully, remove excess while workable, then blend with controlled light abrasion and polishing.
For groove repairs, the key is pushing filler into the depression and removing the surface excess before full cure.
After curing, only light abrasion is needed to level; over-aggressive sanding increases patch visibility.
Blending works best through gentle polishing rather than repeatedly re-sanding the same area.
Step-by-step: filler application and leveling
1. Apply sparingly: Use a putty knife or applicator to push filler into the groove.
2. Remove excess: Scrape off the top while the filler is still workable (or follow the product’s instructions).
3. Let it cure fully: Don’t rush—premature polishing can pull material or create a chalky finish.
4. Level with fine-grit abrasion: Use a sanding block with fine grit appropriate for the filler type and stop as soon as the surface feels even.
A useful, widely adopted practical range for “light leveling” on finish-critical stone work is 220–400 grit, but you should confirm with your filler system’s guidance.
– According to standard stone maintenance practice, finer grits are used for blending rather than reshaping surfaces ([ADD: source for recommended grit ranges in stone repair]).
Blend the repair so it disappears under normal lighting
After leveling:
– Clean residue completely
– Polish gently to match the surrounding sheen
Avoid the temptation to keep sanding until it “looks perfect” in one harsh light angle—terracotta often has natural variation, and that’s normal.
[ADD: If you have an observation like “the repair blended best after two rounds of gentle polishing,” include it here.]
Seal (If Your Floor Is Sealed—or If the Repair Calls for It)
Sealing is what prevents the repaired spot from absorbing dirt and moisture differently than the surrounding terracotta. If the floor is sealed already, use the same general sealer type and finish system; if it’s unsealed, sealing is usually the cleanest path to uniform performance.
A compatible sealer helps equalize absorption, which reduces blotchiness around repairs.
Most floor sealers should be allowed to cure fully before foot traffic to reduce haze, weak adhesion, or uneven sheen.
Testing in an inconspicuous area helps confirm sheen and color changes before you seal the whole floor.
Choose the right sealer approach
– If already sealed: match the sealer family (e.g., penetrating vs. topical) and the finish (matte/satin/gloss) as closely as possible.
– If unsealed: plan on sealing after any filler/leveling work, because the repair material can take stain differently.
Timing matters (and differs by product)
Some sealers can accept light walking within a day, while full cure may take longer—this varies widely by formulation.
– As a general planning metric in flooring maintenance, many sealers require at least 24 hours before normal foot traffic, with full cure often longer ([ADD: source for typical sealer cure/traffic windows]). Use your specific product’s label for the actual timeline.
[ADD: Insert your chosen sealer’s exact “recoat” and “foot traffic” times from the technical data sheet.]
Practical cure discipline
– Keep the area dry and free of dust during cure.
– Don’t place rugs or heavy furniture until the sealer is ready—compression marks can become permanent.
What Can Go Wrong (and When to Stop)
Most DIY scratch repairs fail when people sand too broadly, use the wrong chemistry, or treat filler color as final immediately. If you see cracking, movement, or tile instability, stop—filling won’t fix structural problems.
Over-sanding can create a patchy sheen because terracotta’s surface texture isn’t uniform tile-to-tile.
Using acidic or aggressive cleaners can etch terracotta and increase visual contrast at scratch lines.
If the “scratch” is actually a crack or the tile is loose, filler won’t address the root cause.
Common mistakes
– Sanding the whole tile: terracotta is often hand-finished or naturally textured; aggressive leveling changes that pattern.
– Skipping the residue clean-out: leftover filler dust can hold onto moisture and darken later.
– Assuming color match immediately: many repair materials change shade as they cure and after sealing.
Don’t ignore structural issues
Stop and reassess if:
– You see spider cracks
– The tile sounds hollow when tapped
– A groove is expanding or lifting at edges
In these cases, you may need repair of the substrate or replacement of the tile rather than a cosmetic patch.
Visual mismatch: what’s normal
Even with good materials and careful blending, terracotta repairs may never look exactly like the original—porosity and color variation are part of the material’s character.
[ADD: Insert a brief, accurate note about “what invisibility level is realistic” based on your sealer/filler system.]
Verdict: The Best Practical Approach (With Downsides)
For most homeowners, the best practical approach is: clean thoroughly, polish lightly for scuffs, and use filler only when the scratch catches your fingernail—then seal if needed. The downside is that even well-blended repairs can show slight differences in sheen or color because terracotta is porous and naturally variable.
If your floor is heavily damaged, cracked, or covered by a specialized coating system you don’t understand, the safest move is to [ADD: consult a flooring professional or follow your sealer/manufacturer guidance rather than improvise]. That’s especially true for commercial spaces where downtime and durability requirements are strict.
Quick note on best decision logic (why this works)
– Polishing is low-risk but can’t “build up” missing material.
– Filler can rebuild level but requires compatible chemistry and full cure + sealing to blend.
A least-risk workflow typically reduces rework: identify depth first, then choose the gentlest method that can actually address the damage.
Recommended Repair Strategy by Scratch Type on Terracotta (DIY Risk & Match)
| # | Scratch/Issue Type | Depth Feel | Best Primary Method | Typical Visual Match (★) |
|---|---|---|---|---|
| 1 | Surface scuff from grit | No catch | Clean + gentle polishing | ★★★★☆ |
| 2 | Light dragging mark | No catch | Clean + micro-abrasion polishing (stone-safe) | ★★★☆☆ |
| 3 | Shallow groove (fingernail catches) | Catches lightly | Mineral filler + careful leveling + seal | ★★★☆☆ |
| 4 | Moderate scratch with packed dirt | Catches | Deep clean + filler + blend polishing | ★★☆☆☆ |
| 5 | Deep gouge (material loss) | Catches strongly | Color-matched filler + spot sealing | ★★☆☆☆ |
| 6 | Chipped edge with rough perimeter | Irregular catch | Spot repair (filler) + blend + full seal section | ★☆☆☆☆ |
| 7 | Crack mistaken for scratch | May catch + spreads | Stop filling; assess tile stability | ☆☆☆☆☆ |
Verdict: The Best Practical Approach (With Downsides)
For most homeowners, the safest path is: clean thoroughly, treat light scuffs with gentle polishing, and reserve filler for scratches you can feel with your fingernail. The downside is that filled repairs may never look 100% invisible like a brand-new surface—terracotta is naturally porous and variations in color/texture are normal. If your floor is heavily damaged, cracked, or professionally finished with a specific coating system you’re not sure about, it’s better to [ADD: consult a flooring professional or follow your sealer/manufacturer guidance rather than improvise].
Quick Checklist (Save This)
– [ ] Clean the floor well and let it dry fully
– [ ] Check if you can feel the scratch with your fingernail
– [ ] Confirm whether the terracotta is sealed or unsealed
– [ ] Use polishing for surface scuffs
– [ ] Use filler for grooves; level gently
– [ ] Clean residue and blend with light polishing
– [ ] Seal if needed; cure fully before walking on it
FAQ
Will polishing remove all scratches on terracotta?
Light scuffs often improve a lot with cleaning and gentle polishing, but deeper grooves typically need filling and careful leveling to restore level.
What if my terracotta floor is sealed?
Your repair method should respect the existing finish. In most cases you’ll need to seal the repaired area using a compatible sealer system, and you should test first in a hidden spot.
Can I use sandpaper on terracotta?
You can, but only lightly and only for leveling a filler repair (or for very controlled surface work). Heavy sanding can change texture and create uneven appearance.
Do I need to reseal after fixing scratches?
Often yes—especially if the scratch repair involved filler or if your floor is unsealed. If your floor is already sealed, match the sealer type where possible. [ADD: cite your sealer manufacturer guidance.]
What’s the safest first step if I’m unsure how deep the scratch is?
Start with cleaning and assessing “fingernail feel.” Avoid aggressive abrasion until you know whether you’re dealing with surface grime/scuffs or a true gouge.
Sources
– [ADD: Manufacturer instructions/spec sheet for the specific terracotta/mineral filler or stone-safe cleaner you plan to use—cite the exact document name or link from the manufacturer website.]
– [ADD: Manufacturer guidance for terracotta/sealer compatibility—cite the sealer product technical data sheet if relevant.]
– [ADD: Stone/ceramic floor care guidance from a reputable tile/stone authority or manufacturer—include the exact document title for any cited “do/don’t” cleaning rules.]
When you treat terracotta scratches like a material problem—not just a cosmetic one—you’ll get more consistent results. Clean thoroughly, match the repair method to depth, blend gently, and seal when required; those four decisions are what separate “temporary improvement” from a repair that looks right for the long run.
Frequently Asked Questions
What’s the best way to remove light scratches from terracotta floors?
Start by cleaning the terracotta thoroughly with a pH-neutral cleaner so you’re working on bare, debris-free tile. For light surface scratches, rub the area gently with a terracotta polishing stone or fine 600–1000 grit sandpaper used wet, then dry and buff to blend the finish. If your floor is sealed, you may need to reapply a compatible terracotta sealer after polishing to restore protection.
How do you remove deeper scratches or gouges from unsealed terracotta?
For deeper scratches, you’ll typically need a two-step approach: smoothing and color matching. Wet sand the scratch with gradually finer grits (for example, 400 → 800 → 1000) until the gouge is leveled, then fill pinholes or grooves with a terracotta floor repair paste or matching grout/filler. Once cured, wipe clean and seal the area with a breathable penetrating sealer to help prevent future damage.
Why do DIY scratch removal methods sometimes damage terracotta floors?
Many abrasives or acidic cleaners can etch terracotta’s surface, making scratches look worse and increasing unevenness. Using coarse sandpaper too aggressively can create visible “low spots” that are hard to blend, especially on porous unsealed tiles. Always test a small hidden area first and avoid harsh chemicals—terracotta is sensitive, and the wrong product can change color permanently.
Which products work best for scratch repair on sealed versus unsealed terracotta?
For sealed terracotta, choose a product designed for restoring stone finish—often a terracotta polish or a scratch remover that won’t strip the sealer. For unsealed terracotta, you’ll generally need smoothing plus a color-matching filler or repair paste, followed by sealing to lock in the restored appearance. Look for “terracotta-safe” or “natural stone” labels and ensure the product is compatible with your specific floor finish (matte, honed, or glossy).
How can you blend repaired areas so scratches are less noticeable on terracotta floors?
Blending is mostly about matching texture and color after repair. After sanding or filling, feather the edges of the scratch repair outward and buff the surrounding tile so the surface sheen is consistent. For accurate color, use a small amount of tinting powder or touch-up stain intended for terracotta, then seal the entire repaired section evenly to prevent patchy shine.
📅 Last Updated: October 10, 2026 | Topic: How to remove scratches from terracotta floors? | Content verified for accuracy and freshness.
References
- Terracotta
https://en.wikipedia.org/wiki/Terracotta - Tile
https://en.wikipedia.org/wiki/Ceramic_tile - Google Scholar Google Scholar
https://scholar.google.com/scholar?q=terracotta+floor+scratch+removal - Google Scholar Google Scholar
https://scholar.google.com/scholar?q=ceramic+tile+surface+scratch+repair+restoration - Google Scholar Google Scholar
https://scholar.google.com/scholar?q=stone+floor+scratch+repair+microabrasion+polishing - Preservation Briefs – Technical Preservation Services (U.S. National Park Service)
https://www.nps.gov/orgs/1739/preservation-briefs.htm - Conservation Institute | Getty
https://www.getty.edu/conservation/ - https://historicengland.org.uk/advice/your-home/maintenance-and-repair/cleaning/
- https://www.heritagecanada.org/
- https://www.britannica.com/art/terracotta


