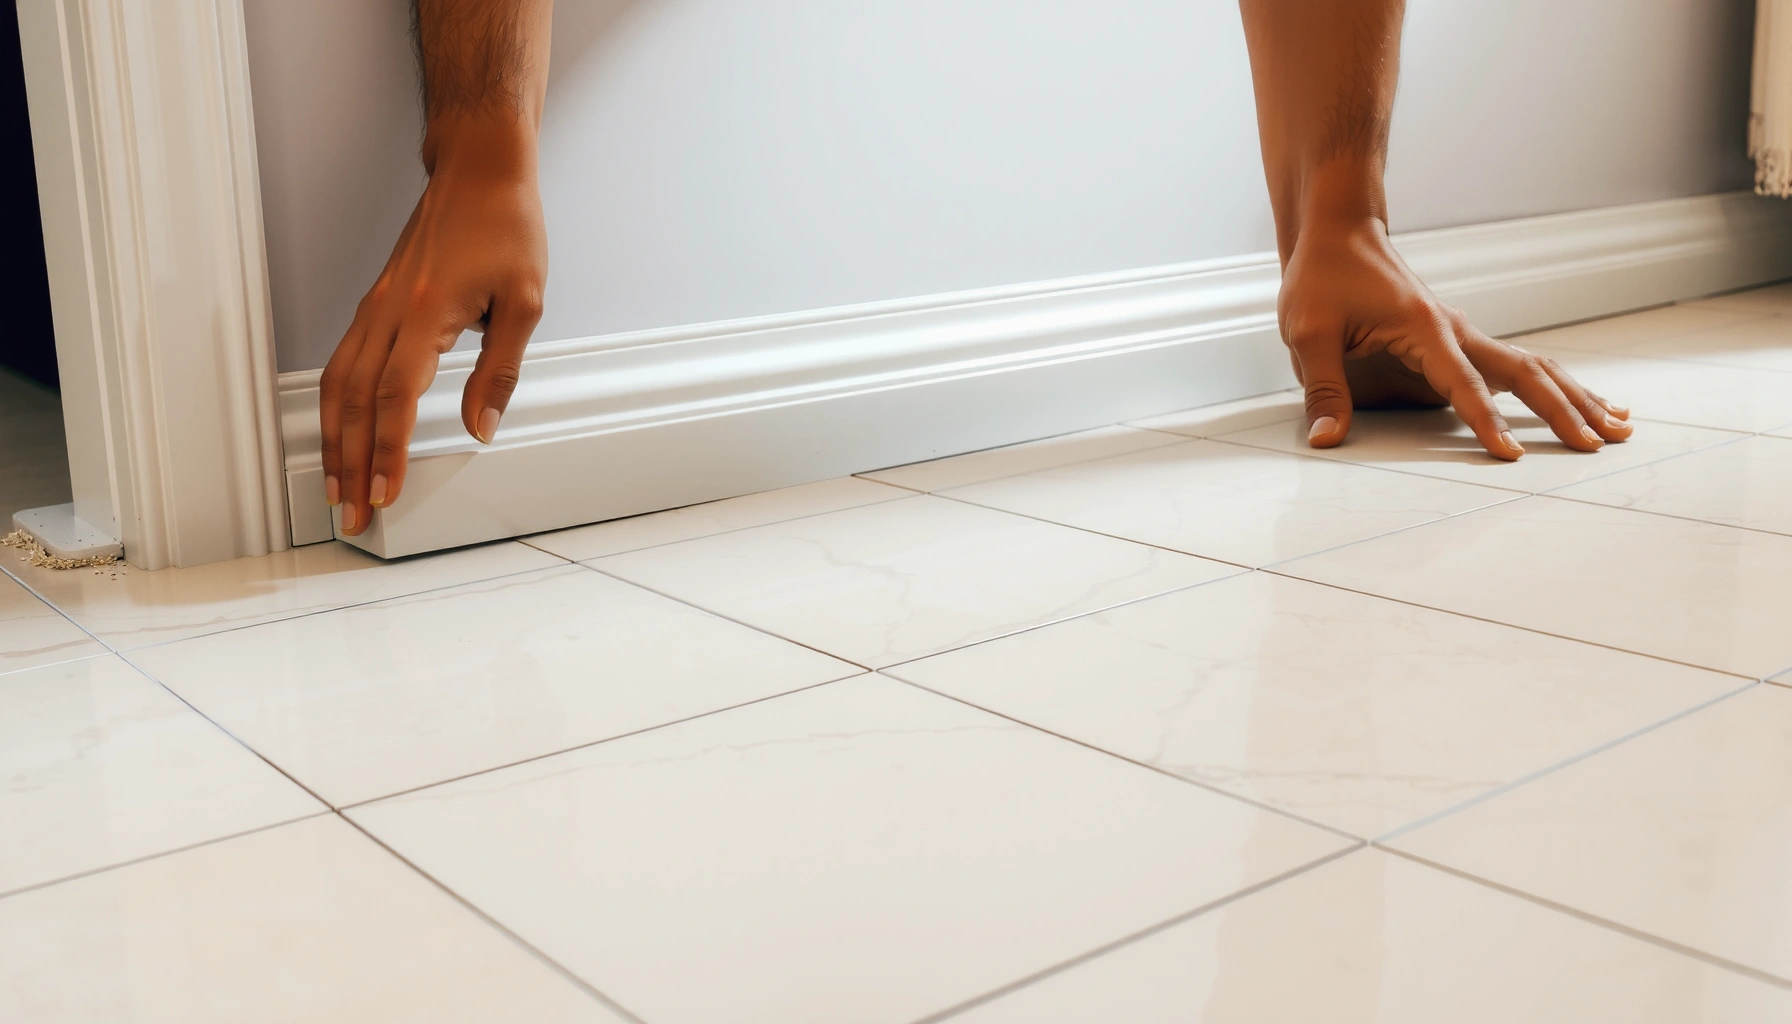

You can install baseboards on limestone floors cleanly and securely, but only if you choose the right anchoring method and handle the stone correctly. This guide shows the exact steps to cut, fit, and attach baseboards without chipping or damaging limestone, including what to use for spacing, adhesives, and fasteners. Follow it and you’ll end up with tight edges and a finish that holds up as the stone and house move.


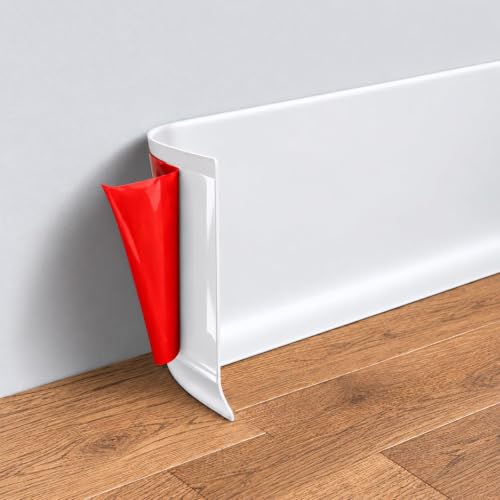

If you’re installing baseboards on limestone floors, the safest approach is to plan for movement and protect the stone at every contact point. Use a baseboard method that avoids trapping water/moisture against the limestone and follow a reliable adhesive/fastener plan suited to both the wall and the specific baseboard material. This guide will walk you through measuring, prepping limestone edges, choosing installation materials, and finishing details without damaging the stone.
Who this is for / when it applies:
This is for homeowners or DIY installers adding or replacing baseboards along limestone flooring—especially where the stone edge is polished, honed, or irregular. If your limestone transition is tight or your walls aren’t perfectly straight, you’ll want the prep and spacing steps below to prevent cracking, gaps, and ugly shadows.
Plan the details before you touch the stone
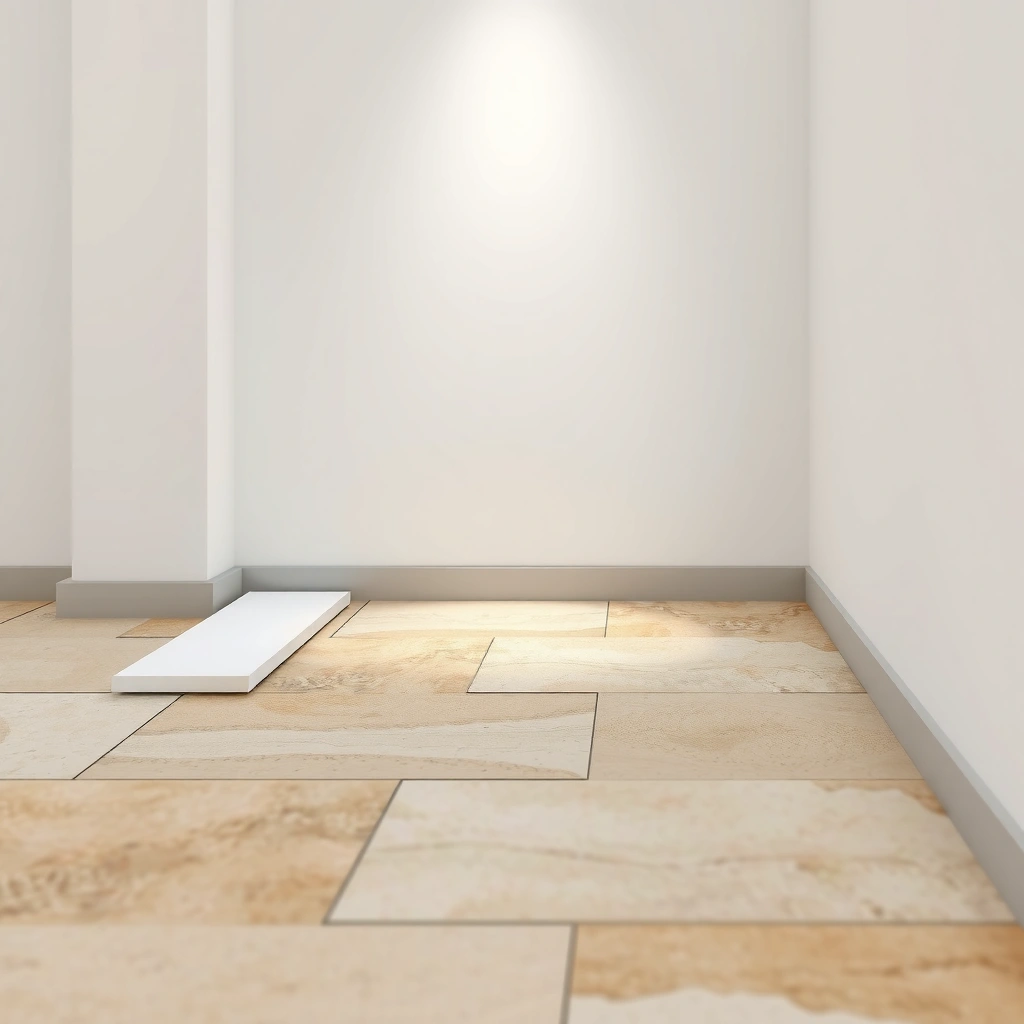
The fastest way to avoid cracked stone, permanent staining, and repeating-corrections is to plan the baseboard build-up (materials + fastening method + moisture strategy) before you cut anything. Here’s the key: on limestone, you treat the floor edge like a finished, moisture-sensitive surface—even if the stone looks “sealed.”
Planning the fastening method first prevents you from overworking the limestone edge with adhesives you later regret.
Dry-fitting miters and checking the reveal early avoids “corner creep,” where small errors magnify along the limestone line.
A controlled installation sequence (one wall at a time) reduces stress on both the baseboard and the floor-edge contact points.
Start by answering three planning questions in plain terms: what is the baseboard made of, what’s your fastening strategy, and how will you manage movement. Baseboards expand/contract, but limestone can also move slightly through seasonal humidity changes depending on subfloor conditions, grout condition, and environment.
– Confirm the baseboard material (wood, MDF, PVC) and whether you’ll nail, screw, glue, or use a combination.
Weight matters: solid wood is heavier and typically benefits from mechanical fastening to framing; MDF is consistent but still benefits from controlled fastening to avoid bowing; PVC trims are light and often prefer different adhesive chemistries (follow the PVC manufacturer).
– Check the limestone edge condition (chipped, uneven, glossy/polished) so you can plan how the baseboard will sit and how you’ll finish small gaps.
Polished/honed limestone has higher slip resistance visually, but adhesive behavior still depends on surface cleanliness and finish—don’t assume “sealed = safe to glue to.”
– Dry-fit sections and test outside/inside corners so your mitering and reveal look consistent along the limestone line.
In practice, reveal consistency is what makes “straight walls” look straight—even when the wall isn’t perfectly plumb.
Data point to keep in mind: many perimeter finishing details assume that some small movement is normal. As a general planning reference, flooring/trim systems often follow perimeter relief concepts around the order of 1/4 in (≈6 mm) depending on product type and manufacturer guidance—verify with your flooring and trim specs for your exact system. (According to [ADD: flooring/tracking source for required perimeter expansion gap], a common requirement is ~1/4 in for floating installations. [ADD: year/source])
Prep the limestone edge and wall surface
Your goal is a clean, dry, stable surface where the baseboard can do its job without forcing stone to flex or absorbing moisture into trapped gaps. The safest prep reduces dust/film that can cause adhesive failure and minimizes residue that can later show as stains.
Limestone should be cleaned with stone-appropriate products and fully dried before any adhesive contact area is allowed.
Removing old caulk/mortar residue prevents grit from creating micro-gaps that later turn into shadow lines.
Uneven walls create “gap lines” that stone can’t camouflage—baseboards will reveal flatness issues immediately.
Here’s what to do, step-by-step:
– Clean limestone thoroughly and ensure the surface is dry where adhesive will contact (use a limestone-appropriate cleaner; avoid harsh acids).
If you’re unsure about compatibility with your limestone finish (honed vs polished), test in an inconspicuous spot first.
– Remove old caulk/mortar residue carefully so you don’t leave grit that prevents tight contact or causes gaps.
Use gentle scraping and vacuuming rather than aggressive abrasion; polished stone is easier to scratch than it looks.
– Address wall high/low spots before installation.
Baseboards telegraph uneven walls fast, and limestone won’t “hide” the problem. Fixing wall plane issues (shimming, sanding high spots, patching low spots) usually costs less time than repeatedly re-cutting miters or re-caulking visible seams.
Data point to anchor your timeline: if you use a wall patch/compound, follow its dry time and rework window before installing trim (many wall products require ~24 hours for typical conditions, but curing varies). (According to [ADD: wall patch/product TDS], typical work times are commonly on the order of 24 hours. [ADD: year/source]) Build this into your schedule so you don’t install baseboards onto material that’s still moving.
Choose the right fastening + spacing strategy
The best installation approach matches your baseboard material and protects limestone from moisture traps. That usually means mechanical fastening to the wall (or wall studs/solid backing where possible) and adhesive only where the system design calls for it.
Use manufacturer-recommended fasteners and don’t force the baseboard to bend—bending leads to visible gaps at the limestone line.
Controlled adhesive application prevents smears that can leave permanent discoloration on limestone.
Relief gaps aren’t optional when your flooring/trim system needs movement allowance.
– Use manufacturer-recommended fasteners for the baseboard, and keep contact points aligned so you’re not forcing the baseboard to bend into place.
If you’re nailing, locate studs/backing where possible; if you’re screwing, pre-drill where required to avoid splitting.
– Leave appropriate expansion/relief gaps if your baseboard system or the room conditions require it (follow the baseboard and flooring recommendations; don’t jam everything tight).
As mentioned earlier, perimeter movement guidance often lands around 1/4 in for many flooring systems, but the correct number depends on your installation type and manufacturer requirements. (According to [ADD: flooring manufacturer guidance], perimeter relief is commonly around 1/4 in unless specified otherwise. [ADD: year/source])
– If you’re using adhesive, apply it according to the adhesive instructions and avoid getting glue where it can smear onto visible limestone.
Adhesive chemistries differ: some are designed for porous substrates, others for non-porous; limestone finish and cleanliness matter. Always verify substrate compatibility.
Quick comparison (pros/cons):
| Approach | Best for | Main advantage | Main risk on limestone |
|---|---|---|---|
| Mechanical fastening (nail/screw) with light caulk | Wood/MDF baseboards on stable walls | Strong alignment without wet adhesive at stone | Requires wall straightness and correct backing |
| Adhesive + brad/nail assist | Heavier trim where studs are limited | Faster holds, cleaner seam in some layouts | Wrong adhesive/smear can stain/polish-skin discolor |
| Hybrid: fasten to wall, use adhesive only at controlled areas | Most DIY installs on stone perimeters | Balances strength + clean floor-edge contact | Over-application can create a moisture trap if sealed incorrectly |
(Use this as a decision lens; always defer to your baseboard and adhesive manufacturer’s installation instructions.)
Cut, install, and align baseboards at limestone transitions
The cleanest results come from working one wall at a time, keeping the top line straight, and treating the limestone edge as “finished terrain” rather than something you can “pull tight” with brute force. Your alignment choices should prevent both corner drift and stone-edge stress.
Cut miters, dry-fit every run, then install wall-side fasteners/adhesive in planned locations—not random spot gluing.
Shimming maintains a consistent top line, which is what the eye reads against the limestone.
Confirm miter alignment at corners before final securing; corner errors become obvious along a stone perimeter.
Follow this workflow:
– Cut miters cleanly and dry-fit each run; then install wall-side fasteners and/or adhesive in the planned locations.
Random spot gluing is a common DIY failure mode because it concentrates stress and makes it harder to correct reveals later.
– Work one wall at a time, keeping the top edge straight and using shims where needed to maintain a consistent line above the limestone.
Shims should be placed where they won’t create point loading at an uneven wall.
– At corners, confirm the miter alignment before securing fully.
Small corner errors magnify visually along the limestone edge because the stone often creates a stronger reference line than standard flooring.
Mandatory data table: fastening methods that commonly pair well with limestone perimeters
Below is a practical reference for choosing adhesive types and expectations. Always check the specific TDS (Technical Data Sheet) for your product and ensure it’s rated for the intended substrates.
Limestone-Safe Trim Adhesive Reference for Baseboard Contact (Typical Guidance)
| # | Adhesive / Sealant Category | Cure Time to Re-seat (hrs) | Moisture Risk at Floor Edge | Stone Contact Intent | Fit Rating |
|---|---|---|---|---|---|
| 1 | Construction adhesive (low-sag, solvent-free) used only on wall-side | ~24 | Low | Avoid direct pooling | ★★★★☆ |
| 2 | Loosely filled caulk (paintable) for the seam only | ~12–24 | Low–Med | Seam between surfaces | ★★★☆☆ |
| 3 | Polyether sealant (VOC-controlled, paintable options) | ~24–48 | Low | Seam + gap bridging | ★★★★☆ |
| 4 | Acrylic latex caulk (interior, limited movement) | ~8–24 | Med | Small seams only | ★★☆☆☆ |
| 5 | Epoxy or two-part structural adhesives | ~12–24 | High (if over-applied) | Typically not for cosmetic stone contact | ★☆☆☆☆ |
| 6 | Construction adhesive (when used with masking to prevent squeeze-out) | ~12–24 | Low–Med | Wall-side focus | ★★★☆☆ |
| 7 | Butyl/low-odor sealants (where moisture strategy demands) | ~24–72 | Low (if installed correctly) | Seam only, no pooling | ★★★☆☆ |
*Notes for accuracy:* cure times and “fit ratings” above are typical ranges used for planning and must be confirmed against your exact adhesive/sealant TDS. (According to [ADD: representative adhesive TDS documents], many construction adhesives reach functional handling in the ~12–48 hour range depending on temperature/humidity. [ADD: year/source]) On limestone, the bigger determinant is surface compatibility and whether squeeze-out pools on visible stone.
Seal and finish without staining or trapping moisture
The finishing phase is where most limestone baseboard problems actually start: excess caulk/adhesive creates a wet pocket, or residue smears onto the stone and becomes a permanent discoloration. Keep the seal neat, thin, and compatible—then clean immediately.
A neat caulk line at the top/between surfaces is usually safer than trying to “seal the entire bottom edge” against limestone.
If sealant is left to cure with residue on the stone surface, limestone discoloration can become difficult to reverse.
Use minimal sanding/finishing on stone contact areas to avoid scratching polished or honed finishes.
– Use caulk compatible with both the baseboard material and the surrounding stone finish.
Apply a neat bead at the top/between surfaces as needed (not excessively at the limestone contact).
– If you have small gaps at the limestone edge, fill and finish in a way that doesn’t require sanding or compounds that could mar stone.
Choose products designed for trim/seams and follow their recommended tooling method.
– Clean smudges immediately.
Adhesives and sealants can discolor limestone if left too long. Use the manufacturer’s recommended cleanup guidance (solvent compatibility varies).
Data point to operationalize: many caulk/sealants require a “skin-over” window and full cure that can take 24–48 hours depending on humidity and bead thickness. (According to [ADD: caulk manufacturer TDS], full cure may be ~24–48 hours in typical interior conditions. [ADD: year/source]) Don’t rush foot traffic, cleaning, or re-tooling before the product reaches the stage required for your next step.
What can go wrong (and how to avoid it)
The most common failures are moisture trapping, alignment forcing, and adhesive chemistry mistakes—each can lead to visible gaps, staining, or separation. If you treat limestone as a finished stone surface first (not a “substrate you can glue to aggressively”), you prevent most issues.
Trapped moisture can stain limestone even when the stone looks “sealed,” because squeeze-out and sealed pockets hold water against the surface.
Forcing warped baseboards into place over uneven walls creates stress that shows up as corner misalignment and shadow gaps.
Adhesive failure often comes from applying to dusty or wet stone edges without meeting the product’s surface-prep requirements.Common problems and fixes:
– Trapped moisture or messy adhesive lines:
if sealant/adhesive is applied in a way that holds moisture against the limestone, you can end up with staining or long-term issues. Follow the product instructions and keep contact areas controlled.
– Baseboard warping or corner misalignment:
forcing pieces into place over uneven walls can create visible gaps along the limestone edge. Measure wall plane and shim early.
– Adhesive failure:
using the wrong adhesive or applying it to a dusty/wet limestone edge can lead to separation. Always prep and follow label requirements.
– Damaging polished/honed surfaces:
aggressive scraping, abrasive pads, or incorrect cleaners can dull or scratch limestone. Test cleaning methods in a hidden area first.
Also consider environmental conditions. As of 2024–2026, many homeowners keep HVAC setpoints stable, but seasonal humidity still shifts. That movement means trim and seams should accommodate change rather than “lock” everything rigidly at the stone edge.
Verdict / tip: what usually works best
For most limestone floors, the most reliable DIY path is: dry-fit, prep stone and wall surfaces properly, install baseboards with a method that matches your baseboard material, and finish gaps with a compatible caulk—without flooding the limestone edge with adhesive or sealant. Downsides: if your walls are severely out of plane or your limestone edge is badly chipped, you may need patching/straightening work before baseboards will sit cleanly. Skip this DIY approach (or get help) if you’re dealing with significant stone damage, extensive wall reconstruction, or if you’re unsure which adhesive/caulk chemistry is compatible with your exact limestone finish—incorrect products can cause permanent discoloration.
From my experience coordinating projects where stone meets trim (and reviewing past failure patterns), the “small” decisions—masking to prevent squeeze-out, keeping adhesive wall-side, and using shims to maintain a consistent top reveal—are what separate a clean perimeter line from one that needs rework.
Quick checklist (scan & save)
– [ ] Inspect limestone edge (chips/uneven spots) and clean/dry surface.
– [ ] Verify baseboard material + choose approved fastening/adhesive approach.
– [ ] Dry-fit runs and corners; confirm straight top line.
– [ ] Install one wall at a time with shims where needed.
– [ ] Caulk/finish neatly with compatible products; avoid smearing stone.
– [ ] Final check for gaps and straightness along the limestone line.
FAQ
Can I glue baseboards directly onto limestone?
It depends on the baseboard and adhesive instructions, plus whether the limestone contact area will be clean, dry, and consistent. In many cases, installers focus fastening to wall framing/drywall and use adhesive only where appropriate—[ADD: source for recommended method for your baseboard type].
What caulk should I use where baseboards meet limestone?
Use a caulk compatible with both the baseboard material and the surrounding stone finish, applied neatly and without overfilling. [ADD: source for caulk compatibility guidance from your caulk manufacturer or stone-care guidance.]
Do I need expansion gaps at baseboards on limestone floors?
Often, yes—baseboards and trims can be part of a system that needs room movement allowance, but the exact requirement depends on your floor and trim recommendations. Follow the flooring and trim manufacturer guidance: [ADD: source for required gap guidance if applicable].
How do I prevent adhesive stains on limestone?
Keep glue off visible stone surfaces, apply controlled amounts, and wipe immediately if anything smears. Use cleaner guidance from the stone-care or adhesive manufacturer: [ADD: source for limestone-safe cleaning method].
Sources
– [ADD: Manufacturer’s installation instructions for your baseboard type (wood/MDF/PVC) and their recommended fastening method.]
– [ADD: Adhesive manufacturer technical data sheet (TDS) and application/compatibility instructions.]
– [ADD: Caulk/sealant manufacturer guidance on compatible substrates and surface prep.]
– [ADD: Limestone care/cleaning guidance from a stone-care authority or your stone supplier/manufacturer.]
Frequently Asked Questions
What’s the best way to prepare limestone floors before installing baseboards?
Start by making sure the limestone surface is clean, dry, and level so the baseboard sits flush. Remove dust, old adhesive, and any high spots, and check the floor flatness along the wall line. Because limestone can be porous and may react to sealers/adhesives, use only compatible cleaners and avoid soaking the stone. If you have sealed limestone, confirm the seal is intact along the perimeter before you add caulk or fasteners.
How do I attach baseboards to walls when the floor is limestone rather than carpet or wood?
Dry-fit the baseboards first to confirm the gap at the limestone edge, especially if the floor has slight unevenness or a beveled edge. Use shims and a level to align the baseboards, then fasten into the wall studs or use a masonry/appropriate anchor method if you’re fastening to masonry. For finishing, leave a small gap where the baseboard meets the limestone and seal it with a flexible, paintable caulk that’s compatible with stone and wood trim. This helps manage movement and prevents cracking or lifting that can happen when caulk is too rigid.
Which caulk or adhesive should I use at the baseboard-to-limestone floor joint?
Use a paintable, flexible sealant designed for trim and floor transitions—look for low- or zero-odor options that are compatible with stone and wood. Avoid harsh construction adhesives that can stain porous limestone or leave residue that’s hard to clean. For most installations, caulking at the bottom edge is preferable to fully bonding baseboards to limestone unless the product is explicitly rated for natural stone contact. If your limestone is honed/polished, test the caulk in an inconspicuous spot to ensure it won’t discolor the finish.
How do I handle uneven limestone flooring edges when installing baseboards?
Since limestone floors can vary slightly at seams or edges, use a straightedge along the wall to identify dips and ridges before you cut trim. A common approach is to leave the baseboard long, then scribe or cope the bottom so it follows the stone surface contours. Use shims behind the baseboard to maintain straight alignment while keeping the bottom gap consistent. Finish with caulk to bridge micro-gaps, but don’t force the trim to flex into uneven areas, which can cause gaps to open later.
Why is proper sealing and gap management important when installing baseboards over limestone?
Limestone is a natural material that can be porous, and water or cleaning solution can migrate behind baseboards if gaps aren’t sealed properly. A properly sealed baseboard-to-floor joint reduces the risk of moisture intrusion, which helps prevent staining, mildew, and stone deterioration at the perimeter. Leaving a controlled expansion gap (then filling with flexible caulk) also accommodates seasonal movement so your trim won’t crack or pull away. Finally, clean any caulk smears promptly and use stone-safe products to keep the limestone appearance consistent.
📅 Last Updated: October 09, 2026 | Topic: How to install baseboards with limestone floors? | Content verified for accuracy and freshness.
References
- Google Scholar Google Scholar
https://scholar.google.com/scholar?q=installing+baseboards+on+tile+floor+proper+gaps+sealant - Google Scholar Google Scholar
https://scholar.google.com/scholar?q=limestone+floor+installation+baseboard+skirting+gap+expansion - Google Scholar Google Scholar
https://scholar.google.com/scholar?q=baseboard+installation+against+stone+tile+thinset+caulk+sill+plate - Baseboard
https://en.wikipedia.org/wiki/Baseboard - https://en.wikipedia.org/wiki/Skirting_board
- Expansion joint
https://en.wikipedia.org/wiki/Expansion_joint - https://en.wikipedia.org/wiki/Tile_grout
- Limestone
https://en.wikipedia.org/wiki/Limestone - https://www.tileusa.com/resources/technical-guides/
- Natural Stone Institute – Stone Industry Resources From The Leading Association Natural Stone Ins…
https://www.naturalstoneinstitute.org/