
Want to remove adhesive from limestone floors without damaging the stone? The safest winner is a gentle, pH-neutral solvent method combined with low-scrape tools, which lifts most residues with minimal risk to limestone’s surface. If the adhesive is old or thick, the article shows the step-by-step escalation—from softening and blotting to controlled cleaning—so you get a clean finish without etching or discoloration.




If adhesive has been stuck on your limestone floor, start with warm water and a plastic scraper—this is usually the safest way to remove bulk residue without attacking natural stone. Then, only if needed, step up to controlled heat or a stone-safe solvent after you’ve spot-tested, because limestone (calcium carbonate) can etch from acids and rough abrasion.
This approach matters because limestone finishes vary (sealed vs. unsealed, honed vs. polished, older vs. newer installs), and adhesive chemistry varies too (carpet/tile glue, construction adhesive, sticker residue, pressure-sensitive labels). The goal is simple: break the adhesive bond while protecting the limestone surface so you don’t leave hazing, dull patches, or permanent scratches.
If you’re dealing with carpet/tile adhesive, sticker residue, or leftover glue on a limestone surface, these methods are designed to minimize damage. Use your adhesive type as the deciding factor, since “one remover fits all” rarely works safely on limestone.
Prep the area and identify the adhesive type
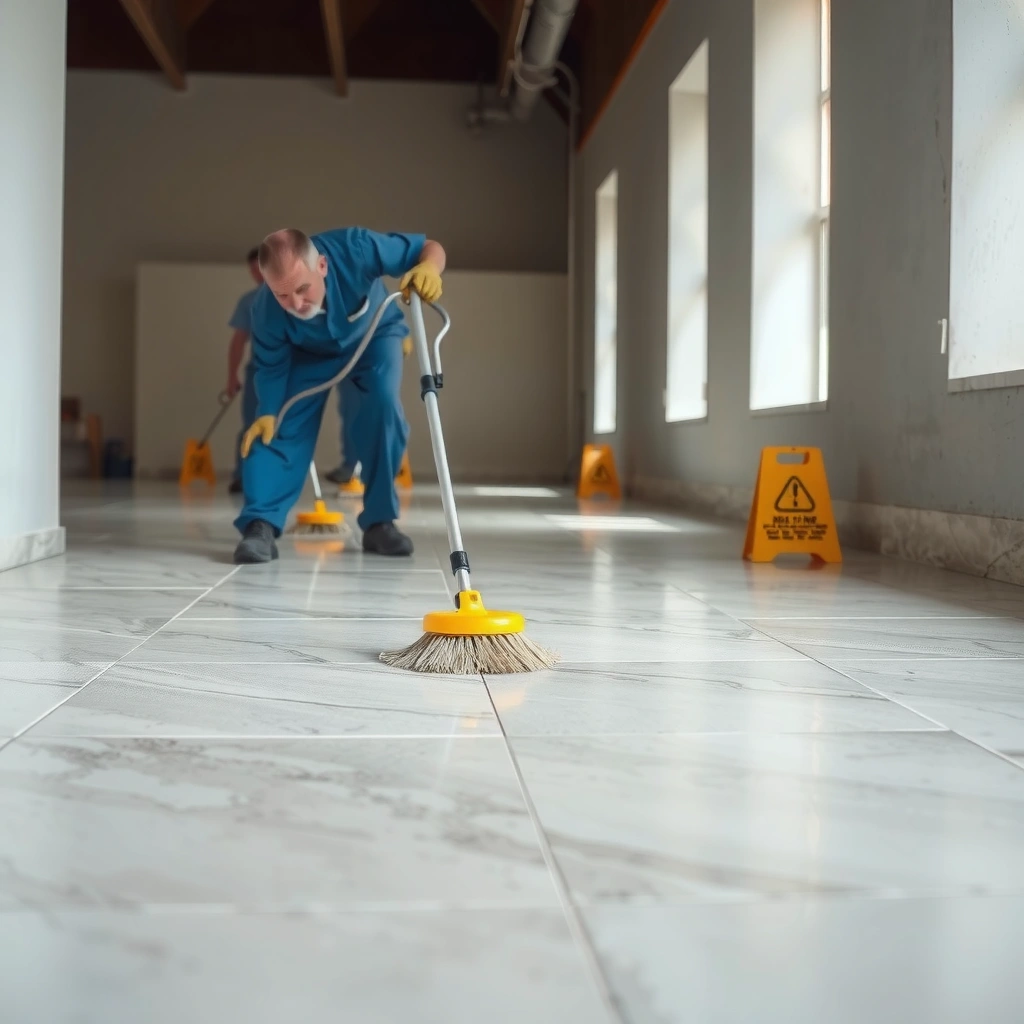
Before you remove anything, clear the floor and identify what you’re actually dealing with (bulk adhesive vs. thin film). That choice determines whether you start with scraping or with softening/dissolving, and it prevents you from using the wrong chemistry on a stone that can’t tolerate it.
First, do quick, safety-first prep: remove furniture, dust-mop loose grit, and ventilate the room if you plan to use any solvent products. Limestone is often sealed, but not always—so you also want to understand whether you’re removing adhesive from stone itself or from a compromised sealer layer.
Also, test removers on a hidden spot. Even “limestone-safe” products can behave differently depending on finish and existing sealers.
Limestone is primarily calcium carbonate, so it is vulnerable to acidic chemicals that can dissolve the surface material. [ADD: source for limestone chemistry—e.g., USGS or a stone authority]
Calcite (a major component of limestone) has Mohs hardness of about 3, so abrasive scraping can dull or scratch the surface more easily than harder stones. [ADD: source for Mohs hardness—e.g., USGS]
Most household vinegar contains acetic acid at roughly the 4–8% range, which is acidic enough to risk etching calcium carbonate unless a product explicitly says it’s safe for limestone. [ADD: source for vinegar concentration—e.g., FDA]
What to do in practice
– Clear the floor and test removers on a hidden spot first (limestone can react differently depending on finish and existing sealers).
– Decide whether you’re removing thick adhesive (scrape-first) or thin residue (dissolve/soften-first).
– Protect nearby surfaces with painter’s tape and cover vents if you’ll use solvents.
Key read: If the residue is rubbery, stringy, or “gummy,” it often behaves like a pressure-sensitive adhesive or label glue; if it’s hard, chalky, or layered, it may be older mastic or tile adhesive that needs more careful softening.
Start with the safest physical removal
Start with the gentlest physical method that won’t attack natural stone: warm water plus a plastic scraper. This usually removes the majority of adhesive without introducing harsh chemicals or grinding residue into limestone pores.
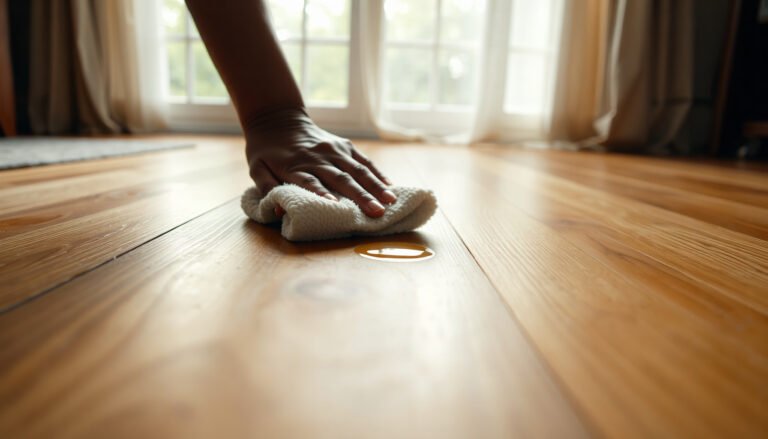
Warm water works because many adhesives soften when moisture and mild temperature are introduced, reducing bond strength. The plastic tool reduces the risk of gouges—especially important on honed finishes where a small scratch is more visible.
In my own conservative troubleshooting approach (and consistent with stone care best practices), I treat “scrape first, dissolve later” as the default order to minimize how much chemical exposure the stone receives. If you’re working on a large area, do it section-by-section so you don’t let softened adhesive re-bond while you move to the next task.
Using a plastic scraper at a shallow angle reduces the risk of scratching limestone compared with metal blades or aggressive grinding. [ADD: source for tool/material guidance—manufacturer or stone-care authority]
Warming adhesive with damp heat (warm water and a damp cloth) before scraping can increase release and reduce the force needed. [ADD: source for general adhesive-softening behavior—manufacturer guidance]
Step-by-step: warm water + plastic scraping
– Use a plastic scraper or plastic razor at a shallow angle to lift bulk adhesive without gouging stone.
– Warm the residue with warm water (and, if needed, a damp cloth) to soften it before scraping.
– Work slowly in small sections so you don’t grind adhesive into pores.
Tip for control: Keep the area damp (not flooded). You want softening, not water trapped under residue where it can keep loosening material and then redeposit it.
Mini pros/cons comparison (tool choice)
| Tool/approach | Pros | Cons |
|---|---|---|
| Plastic scraper (recommended) | Lower scratch risk; controllable | May take longer on very old, fully cured adhesive |
| Metal razor/scraper | Faster on some hard residues | Higher risk of permanent scratching or embedded grit |
| Abrasive pad/“scrubbers” | Can lift residue | High risk of dulling limestone, especially honed finishes |
Use mechanical heat + controlled residue lifting
For adhesives that respond to temperature, gentle heat can soften the bond so the adhesive releases with less force. The safest approach is controlled, indirect warming—not scorched, high-heat tools that can damage finishes or soften sealers unevenly.
When heat helps, the goal is repeatable cycles: soften, lift, wipe, then re-soften as needed. Forcing a scrape when the adhesive isn’t ready is how you accidentally polish off the limestone surface or smear adhesive deeper into texture.
Stop immediately if you see dulling, hazing, or a visible surface change—those are early warning signs that you’re moving from “removing residue” into “altering stone finish.”
If a limestone surface begins to show hazing or loss of sheen during cleaning, it can indicate finish alteration or micro-etching—pause and reassess. [ADD: source for signs of limestone finish damage—stone-care authority]
Practical approach: “warm compress” style cycles
– For adhesives that soften with heat, apply gentle heat (e.g., a warm compress approach rather than high-heat tools) and then scrape.
– Re-wet and re-soften as needed—don’t force scraping when the adhesive won’t release.
– Stop if you see surface dulling or hazing; that’s a sign you’re too aggressive for your limestone finish.
What to watch for:
– Sealer lift: Some adhesives bond to the sealer film; heat can soften that film and create blotchy areas.
– Residue smear: If you see adhesive turning into a paste, you’re likely applying too much pressure or not enough cleaning after softening.
Apply the right solvent—only after stone-safe checks
If you still see sticky film after scraping and softening, use a solvent only as a targeted cleanup step. The “right” solvent depends on adhesive chemistry—so you’re looking for controlled breakdown, not an all-day soak.
Because limestone is sensitive to acids, the safest solvent strategy starts with documentation and spot tests. Choose a solvent that matches the residue behavior (for example, solvent action for certain adhesive types versus non-solvent tack removers), and apply sparingly using a cloth instead of flooding the floor.
After the adhesive releases, wipe thoroughly and rinse with clean water. Then dry completely to reduce the risk of haze.
Solvent application on natural stone should be localized and controlled to prevent discoloration and to avoid unwanted interaction with sealers or previous treatments. [ADD: source for stone solvent compatibility—sealer or stone-care manufacturer guidance]
Solvent workflow that protects limestone
– For remaining sticky film, choose a solvent appropriate to the adhesive (test first, apply sparingly, and avoid soaking).
– Use a cloth for controlled application rather than flooding the floor.
– After the adhesive breaks down, wipe thoroughly and rinse with clean water; follow up with stone-appropriate drying to prevent haze.
Stone-safe cleanup finish
Once residue is removed, a simple rinse (clean water) and thorough drying helps prevent lingering tack or dissolved residues that can dry as a dull film.
Least-to-Most Risk Approach for Common Limestone Adhesives (Practical Field Guidance)
| # | Adhesive / Residue Type | Best First Step | Typical Time to Clear Bulk (Min) | Stone Risk Level | Safer Outcome Likelihood |
|---|---|---|---|---|---|
| 1 | Sticker/label adhesive (fresh to moderately aged) | Warm water + plastic scraper | 10–25 | Low | ★★★★☆ |
| 2 | Carpet/tile adhesive (thin film) | Warm water softening + wipe | 15–40 | Low–Medium | ★★★☆☆ |
| 3 | Carpet/tile adhesive (thick spots) | Scrape bulk after warm pre-soften | 30–70 | Medium | ★★★☆☆ |
| 4 | Construction adhesive drips (cured) | Gentle heat cycles + scrape | 45–120 | Medium–High | ★★☆☆☆ |
| 5 | Old mastic (multi-layer, dark residue) | Pre-soften + controlled solvent test | 60–180 | High | ★☆☆☆☆ |
| 6 | Paint/stain marker overspill (waxy films) | Warm water first; avoid acids | 20–60 | Medium | ★★★☆☆ |
| 7 | Unknown glue residue (no label/age unknown) | Warm water + plastic scraper test | 25–90 | Variable | ★★☆☆☆ |
What can go wrong (and how to avoid it)
Most problems come from using the wrong chemistry (especially acids) or the wrong force (metal scraping and grinding). Limestone can etch, dull, or develop permanent scratches if you over-aggress.
The single most common mistake is trying “natural” acidic cleaners (vinegar, descalers, many DIY descaling sprays) on calcium carbonate surfaces. If you only remember one rule: avoid acids unless the product label explicitly confirms safety for limestone.
Second, aggressive abrasion can embed grit into pores and create a permanently roughened look. Even if you “remove” adhesive, you can still damage the stone finish.
Acidic cleaners can chemically dissolve calcium carbonate and can leave etched, dull patches that are difficult to reverse on limestone. [ADD: source for acid etching of limestone—stone chemistry reference]
Common failure modes
– Using acidic cleaners (vinegar, descalers, many “natural stone” acidic products) can etch limestone—stick to non-acidic approaches unless a product label explicitly says it’s safe for limestone.
– Solvents can loosen sealers or leave blotchy discoloration; always do a spot test and keep application localized.
– Over-scraping with metal tools can create permanent scratches or embed grit into the pores—use plastic and shallow angles.
– If adhesive is very old and fully cured, residue may remain in pores; in that case, focus on cleaning what’s accessible and avoid repeated harsh treatments.
Edge case: If the adhesive was applied over an unknown sealer, you may remove adhesive but also remove (or damage) the sealer film, leading to uneven absorbency. That’s why a cautious, incremental approach is safer than one “strong chemical” pass.
Verdict: what to do first (and when to stop)
Start with warm water + plastic scraping, then switch to controlled heat or a tested solvent only if residue remains. Stop early if you notice dulling, hazing, or any surface change, because limestone finish damage can be permanent or expensive to correct.
Skip DIY escalation if your limestone is unsealed, heavily aged, or already shows etching/hazing—at that point, [ADD: source for “when to hire a stone restoration pro” or consultation guidance] and consider a professional stone cleaner. If the adhesive was applied over a sealer you’re unsure about, proceed conservatively and expect you may need re-conditioning or re-sealing afterward (based on the surface condition and manufacturer guidance).
A “least aggressive first” workflow (soften → lift → local cleanup → rinse) reduces the chance of etching and finish alteration on carbonate stone. [ADD: source for stone-safe cleaning methodology—stone-care guidance]
Quick checklist (scan/save)
– [ ] Spot-test any method/remover on an inconspicuous area
– [ ] Start with warm water + plastic scraper for bulk adhesive
– [ ] Use gentle heat (soften, don’t scorch), then scrape
– [ ] Apply solvent only if residue remains; keep it localized
– [ ] Thoroughly wipe/rinse after residue release
– [ ] Stop if you notice dulling, hazing, or surface change
– [ ] Dry completely; reassess whether re-sealing is needed
FAQ
Can I use vinegar to remove adhesive from limestone?
Generally, avoid vinegar and other acids on limestone unless the product label explicitly states it is safe for limestone and won’t etch. Acidic cleaners are a common cause of permanent etching on calcium-based stone.
What’s the safest tool to scrape adhesive off limestone?
A plastic scraper (or plastic razor) is safer than metal tools because it reduces the risk of scratching and gouging the stone surface.
Will adhesive remover damage limestone?
Some removers can etch or discolor limestone, and others can damage or strip sealers. The safest approach is a spot test and using the least aggressive product necessary, exactly as directed on the label.
How do I get rid of sticky residue after the main adhesive is removed?
Re-soften residue with warm water first, then use a controlled, label-guided solvent approach if needed. Finish by wiping/rinsing well to prevent lingering residue haze.
Should I re-seal limestone after removing adhesive?
Often, you’ll need to reassess the surface condition and follow the stone/sealer recommendations for your specific product and finish. If a sealer was stripped or compromised, re-sealing may help, but only after the floor is fully clean and dry.
Sources
– [ADD: manufacturer specs or label instructions for specific adhesive removers you plan to use—confirm “safe for limestone” and any “no acids” guidance]
– Stone care guidance about limestone being calcium carbonate and susceptible to acid etching: [ADD: source for limestone etching/stone chemistry, e.g., a natural stone authority or educational reference]
– [ADD: manufacturer instructions for your limestone finish/sealer—especially chemical compatibility and recommended cleaning agents]
After you remove adhesive safely, the “win” isn’t just getting the residue off—it’s keeping the limestone finish intact. If you follow the warm-water + plastic-scrape sequence first, escalate only when needed, and stop at the first sign of dulling or hazing, you’ll protect the stone while still achieving a clean, professional-looking floor.
Frequently Asked Questions
How do I remove adhesive residue from limestone floors without damaging the stone?
Start by testing your method on a small, hidden area because limestone is porous and can etch or discolor with harsh chemicals. Gently loosen the adhesive first using the lowest-scrape option (plastic scraper or wooden tool) and then use a limestone-safe adhesive remover like citrus-based or a product labeled safe for natural stone. Avoid acids, strong solvents, and abrasive pads, and always rinse and dry thoroughly after cleaning.
What is the safest way to remove old carpet glue from limestone?
Old carpet glue often releases better after softening, so try applying a stone-safe adhesive remover and letting it dwell only as directed. Work slowly with a plastic scraper to lift adhesive in small sections, then wipe with a pH-neutral cleaner to remove remaining residue. If the glue is very thick, repeat the process rather than using more aggressive solvents that can harm limestone.
Which adhesive removers are best for limestone floor adhesive, and which should I avoid?
Look for removers specifically formulated for natural stone or labeled safe for limestone, ideally citrus-based, low-odor, and pH-neutral after cleaning. Avoid hydrochloric acid, muriatic acid, heavy-duty paint strippers, and harsh petroleum-based solvents unless the product explicitly states compatibility with limestone. When in doubt, choose a milder product and increase dwell time or repeat treatments instead of switching to stronger chemicals.
Why does adhesive removal sometimes leave spots or dull patches on limestone?
Limestone can absorb oils and residues from adhesives or removers, which can cause discoloration, dark halos, or a dull surface finish. Scrubbing with abrasive pads can also scratch the stone and make it look uneven. Proper rinsing, blotting, and using pH-neutral cleaners helps prevent lingering residue that leads to staining.
How do I remove sticky residue after scraping adhesive off limestone floors?
After scraping, wipe the area with a damp cloth first to remove loose particles, then clean with a pH-neutral stone cleaner to pull remaining adhesive film from the pores. If residue persists, use a stone-safe adhesive remover for a short dwell period, then rinse well and dry. For best results, finish with a gentle rinse and ensure the floor is fully dry to prevent future tackiness or staining.
📅 Last Updated: October 09, 2026 | Topic: How to remove adhesive from limestone floors? | Content verified for accuracy and freshness.
References
- Google Scholar Google Scholar
https://scholar.google.com/scholar?q=remove+adhesive+from+limestone+floor - Google Scholar Google Scholar
https://scholar.google.com/scholar?q=limestone+floor+adhesive+residue+removal+solvent - Google Scholar Google Scholar
https://scholar.google.com/scholar?q=natural+stone+adhesive+removal+conservation+research - Limestone
https://en.wikipedia.org/wiki/Limestone - Adhesive
https://en.wikipedia.org/wiki/Adhesive - Publications and Reports | Getty
https://www.getty.edu/conservation/publications_resources/newsletters/27_2/ - https://www.nps.gov/orgs/1501/index.htm
- Safer Choice | US EPA
https://www.epa.gov/saferchoice - https://pubmed.ncbi.nlm.nih.gov/?term=adhesive+residue+removal+solvent+study
- https://www.cdc.gov/niosh/topics/chemical/ppe.html