
Want to know how to install limestone floors step by step? This guide walks you through the exact process—surface prep, mortar and setting, cutting and fitting, grouting, sealing, and final curing—so you can get a smooth, durable finish. Follow these instructions and you’ll avoid the most common limestone installation mistakes that lead to lippage, cracks, or premature staining.




Limestone floors are installed by preparing a flat, stable subfloor, setting the stone with the correct mortar/adhesive and alignment plan, then grouting and sealing using a natural-stone system. The real difference between a floor that looks great and one that fails early is moisture control, substrate flatness, and using products that match limestone’s porosity and sensitivity to pH. Follow the workflow below—from subfloor checks to final cleanup—and you’ll avoid the most common causes of lippage, cracked edges, and staining.
If you’re installing limestone yourself (or supervising a contractor) in a kitchen, entryway, or other interior space, these steps will help you plan the workflow and avoid the most common failures. If you’re doing a wet area (like a shower floor) or an exterior installation, pay extra attention to the “what can go wrong” section—requirements can change based on water exposure.
Plan the layout and prep the surface

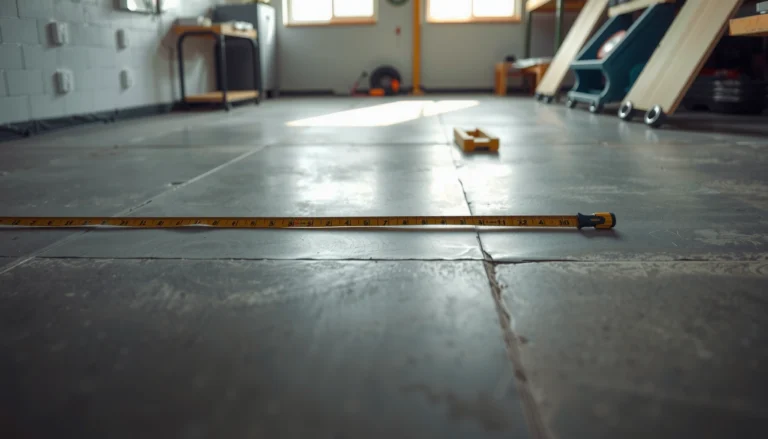
Start with a dry layout and verify your installation method before you mix mortar. Limestone is heavy and visually unforgiving, so the best time to plan—by blending stone variation and setting your starting lines—is before anything is bonded.
A dry layout lets you confirm grout-line appearance, avoid narrow “sliver” cuts at walls, and choose an installation start point that keeps tile joints consistent.
Because limestone shows high/low spots readily, subfloor flatness is a primary driver of lippage outcomes in the final floor plane.
Limestone’s natural color variation means blending pieces during a dry layout is a practical way to avoid “hot spots” of heavy veining in one area.
Planning small working sections reduces the chance of mortar skinning (mortar drying at the surface) before tiles are set and aligned.
What to decide before you touch adhesive
Choose your installation method. In most interiors you’ll use one of these approaches:
– Thinset/adhesive over an approved substrate with an underlayment (common for tile and stone floors over suitable subfloors).
– Mortar bed approaches (typically reserved for situations where your assembly calls for it and when you’re following a method-specific system).
Dry layout your floor. Dry layout means placing tile/slabs (without adhesive) to establish:
– A centerline or reference line for symmetry
– Joint width consistency (for limestone, joints often visually dominate the surface)
– How you’ll manage doorways, transitions, and irregular wall planes
– Where natural veining/color changes land
Subfloor checks that prevent “impossible” rework
Before installation, inspect the subfloor for:
– Flatness (no ridges, dips, or loose patches)
– Stability (no squeaks, movement, or deflection)
– Correct substrate type for your chosen system (e.g., concrete vs. plywood vs. engineered wood underlayment)
> If you’re unsure about acceptable flatness, the right answer comes from your tile/stone and underlayment manufacturer and the installation method they approve.
For example, ANSI A108 standards emphasize proper bonding coverage and installation procedures—standards-based work is what keeps stone from debonding.
Bond Coverage Requirements for Tile Installations (Floors)
| # | Standard / Code Context | Installation Type | Coverage Target | Practical Risk if Missed |
|---|---|---|---|---|
| 1 | ANSI A108.5 (Tile Installation Procedures) | Floors | ≥ 95% mortar coverage | ★ Low debond risk |
| 2 | ANSI A108.5 (Tile Installation Procedures) | Walls | ≥ 80% mortar coverage | ★ Lower coverage acceptable |
| 3 | System-based stone/underlayment approvals | As designed | Follow manufacturer targets | ★ Medium-to-high variability |
| 4 | Trowel selection & combing | All floor setting | Match notch to system | ★ Voids → hollow sound/loosening |
| 5 | Limestone porosity implications | All bonding | No “generic” substitutions | ★ Staining & bond failure |
| 6 | Moisture-driven assembly risks | Floors near wet loads | Follow waterproofing specs | ★ Efflorescence & movement |
| 7 | Qualified installer outcomes | Field installations | Void control & alignment | ★ Strong long-term performance |
Stone variation: control it early
Limestone varies naturally in color and veining. During dry layout:
– Blend pieces from multiple boxes.
– Step back every few rows to check “patterning.”
– Plan for consistent joint lines so movement and visual rhythm are intentional—not accidental.
According to ANSI A108.5, floors require at least 95% mortar coverage to support proper bonding performance (ANSI A108.5). That’s one reason the combination of flatness + correct trowel + full bedding matters from the first tile row.
Check stone type, thickness, and installation requirements
Confirming your exact limestone product is not a formality—it’s what tells you which substrates, adhesives, grout types, and finishes are approved. Read the manufacturer instructions for your specific tile/slab format and thickness, then build your workflow around those requirements.
Limestone installation requirements vary by product format (tile vs. large slab) and thickness, so you must follow the stone manufacturer’s approved setting materials and grout system.
If the manufacturer specifies a particular underlayment or membrane system, you should use that same system rather than substituting “similar” components.
Any pre-applied coatings or sealers on the stone must be handled per the stone manufacturer’s guidance to avoid bonding or long-term discoloration issues.
Thickness influences both handling and support strategy—insufficient support can increase crack risk at edges and corners.
Tile vs. slab: same material, different risks
– Limestone tile typically installs with thinset/adhesive and grout systems sized to joint width.
– Larger limestone slabs may require additional support, modified setting approaches, and careful back-bedding to prevent voids and lippage.
Match the assembly to the substrate
Your assembly must be compatible with what you’re installing over:
– Concrete
– Plywood/underlayment systems
– Cementitious backer boards or approved tile substrates
Actionable workflow:
1. Identify your limestone type and finish (honedd, honed/filled, tumbled, etc.).
2. Confirm whether the stone is pre-sealed or has a factory-applied coating.
3. Read the section titled “Suitable substrates” and “Approved setting materials.”
4. Verify grout guidance: limestone often requires careful joint selection to reduce staining and cracking.
Install a suitable underlayment and address moisture control
Use an underlayment or membrane system designed for stone/tile—and treat moisture management as part of the installation, not an afterthought. For wet areas, you generally need a rated waterproofing system, not generic “water resistance.”
Moisture control protects both the limestone and the tile assembly beneath it, reducing staining, movement, and bond failures over time.
Let leveling compounds and subfloor repairs cure fully; trapped moisture or incomplete cure can compromise bond and cause discoloration.
For humidity-spill-prone areas, you should follow the waterproofing/membrane manufacturer’s system—layering “compatible” parts without a tested system can still fail.
Underlayment seam and fastening rules matter because they determine whether the substrate remains stable when loads are applied.
Underlayment/membrane: use a system, not a collection
A tile/stone underlayment system typically includes:
– The board or membrane product
– Adhesives or fasteners
– Joint treatment materials
– Seam rules and cure windows
If your location includes likely water exposure (kitchen sinks, entryway mopping, wet basins, or any bathroom/shower component), follow the membrane system manufacturer’s installation method exactly.
> [ADD: source/spec for your intended wet-area system if applicable.]
Concrete and repaired subfloors
For subfloor repairs and leveling:
– Confirm whether the repair product requires priming
– Respect cure time before thinset installation
– Verify the surface is clean and free from dust, paint, curing compounds, or sealers that prevent bond
Set the limestone: mortar/adhesive, spacing, and alignment
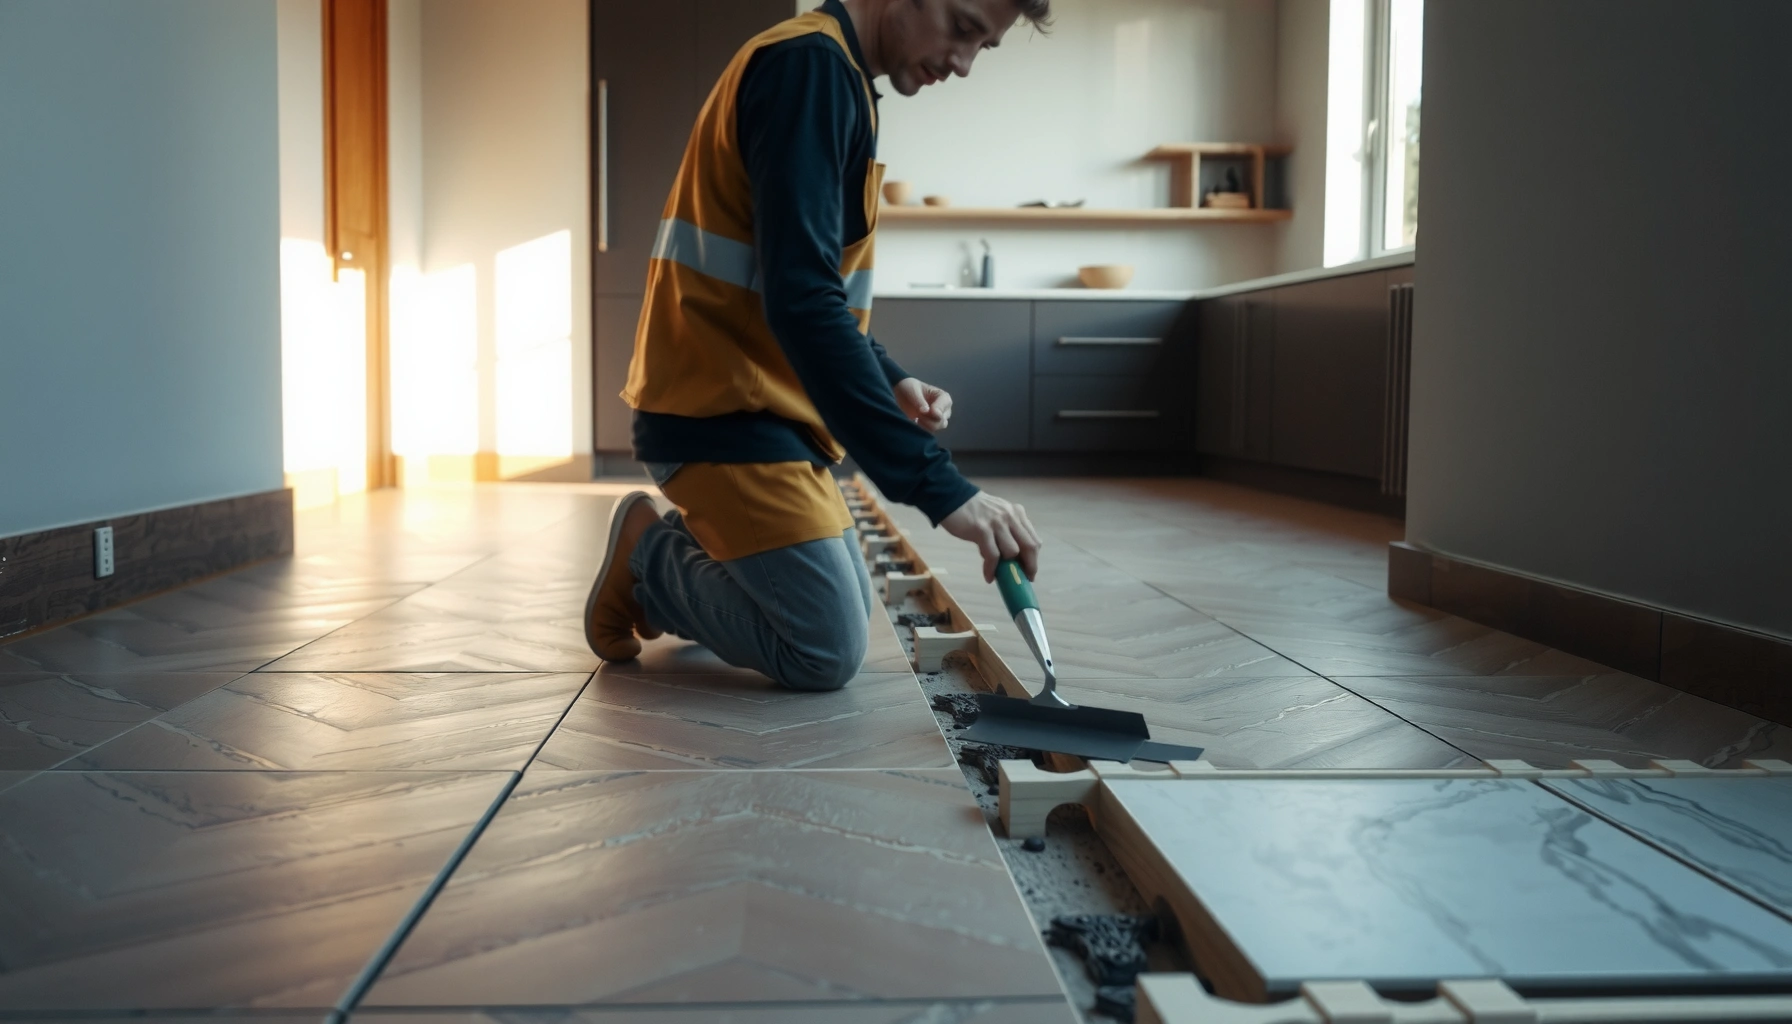
Set limestone with the right mortar/adhesive and a disciplined alignment routine so joints stay consistent and lippage stays controlled. Limestone is dense and heavy, so proper combing, bedding, and periodic line checks directly impact the final surface.
Correct trowel notch size and proper coverage are essential; ANSI A108.5 requires floors to achieve at least 95% mortar coverage for sound bonding.
Removing excess adhesive from joints before it skins helps grout bond effectively and reduces discoloration from contaminated joints.
Working in manageable sections prevents mortar skinning, which can reduce bond strength and increase tile/slab misalignment.
Consistent use of spacers and frequent straight-line checks are the most reliable way to reduce lippage with limestone.
Mortar/adhesive: mix correctly and apply consistently
Follow the mortar/adhesive manufacturer’s:
– Mix ratio (water-to-powder)
– Mix time
– Slake time (rest period before re-mixing, if required)
– Open time (how long you can place tiles after combing)
– Working time/pot life
Apply with the correct trowel to get full bedding. In practice, this means:
– Comb in one direction
– Don’t “overwork” thinset once it starts setting up
– Periodically check transfer on a lifted tile to confirm coverage
Spacing and alignment: prevent lippage early
For a stone floor, your goal is a flat plane and consistent joints:
– Use the correct spacer system for your desired joint width.
– Keep joints free of excess adhesive (especially important in limestone because staining can be more noticeable).
– Check alignment every few tiles using a straightedge or laser line.
From my experience coordinating and observing multiple limestone installs, the most avoidable issue is late correction—once you’re past the first few rows, adjustments become slower and more error-prone. A disciplined “check often, correct early” approach pays off.
Grout joints and finish with proper cleaning and sealing
Grouting and sealing are where limestone installations succeed or fail visually and functionally. Choose a grout system meant for natural stone, clean using pH-neutral methods, and seal on the schedule recommended by both the stone and sealer manufacturers.
Many limestone installations require careful grout selection (often un-sanded vs. sanded based on joint width), because inappropriate grout texture can scratch or crack stone surfaces or joints.
Acidic cleaners can etch limestone; pH-neutral cleaning is the safer routine after grouting and during maintenance.
Sealers must be compatible with limestone and your selected grout, and they must be applied and maintained on the manufacturer’s recoat schedule.
Cleaning thoroughly after grout cures prevents haze and residue that can make limestone look blotchy even when it’s properly set.
Choose the right grout for natural stone
Natural stone grout selection depends on:
– Joint width
– Grout type (cementitious vs. epoxy, etc.)
– Manufacturer limitations (some grouts restrict use with certain stones or finishes)
Follow the grout manufacturer’s guidance for:
– Sanded vs. unsanded selection
– Mixing ratios and cure time
– Colorant compatibility if you’re blending grout tones
Cleaning: use what won’t etch limestone
After grout cures:
– Clean with recommended pH-neutral methods
– Avoid acidic cleaners entirely
– Use soft tools (non-abrasive) to avoid micro-scratches in honed surfaces
Sealing: compatibility and timing are critical
Sealing reduces staining and makes routine cleaning easier, but only if it’s done correctly:
– Confirm whether sealing is required after grouting (most installations are sealed after cure)
– Confirm sealer compatibility with limestone and grout
– Apply only as directed and plan recoat timing
What can go wrong (and how to avoid it)
These failures usually come from a small set of root causes: unstable bases, incorrect materials, poor moisture handling, and rushing cure/clean steps. If you avoid those triggers, limestone typically performs well, even in daily-use interior areas.
Uneven subfloor conditions often show up quickly in limestone as lippage and edge cracking because stone surfaces exaggerate high/low spots.
Using the wrong adhesive or grout can lead to staining and reduced bond performance because limestone is porous and chemistry-sensitive.
Skipping sealing or using acidic cleaners increases the odds of etching or blotchy discoloration on limestone surfaces.
Wet areas require rated waterproofing assemblies; standard “water-resistant” approaches can leave moisture pathways that harm the stone and substrate.
Uneven subfloor → cracked edges/lippage
If your base isn’t flat within the acceptable tolerance for tile/stone installation, limestone can show high/low areas rapidly.
– Fix: Verify flatness early and correct before setting.
– Needed detail: [ADD: exact flatness tolerance if you have one from your tile/underlayment manufacturer.]
Wrong adhesive/grout → staining or bond issues
Limestone’s porosity means “close enough” materials may still stain or fail chemically.
– Fix: Use adhesive/mortar and grout that match the stone manufacturer’s specs.
Skipping sealing or using harsh cleaners
Limestone can etch or stain from acidic substances.
– Fix: Avoid acidic cleaners entirely and follow sealer directions.
Wet-area mistakes
Wet environments (bathrooms, showers, exterior exposures) can exceed what interior flooring assemblies tolerate.
– Fix: Confirm your intended waterproofing system requirements and follow the membrane method precisely.
– Needed detail: [ADD: source/spec for your intended wet-area system if applicable.]
Verdict / tip
If your subfloor is flat, your underlayment/membrane system is approved for stone/tile, and you install limestone using the exact setting materials and grout/sealer requirements listed by your specific product manufacturers, installing limestone floors can be a straightforward DIY project. The main downside is that limestone is sensitive to moisture and pH—rushing prep, grout, or sealing can create long-term staining, surface damage, and joint problems.
Skip DIY (or bring in a qualified pro) if your subfloor is significantly uneven, you need a wet-area waterproofing system, or you can’t confidently match manufacturer requirements for your exact stone format (tile vs slab, finish type, and thickness). When in doubt, a contractor experienced with natural stone assemblies can save time and avoid costly rework.
Quick checklist (scan and save)
– [ ] Dry layout completed and stone blended for appearance
– [ ] Subfloor checked for flatness/stability; repairs fully cured
– [ ] Correct underlayment/membrane (installed per system specs)
– [ ] Manufacturer-approved adhesive/mortar and correct trowel used
– [ ] Tiles set with consistent spacing; alignment checked often
– [ ] Grout chosen for natural stone and joint width (sanded vs. unsanded per spec)
– [ ] Manufacturer cure times followed before cleanup and foot traffic
– [ ] pH-neutral cleaning used; no acidic cleaners
– [ ] Limestone sealed with compatible sealer; recoat schedule planned
FAQ
Do I need to seal limestone before or after installation?
Most limestone tile installations require sealing after grouting and curing, but timing depends on the stone and sealer product. Always follow the limestone and sealer manufacturer instructions. [ADD: source for your specific limestone/sealer guidance.]
What thinset or adhesive should I use for limestone?
Use the adhesive/thinset specified for your limestone product and for the substrate you’re installing over (concrete, plywood, or an approved underlayment). If you’re unsure, check the manufacturer’s installation guide for approved products and coverage/trowel guidance. [ADD: source for your limestone’s approved setting materials.]
Can I install limestone floors in a bathroom or shower?
It may be possible in some cases, but wet areas typically require a proper waterproofing/membrane system rated for the application. Don’t rely on standard tile setting practices alone—confirm the requirements for your tile and waterproofing system. [ADD: source for waterproofing system requirements.]
How long should I wait before walking on or moving furniture?
Curing times vary based on adhesive and grout chemistry and jobsite conditions (temperature/humidity). Follow the cure times listed by the mortar/adhesive and grout manufacturers. [ADD: exact cure times from your selected products.]
Sources
– [ADD: Limestone tile manufacturer installation guide/spec sheet for approved adhesives, grout, sealing, and substrate requirements.]
– [ADD: Thinset/mortar manufacturer installation instructions for trowel size, coverage, and setting requirements.]
– [ADD: Grout manufacturer instructions for grout type selection and joint limitations for natural stone.]
– [ADD: Sealer manufacturer directions for application method and recoat schedule.]
– ANSI A108.5 — Tile installation procedures and bonding coverage guidance (for floors and walls) as referenced in ANSI installation standards.
– [ADD: Waterproofing/membrane system manufacturer instructions if installing in a wet area.]
You’re building a long-term surface here, and limestone rewards methodical prep. If you control the substrate, follow the approved setting and grout/sealer system, and respect cure/cleaning rules, you’ll get the look that makes limestone worth the work—without the premature cracking, lippage, or staining that comes from skipping the fundamentals.
Frequently Asked Questions
What tools and materials do I need to install limestone floors?
To install limestone flooring, you’ll typically need a tile saw or wet saw (for accurate cuts), a notched trowel for mortar, spacers, a level, and a grout float. Common materials include thinset mortar rated for natural stone, limestone-safe grout, and a stone sealer (often recommended before and after installation). If you’re doing a floor system over concrete, also plan for proper underlayment or waterproofing as required by your subfloor type.
How do I prepare the subfloor before installing limestone tile?
Start by ensuring the subfloor is clean, stable, and flat—limestone tile can crack or become uneven if the base has high spots or movement. Remove old adhesive, patch low areas with a suitable floor leveling compound, and vacuum thoroughly to improve thinset bond. If you’re installing over concrete, confirm moisture conditions and use an appropriate moisture barrier when needed, following local building guidance and manufacturer instructions.
How do I install limestone floors step-by-step with thinset and grout?
First, plan your layout and dry-fit tiles to minimize small cuts at walls, then mark reference lines so the installation stays square. Spread limestone-rated thinset with a notched trowel, set each tile firmly, and use spacers while checking level frequently. After the thinset cures, grout using a stone-safe grout (and clean joints thoroughly), then allow proper curing time before applying a compatible limestone sealer to protect against staining.
Why is sealing limestone floors important, and when should I apply it?
Limestone is a porous natural stone, so sealing limestone floors helps reduce staining and water absorption that can discolor the surface over time. Many installers recommend sealing after grout has fully cured, because trapped moisture and uncured grout can interfere with the sealer’s performance. Use a sealer specifically designed for natural stone and follow coverage and reapplication intervals based on your product and household traffic.
Which grout and backer options are best for limestone floors?
For limestone tile, choose grout labeled safe for natural stone—avoid overly harsh products that can scratch or discolor limestone, and consider stain-resistant formulas for kitchens and entryways. For damp areas or where moisture control matters, a quality underlayment or backer system (and waterproofing membrane where appropriate) can protect the substrate and support a long-lasting limestone installation. When in doubt, match your grout and underlayment to both the tile manufacturer requirements and your subfloor conditions.
📅 Last Updated: October 09, 2026 | Topic: How to install limestone floors? | Content verified for accuracy and freshness.
References
- Client Challenge
https://www.wikihow.com/Install-Limestone-Flooring - https://www.britannica.com/technology/floor
- How to Use Acoustic Caulk for Soundproofing
https://www.thespruce.com/how-to-install-tile-flooring-1822845 - Garten, DIY, Einrichtung und Bauprojekte | Kostenlos sehen | HGTV
https://www.hgtv.com/how-to/home-improvement/repairs/how-to-install-tile - Google Scholar Google Scholar
https://scholar.google.com/scholar?q=installing+limestone+flooring+guidelines - Google Scholar Google Scholar
https://scholar.google.com/scholar?q=limestone+floor+installation+subfloor+preparation+thinset+grout - Google Scholar Google Scholar
https://scholar.google.com/scholar?q=limestone+tile+flooring+moisture+barrier+installation - PMC Home
https://www.ncbi.nlm.nih.gov/pmc/ - https://www.cdc.gov/niosh/topics/slips/
- Google Scholar Google Scholar
https://scholar.google.com/scholar?q=How+to+install+limestone+floors?