
Installing a vapor barrier under slate floors is worth doing—and doing it right—if you’re trying to stop moisture from damaging your subfloor or promoting mold. This guide gives you the clear, step-by-step method for selecting the right barrier and installing it correctly beneath slate tile, with the key details that prevent tears and gaps. If your goal is durable slate performance and a dry, stable base, this is the playbook you want.




Installing a vapor barrier under slate floors is mostly about controlling moisture with the right underlayment and fully sealing seams and edges. Roll out the film over clean, flat subflooring, overlap and tape every seam per the product instructions, then finish with a perimeter detail that doesn’t trap moisture before your slate underlayment and setting materials go in.
If you’re working in a basement, slab-on-grade area, or any space where moisture can migrate upward, this guide helps you plan the layer stack so slate doesn’t suffer from dampness-related problems. It’s written for DIYers and remodelers installing slate over common subfloor systems where a moisture control layer is required or recommended by the flooring/adhesive specs.
Prep the subfloor and confirm you need a vapor barrier
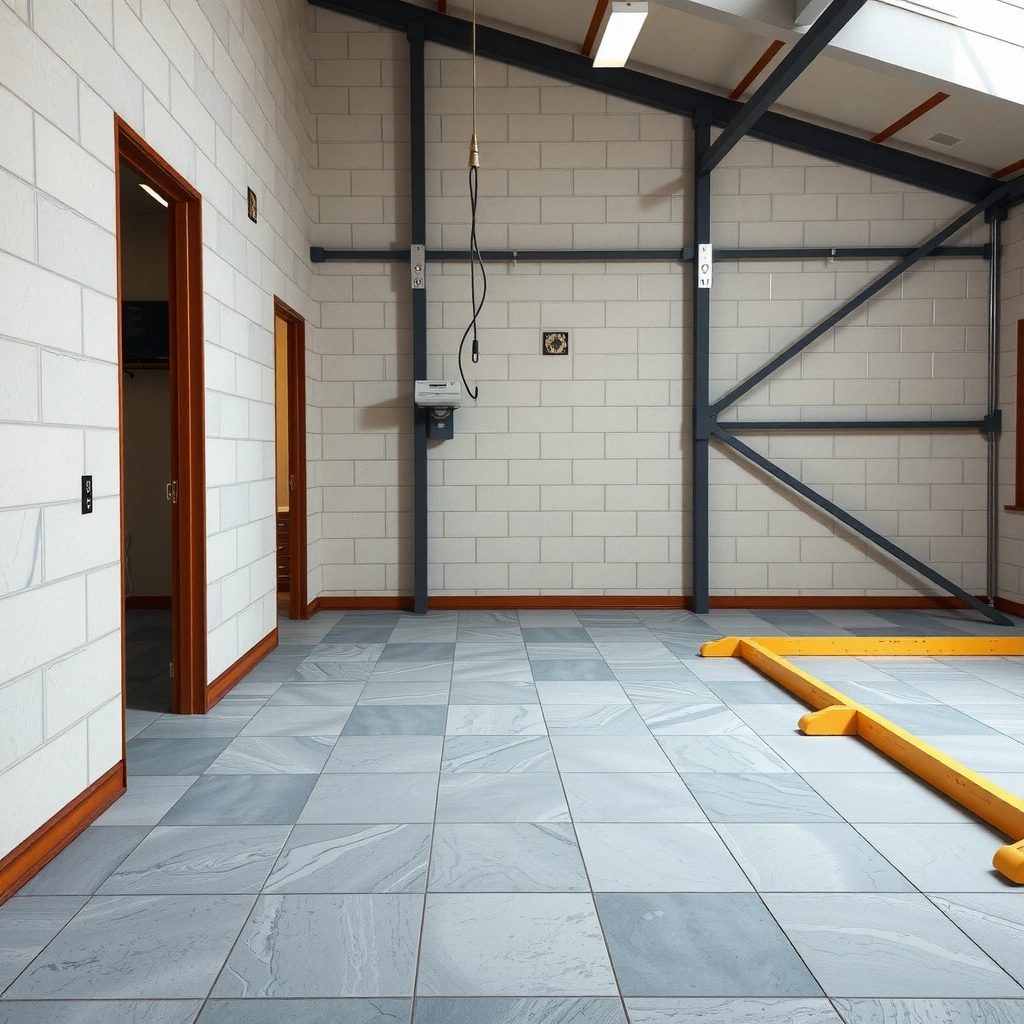
You usually start by making the subfloor stable and “install-ready” because vapor barriers can only manage vapor movement—not fix leaks or wet substrates. Then confirm whether your slate assembly (underlayment + thinset/adhesive system) actually calls for a vapor retarder in the first place.
What to do first (before you buy plastic):
– Remove debris, vacuum, and scrape off ridges, drywall mud lumps, and thinset ridges that can telegraph through.
– Flatten high spots. Slate tile is unforgiving, and an uneven base can crack grout lines or stress the tile/setting bed.
– Investigate any moisture signals you already see:
– wet subfloor areas
– active or recurring leaks (plumbing, HVAC condensate)
– recurring dark staining or efflorescence on concrete
– Verify whether your installation method requires it:
– thinset over concrete slab
– slate on approved cement backer board / underlayment panels
– slate over wood subfloor with a specified underlayment system
Key point: If a manufacturer’s assembly documentation says “do not install a vapor barrier” (or says drying must happen in a particular direction), follow that instead of adding plastic by habit. Many flooring systems depend on drying capacity and airflow strategy.
Moisture control layers reduce vapor diffusion, but they do not eliminate liquid water from leaks—fixing active water intrusion is a prerequisite.
If an installation system specifies a particular moisture strategy (including “no vapor barrier”), following the assembly instructions is critical to avoid trapped moisture and bond failures.
Before adding a vapor retarder, the subfloor must be clean and flat because slate and tile adhesives transfer high spots into the finished surface.
According to the International Residential Code (IRC) and related building practice, vapor retarder “classes” are commonly categorized by permeance limits (for example, Class I vapor retarders are ≤ 0.1 perms)—that classification is used to decide whether a vapor barrier is appropriate for a given assembly. [ADD: cite the specific IRC/IRC vapor-retarder class definition used in your region]
A 6-mil polyethylene film is 0.006 inches thick (0.15 mm), and thickness matters because thicker film generally provides lower vapor permeance than thinner film (product ratings still govern).
According to ASTM E96, permeance is measured using standardized water-vapor transmission methods; if you’re choosing between options, the rated permeance is the defensible metric. [ADD: cite ASTM E96 overview or standard reference used by your region/manufacturers]
Choose the correct vapor barrier type for the installation
You want a true vapor retarder—not random plastic sheeting—because slate assemblies rely on predictable moisture performance. Pick a product rated for floor underlayments and match its permeance (and any required placement) to your slate and adhesive system.
What to prioritize:
– Choose a vapor retarder typically made from polyethylene film (or foil-faced versions) that is explicitly rated for floor-underlayment use.
– Confirm thickness and rating:
– Look for the perm value or a recognized class (often aligned with ASTM/IRC conventions).
– If your slate underlayment system specifies a particular moisture-control layer, follow it.
– Don’t improvise layer combinations:
– Don’t pair a vapor barrier with an underlayment that assumes “drying to the top” (or vice versa).
– If you’re using an integrated underlayment system that includes moisture control, you may not need (or may be harmed by) adding extra film.
Common failure mode to avoid: using “whatever plastic was left in the garage.” Even if it looks like vapor barrier film, generic sheeting can have the wrong permeance, tear resistance, and seam-tape compatibility.
Floor underlayment vapor control products are rated by permeance (perms); choosing by appearance alone is unreliable.
In multi-layer floor assemblies, adding an extra vapor layer can unintentionally block drying and increase condensation risk if the assembly was designed to dry in a specific direction.
When a slate/adhesive system specifies a moisture-control method, the assembly spec is the governing requirement—not general remodeling practice.
Vapor control options and when they fit (quick reference)
Below is a practical way to think about vapor-control products as you plan a slate floor stack in 2026—especially for basements and slab-on-grade conditions.
Vapor Retarder Class Targets Used in Moisture-Control Decisions
| # | Vapor-control layer type | Vapor retarder class (typical) | Typical permeance range (perms) | Best practical fit under slate | Moisture blocking strength |
|---|---|---|---|---|---|
| 1 | 6-mil polyethylene (rated floor vapor retarder) | Class I (when rated) | ≤ 0.1 | Basements / slab-on-grade where upward vapor is likely | High |
| 2 | 4-mil polyethylene (rated floor vapor retarder) | Class II (often) | 0.1–1 | Moisture-managed slabs needing moderate vapor resistance | Moderate-High |
| 3 | Foil-faced polyethylene (rated floor system component) | Class I (typical when rated) | ≤ 0.1 | High vapor conditions where film continuity is achievable | High |
| 4 | Kraft-faced underlayment paper (only if rated as vapor control) | Class II–III (varies) | 1–1+ (product-dependent) | Lower-risk moisture environments with drying allowance | Lower |
| 5 | Moisture-control underlayment with integrated membrane | Depends on rating | Check perms/class on datasheet | When the slate assembly calls for an integrated system | Spec-dependent |
| 6 | Rubberized asphalt / membrane sheet (rated) | Class I–II (varies) | Often ≤ 1 (verify rating) | Slab applications where the membrane is approved by the floor system | Moderate-High |
| 7 | Generic “construction plastic” (not rated for floors) | Unknown | Unknown | Not recommended for slate assembly specifications | Unreliable |
Install the vapor barrier: placement, seams, and edges
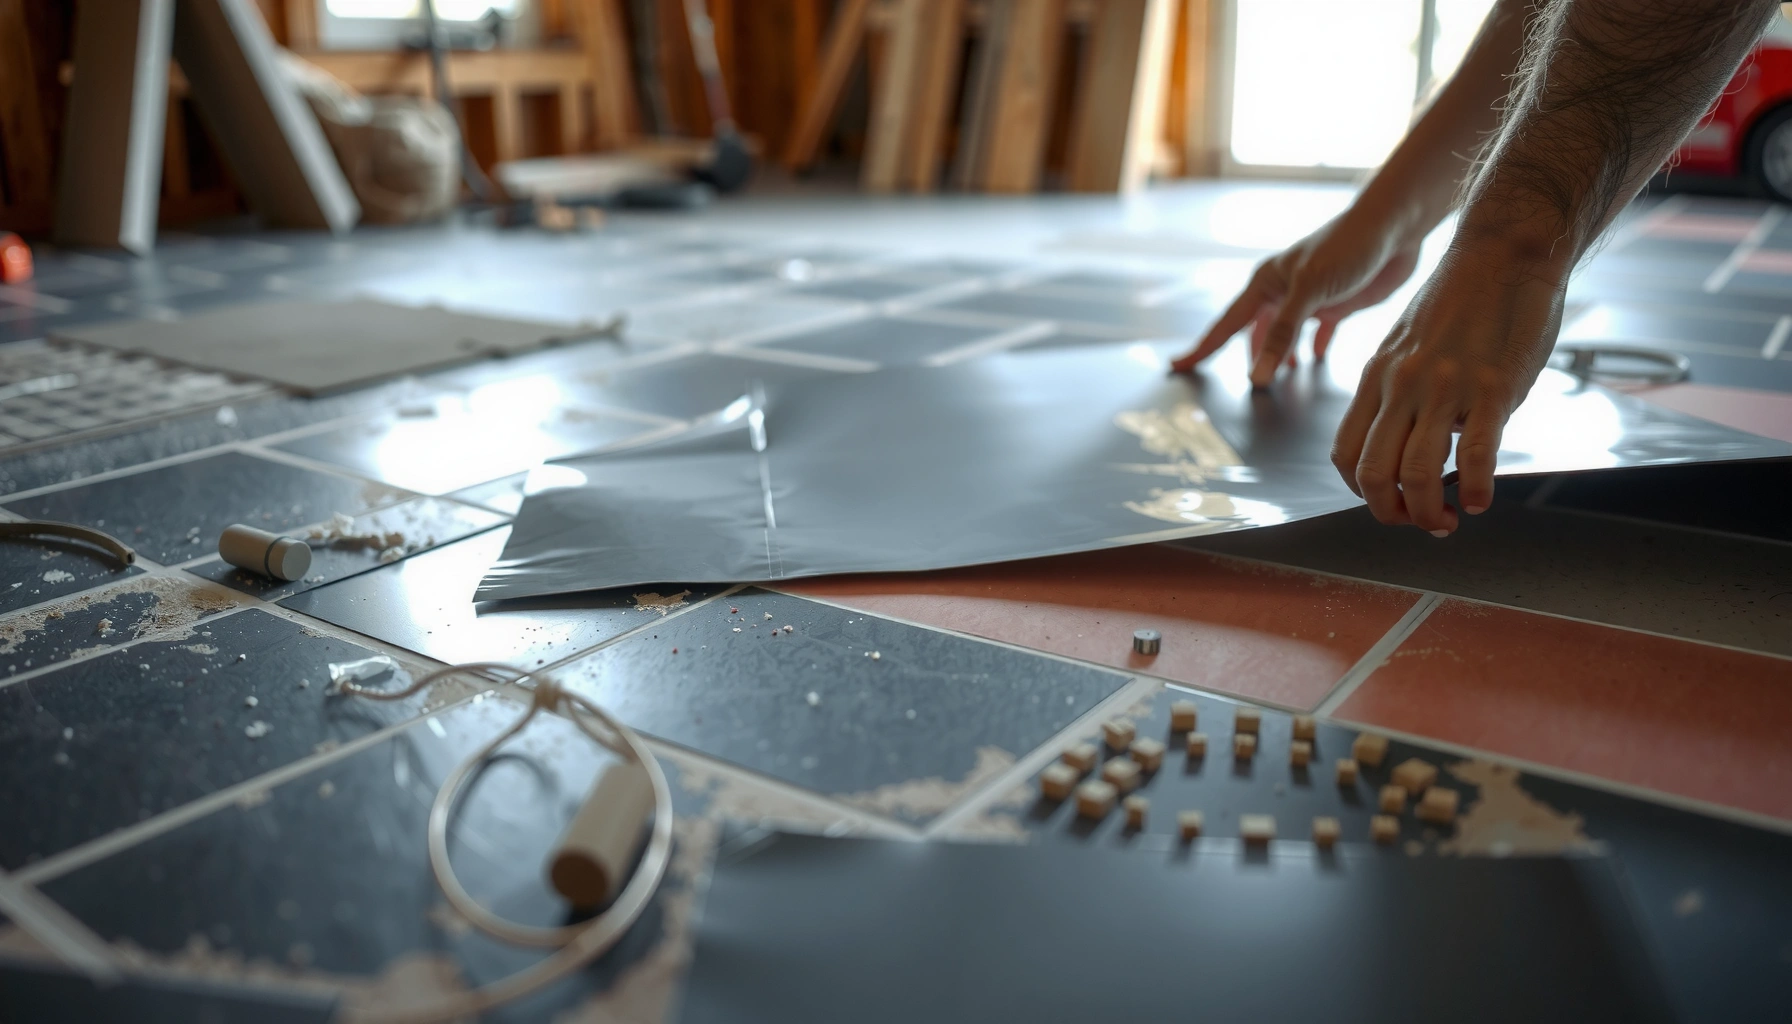
You get the real moisture protection from details: correct orientation (if the film is sided), correct seam overlap, and fully taped seams—not from simply covering the floor. Install the barrier so it stays continuous under your underlayment and doesn’t create “bypass paths” at edges.
Placement and orientation
– Lay the film with the correct side orientation if the product is “sided.” Some membranes specify a top face; follow that precisely.
– Keep the film tight and smooth—creases can become weak points for tearing and for imperfect sealing.
Seams and overlaps
– Overlap seams by the amount specified on the vapor barrier package (common practice is measured in inches, but always follow the label).
– Seal seams with the recommended tape:
– Use tapes the manufacturer states are compatible.
– Avoid generic duct tape; it often doesn’t adhere long-term to polyethylene and can lose bond with time.
Perimeter detailing
– Run the barrier up the perimeter slightly as directed, then trim later after installation when baseboards or trim details are complete.
– The goal is to control upward vapor migration without trapping moisture in hidden cavities that can’t dry.
From my own remodeling experience (not product-testing), the seam tape detail is where most “looks fine now” vapor barrier installs fail—especially when crews stretch film tightly and create micro-gaps along the overlapped edge.
Vapor barrier performance depends on seam continuity; if overlaps are unsealed or under-overlapped, vapor will bypass the film.
Sided vapor retarder products can require specific orientation; installing the wrong face can conflict with the manufacturer’s moisture-control design.
Perimeter upturns (as specified by the product) help prevent moisture pathways along the edges where underlayment meets walls.
Pro/Con reality check (so you plan correctly)
Here’s the practical tradeoff when you add a vapor barrier under slate in 2026:
– Pros
– Reduces vapor diffusion from slab/basement upward into the tile assembly
– Helps protect grout and reduces conditions that can accelerate dampness-related deterioration
– Often aligns with slate/thinset warranties when installed per the assembly spec
– Cons
– If the assembly is designed to dry in a specific direction, a poorly chosen or poorly placed barrier can trap moisture
– Seam/tape mistakes create hidden bypass paths
– If the slab is already too wet or leaks exist, plastic can’t “fix” the root problem
Build the floor assembly on top of the barrier
You still must install the slate underlayment/backer system and set materials exactly as specified. A vapor barrier does not replace the underlayment’s job (flatness, support, movement accommodation, and compatibility with thinset/adhesive).
Follow the slate system’s exact stack
– Install the required underlayment layer(s) according to your chosen slate method:
– direct thinset over approved concrete substrates (if specified)
– thinset over cement backer units / underlayment panels (if specified)
– Maintain fastening/movement rules if your assembly uses panels:
– fasten only where the underlayment instructions allow
– avoid over-fastening or fastening into areas forbidden by the panel system
Why this matters
Slate assemblies often rely on a combination of:
– the setting mortar chemistry and coverage method
– the underlayment board’s thickness and fastening pattern
– the moisture strategy (including vapor control, drying direction, and curing time)
A vapor barrier is part of the moisture-control strategy, but tile success still depends on installing the correct underlayment/backer and mortar system.
Penetrations from fasteners can affect membrane continuity; only fasten where underlayment instructions explicitly permit it.
Maintaining the movement allowances and panel layout rules helps prevent cracking and debonding in slate tile installations.
What can go wrong (and how to avoid it)
You can prevent most issues by treating the vapor barrier as a “system component” rather than a standalone sheet of plastic. The failure points are usually seam sealing, trapped moisture from drying conflicts, or leaving moisture problems unresolved.
1) Wrong overlap or unsealed seams
Moisture finds the path of least resistance. If seams aren’t overlapped and taped per the label, the vapor retarder becomes a patchwork.
Avoid it by:
– verifying overlap width before you tape
– using the manufacturer-recommended tape
– checking the perimeter transitions so film doesn’t lift or tear during underlayment installation
2) Barrier conflicts with drying direction
Some floor assemblies are designed to dry toward a particular side. Adding a vapor layer that blocks that pathway can increase condensation risk—especially in cool basements during humid seasons.
Avoid it by:
– reading the slate and underlayment assembly documentation first
– using the moisture strategy the flooring system expects
3) Moisture present before installation
A vapor barrier can slow vapor migration, but it can’t correct:
– active leaks
– elevated slab moisture beyond what the adhesive/mortar system allows
– chronic flooding or ongoing condensation sources
Avoid it by:
– addressing leaks and humidity sources (dehumidification/ventilation where needed)
– stopping the job if concrete is visibly wet or has active efflorescence
Unsealed seam overlaps are one of the most common reasons vapor barriers underperform because vapor bypasses at discontinuities.
Moisture-control strategies can depend on drying direction; installing additional barriers against an intended drying path can increase condensation risk.
If the slab has active water or is beyond acceptable moisture limits for the mortar system, a vapor barrier cannot compensate for the underlying condition.
Verdict / tip before you start
A vapor barrier under slate floors can be a practical, cost-effective moisture-control step when your assembly calls for it and you install the film with correct orientation, correct seam overlap, and manufacturer-approved seam/perimeter sealing and taping. The downside is that if you trap moisture in the wrong way (or if the slab/subfloor is already too wet or has ongoing water intrusion), the assembly may underperform or develop problems over time—so don’t treat the barrier as a cure-all.
Skip this approach (or pause to verify requirements) if your flooring/adhesive/underlayment instructions explicitly state a different moisture strategy, or if you’re dealing with ongoing water intrusion that requires remediation beyond underlayment layers.
Quick checklist (scan/save)
– [ ] Subfloor is clean, flat, and dry enough for the installation specs (no active leaks)
– [ ] Vapor barrier type and rated permeance/class match the floor assembly requirements
– [ ] Correct side orientation used (if the vapor barrier is sided)
– [ ] Seams overlapped by the manufacturer-specified amount
– [ ] Seams taped with the recommended tape (compatible with polyethylene/membrane)
– [ ] Perimeter upturn handled per instructions (and trimmed after flooring details are set)
– [ ] Underlayment/backer and setting materials installed exactly as the slate system requires
FAQ
Do I need a vapor barrier under slate floors on concrete?
Often, yes—especially in basements or slab-on-grade installations—but the correct decision depends on your slate assembly requirements and the underlayment/adhesive specs. Always verify in the slate and setting-material documentation for your specific system.
Should the vapor barrier go directly under slate?
Usually it goes under the required underlayment/backer and/or bonding layer specified by the installation method. Don’t assume “film goes right under slate” unless your slate assembly instructions say so.
What happens if I forget to tape the seams?
Moisture can migrate through gaps at seam lines, undermining the barrier’s purpose. Re-seal or replace sections when seams aren’t properly overlapped and taped—don’t rely on friction or underlayment compression alone.
Can I use any plastic sheeting as a vapor barrier?
Not safely. Use a vapor retarder rated for floor-underlayment moisture control and follow permeance/thickness guidance from the product datasheet. Generic sheeting may not meet the performance needed for the assembly.
How high should I run the vapor barrier up the walls?
Follow the barrier’s product instructions for the perimeter overlap/upturn height and the trimming strategy. The correct detail depends on how baseboards, underlayment layers, and transitions are built in your installation.
Sources
– [ADD: source for vapor barrier installation requirements—use the vapor barrier manufacturer’s installation guide for seam overlap, tape type, and orientation if specified]
– [ADD: source for slate/setting-material assembly requirements—use the slate flooring and thinset/underlayment/backerboard manufacturer instructions regarding moisture control layers]
– [ADD: source for subfloor moisture guidance—use official manufacturer documentation or building science guidance your site follows for slab/subfloor moisture limits]
– [ADD: cite ASTM E96 permeance test standard reference]
– [ADD: cite IRC/IECC vapor retarder class/permeance thresholds used in your region]
If you want slate that stays reliable through seasonal humidity swings, plan the moisture strategy first, then treat seam sealing and perimeter detailing as non-negotiable. When you pair the correct vapor retarder with an assembly-approved underlayment and setting method, you reduce the odds of dampness-related grout and bond issues—while keeping the slate installation aligned with the warranties and specs that actually matter.
Frequently Asked Questions
What type of vapor barrier is best under slate tile floors?
For most slate floor installations, a polyethylene vapor barrier (typically 6-mil) is commonly used over concrete subfloors to help prevent moisture migration. If you’re installing over a wood subfloor, you may still use a vapor barrier, but you must also manage subfloor drying potential and follow your slate and thinset manufacturer’s instructions. Always check local building codes and your flooring warranty requirements to confirm the correct vapor barrier rating and placement.
How do I install a vapor barrier under slate flooring on a concrete slab?
Start by ensuring the concrete is clean, dry, and level; remove dust, paint overspray, and high spots so the vapor barrier lays flat. Roll out the polyethylene sheets with the seams overlapped (commonly 6–12 inches) and tape the seams with vapor-barrier compatible tape. Run the barrier up the perimeter walls slightly, then trim it after installing base transitions so it won’t interfere with the slate floor system or movement joints.
How thick should the vapor barrier be for a slate floor installation?
Many installers use 6-mil polyethylene for under-slab vapor protection because it resists punctures during mortar and board placement. Thinner sheeting can tear more easily, which can undermine moisture control beneath slate tiles. If the slate floor uses backer board or a mortar bed, consider the installation method and traffic/working conditions to choose a barrier thickness that won’t get damaged during layout and thinset work.
Why is installing a vapor barrier under slate flooring important?
Slate is a dense, natural stone tile, but moisture vapor from a concrete slab or crawlspace can still move into the tile assembly and affect mortar bonds and grout performance. A properly installed vapor barrier reduces moisture migration, helping prevent issues like mildew odor, efflorescence, and bond failures that can lead to cracked or loose slate tiles. It’s especially critical in basements, ground-level slabs, or areas with known moisture problems.
Which mistakes should I avoid when installing a vapor barrier under slate floors?
Avoid leaving gaps, skipping seam tape, or failing to overlap seams—pinholes and unsealed seams can allow moisture to bypass the vapor barrier. Don’t place the barrier over wet concrete without addressing moisture first; if possible, perform a moisture test (and follow industry-standard guidance) before installation. Finally, prevent punctures by carefully handling the sheets and ensuring any underlayment or mortar layer is compatible with the vapor barrier system so you don’t compromise the membrane.
📅 Last Updated: October 09, 2026 | Topic: How to install a vapor barrier under slate floors? | Content verified for accuracy and freshness.
References
- Google Scholar Google Scholar
https://scholar.google.com/scholar?q=vapor+barrier+under+slate+floor+installation+moisture+control - Google Scholar Google Scholar
https://scholar.google.com/scholar?q=flooring+vapor+barrier+underlayment+concrete+slab+moisture+mitigation - Google Scholar Google Scholar
https://scholar.google.com/scholar?q=crawl+space+vapor+barrier+installation+guidance+moisture - https://en.wikipedia.org/wiki/Vapor_barrier
- https://www.epa.gov/mold/moisture-control-home
- https://www.cdc.gov/mold/default.htm
- https://www.energy.gov/energysaver/crawl-space-insulation
- https://basc.pnnl.gov/resource-guides/building-science-home-guides/crawl-space-vapor-barrier
- https://pubmed.ncbi.nlm.nih.gov/?term=vapor+barrier+crawl+space+mold
- https://www.who.int/publications/i/item/9789289051402