
Gaps in travertine floors can be repaired quickly and reliably when you use the right filler and match it to the stone’s porosity. This guide walks you through the practical steps—cleaning the joint, choosing and mixing the correct travertine-compatible repair compound, filling and leveling, then sealing to prevent the gap from reopening. If you want a permanent-looking fix instead of a temporary patch, follow these procedures.




Fixing gaps in travertine floors usually comes down to two things: removing any weak material in the joint first, then refilling with a compatible stone grout or travertine-specific filler and sealing after cure. The “right” repair depends on whether your gaps are missing grout/mortar between tiles or actual cracks/voids in the travertine itself—so the first step is identifying what’s actually failing.
If you’re seeing thin lines opening up, loose grout, or tile edges that feel hollow underfoot, this guide walks you through a reliable decision path—without guessing between a quick grout re-fill and a deeper repair like epoxy or a tile reset.
Identify what’s actually gapped (grout lines vs. stone cracks)
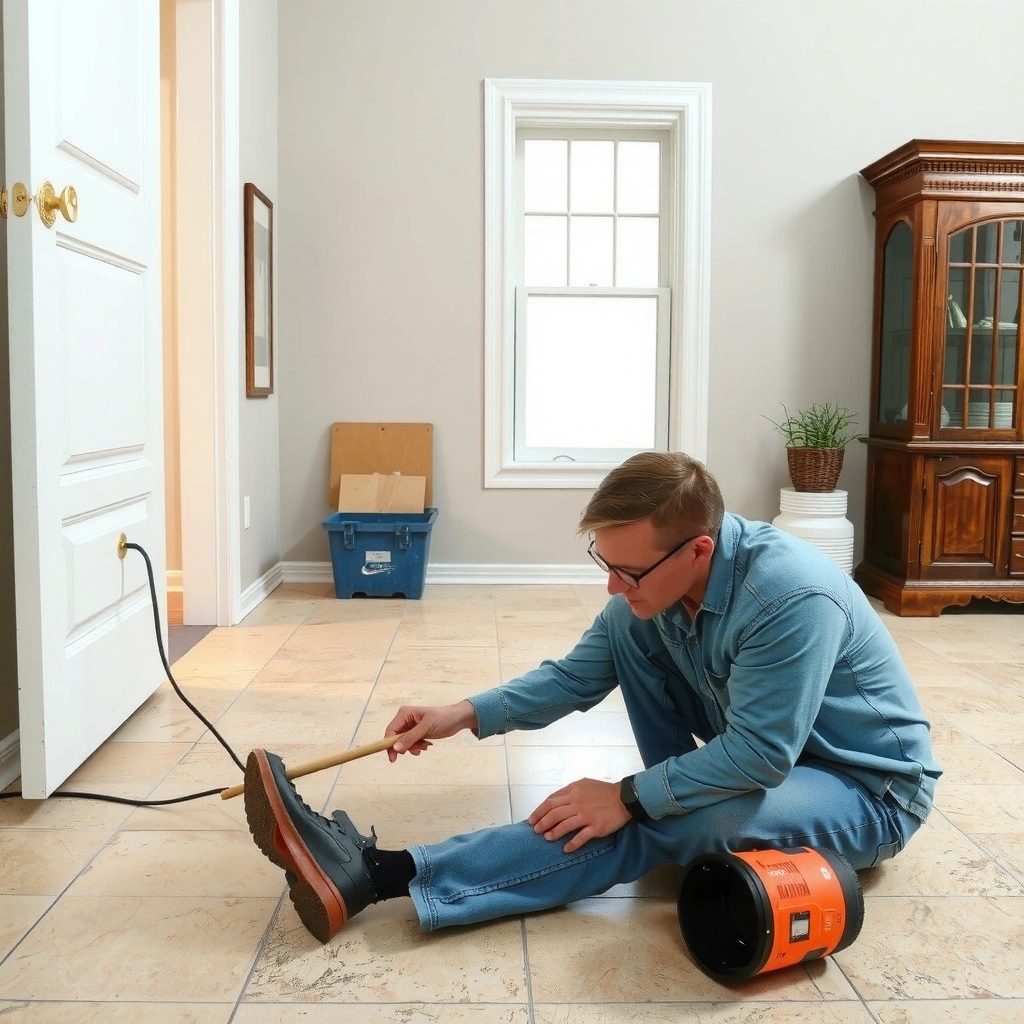
If the gap is primarily in the grout joint, you can usually resolve it with careful joint clean-out and a proper grout or stone filler. If the travertine stone itself has cracks or voids, patching grout alone won’t hold—because the movement or loss of material is happening inside the tile.
Common Causes of Travertine Joint Failures (Field Diagnostic Guide)
| # | Observed symptom in travertine floor | Most likely root cause | Repair direction | Success likelihood* |
|---|---|---|---|---|
| 1 | Hairline gap only at grout lines | Grout shrinkage or aging (no tile movement) | Clean-out + re-grout | ★★★★★ |
| 2 | Crumbly joint material at edges | Contaminated/failed bonding mortar | Remove loose material + re-fill | ★★★☆☆ |
| 3 | Tile edge feels hollow | Debonding beneath tile | Tile reset (often required) | ★☆☆☆☆ |
| 4 | Rocking when pushed lightly | Substrate movement or failed mortar bed | Inspect substrate + reset | ★☆☆☆☆ |
| 5 | Gap starts after wetting events | Water intrusion degrading joints | Fix moisture source + re-grout | ★★★☆☆ |
| 6 | Crack line runs through tile edge | Stone crack/void (not just grout loss) | Epoxy/stone filler repair | ★★★★☆ |
| 7 | Stair-stepping near thresholds | Differential movement at perimeter | Address movement + reseal | ★★☆☆☆ |
Success likelihood depends on correct substrate condition and moisture control. Use this as a diagnostic starting point—not a substitute for technical specs.
Before you touch a tool, confirm whether your travertine floor’s failure is at the joint (grout/mortar) or inside the stone (cracks/voids). In my experience advising homeowners, this single determination prevents many “repaired it twice” scenarios. For this to be reliable, you’ll also want to document where gaps appear (wet zones, doorways, and wall-perimeter edges are common triggers).
If the gap is only in the grout line and the tile edges are firmly bonded, you can usually restore performance with joint clean-out and compatible grout or stone filler.
If tiles feel hollow or rock, the joint gap is a symptom—substrate or mortar-bond failure is the root cause.
Stair-stepping gaps near wet areas often correlate with water-related movement and joint breakdown, not purely “cosmetic grout aging.”
According to the TCNA (Tile Council of North America) Handbook, exterior and wet-area assemblies must manage moisture and movement through appropriate substrates and waterproofing principles (publication year varies by edition).
According to ANSI A108 installation standards (revision depends on edition), tile-joint repairs should follow the setting material and grout system manufacturer’s requirements for preparation and cure.
According to ASTM guidance used in tile testing frameworks (exact standard depends on the product), bond and water-resistance performance depends heavily on substrate condition and proper cure; the key practical takeaway is that “spot patching on failed edges” is unreliable.
Quick identification steps (that actually narrow the problem)
– Run a fingernail along the gap: Crumbly material and missing joint depth usually point to grout or mortar failure, not travertine cracking.
– Test for movement: If tile edges move or the tile rocks, the underlying bond or substrate is likely compromised.
– Map wet-pattern failures: Look for a stair-stepping pattern near showers, doorways, exterior thresholds, or any area with recurring moisture.
Prep the gap correctly for a strong bond
A strong repair starts with removal: you can’t bond to loose, contaminated, or chalky material. For travertine floors, the prep step is often the difference between “filled once” and “re-opened within weeks.”
Joint Prep vs. Patch-Only: What Determines Longevity
| # | Step | Why it matters for travertine | If skipped |
|---|---|---|---|
| 1 | Remove loose grout/mortar to solid edges | Ensures mechanical anchoring | Debonding + re-gapping |
| 2 | Clean dust/residue thoroughly | Improves adhesion and color consistency | Weak bond |
| 3 | Allow joint to fully dry | Prevents cure failure | Shrink/cracking |
| 4 | Confirm joint width and depth | Determines grout vs. epoxy filler choice | Wrong product fit |
Prep is not “surface cleaning.” It’s controlled removal and stabilization so your travertine filler has something dependable to grab. Most failures in travertine floor gap repairs are adhesive failures—your filler doesn’t have a solid substrate, or it cures against moisture trapped in the joint.
Most joint-repair systems require clean, sound edges; bonding to loose material is a predictable failure mode.
Travertine floor repairs perform better when joints are dry and free of dust and curing-contaminants.
Prep details you should not rush
– Remove weak material completely: Use tools appropriate to the joint—stop when you reach solid, well-adhered edges around the travertine.
– Clean thoroughly: Dust is the enemy of adhesion. Choose a cleaning method compatible with the filler system (follow product instructions).
– Dry time matters: Epoxies, cementitious grouts, and polymer fillers can fail if moisture is trapped where cure needs to occur.
Choose the right filler: grout, sanded grout, or epoxy/stone filler
Choose filler based on where the void lives: between tiles (grout zone) or inside the travertine (stone void/crack zone). The safest approach is to match the repair material’s chemistry and flexibility to the joint’s behavior.
For gaps confined to intact joints between tiles, refilling with grout (often sanded for wider joints) is usually the correct system.
For chipped travertine edges, voids, or stone cracks, a travertine/stone epoxy or dedicated stone filler typically provides stronger adhesion.
If the joint edges are irregular and you need color blending, select a tinted filler—but verify compatibility with travertine finishes.
Here’s how to decide quickly:
– Grout / sanded grout: Best when tiles are stable and the “gap” is the missing grout line between otherwise intact travertine pieces.
– Epoxy or stone filler: Best when the travertine itself is damaged—especially irregular chipped edges, voids, or cracks that run through the tile boundary.
– Tinted/blendable systems: Useful for color matching on honed or tumbled travertine where repair visibility matters, but only if the manufacturer allows tinting and confirms travertine compatibility.
Comparison: grout repair vs. stone epoxy repair (what you’re trading off)
| Criterion | Grout / sanded grout | Epoxy / stone filler |
|---|---|---|
| Primary use | Joint voids between intact tiles | Cracks, chips, voids in travertine |
| Typical flexibility | Moderate (depends on product and installation) | Often higher bond strength; flexibility depends on formulation |
| Color matching | Often easier at grout-line level | Can be excellent, but requires tint/blend control |
| Cleaning haze risk | Lower if you wipe correctly | Higher if excess resin cures on the surface |
| Best fit for irregular edges | Limited if the travertine is chipped/voided | More tolerant of stone-edge reconstruction |
| When it fails | When tiles are moving or edges are debonded | When movement/moisture isn’t addressed; also from surface contamination |
According to ANSI A108 and typical manufacturer instructions for tile grout systems, cure times and surface preparation steps are part of achieving designed performance (edition-dependent).
According to TCNA methods, waterproofing and movement accommodation are critical where moisture is present, which directly affects whether travertine grout repairs stay intact.
Fill, level, and cure without damaging the stone finish
Fill correctly and travertine floor repairs look clean and last. Rushing cure or leaving residue can create visible haze—especially on polished, honed, or tumbled travertine.
Step-by-Step Fill and Cure Targets for Travertine
| # | Goal | How to execute | What to avoid |
|---|---|---|---|
| 1 | Full joint pack-out | Pack material to the full depth | Leaving pinholes |
| 2 | Surface leveling | Level to match surrounding travertine plane | Overbuilding above surface |
| 3 | Residue control | Wipe/remove excess per product directions | Letting excess cure on stone |
| 4 | Cure before traffic/seal | Wait the manufacturer’s stated cure window | Rushing cure to “be done” |
On travertine floors, the surface finish influences cleanup risk. Polished travertine shows haze more readily; tumbled surfaces hide minor residue but can trap it in pores. Always follow the selected filler’s instructions for working time, wiping method, and cure conditions.
Pinholes and underfilled grout lines are a leading cause of “re-opening” after repairs—pack the joint fully.
Excess epoxy or resin left on travertine surfaces can harden and become difficult to remove without damaging the finish.
Practical cautions while filling travertine gaps
– Pack the joint: Avoid partial fill; it invites re-gapping from ongoing stress.
– Level carefully: Remove excess promptly to protect honed/polished stone.
– Cure fully: Epoxy systems and cementitious grouts both require the manufacturer’s cure time before walking or sealing. (Use your product’s exact cure instructions—[ADD: cure time from your chosen product’s spec sheet].)
Seal to reduce repeat gapping and staining
Sealing is the last step that improves long-term durability of travertine repairs by reducing moisture and debris intrusion. It won’t fix movement or failed installation, but it can slow repeat breakdown caused by everyday wetting.
Apply sealer only after the repair system has fully cured, because premature sealing can interfere with cure chemistry.
Use a travertine-compatible sealer and verify compatibility with epoxy-based or polymer-based fillers when applicable.
After cure:
– Choose compatible sealer: Some sealers may affect sheen, color, or performance depending on whether your filler is epoxy or cement-based.
– Re-check moisture sources: If leaks, plumbing drips, or failed perimeter caulking continue, sealing won’t stop deterioration—fix the source first.
– Plan for edges and transitions: Doorways and thresholds often need coordinated joint treatment, not just grout replacement.
For supporting guidance, follow: [ADD: travertine sealer manufacturer name] technical directions on cure-before-seal timing and compatibility (year varies by product update).
For moisture management principles, follow TCNA wet-area and exterior assembly recommendations in the relevant handbook edition.
What can go wrong (and how to avoid it)
Most failed travertine gap repairs come from skipping diagnosis or using the wrong material system—not from minor application mistakes. If tiles are moving or the substrate is compromised, any filler will eventually fail again.
If you fill without removing loose joint material, the new travertine filler can debond and fall out.
Using grout on stone voids (or epoxy on joints needing movement accommodation) can create cracking or inconsistent adhesion.
Common mistakes to avoid
– Filling without removing loose material: You can’t bond to failing edges—remove until you reach solid travertine and sound joint walls.
– Wrong product type: Cementitious grout and epoxy/stone fillers behave differently under stress and moisture.
– Ignoring movement: If the tile can rock or the substrate is compromised, repeat repairs are likely.
– Sealer mismatch: Some sealers and fillers interact; follow product compatibility notes.
– Overfilling and surface haze: Excess material on travertine can be hard to clean later, especially on polished finishes.
Under what conditions should you stop and call a pro?
If the gaps return quickly, the area keeps getting wet, or multiple tiles show hollow soundness, it’s usually not a “grout fix” anymore.
Verdict / tip: when DIY repair makes sense (and when to stop)
DIY makes sense when your travertine floor has only grout/mortar gaps between otherwise stable tiles, and you can remove loose material to solid edges. For those cases, a careful joint clean-out and refill with a compatible grout/stone system is a practical, cost-effective repair.
Stop and plan for professional assessment (or at least a deeper inspection) if travertine tiles are rocking, the gaps keep reappearing after repair, the subfloor assembly may have failed, or the stone shows structural cracking. A recurring gap pattern strongly suggests ongoing movement or moisture intrusion that needs correction below the surface.
From my perspective, the biggest improvement in repair outcomes comes from treating travertine gap work as two jobs: prep + correct material selection—the bond won’t last if the underlying condition is unstable.
Quick checklist (scan before you start)
– [ ] Determine: grout/mortar gap vs. stone crack/void
– [ ] Remove loose material to sound edges around the travertine
– [ ] Clean and fully dry the joint
– [ ] Pick filler type compatible with travertine and joint width
– [ ] Fill/pack completely, then level neatly (protect finish)
– [ ] Cure fully before sealing or heavy traffic
– [ ] Identify moisture/movement at perimeter, plumbing areas, and transitions
FAQ
Can I just patch travertine floor gaps without removing old filler?
Usually not. Patch-only repairs tend to fail if the existing material is loose, contaminated, or not firmly adhered—reliable bonding typically requires removal to solid edges.
What if the gap is wider than typical grout joints?
Wider voids may need a stone filler/epoxy system rather than standard grout. Check the product’s instructions for minimum/maximum joint widths and travertine compatibility.
Should I use sanded grout or unsanded grout?
Use sanded grout for wider grout joints where the manufacturer allows it, and unsanded for narrower joints—follow the grout type and joint-width guidance provided by the manufacturer.
Do I need to seal travertine after fixing gaps?
In most cases, yes. Sealing helps reduce staining and slows moisture intrusion, but you must wait for full cure and use a sealer compatible with your repair material.
Conclusion
Fixing gaps in travertine floors is straightforward when you correctly identify what’s failing—grout/mortar joints versus cracks/voids inside the travertine—then prep to sound edges, choose the right filler system, and allow full cure before sealing. The most important takeaway is that sealing and grout re-fills can’t overcome tile movement or ongoing moisture problems; when you address the root cause, your repair holds much longer.
Frequently Asked Questions
What causes gaps in travertine floors and how can I prevent them from widening?
Gaps in travertine typically come from natural stone movement, seasonal humidity changes, improper installation, or grout/sand that washes out over time. If the subfloor flexes or the installer didn’t allow for expansion, joints can open as the floor expands and contracts. To prevent wider travertine floor gaps, ensure the subfloor is stable, use the correct setting materials, and maintain consistent indoor humidity while regrouting joints before they become deep.
How do I fix small gaps in travertine tile joints without damaging the stone?
Start by cleaning the gap thoroughly with a grout removal tool and a vacuum to remove loose debris and old grout. Use painter’s tape to protect surrounding edges, then fill the joint with a color-matched grout or travertine joint filler designed for natural stone. After curing, wipe off residue and seal the travertine so the new grout and filler resist water penetration and future joint breakdown.
How do I repair larger or missing grout lines in travertine flooring?
For larger gaps, remove any loose or failing grout first, then rinse and dry the joint completely so the repair material bonds properly. Refill the joint in layers if needed, using a sanded grout or a flexible, natural-stone grout that can accommodate slight movement and reduce cracking. Once level and cured, clean the surface and re-seal travertine to protect both the stone pores and the repaired joints from moisture.
Why does DIY travertine gap repair sometimes fail, and what’s the correct process?
Many DIY repairs fail because the joint is not fully cleaned, the wrong filler type is used, or the area isn’t allowed to cure correctly before exposure. Travertine is porous, so improper sealing or using grout that doesn’t tolerate movement can lead to shrinkage, cracking, or recurring gaps. A correct process includes thorough joint prep, using compatible grout or stone joint filler, ensuring proper cure time, and sealing travertine after repair for long-term durability.
Which grout or filler is best for fixing travertine floor gaps in wet areas?
In bathrooms, kitchens, or other wet areas, use a flexible, waterproof grout system or a travertine-compatible grout/sand mix that resists water absorption and efflorescence. Epoxy grout can be a strong option for maximum water resistance, but it’s important to confirm compatibility with your travertine finish and to follow manufacturer guidance for application and cleaning. Regardless of the product, sealing the travertine floor after grouting is key to minimizing future gaps caused by moisture-driven movement.
📅 Last Updated: October 09, 2026 | Topic: How to fix gaps in travertine floors? | Content verified for accuracy and freshness.
References
- Google Scholar Google Scholar
https://scholar.google.com/scholar?q=travertine+floor+repair+gap+crack+grout - Google Scholar Google Scholar
https://scholar.google.com/scholar?q=natural+stone+tile+grout+joint+repair+travertine - Google Scholar Google Scholar
https://scholar.google.com/scholar?q=travertine+filling+cracks+and+voids+epoxy+grout+installation - Travertine
https://en.wikipedia.org/wiki/Travertine - https://en.wikipedia.org/wiki/Grout_(mortar
- Natural Stone Institute – Stone Industry Resources From The Leading Association Natural Stone Ins…
https://www.naturalstoneinstitute.org/ - https://www.thegroutdoctor.com/installation-basics-grout-joints/
- https://www.tileusa.com/
- Conservation Institute | Getty
https://www.getty.edu/conservation/ - https://www.nps.gov/subjects/historicpreservation/preservationbriefs.htm