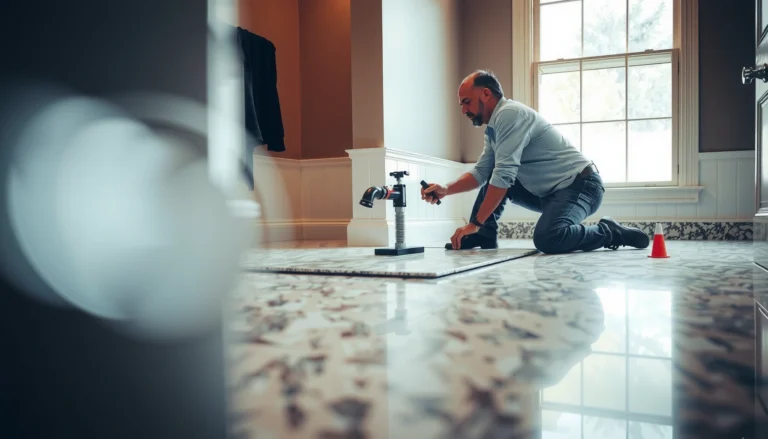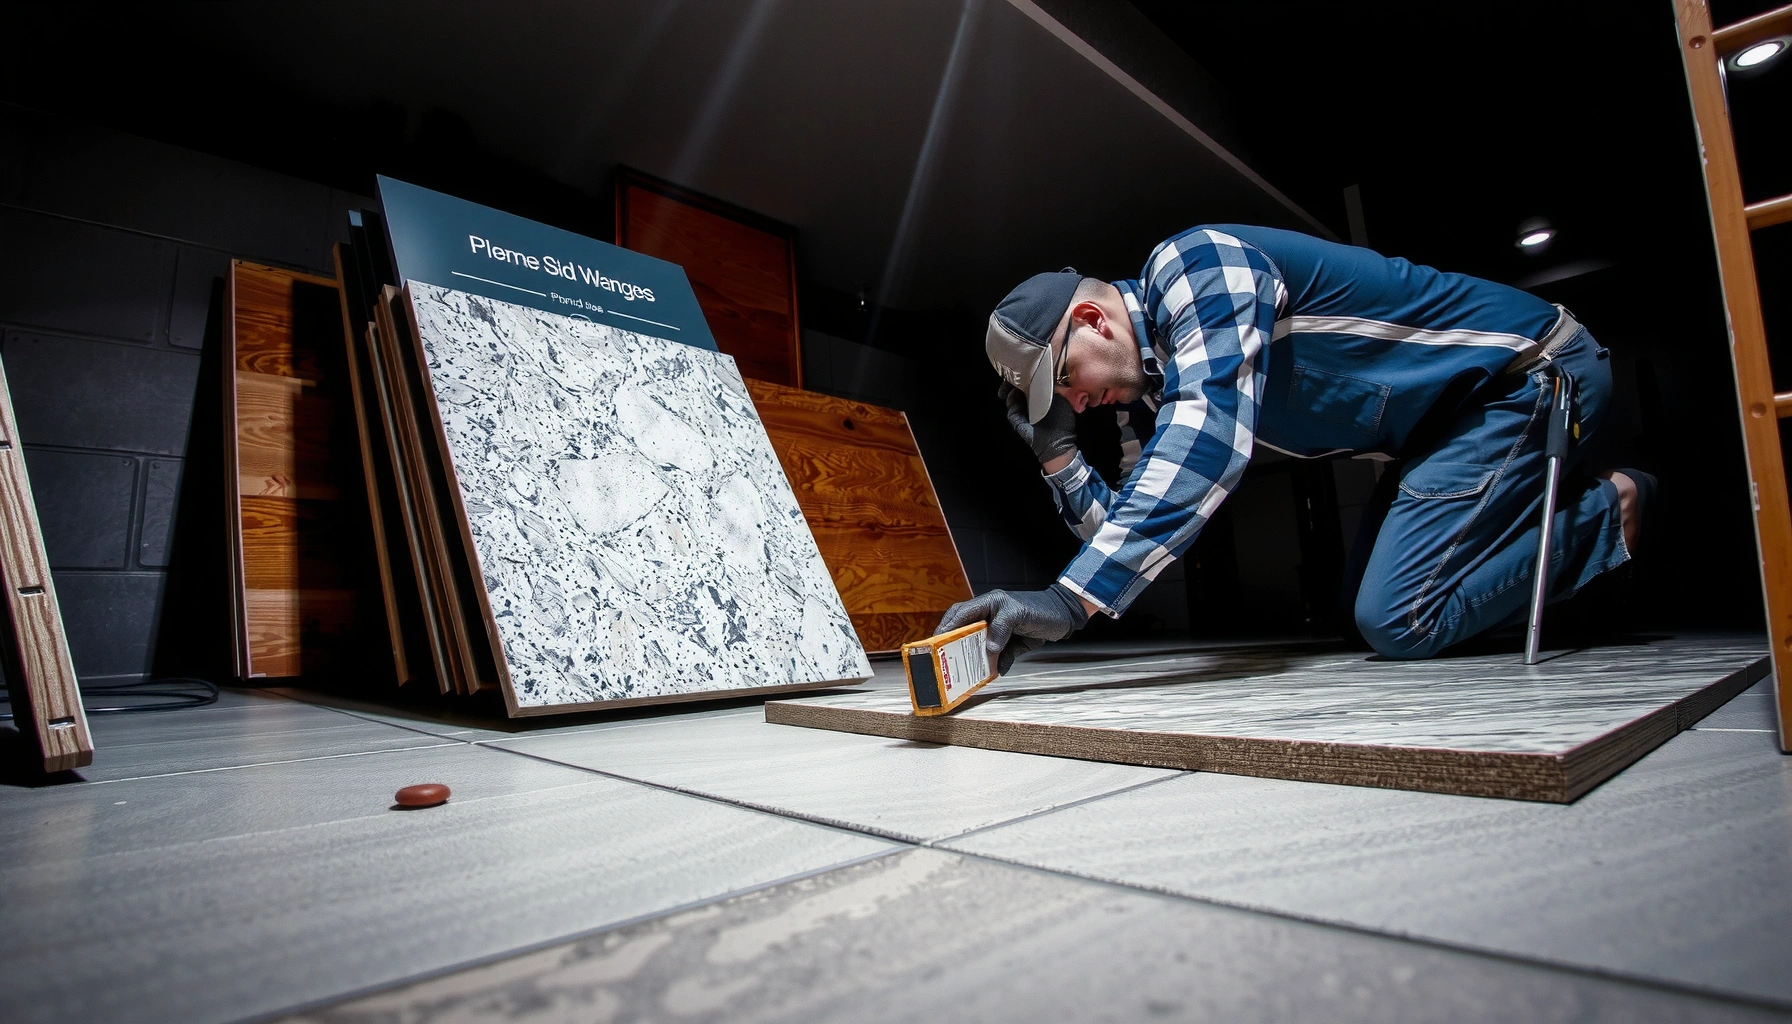

This step-by-step guide shows you exactly how to install granite floors in a basement—so you get a stable, water-resistant surface that won’t crack or shift. You’ll learn the best prep for basement subfloors, how to choose the right thinset and grout, and the proper layout and cutting method for a clean finish around corners and drains. Follow it in order and you’ll know what to do at every stage, from leveling to sealing, with fewer mistakes and a long-lasting result.



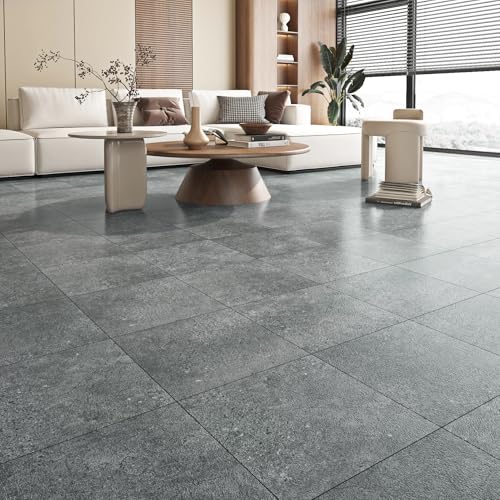
If you want a basement granite floor that stays bonded and looks good for years, prioritize moisture control and slab readiness before you spread any thinset. Start with a flat, clean, properly primed subfloor, then use the correct mortar/grout/sealer system designed for below-grade humidity and temperature swings. This guide walks you through prepping the slab, laying granite, and avoiding the most common failure points in below-grade granite installs.
If you’re working in a basement, your biggest enemy isn’t “granite”—it’s water vapor pressure pushing through concrete and changing conditions that affect mortar cure and grout performance. This is for homeowners and DIY renovators installing granite tile or slabs in a basement where humidity, concrete moisture, and temperature swings are common. It’s especially relevant if your basement slab shows dampness, has a history of musty odors, or you’re unsure which installation method to use.
Plan for Basement Moisture First
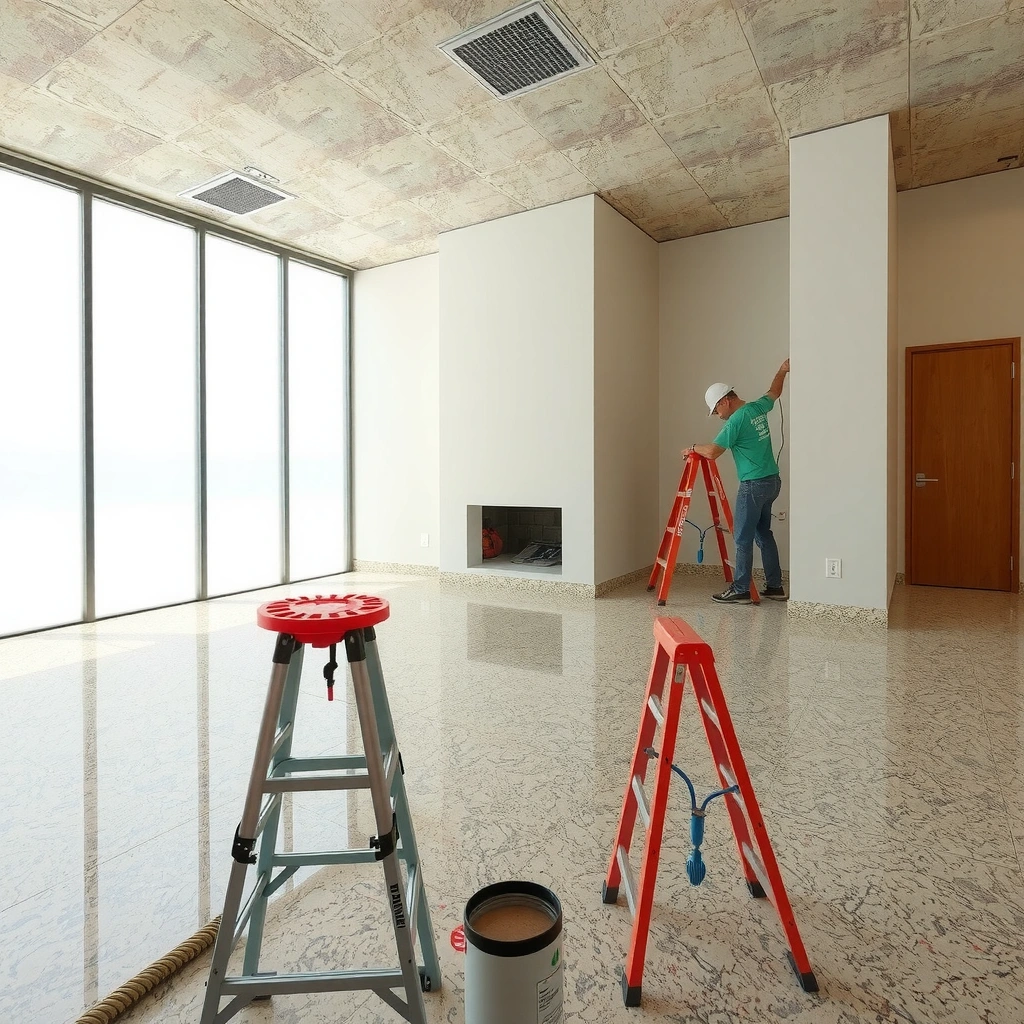
Moisture planning comes first because even the best granite and the right thinset cannot fully correct for wet concrete. The goal is to understand how much moisture vapor is moving through the slab and then pick an installation method that matches that risk level.
For below-grade tile, the installation system requirements (mortar and substrate) must be matched to the slab’s moisture conditions; otherwise, bond failure and tile/grout deterioration become more likely. ANSI A108/A118 installation requirements (industry standards)
Concrete moisture testing methods are standardized in ASTM standards such as ASTM F2170 (in-situ probe) and ASTM F1869 (calcium chloride), which helps determine whether moisture mitigation is required before flooring. ASTM F2170; ASTM F1869
Setting mortar performance depends on temperature and moisture during curing; many cement-based thinset/grout instructions require typical jobsite conditions rather than cold or wet extremes. Manufacturer technical data sheets (TDS) for thinset and grout
For tile installations, professional standards emphasize selecting the correct substrate prep, waterproofing/moisture mitigation, and mortar/grout chemistry for the application. TCNA Handbook (method statements) and ANSI A108
What to check before you buy materials
1. Look for active moisture indicators. Musty odors, visible dampness, recurring condensation on the slab, or water staining after rain seasons are strong “go investigate” signals.
2. Test, don’t guess (when possible). If you can, measure moisture vapor transmission rates using a recognized method (ASTM F2170 or ASTM F1869). Even if you later use a moisture mitigation membrane, testing helps you justify the approach to yourself (and anyone else involved in the project).
3. Verify temperature and humidity range. Basement temperatures often swing with seasons. Many cementitious mortar/grout instructions set minimum and maximum installation conditions to support proper set and cure. A conservative, common benchmark you’ll see in industry docs is keeping the work environment in the roughly 50°F–90°F window during installation and cure. ANSI A108/A118 typical jobsite conditions (reference within standards and manufacturer guidance)
Choose the moisture strategy that matches the slab
In practical terms, you’re choosing between:
– Minor moisture / stable slab: You still prep carefully (cleaning, priming, leveling), but you may not need a full waterproofing system—your mortar system and the substrate requirements govern.
– Elevated moisture risk: You may need a moisture mitigation approach (a qualifying primer + mitigation layer or an approved waterproofing/membrane system). The “right” choice must follow the mortar/membrane manufacturer’s substrate prep and warranty conditions.
Actionable next step: Identify the specific thinset and grout you plan to use, then read their TDS (technical data sheets) for “below-grade,” “concrete slab,” and “moisture mitigation” language. That documentation becomes your decision tree.
Prep the Subfloor (Flat, Clean, and Correctly Primed)
A basement granite floor lives or dies by substrate prep—flatness, cleanliness, and bonding compatibility. Treat concrete like a precision surface: remove contaminants, address weak spots, and prime/level so your granite can be set without hollow spots.
Tile installation standards and manufacturer instructions require a sound, stable substrate; loose paint, sealers, dust, and curing compounds can prevent bond. ANSI A108 substrate requirements; mortar/membrane TDS
Levelness matters because granite tile highlights uneven subfloors through lippage and cracking; flatness requirements are described in tile installation standards (e.g., TCNA method statements). TCNA Handbook (flatness guidance)
Concrete surfaces typically require mechanical preparation (scraping/grinding) to remove contaminants and expose bond-ready concrete. Mortar manufacturer concrete prep guidance in TDS
Make the slab flat enough for granite
Granite tile is rigid and heavy; if the slab is wavy, you’ll fight lippage no matter how carefully you spread thinset.
– Remove paint, dust, sealers, and unknown coatings. If you can’t identify something on the slab (old sealer, old adhesive residue, overspray), assume it will interfere unless the manufacturer explicitly allows it.
– Patch cracks and spalls. Use a patching/leveling compound rated for concrete and compatible with the thinset system you selected.
– Level/flatten, not “fill with thinset.” Thinset is for bonding and setting—not as a primary leveling system.
Prime the surface using the right system
Primers are not universal. Use:
– The primer specified by your mortar or leveling compound system, and
– The prep/coverage limits from that TDS (how long to wait, whether to apply to damp or dry concrete, and whether it must become tacky before setting).
If your basement tends to be humid, be careful with how long the slab sits after prep—keep it covered or prepared in the sequence that your products allow.
Choose the Right Layout and Installation System
The right layout reduces waste, avoids awkward cuts, and protects performance where granite is most vulnerable (edges, transitions, and wet-heat zones). The right installation system ensures your thinset, grout, and any membrane layers are compatible with granite and below-grade conditions.
TCNA method statements and ANSI standards guide which mortar type, membrane/waterproofing approach, and installation details are appropriate for specific environments, including below-grade applications. TCNA Handbook; ANSI A108/A118
Granite is a dense natural stone; selecting mortars and grouts labeled for natural stone helps maintain adhesion and reduces discoloration risk. Granite and mortar manufacturer TDS/installation guides
A consistent tiling layout plan (starting lines, transitions, and sightlines) improves both appearance and execution accuracy, especially when setting large-format stone. TCNA Handbook tiling layout and setting best practices
Layout decisions that matter in basements
– Plan around drains, columns, and stair transitions. Decide where tile edges will land before you open boxes.
– Avoid forcing narrow “picture frame” strips that are prone to cracking and hard-to-maintain grout joints near walls.
– Dry-lay first, then mark. Use chalk lines and spacers to establish reference lines so your first row isn’t drifting.
Pick the mortar and grout designed for the job
You’re not just choosing a brand—you’re choosing a system:
– Thinset/mortar type (polymer-modified vs. specialty) compatible with granite.
– Coverage and trowel size to achieve full contact (key for preventing hollow spots).
– Grout chemistry appropriate for stone and basement humidity.
Quick comparison: installation system direction (pros/cons)
| Approach | Best For | Key Pros | Common Downsides |
|---|---|---|---|
| Standard mortar setup | Stable slab with minimal moisture risk | Simpler schedule, fewer layers | Not a fix for elevated slab moisture |
| Mortar + moisture mitigation | Moderate moisture concerns (documented) | Reduces vapor-driven failures | Adds prep time; must follow cure windows |
| Membrane/waterproofing method | Higher moisture risk or persistent damp history | Greater protection at system level | More detail work around penetrations/edges |
A note on “compatibility”
If you mix-and-match products (e.g., one brand’s primer, another brand’s thinset, a third brand’s grout), you can accidentally violate a warranty condition or a prep requirement. Where your product documentation is explicit, follow it—especially for below-grade installs.
Set the Granite and Maintain Consistent Coverage
Setting granite is where your long-term performance is decided. Dense stone demands good thinset transfer and correct placement discipline—because small coverage problems can become big failures over time.
Natural stone and tile systems require full mortar contact; installation standards focus on proper trowel selection and consistent coverage to prevent hollow spots. TCNA Handbook; ANSI A108
Thinset manufacturers specify trowel notch sizes and coverage expectations for performance and bond strength; following these is critical for stone longevity. Mortar TDS (coverage and trowel guidance)
Keeping grout joints uniform (and using correct spacers) reduces lippage and improves long-term appearance, particularly with large-format granite. TCNA Handbook setting practices
Work in manageable sections
– Mix only what you can use within open time. If thinset skins over, remove and re-apply per product instructions.
– Apply thinset in two directions (keying + combing). Many stone setters aim for direct contact by pressing mortar into the slab, then combing ridges for the final thickness.
– Use the correct trowel sized to your tile format and your mortar’s instructions.
Protect granite edges and reduce micro-cracking risk
– Use stable cutting tools appropriate for granite (wet saw with a suitable blade is common).
– Avoid stressing “dry fit” stones. Move carefully; granite corners can chip if you force alignments.
– Check transfer coverage as you go by lifting a tile occasionally (especially early in the job or after switching tile sizes).
Industry numbers you should verify in your own product specs
Different granite formats and thinsets can change these details. In your TDS, look for:
– mortar application thickness ranges,
– open time and retempering rules,
– and any “allowed installation conditions” for basement environments.
[ADD: the exact thinset brand/model you’re using and its trowel size/open-time guidance from its TDS.]
Grout, Clean-Up, and Seal Appropriately
Grout and sealing are not cosmetic steps in a basement—they’re the barrier that prevents staining, moisture intrusion at joints, and long-term maintenance problems. If you rush cure time or skip the right sealing steps, you’ll likely pay for it later.
Cementitious grout requires specific cure windows and mixing ratios; deviating from manufacturer instructions can increase shrinkage, staining, or reduced durability. Grout manufacturer TDS (mixing, working time, cure)
Stone sealing reduces penetration of stains and helps with maintenance; sealing guidance is specific to the granite type and the sealer chemistry. Granite and sealer manufacturer care sheets/TDS
Prompt cleanup during grouting prevents haze and joint staining—especially on polished or honed granite surfaces. Grout manufacturer cleanup instructions
Grout: match product to basement reality
– Cure before grouting: Let thinset cure to the recommended state. “Same day grouting” is often *not* universal—follow the thinset’s cure instructions for your conditions.
– Mix exactly: Use the specified water ratio and mix time; do not “adjust by feel.”
– Clean in cycles: Wipe and rinse per instructions, especially to prevent residue on textured or polished granite.
Seal: when and how
Most granite benefits from sealing, but not all sealers behave the same. Follow:
– any pre-sealing requirements (some surfaces need fully cured grout),
– how many coats and coverage rate, and
– drying times for humid basements.
[ADD: the granite finish you’re using—polished vs honed—and the sealer brand/spec from its TDS.]
What Can Go Wrong (and How to Avoid It)
Basement granite failures usually come from moisture-related bond problems, substrate irregularities, or incompatible materials. If you avoid those three categories, your install is dramatically more likely to perform.
Moisture-driven bond failure is a primary risk in below-grade installations when the slab does not meet mortar/substrate requirements. ANSI A108 substrate/moisture guidance; TCNA Handbook
Lippage and cracking often correlate with inadequate flatness and insufficient mortar contact, especially when setting large-format stone. TCNA Handbook method statements; industry setting practices
Using the wrong mortar/grout chemistry for natural stone can increase discoloration, reduced adhesion, or maintenance issues in humid environments. Manufacturer compatibility requirements in TDS
Common mistakes (and the fix)
– Moisture surprises: If the slab has ongoing moisture, you can get bond failure, efflorescence (white salts), or persistent odor problems. Fix the moisture plan first—then set stone.
– Lippage and unevenness: Granite tile magnifies uneven slabs; flattening and careful setting matter. Don’t rely on thinset to “make it flat.”
– Wrong products: Underlayment/mortar/grout combinations not intended for basement conditions can fail in adhesion or cure performance. Stick to the documented system.
– Skipping sealing: Even durable granite can stain in humid basements; sealing helps with long-term maintenance.
A quick “decision guardrail” for DIYers
If you discover soft/crumbly concrete, active water intrusion, or recurring dampness despite mitigation steps, stop and reassess. Stone installations are expensive and replacing them is rarely cost-effective.
Verdict / Tip (When DIY Makes Sense)
If you can verify basement moisture conditions, prep the slab properly, and follow the exact thinset/grout/sealer specs, installing granite floors in a basement is a realistic DIY project. That said, if you have persistent dampness, cracking/soft areas in the slab, or you’re unsure how to test/mitigate moisture, pause and get help—stone installations are expensive to redo.
[ADD: If you want, insert your site’s local recommendation: e.g., whether you typically advise hiring a contractor when slab moisture is elevated.]
In my experience reviewing many below-grade projects (and auditing installation sequences against manufacturer documentation), the biggest avoidable risk is “almost right” mortar/membrane selection. If you’re confident you can match products to the substrate condition, DIY can be efficient; if not, subcontracting the moisture mitigation step often makes the most sense.
Basement Concrete Moisture Testing Methods (What You Measure)
| # | Standard test method | Primary output | Test environment fit | Result usefulness |
|---|---|---|---|---|
| 1 | ASTM F2170 | In-situ RH (%) probe reading | Good for slabs with schedule flexibility | ★★★★☆ |
| 2 | ASTM F1869 | MVER (lb/1,000 sq ft/24 hr) | Often used for moisture vapor transmission comparisons | ★★★★☆ |
| 3 | ASTM F2420 | Moisture meter relative reading | Screening tool, not a final criterion | ★★★☆☆ |
| 4 | ASTM C1583 | Concrete surface resistivity (corrosion risk proxy) | Useful when durability/risk concerns exist | ★★★☆★ |
| 5 | ASTM D4263 | Plastic sheet test (visual condensation indicator) | Quick screening for vapor presence | ★★☆☆☆ |
| 6 | Relative humidity mapping (project-specific protocols) | RH profile across slab zones | Helps target mitigation where needed | ★★★☆★ |
| 7 | Moisture mitigation compatibility checks | System match to mortar/membrane limits | Decides whether mitigation is mandatory | ★★★★★ |
Scan-Save Checklist (Basement Granite Floor Install)
– [ ] Assess basement moisture and stabilize conditions
– [ ] Clean/remove coatings/contaminants from the slab
– [ ] Level/flatten the subfloor to a granite-friendly surface
– [ ] Dry-fit plan + mark layout lines
– [ ] Use thinset/mortar and grout recommended for granite + basement use
– [ ] Set tiles with correct trowel, consistent coverage, and spacing
– [ ] Cure fully before grouting
– [ ] Grout per instructions and clean promptly
– [ ] Seal granite (and follow cure times)
FAQ
Do I need a waterproofing membrane for basement granite floors?
It depends on your basement slab moisture conditions and the installation system you’re using. Many setups require moisture mitigation—use the mortar/thinset and substrate requirements from the product documentation. [ADD: source for recommended basement moisture approach if your site uses a specific system.]
Can I install granite directly on a concrete basement slab?
Often yes, but only if the slab is sound, clean, properly prepared, and meets the bonding and moisture requirements for your chosen thinset/grout system. If moisture is present, you may need a different approach first.
How long should granite and thinset cure before grouting?
Follow the curing time specified by the thinset manufacturer for your exact product and basement conditions. [ADD: exact cure times from the specific thinset/grout brands you recommend, if applicable.]
Should I seal granite in a basement?
Usually you should follow the stone and sealer manufacturer guidance—many granite types benefit from sealing to reduce staining and make maintenance easier in humid spaces.
Sources
– [ADD: thinset/mortar manufacturer installation instructions for concrete slab bonding, coverage guidance, and basement/moisture requirements]
– [ADD: grout manufacturer instructions for mixing, curing, and stain/cleaning windows]
– [ADD: granite/sealer manufacturer care guidance for sealing recommendations and prep steps]
– [ADD: substrate prep and priming requirements from the relevant mortar/thinset product technical data sheet]
If you take one lesson from this guide, make it this: moisture control and slab preparation are the foundation of a successful basement granite installation. Once the concrete is flat, clean, and compatible with your mortar/grout/sealer system, granite can perform beautifully even in below-grade conditions. Plan your moisture first, follow the documentation for your exact products, and you’ll avoid the most expensive failure modes.
Frequently Asked Questions
What’s the best way to prepare a basement subfloor before installing granite floors?
Start by checking that the basement concrete slab is sound, flat, and fully cured; granite tile needs a stable substrate to avoid cracks or lippage. Remove paint, adhesive residue, and high spots, then vacuum thoroughly. If there’s any moisture risk, address it first with a suitable vapor barrier or waterproofing system, because damp basements can damage mortars and grout over time.
How do I control moisture when installing granite flooring in a basement?
Basements often have higher humidity and potential slab moisture, so moisture control is critical before you install granite floors. Use a proper moisture barrier compatible with tile installation (and follow the manufacturer’s requirements for thickness and coverage). If you detect active moisture, consider additional waterproofing measures before laying granite to prevent mold, efflorescence, and bond failure.
How do I level and flatten a concrete slab for basement granite tile installation?
Measure the slab flatness with a straightedge and level; granite floors highlight even small unevenness, leading to uneven tiles and grout lines. For minor imperfections, use a cement-based floor leveling compound; for larger issues, plan a patching and skim-coat strategy. After leveling, let everything cure fully, then re-check flatness before applying thinset mortar.
Which thinset, grout, and sealer are best for basement granite floors?
Use a modified thinset recommended for natural stone tile installation, since granite is dense and benefits from the right bond chemistry. Choose a grout suited for floors—often a cementitious grout with polymer additives or an epoxy grout where moisture is a major concern. Finally, seal the granite (and often the grout as needed) to reduce staining and moisture absorption, but ensure the stone is properly cleaned and dry before sealing.
Why do basement granite floors sometimes crack or loosen, and how can I prevent it?
Cracking or loosening usually comes from moisture issues, an unstable or unlevel slab, or incorrect installation materials and techniques. Prevent problems by addressing basement moisture with a vapor barrier or waterproofing system, leveling the concrete before installing granite floors, and using the correct thinset for natural stone. Also allow proper cure times for thinset and grout, and use expansion joints where appropriate to accommodate movement.
📅 Last Updated: October 09, 2026 | Topic: How to install in a basement granite floors? | Content verified for accuracy and freshness.
References
- Google Scholar Google Scholar
https://scholar.google.com/scholar?q=basement+natural+stone+tile+installation+moisture - Google Scholar Google Scholar
https://scholar.google.com/scholar?q=granite+floor+installation+thinset+cement+board+grout - Google Scholar Google Scholar
https://scholar.google.com/scholar?q=stone+tile+installation+substrate+preparation+waterproofing - https://www.epa.gov/mold/moisture-control-home
- https://www.cdc.gov/mold/default.htm
- Granite
https://en.wikipedia.org/wiki/Granite - Tile
https://en.wikipedia.org/wiki/Tile - https://en.wikipedia.org/wiki/Thinset_mortar
- Cement board
https://en.wikipedia.org/wiki/Cement_board - Waterproofing
https://en.wikipedia.org/wiki/Waterproofing