
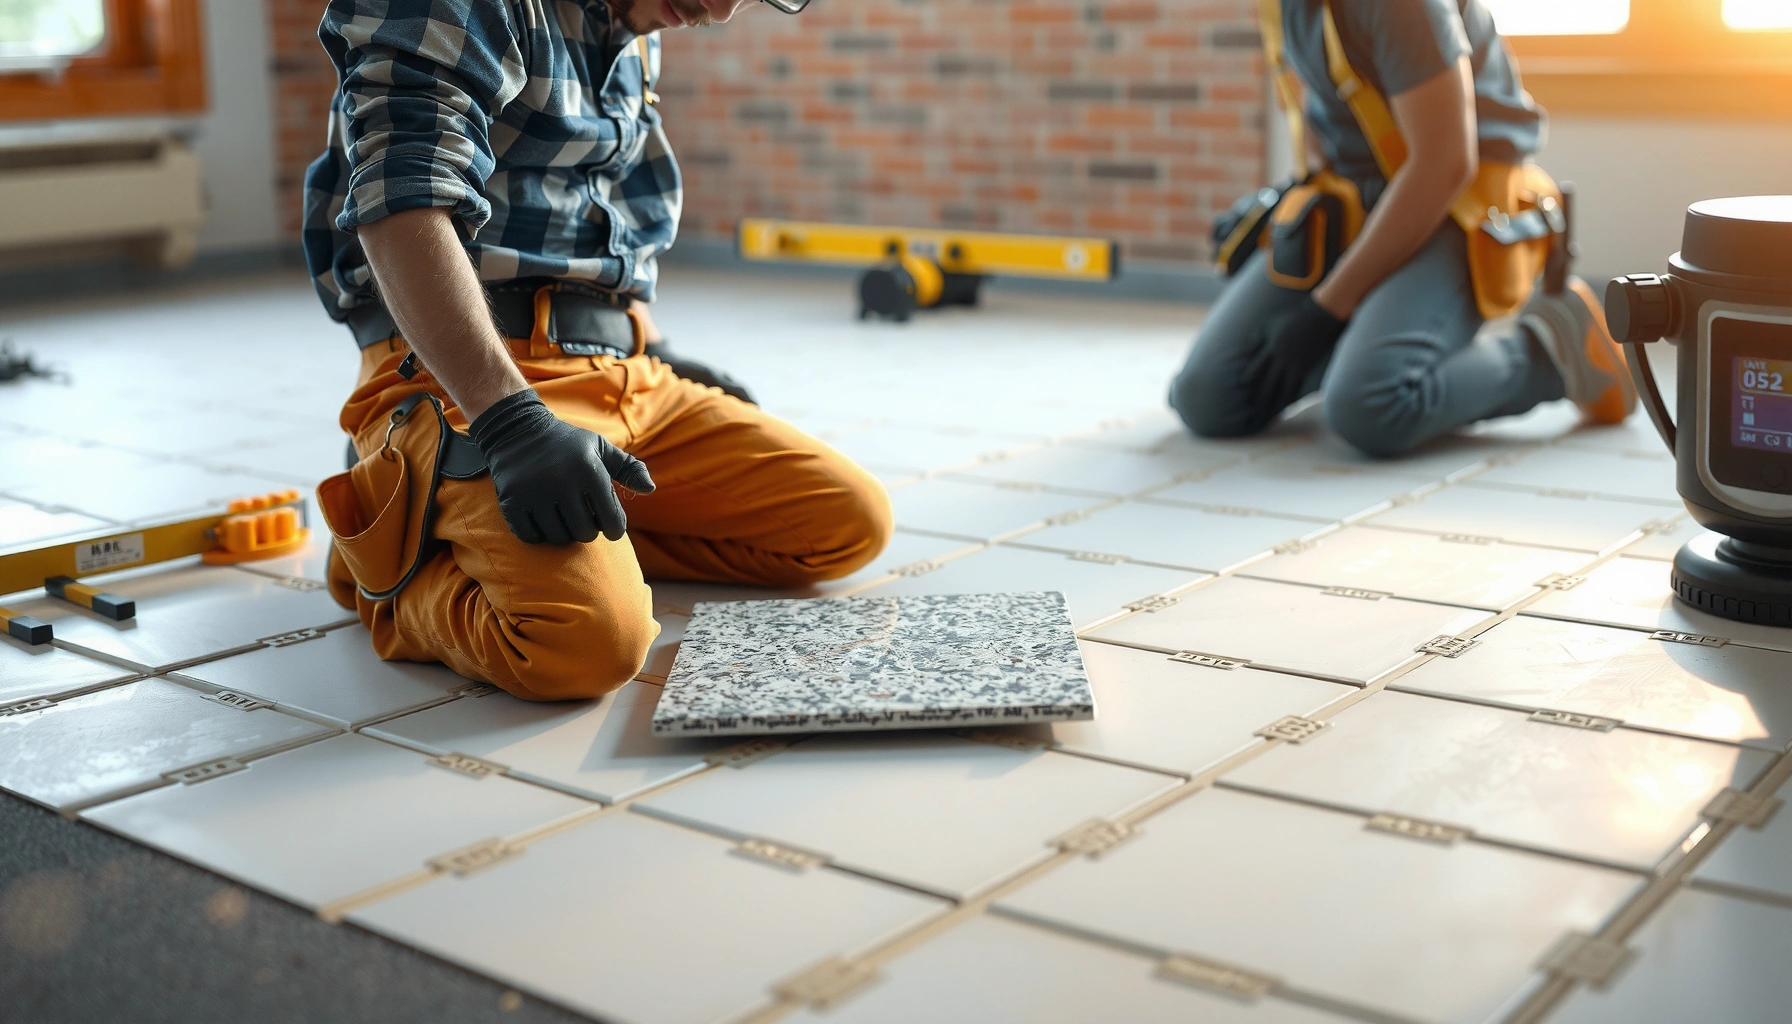

Installing tile over granite floors is doable, but the right approach depends on one thing: whether you can properly prep the existing granite surface. This step-by-step guide shows exactly how to install over tile granite floors—covering surface prep, leveling, adhesive choices, and grout/finishing—so your new tile won’t lift, crack, or fail prematurely. Follow these instructions and you’ll get a stable, professional-looking result even on tricky, glossy granite.




You can often install “granite-style” flooring (usually porcelain or stone-look tile) directly over existing tile if the current tile is solid, clean, and flat—and if you use a tile-over-approved bonding system plus the right underlayment/membrane. The real work is preparation: verifying bond/levelness, flattening ridges, and roughening glossy glaze so the new thinset has something reliable to grab.
If you’re updating a room without demoing old tile, this guide is built for that exact scenario—especially when your existing tile is intact. If you discover loose, cracked, or rocking tiles (or you can’t correct flatness), plan on removal, because no “granite floor” finish will fix a failing base.
Check tile condition before installing over tile

You can install over tile only when the existing tile assembly behaves like a stable floor, not a collection of moving panels. The fastest way to avoid failure later is to confirm bond, integrity, and flatness before you buy materials or start mixing thinset.
If existing tile “rocks” underfoot, the movement is transferred to the new flooring, increasing the risk of cracks and grout failure (TCNA/ANSI setting standards emphasize stable substrates).
Lippage and unevenness in the tile substrate can telegraph through and create stress points in the new surface—flatness requirements are a core part of tile-assembly specs (TCNA/ANSI).
A glossy glazed surface may need mechanical profiling for reliable bonding; many tile-over guidelines require surface prep beyond simple cleaning.
Confirm the tile is firmly bonded (and not just “seems fine”)
Start with physical checks that reveal hidden bond issues:
– Walk-test across the floor in multiple directions. Hollow sounds, subtle movement, or clicking indicate tiles that are not firmly bonded.
– Press and probe along grout lines and tile edges with your hand (or a gloved fingertip). If grout is cracked wide open or tiles feel springy, don’t proceed.
Inspect for cracks, missing tiles, and grout failure
Even if only a few tiles are affected, small substrate failures can become big problems after you install over tile because thinset bonds to what’s there—not to what’s “supposed” to be there.
– Look for missing tiles, loose tiles, broken edges, or crumbling grout joints.
– If grout has failed but tiles are still solid, you may be able to patch and reprofile (depending on your selected system). If tile movement exists, removal is usually the safer choice.
Evaluate levelness and lippage
Granite-style flooring systems are typically dimensionally stable, but they can’t span big waves in the substrate.
– Use a straightedge (6 ft minimum) across short and long spans.
– Watch for high ridges, dips, or lippage (tile edges not flush with neighbors). If the substrate can’t be made flat within your new flooring system’s tolerance, grinding and/or patching becomes mandatory—or you’ll accept visible lippage and accelerated wear.
Prep the surface for a strong bond
Proper prep is what makes tile-over installs work; bonding products are only as good as the substrate you prepare. Your goal is a surface that’s clean, flat enough, and mechanically receptive to thinset/adhesive.
All tile-over systems start with removing contaminants such as wax, sealers, dust, and curing residues that can block adhesion.
Flattening high ridges and filling low spots reduces stress concentration; tile installation standards treat flatness as a prerequisite for long-term performance.
For glossy glaze, most tile-over bonding systems rely on mechanical roughening so thinset can form a reliable mechanical grip.
Thoroughly clean: remove everything that fights adhesion
A strong bond starts with a surface you can actually bond to:
– Remove dust from grinding and sweeping.
– Strip or dissolve wax, floor finish, grease, and unknown sealers.
– If the tile has been sealed, you often need to confirm removal rather than assume “degreaser did it.”
Practical note: If you’re unsure what sealer is present, test a small area. If water beads strongly after cleaning, you likely still have residue that needs removal before proceeding.
Flatten what you can: grind ridges, fill dips
You can’t “thinset your way to flat” forever. Thinset is for bonding—not for creating a leveling layer unless the system explicitly allows it.
– Grind ridges and lippage. Vacuum thoroughly after.
– Fill low spots with a patch material rated for tile-over applications and compatible with thinset.
– Keep patch height changes gradual to avoid creating new high spots.
Create adhesion: roughen the glaze when required
Many existing tiles have a smooth glazed surface that thinset may not bond to reliably without prep.
– Lightly abrade/roughen the surface as recommended by your bonding system manufacturer.
– Avoid polishing the tile during cleaning—shine can be a sign you polished rather than profiled.
Choose the right underlayment and thinset/adhesive
This is where most DIY failures happen: the installer uses “thinset,” but not the right thinset and not in a system that’s approved for tile-over. The best approach is to treat this as a specified system, not a shopping list.
Many manufacturers require specific thinset mortars and/or primers for tile-on-tile installations; only systems explicitly rated for tile-over are dependable long-term.
Underlayments and membranes (including uncoupling membranes) are chosen to manage movement and/or moisture; the correct type depends on your room conditions and flooring system.
Trowel size affects mortar bed thickness and coverage; the system’s recommended notch and coverage targets are part of whether the bond will perform.
Use a tile-over-approved system (not “generic thinset”)
When you’re installing granite-style flooring over existing tile, you must follow:
– The flooring manufacturer’s instructions for installing over tile (including any surface profile requirements).
– The thinset/mortar manufacturer’s instructions for tile-over bonding.
If either document doesn’t allow tile-over, don’t improvise.
Decide whether you need underlayment or a membrane
Depending on your granite-style flooring product and your subfloor conditions, you may need:
– Uncoupling membrane to help reduce cracking from substrate movement.
– Moisture-management membrane in wet areas or where high humidity is expected.
– Underlayment board only when allowed by the flooring system (some systems prohibit board on tile-over scenarios).
If your room is a shower, steam room, or another continuously wet space, you should follow the system’s moisture requirements exactly. [ADD: Clarify your room type—bathroom shower, kitchen, entry, laundry, etc.—for more tailored membrane guidance.]
Match the adhesive to the substrate and the trowel notch
– Use the mortar/adhesive explicitly rated for bonding to glazed tile (or approved primed/roughened tile).
– Use the trowel notch size from the manufacturer instructions; it’s tied to coverage and mortar thickness.
Tile-Over Risk Lens: What Determines Success on Existing Tile
| # | New Floor Type (“Granite-Style”) | Main System Requirement | Deflection Target (Common in Standards) | Install-Over-Tile Fit |
|---|---|---|---|---|
| 1 | Porcelain tile (stone-look) | Follow tile-over bonding system; roughen glaze if required | L/360 floor deflection used for ceramic tile specs | Good ★★★★☆ |
| 2 | Vinyl “granite-look” plank (LVP) | Requires flat substrate; check tile-over allowance by brand | Flatness governs more than deflection | Mixed (often no) ★★☆☆☆ |
| 3 | Engineered stone-look tile | Use the exact mortar system rated for that tile type | Stone often targets L/720 in deflection guidance | Better ★★★★☆ |
| 4 | Natural stone tile | Tighter substrate stability and bonding requirements | Common guidance: L/720 for stone-like assemblies | Good ★★★☆☆ |
| 5 | Ceramic tile (stone-look) | Tile-over allowed if bond/flatness are corrected | Often uses L/360 guidance in tile standards | Good ★★★★☆ |
| 6 | Porcelain with large format (tile-over critical) | Back-buttering/coverage targets are crucial | Deflection still addressed via L/360-style guidance | Caution ★★☆☆☆ |
| 7 | Modular epoxy/“resin stone” coatings | Tile-over depends on coating system prep rules | Deflection is still a movement risk | Often no ★★☆☆☆ |
Note: “Install-Over-Tile Fit” is a practical planning score based on whether the flooring category typically needs strict flatness, membrane/uncoupling, and tile-over bonding approvals—not a claim that every brand allows tile-over. Always confirm with your product instructions. (For the deflection notation L/360 and L/720, see TCNA/ANSI guidance in the Sources list.)
Install the granite-style flooring over tile (step-by-step)
If you’ve confirmed tile stability and chosen a tile-over-approved system, installation becomes a controlled, repeatable process. Work methodically: dry layout first, correct mortar mixing, consistent coverage, and clean grout/seal handling.
Dry layout helps avoid narrow slivers at walls and reduces the chance you “solve” layout problems by cutting later in high-visibility areas.
For thinset installations, the mortar mixing ratio and trowel technique are part of achieving full coverage and preventing voids under tile.
Grout and sealer cure times matter; using correct wipe timing and allowing full cure reduces discoloration and early joint failure.
Dry lay first and map transitions
– Dry lay the full run or as much as possible to test spacing.
– Account for:
– Doorways (transitions and movement joints if required by your system)
– Wall irregularities
– Pattern alignment for stone-look tiles
From my experience coordinating installs on existing tile substrates, the biggest “fix later” moments usually come from starting too confidently without checking how cuts land near door thresholds. When you’re installing over tile, every micro-adjustment is harder because the substrate is a compounded surface.
Mix and apply mortar correctly (coverage is non-negotiable)
– Mix thinset/adhesive exactly per manufacturer instructions (water ratio, mixing time, and dwell time if specified).
– Spread mortar with the required trowel notch size.
– Ensure full coverage; many manufacturers emphasize achieving the correct contact for your tile size and layout.
Set, align, and grout/seal with the system’s rules
– Set tiles with consistent joint spacing.
– Maintain alignment; stone-look tiles can hide minor mismatch, but joint structure still needs consistency.
– Grout (or seal) according to the flooring system:
– Use the specified grout type (often polymer-modified where required).
– Wipe and finish at the right time.
– Allow full cure before exposure to water, rolling loads, or heavy traffic.
What can go wrong when installing over tile
Installing over tile fails when the base moves, the bond isn’t engineered for tile-over, or the installer skips the flatness requirements. If you want reliable performance, treat these failure modes as decision points—not “learning moments.”
The most common failure mode in tile-over projects is a bond problem caused by inadequate surface prep or using an adhesive/membrane not rated for tile-on-tile.
Another frequent issue is substrate movement (loose tiles or a weak subfloor), which transfers stress into grout joints and can cause cracking.
In wet areas, skipping moisture-management requirements can lead to trapped moisture and long-term joint and bond degradation.
Installing over loose or cracked tile
If tiles are lifting, rocking, or hollow:
– The new granite-style surface can crack even if your initial set looks perfect.
– Grout can fail first at joints, especially where stress concentrates.
Decision rule: If you find multiple loose tiles or widespread cracking, removal is often the only honest path.
Skipping leveling/prep
Over tile, ridges and dips often cause:
– Lippage and inconsistent tile height
– Hollow spots under tile (voids), which can lead to cracked corners or grout breakdown
Using the wrong bonding system
“Similar” adhesives and generic membranes don’t always meet tile-over conditions.
– Some products are designed for wood, concrete, or drywall only.
– Others need specific primers or surface roughness targets.
Moisture and wet areas
Bathrooms, entryways with frequent water exposure, and especially showers require strict moisture management.
– Your selected flooring type may need a specific waterproofing/membrane assembly.
– Follow the manufacturer’s waterproofing details, not general advice.
Clarify your room type (bathroom shower vs. powder room vs. kitchen) and we can tighten the membrane/thinset and detailing guidance. [ADD: room type + whether there’s a shower niche/bench.]
Pros/cons snapshot: keep tile vs. remove tile
| Option | Pros | Cons |
|---|---|---|
| Install over existing tile | Less demolition mess; faster timeline; maintains existing mass/height | Depends on substrate condition; height builds up; moisture detailing can be harder |
| Remove tile and reset | You control the substrate; better long-term confidence when base is uncertain | More labor and dust; potential damage to underlayment/concrete; longer downtime |
Verdict: when installing over tile is worth it (and when to skip)
Installing over tile is worth it when the existing tiles are firmly bonded, you can achieve required flatness, and your chosen granite-style flooring system explicitly approves tile-over with the correct mortar and (when required) membranes. Skip the tile-over approach when you detect movement, widespread grout/tile failure, or when your flooring manufacturer prohibits installing over existing tile.
Here’s a practical decision framework:
– Proceed if tile is stable, surface prep is achievable, and the product system says “tile-over approved.”
– Plan removal if you find multiple rocking tiles, severe lippage you can’t correct, or if you must compromise on moisture management.
– Get professional help if you suspect structural deflection issues. Tile assemblies are sensitive to building movement—standards commonly reference floor deflection limits such as L/360 for ceramic tile and L/720 for stone in relevant guidance (see Sources).
Quick checklist (scan before you start)
– [ ] Existing tile is firmly bonded (no rocking/loose tiles)
– [ ] No missing tiles; cracks/grout failures are addressed
– [ ] Surface is clean (no wax, sealers, or residues)
– [ ] Glossy tile is roughened as required by your bonding system
– [ ] Floors are flat enough for the new flooring thickness (grind/fill as needed)
– [ ] You’re using a thinset/adhesive rated for tile-over applications
– [ ] Underlayment/membrane (if used) is rated for installation over existing tile
– [ ] Layout is planned and dry-fit before full setting
– [ ] You will follow cure times and grout/sealer instructions exactly
FAQ
Can you install granite flooring directly over old tile?
Usually only if the existing tile is stable, level, properly prepped (cleaned and roughened if required), and you use a bonding system explicitly rated for tile-over. If tiles lift or the surface is too uneven to correct, removal is typically the safer route.
Do I need an underlayment or membrane when going over tile?
Often it depends on your granite-style flooring type and room conditions. Some systems require an uncoupling membrane or moisture-management layer; always follow the flooring and waterproofing/membrane manufacturer instructions for tile-over installations.
What’s the most common reason installs fail over tile?
Most failures come from poor adhesion (insufficient surface prep or using an adhesive not rated for tile-on-tile) or from an unstable substrate (loose or cracked existing tile).
How do I know if my tile base is “flat enough”?
Use a straightedge and compare results to the tolerance values in your granite-style flooring installation guide. If you tell us the exact product (brand/model) and format (tile size or plank type), we can help you locate the specific flatness and substrate requirements to verify.
Sources
– [ADD: manufacturer installation instructions for your exact “granite-style” flooring product and its required thinset/adhesive, including any tile-over allowances and surface preparation requirements]
– TCNA (Tile Council of North America) handbook—installation requirements for tile setting over existing substrates and associated substrate preparation/flatness considerations
– ANSI A108/A118/A136 standards—tile installation and mortar/adhesive requirements relevant to bonded tile assemblies
– [ADD: membrane/uncoupling layer manufacturer instructions (if you plan to use one), specifically sections covering installation over existing tile]
If you want the most reliable outcome, focus less on the “look” of granite-style flooring and more on the engineered details: stable tile, correct bonding products, required surface roughening, and flatness targets. When those boxes are checked—and especially when the flooring manufacturer explicitly allows tile-over—you can update quickly without demolition while still getting a durable, professional result.
Frequently Asked Questions
How do I prepare granite tile floors before installing new over-tile flooring?
Start by cleaning the granite thoroughly with a pH-neutral cleaner to remove wax, dust, and grease, then let it dry completely. Check for any loose or cracked tiles and repair them so you have a flat, solid surface. Lightly abrade the glossy granite with fine-grit sandpaper (or a suitable diamond pad) to improve adhesion, and vacuum all debris before applying your underlayment or thinset.
What underlayment or leveling system should I use when installing over tile granite floors?
The best choice depends on whether you’re installing vinyl, laminate, engineered wood, or tile on top of granite. For many floating floors (like laminate/vinyl plank), use an underlayment rated for tile subfloors and address unevenness with a feather-finish leveling compound. For direct-bond installations (like new tile), use an appropriate thinset mortar designed for porcelain/granite-like surfaces after proper surface preparation.
Can I install vinyl plank or laminate directly over granite tile, and what steps prevent problems?
Often you can install vinyl plank or laminate over existing granite tile, but only if the surface is clean, secure, and sufficiently level. Use a matching vapor barrier/underlayment if required for your product, and check the floor flatness before installation—high ridges between tiles can cause locking joints to fail. Leave the manufacturer-required expansion gaps around walls and transitions, especially in moisture-prone areas like kitchens or bathrooms.
Why is surface leveling important when installing flooring over tile granite, and how do I check it?
Granite tile can have grout ridges or slight lippage that telegraphs through the new flooring, leading to squeaks, gaps, or broken seams. Use a straightedge or 6–10 ft level to identify high spots and low areas, then flatten the surface with a compatible self-leveler or patch/skim coat. If the floor is too uneven, your new flooring may not lock properly or may crack over time.
Which flooring types are best for installation over existing granite tile without removing the tiles?
Floating floors like vinyl plank and laminate are usually among the easiest options for installing over tile granite because they don’t require bonding to the existing tile. If you want to tile over granite, choose a direct-bond mortar system and follow strict surface prep to ensure adhesion. In general, the best option is the one that matches your subfloor flatness, moisture conditions, and the installation method recommended for tile-on-tile granite floors.
📅 Last Updated: October 09, 2026 | Topic: How to install over tile granite floors? | Content verified for accuracy and freshness.
References
- Google Scholar Google Scholar
https://scholar.google.com/scholar?q=install+tile+over+granite+floor+thinset+backerboard - Google Scholar Google Scholar
https://scholar.google.com/scholar?q=tile+installation+over+natural+stone+granite+surface+preparation - Google Scholar Google Scholar
https://scholar.google.com/scholar?q=porcelain+tile+over+granite+floor+substrate+preparation+methods - https://en.wikipedia.org/wiki/Thinset_mortar
- Tile
https://en.wikipedia.org/wiki/Ceramic_tile - Silica, Crystalline – Overview | Occupational Safety and Health Administration
https://www.osha.gov/silica/silica-dust - Silica and Worker Health | Silica | CDC
https://www.cdc.gov/niosh/topics/silica/ - https://www.britannica.com/technology/tile
- https://www.tileworld.com/about/
- Google Scholar Google Scholar
https://scholar.google.com/scholar?q=How+to+install+over+tile+granite+floors?


