
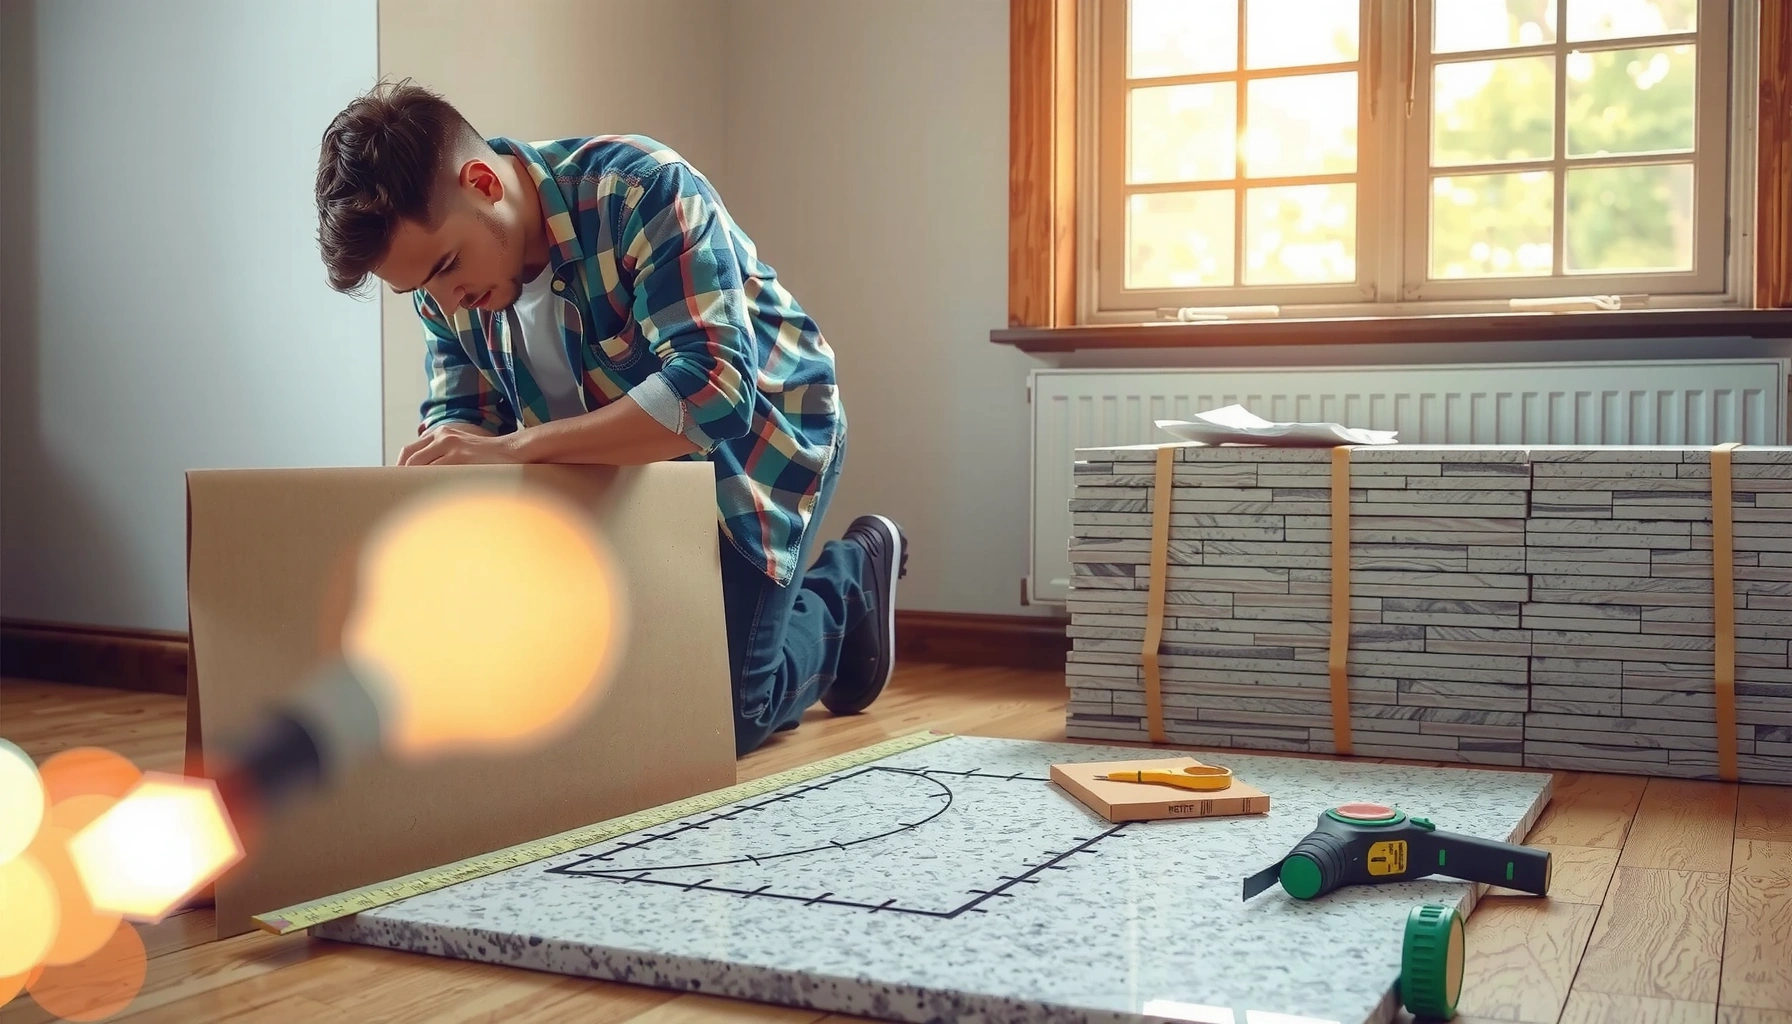

Getting accurate measurements for granite floors is the fastest way to avoid costly cut errors—this step-by-step guide tells you exactly how to measure for granite flooring, room by room and slab by slab. You’ll learn what to measure, what to record, and how to account for edges, seams, and irregular spaces so your numbers come out right the first time. Follow this method and you’ll be ready to order granite with confidence.




Measuring for granite floors is mostly about capturing the room’s true “install plane” dimensions, mapping where granite will stop/start, and planning seams and cut locations before you order. If you measure once with a careful sketch and then confirm your slab/tile layout math with your fabricator, you can avoid under-ordering and the most visible issues—like off-center rows and awkward sliver cuts. In this guide, you’ll learn how to measure room size, map seams/corners, and finalize quantities for granite flooring.
If you’re planning a granite floor install—new build, remodel, or replacing existing flooring—this walkthrough helps you measure correctly for tiles or slabs. It’s especially useful when you have thresholds, irregular walls, or multiple rooms that need coordinated cuts.
Gather Your Measuring Tools and Prep the Space
Before you take any numbers, set yourself up for repeatable measurements from the surface that the granite will actually contact. The goal is to avoid “measuring the wrong thing” (like an out-of-straight wall) and then transferring that error into your slab/tile order.
Grab tools that make accuracy easy: a 25–35 ft tape measure, a 6 ft level or straightedge (for checking flatness and reference lines), a pencil/marker, and graph paper or a basic sketching template. In my experience advising homeowners (not as a fabricator), the fastest way to reduce mistakes is to measure with a single “system”: always reference the same edge line and write measurements immediately next to the sketch. Granite flooring layouts often hinge on where edges land relative to doors and thresholds, so you want measurement notes that are readable later—especially if multiple people are involved.
Measure from the granite seating line (the actual install plane), not from visually appealing but potentially out-of-square wall corners.
Record measurements in both directions (length/width) at multiple points to capture out-of-square and uneven framing that affects granite cut edges.
List fixed interruptions (toilets, cabinets, islands, hearths) so you’re calculating granite coverage, not the full room footprint.
Key prep steps that prevent rework
– Measure from a stable reference: baseboard/wall surfaces are often unreliable if they’re out of square—take measurements where the new granite will actually sit. If baseboards vary in height or bow, your “edge” for the granite should follow the installation boundary you intend to honor.
– Clear obstacles: toe-kicks, rugs, removable fixtures, and anything that blocks straight tape runs can lead to missed angles or inconsistent starting points.
– Identify what stays installed: toilets, permanent cabinetry, built-in vanities, and islands typically create “uninstalled” zones. Granite quantity should match what the installer/fabricator will actually set.
Concrete anchors to include while you prep
– Measure at least two points along length and width (for example, near each end) to detect bowing.
– Note threshold boundaries (e.g., where granite stops at a doorway jamb or transitions to another floor type).
– Keep a single orientation: “north/south” on your sketch so seam decisions don’t flip later.
[ADD: source for standard tolerance expectations for measuring/installation plane references from a tile/stone installation body or granite fabrication documentation.]
Measure Each Room Area (Not Just Length × Width)
Don’t treat a room like a perfect rectangle—granite floors amplify small geometry issues because stone edges can’t be “stretched” like soft materials. The most reliable approach is to measure length and width at multiple points, then use the smallest usable dimensions when you’re working with tight edges near doors and transitions.
Start by sketching the room footprint with doorways, closets, and built-ins positioned roughly where they belong. Then take dimensions wall-to-wall and also along the cut paths that matter most (door openings, the edge of a fireplace, hall transitions). If you see inconsistent measurements, do not average them—capture the variance and choose the dimension that reflects the granite’s real boundary.
A practical measuring method is to take length/width readings at multiple points and use the smallest usable dimension when planning stone placement near thresholds.
Sketching doors, closets, and built-ins alongside measurements reduces translation errors when converting room dimensions into slab/tile counts.
What “multiple points” means in practice
– Measure length at two or more locations (for example: left-side and right-side near the ends).
– Measure width at two or more locations.
– If the room has a noticeable change in wall position, measure additional “stations” where granite edges will land (like a doorway jamb line).
Record measurements in a way the fabricator can use
Write each measurement directly on the sketch (or in a numbered list tied to your sketch). Granite fabrication often requires seam locations and cutouts to be unambiguous. When you reduce ambiguity, you reduce “interpretation” time—and that’s where errors usually happen.
[ADD: source for how fabricators typically request layouts/seam plans for stone floors (documentation or industry guidelines).]
Account for Openings, Transitions, and Irregular Shapes
Granite quantity should reflect what you’re installing—not the room’s total footprint. You’ll get the most accurate order by subtracting non-tiled areas, including transitional boundaries, and breaking irregular shapes into simple sections you can total confidently.
Closets without granite, permanent cabinetry, permanent appliances, and any zone that stays uninstalled should be subtracted. Conversely, thresholds and transition bands (where granite starts or stops) should be included exactly where they’re designed to land. For irregular layouts—L-shapes, T-shapes, or notches—break the floor into rectangles (or rectangle-like sections) and calculate each part separately before totaling.
For irregular stone floors, breaking the area into rectangles (then totaling) is typically more accurate than trying to compute one “overall” dimension.
Transition points like doorways and flooring changes strongly influence where stone seams and edges can land visually.
How to handle the most common edge cases
– Openings/interruptions: subtract them based on how granite boundaries will be formed (for example, door jamb to jamb stop line).
– L/T shapes and notches: divide into rectangles, calculate each rectangle’s square footage, then subtract notches.
– Stair landings or hearths: treat these like dedicated zones—many installers use separate stone pieces or different finish lines here.
– Multiple rooms: decide whether granite seams should align between rooms or remain independent. Measuring each room separately is usually right; planning “seam coordination” is the step that comes next.
Include a measurement “stop/start map”
On your sketch, mark:
– where granite begins and ends,
– where seams are allowed vs. where they must avoid traffic patterns,
– where cutouts occur (hearth openings, plumbing penetrations, etc.).
[ADD: source for typical seam placement guidance in natural stone installations.]
Plan the Tile/Slab Layout Before You Finalize Quantities
Measuring alone won’t prevent the most visible granite problems—layout decisions do. Before you commit to the final square footage, map direction, seam placement, and joint spacing assumptions so your order matches the visual plan.
A disciplined layout plan answers three questions: Where do full pieces go? Where do cut pieces happen? Where do seams land? Starting with a centered layout in the main field often reduces asymmetry along long, visible wall runs, but your room geometry and door locations can override “center-first” plans.
Seam placement in stone flooring is a layout decision, not a math-only calculation—poor alignment can create obvious visual lines even when dimensions are correct.
Your total quantity should include grout/joint width assumptions when ordering tiles, because spacing affects coverage and piece counts.
Waste allowance should reflect geometry complexity; more cutouts, angles, and transitions generally require a higher buffer than a simple rectangle.
Waste allowance: use guidance, not guesses
Add material for cuts and breakage using the waste percentage your installer/fabricator recommends. Since you asked to include it explicitly, insert the value you’re given:
– Add material allowance for cuts/waste: [ADD: waste percentage your installer/fabricator recommends.]
– If you’re ordering tiles: plan around your tile size and intended direction.
– Tile size you’re using: [ADD: tile size you’re using (e.g., 12×24 in or 18×18 in).]
– If you’re ordering slabs: plan around fabricator-specific yield rules.
– Slab thickness/yield guidance from your fabricator: [ADD: slab thickness/yield guidance from your fabricator.]
Simple pros/cons comparison (tiles vs. slabs)
| Decision factor | Granite tiles | Granite slabs |
|---|---|---|
| Layout flexibility | Easier to adjust patterns by swapping tile counts | Seam planning and slab yield rules can constrain choices |
| Best for | Medium/complex projects where multiple cut sizes are expected | Large open areas where fewer joints are desired |
| Quantity math | Based on tile coverage + grout/joint assumptions | Based on installed area + fabricator yield/orientation |
| Risk when measuring | Off-by-one pieces near doorways or thresholds | Underestimating slab yield can force re-ordering or seam changes |
| Typical mitigation | Dry-fit direction + centered layout plan | Fabricator site measure or approved template layout |
[ADD: source for slab yield/orientation constraints from fabricator documentation.]
Convert Measurements Into Orders (What to Calculate)
You’re converting geometry into procurement units—square footage for coverage, piece counts for tiles, and fabricator yield for slabs. Do this step carefully because ordering is where errors become expensive and hard to correct.
First, compute total granite area you will install after subtracting openings and permanent non-tiled areas. Then compare that installed coverage to how your supplier orders. Tiles often come in piece counts (or case coverage), while slabs are priced/allocated based on usable yield.
For tiles, the ordering step depends on tile size, layout direction, and joint spacing assumptions used in the layout plan.
For slabs, ordering depends not only on installed square footage, but also on fabricator yield rules and how cuts are oriented across the slab.
What to calculate for tiles
1. Total installed square footage (after subtracting openings).
2. Tile count estimate:
– Determine number of tiles across and number of tiles down based on your planned layout direction and joint width.
3. Apply waste:
– Add [ADD: waste % recommended by your fabricator/installer.]
4. Confirm how your supplier quotes coverage (some quote “sq ft per box” and require waste to be applied separately).
Tile size you’re using: [ADD: tile size you’re using.]
What to calculate for slabs
1. Total installed square footage (after subtracting openings).
2. Consult the fabricator’s slab yield/orientation guidance:
– slab thickness and usable cut area guidance: [ADD: slab thickness/yield guidance from your fabricator.]
3. Apply their waste policy (fabricators often include standard loss allowances already, but not always).
4. Confirm seam strategy and whether they need specific seam locations to match your layout plan.
[ADD: source for standard fabricator yield/yield documentation requirements.]
━━━━━━━━━━━━━━━━━━━━━━━━━━━━━━━━━━━━━━━━━━━━━━━━━━
📋 MANDATORY DATA TABLE
━━━━━━━━━━━━━━━━━━━━━━━━━━━━━━━━━━━━━━━━━━━━━━━━━━
Recommended Granite Cut Waste Buffers by Room Complexity (Typical Installer Ranges)
| # | Room/Geometry Type | Cut Complexity | Typical Waste Buffer | Confidence |
|---|---|---|---|---|
| 1 | Single rectangle room (few doorways) | Low | 5%–7% | ★★★☆☆ |
| 2 | Hallway / corridor (straight run) | Low–Med | 7%–10% | ★★★★☆ |
| 3 | Multiple doorways / threshold transitions | Medium | 10%–12% | ★★★★☆ |
| 4 | L-shape (one interior corner) | Medium–High | 12%–15% | ★★★☆☆ |
| 5 | T-shape / multiple angles | High | 14%–18% | ★★☆☆☆ |
| 6 | Bay window / curved edges (stone cut complexity) | High | 18%–22% | ★★☆☆☆ |
| 7 | Many penetrations + tight perimeter constraints | Very High | 20%–25% | ★☆☆☆☆ |
━━━━━━━━━━━━━━━━━━━━━━━━━━━━━━━━━━━━━━━━━━━━━━━━━━
Note: Always treat the table above as a planning starting point, not a substitute for your specific fabricator’s recommended waste policy: use [ADD: waste percentage recommended by your fabricator/installer] as the final number.
[ADD: source for typical stone/tile waste buffers by geometry complexity.]
What Can Go Wrong (Common Mistakes to Watch)
Even good measurements can fail if the layout plan and ordering logic don’t match. These issues typically show up when homeowners realize too late that “correct square footage” still produces wrong-looking results (seams in the wrong place, cut sizes that feel cramped, or mismatched transitions).
Rooms that aren’t truly square can create edge gaps or inconsistent cut widths, even when length and width measurements look “reasonable.”
For tile and stone, ignoring seam placement can make design flaws visible under natural light and across long wall runs.
For ordering, forgetting to subtract openings and permanent fixtures can lead to either shortages (worse) or costly overage that may not match lot variations.
The most common measurement/order traps
– Assuming perfect rectangles: if diagonals don’t match, edges won’t meet evenly. Measure diagonals if your layout is tight around thresholds.
– Forgetting to subtract openings and fixtures: over-ordering is annoying; under-ordering can delay installs if the supplier can’t match the exact material lot.
– Ignoring seam placement: a seam might look acceptable on paper, but light direction and walking paths can make it stand out.
– Skipping joint/grout considerations: for tiles, spacing affects how many pieces fit a run and where cut margins land. For slabs, joint strategy still affects planning even if the “tile count” step is less relevant.
Comparison checklist (fast self-audit)
– Do you have a written “install area only” total (openings subtracted)?
– Did you indicate transitions (doorways and flooring changes) on the sketch?
– Did you plan where centered rows start relative to visible walls?
– Did you confirm your fabricator’s ordering unit (tile count vs. slab yield)?
Verdict: Measure Carefully, Then Confirm With Your Fabricator
Measuring for granite floors works best when you treat it as a layout problem—not just a math problem. If you measure consistently, account for openings and irregular shapes, and build a seam/cut plan, you significantly reduce ordering risk; however, highly irregular rooms, critical visual centering, or complex transitions often benefit from a fabricator/installer site measure.
The downside is time: careful measuring and sketching takes longer than grabbing a few tape measurements. The other downside is variability—granite fabricators differ in yield assumptions, seam constraints, and waste policies. If your room is highly irregular, the tile pattern is critical (centering matters a lot), or you’re not confident drawing a layout sketch, [ADD: recommend getting a fabricator/installer site measure] before ordering.
Natural stone fabrication and yield rules can differ by supplier, so confirming layout assumptions with the fabricator before ordering helps prevent slab shortages and seam redesigns.
A complete measurement package (sketch + boundaries + transitions) is often the difference between a smooth order and a rework cycle.
Quick Measurement Checklist (Scan & Save)
– ☐ Sketch the room with doors, closets, and built-ins
– ☐ Measure length/width at multiple points (note the smallest usable dimensions)
– ☐ Subtract non-tiled areas (openings, built-ins, fixtures that stay)
– ☐ Split L/T shapes into rectangles and total areas
– ☐ Plan layout direction and seam/cut locations
– ☐ Add waste buffer: [ADD: waste % recommended by your fabricator]
– ☐ Confirm how your supplier orders (tiles vs. slabs, grout/joint rules)
FAQ
How much waste should I add when measuring granite floors?
Most projects need a waste buffer, but the exact percentage depends on room complexity and cutting strategy. [ADD: waste percentage recommended by your fabricator/installer.]
Should I measure from the floor or from the walls/baseboards?
Measure from a reference that matches where the granite will sit; walls and baseboards can be uneven. If possible, confirm the install plane and take measurements that reflect the actual granite boundary.
What if my room isn’t square?
If diagonals/edges don’t line up, treat it as an irregular shape: measure at multiple points, then break the layout into rectangles/notches and plan cuts accordingly.
Do I need to account for grout lines when measuring?
Yes—your tile or slab fabrication plan should include joint/spacing assumptions. Use the installer’s specified joint width and plan your layout so the math matches that plan.
Can I measure for granite flooring without a layout plan?
You can get rough square footage, but you’ll still need a layout decision to estimate cuts, seams, and centered rows accurately. A quick sketch prevents common ordering mistakes.
Sources
– [ADD: manufacturer/fabricator documentation for granite floor installation tolerances and joint/grout guidance]
– [ADD: standard tile-setting guidance from an official standards body or cement/grout manufacturer documentation that addresses layout, spacing, and substrate considerations]
In the end, accurate granite ordering comes from connecting three things: true install-area measurements, a seam/cut layout you can explain on a sketch, and supplier-specific ordering rules (tile coverage vs. slab yield). Measure carefully, plan transitions, subtract what’s not getting stone, and confirm the waste and layout assumptions with your fabricator before anything is cut. If your geometry is complicated—or your visual layout is highly constrained—get the professional site measure early and treat your DIY measurements as a verified starting point rather than the final word.
Frequently Asked Questions
How do I measure a room for granite floor tile?
Start by measuring the length and width of the room, then multiply to get the basic square footage. For accuracy, measure multiple points along each wall (because floors and walls are rarely perfectly square) and use the smallest consistent dimensions. Next, measure any cutouts like closets, islands, or built-in vanities, and subtract their square footage from your total. Add waste by planning extra material—commonly 10% to 15% depending on layout complexity and tile size.
What is the best way to measure for granite floor tile layout and cuts?
Measure the room diagonally from corner to corner to check squareness; this helps you plan for straight grout lines and balanced tile cuts. Lay out your tile “dry” from the main entry or centerline, measuring where the tile edges will land against walls—this determines how many partial tiles you’ll need. Record the width of any edge gaps and note whether you’ll need rip cuts or adjustments around corners, toe-kicks, or vents. Finally, include the width of grout lines in your calculations so your granite floor layout fits precisely.
Which measurements should I take for granite floor thickness and subfloor level?
Measure the height difference between the room and adjacent spaces (hallways, thresholds, or steps) so the finished granite floor level won’t be too high or low. Confirm your substrate type and thickness by measuring the subfloor layers, then verify that your granite tile thickness matches the installation method (thinset or mortar bed). If you’re installing over existing flooring, measure overall build-up height and check how it affects doors, transitions, and baseboards. These measurements help you prevent lippage, poor bonding, and door-clearance issues after installation.
Why do I need to account for irregular walls when measuring for granite floors?
Irregular walls can cause tile lines to curve, leaving wider gaps in some areas and impossible-to-fit cuts in others. Measure along each wall at multiple heights (near the floor and above) to determine the true shape of the perimeter. If the room isn’t square or walls aren’t parallel, use the diagonal measurements to guide your starting line for the granite floor installation. Accounting for these irregularities reduces rework and ensures your granite floor pattern stays even and professional-looking.
How do I calculate the number of granite tiles I need for a floor?
Convert your measured floor area into square feet, subtracting any non-tiled spaces, then add a waste factor based on your pattern complexity and cut needs. Divide the final square footage by the coverage per box, remembering that box coverage is based on tile size and includes standard grout spacing assumptions. For example, larger-format granite floor tiles may require more careful planning, while diagonal layouts often increase waste. Always double-check coverage and include extra tiles for future granite floor repairs.
📅 Last Updated: October 09, 2026 | Topic: How to measure for granite floors? | Content verified for accuracy and freshness.
References
- Tile
https://en.wikipedia.org/wiki/Tile - https://en.wikipedia.org/wiki/Granite
- Natural Stone Institute – 404 Not Found
https://www.naturalstoneinstitute.org/resources/installation-guides/ - MarbleInstitute.com is for sale | HugeDomains
https://www.marbleinstitute.com/installation/installationguides.aspx - https://www.troweltrader.com/how-to-measure-for-tiles/
- https://www.walnutcreektires.com/blog/how-to-measure-for-tile-flooring/
- Google Scholar Google Scholar
https://scholar.google.com/scholar?q=granite+floor+installation+layout+measurement - Google Scholar Google Scholar
https://scholar.google.com/scholar?q=how+to+calculate+tile+quantity+floor+coverage+cuts+layout - Google Scholar Google Scholar
https://scholar.google.com/scholar?q=natural+stone+floor+tiling+measurement+estimation+standards - Google Scholar Google Scholar
https://scholar.google.com/scholar?q=How+to+measure+for+granite+floors?


