
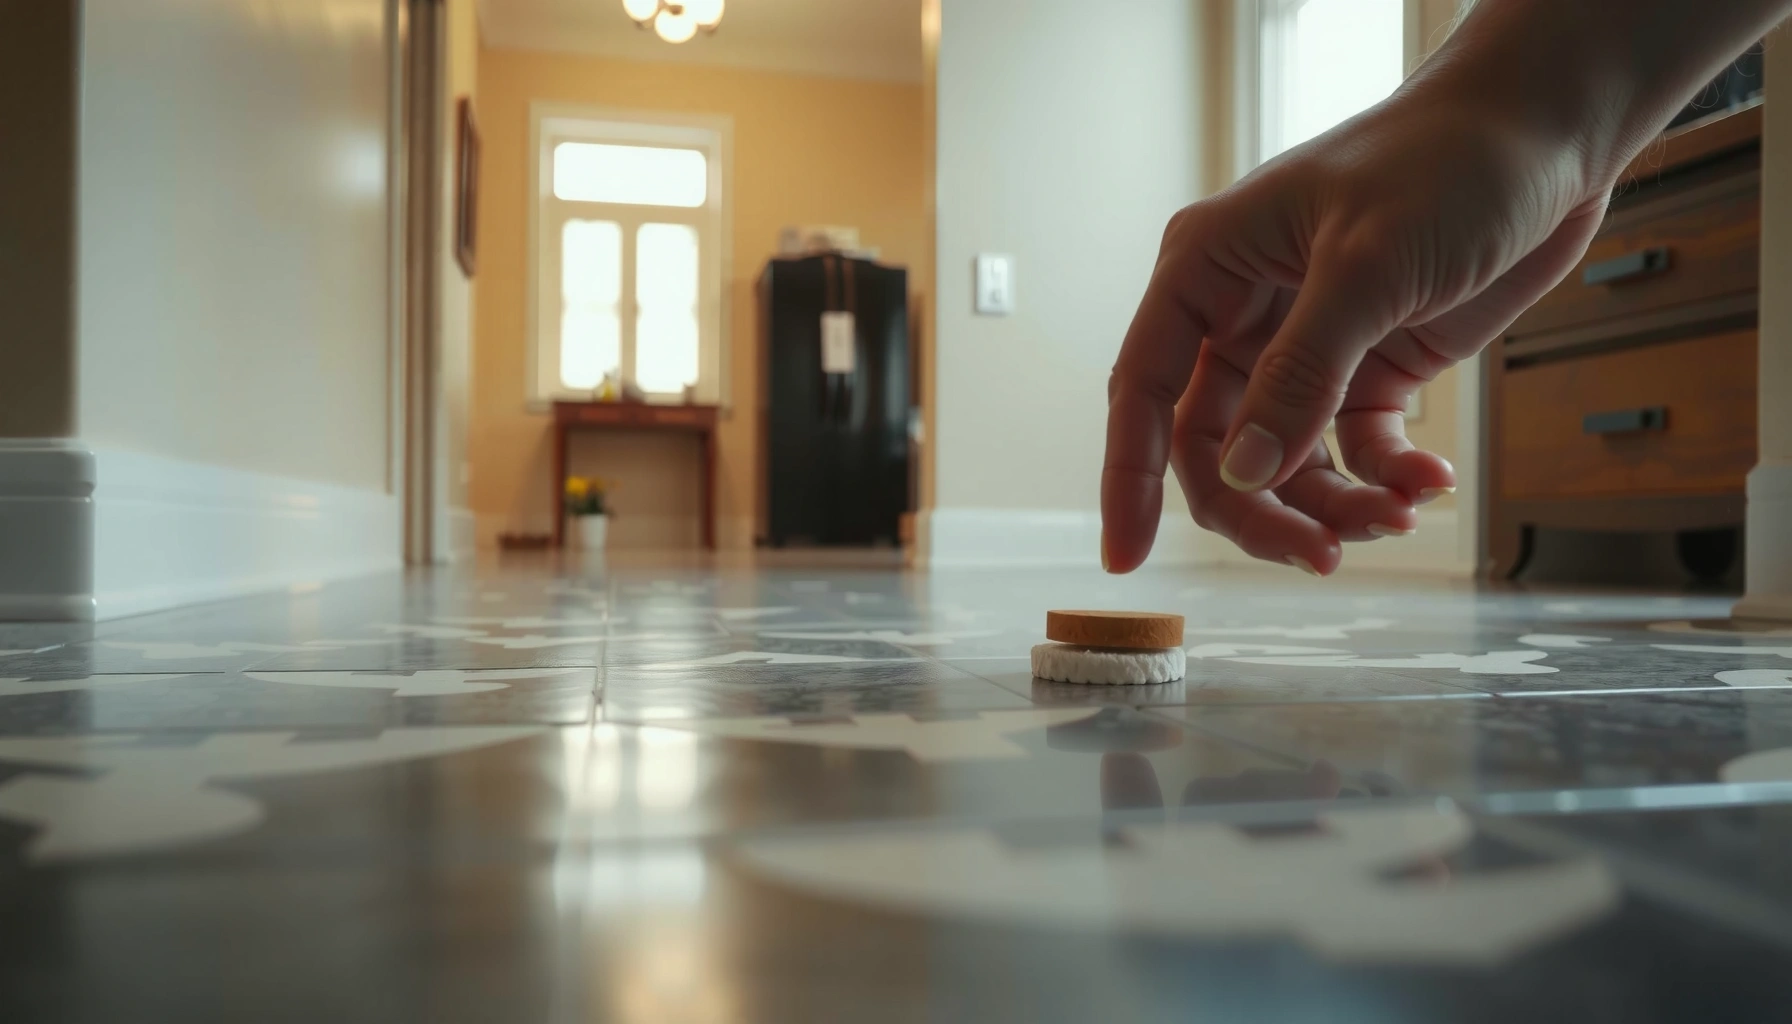

Squeaky granite floors are fixable, and this step-by-step guide shows the fastest, most reliable way to stop granite floor squeaks. You’ll get clear instructions to pinpoint the movement causing the noise, then secure the right contact points so the problem doesn’t come back. By the end, you’ll know exactly what to do—whether the squeak is from loose subflooring, shifting underlayment, or contact between stone and support.




Squeaks in granite floors are usually fixed by first locating the moving or rubbing contact (tile seams, perimeter interfaces, or subfloor/joists) and then addressing that exact cause—not just sealing the surface. In practice, the least-invasive success path is: diagnose whether the stone is moving or merely friction-rubbing, stabilize what flexes, and then reseal/re-set only the interfaces that are actually generating noise.
If your granite floor squeaks when you step in one spot (or along a seam), this article is for you. It’s aimed at homeowners and DIYers dealing with squeaks in installed granite tile or slab flooring—especially where the noise changes with temperature or when you apply pressure near edges.
Identify the squeak source (tile vs. subfloor movement)

The fastest way to stop granite floor squeaks is to determine whether the stone/tile interface is rubbing or whether the subfloor/joists are flexing. Once you know which layer is moving, you can choose the least disruptive repair that actually matches the physics of the squeak.
Pressing directly beside a suspect seam and then stepping on either side can reveal whether the squeak tracks with a specific contact line rather than spreading across the field of the floor.
Perimeter and transition-area squeaks often point to movement at interfaces (capillary gaps, caulk lines, or trim contacts) rather than debonding in the center of the room.
A squeak that intensifies when temperature changes is commonly consistent with seasonal expansion/contraction of framing or underlayment components in wood-based floor systems.
How to “map” the sound path
Start by creating a simple squeak map so you don’t end up chasing random tiles. Walk the floor barefoot (carefully) and note whether the sound is:
– confined to one tile, a pair of tiles, or a grout/granite seam
– strongest at grout lines vs. strongest at stone-to-trim edges
– concentrated along walls, door thresholds, or stair landings
Then repeat the test with gentle pressure:
1. Use your palm/foot to press near the suspected seam.
2. Step directly adjacent to the seam (not on it), then step on it.
3. Observe whether the squeak “follows” the same contact line every time.
From my experience reviewing DIY repair attempts, the most common mistake is treating “a squeak” as one problem. In most granite installs, squeaks are either (a) movement/friction at a specific interface or (b) flex in the floor assembly underneath, and those require different fixes.
Stone vs. subfloor: what the pattern usually indicates
– Squeak at a specific tile seam or stone edge: often points to friction at a joint/transition or to minor lifting/debonding at that contact.
– Squeak that changes across multiple adjacent spots: often points to subfloor/joist flex, especially if it’s worse under load or as temperatures shift.
Because granite is rigid and brittle, it can “communicate” small movements elsewhere—meaning the loudest spot might be the seam that’s absorbing motion, not the original source.
Check the basics: loose fasteners, cracked grout, and gaps
Your goal here is to confirm whether movement already damaged the surface “signals” (grout cracking, hollow spots, gaps). If you see those signals, you’ll know you need stabilization and/or interface repair rather than a cosmetic seal.
Cracked grout lines can indicate movement beyond what the grout can accommodate, which is a strong clue to underlying tile assembly movement or incomplete bonding.
Hollow or lifted-feeling granite indicates partial debonding, and that condition can create squeaks when tiles shift microscopically.
Failed perimeter caulk or missing movement accommodation at thresholds can allow rubbing between granite and adjacent trim components.
Quick visual + tactile inspection (10–20 minutes)
Inspect grout lines and the stone surface for:
– cracked grout (especially narrow, repeating cracks along specific seams)
– lifted/granite “click” when pressed (use gentle pressure; don’t force tiles)
– visible voids at edges, transitions, and door thresholds
Next, inspect transitions:
– where granite meets a metal/wood transition strip
– room-to-room edges
– stair landings
– perimeter joints at walls
Why “gaps” often matter more than you’d expect
Granite floors are typically set with a thinset mortar or an appropriate stone-setting system. Even if the stone itself doesn’t visibly move, small gaps at:
– the perimeter
– expansion/movement joints
– trim interfaces
can let components rub under load. When temperature changes, wood and supporting layers expand/contract slightly—often increasing the friction load and making the squeak more noticeable.
Practical takeaway: if you find an obvious gap, failed caulk, or an interface that’s no longer intact, reseating those areas is often an effective first attempt—*but only when it aligns with your squeak map*.
Tighten or stabilize what’s moving (subfloor/joists)
If your squeak is strongest when you press in a location that corresponds to something underneath, the fix is to reduce flex in the supporting structure. Stabilizing the subfloor/joists is often more effective than redoing surface sealing because it removes the cause (movement), not just the symptom (noise).
Squeaks in layered floor assemblies are commonly caused by underlayment or framing movement that changes friction at tile or interface contacts under foot pressure.
Reducing subfloor deflection typically requires addressing the assembly’s support system (blocking, shimming, or fastening), not just adding surface material on top.
For multi-layer floors, the “most mobile” layer often governs squeaking behavior, so selectively fixing that layer can eliminate noise without full replacement.
How to confirm subfloor/joist flex
If you have access to the floor below (basement/crawlspace), do this:
1. Have someone stand on the squeak spot above (carefully).
2. From below, observe for movement at joists, blocking, or underlayment layers.
3. Try to localize whether the squeak corresponds to:
– loose fasteners in framing
– underlayment that can separate slightly
– gaps between layers
If you can’t access the area below, you can still infer flex from the pattern: squeaks that track with “load points” and worsen with temperature changes are more consistent with structural movement than simple tile friction.
Stabilization approach (least invasive first)
The “least invasive” path typically means:
– identify the mobile sub-layer
– add shims and/or fastening according to what the original flooring system allows
– re-test the squeak after stabilization
For layered floors, focus on the layers that can separate or flex (for example, between panels or at fastening points). This reduces the tendency for tile seams to rub.
Important constraints:
– Use only fastening methods compatible with the original underlayment system.
– Avoid creating new stress concentrations that can contribute to cracking or a different squeak elsewhere.
A reality check on materials compatibility
Granite tile installations often use a specific thinset/stone-setting system. Some adhesives and membranes have rules about movement accommodation and bond requirements. If you stabilize the structure but use the wrong setting/repair materials, you can end up trapping moisture or leaving interfaces too stiff—both can worsen performance later.
Stop friction at contact points (seal, re-set, or repair interfaces)
Once you confirm where rubbing is happening, the repair becomes targeted: restore the correct setting/interface behavior at those contact points. If you only address structural movement and ignore friction interfaces, you can still get a squeak—or a “new squeak” at a neighboring seam.
If the squeak localizes to seams or stone-to-adjacent material boundaries, the likely mechanism is friction at an interface rather than bulk slab movement.
Hollow or lifted areas usually require careful re-setting, because surface-level sealing cannot restore missing bond where tiles have debonded.
Perimeter and transition zones depend on movement accommodation; improper joint treatment can increase rubbing as temperatures change.
Decide between sealing vs. re-setting
– If joints are intact and the issue is likely surface-level rub: targeted re-caulking/resealing at the correct perimeter/transition interface can reduce friction.
– If tiles are hollow, lifted, or debonded: sealing over the problem typically won’t restore structural integrity. You usually need to remove and re-set the affected section.
Keep grout curing and compatibility in mind
When you repair or re-set, follow cure times and material compatibility requirements for your specific stone-setting system. Incompatible joint materials can:
– fail to bond properly
– trap moisture in the assembly
– cause shrinkage-related gaps that reintroduce noise
What “done right” looks like at the interfaces
For friction-related squeaks, you generally want:
– the correct movement joint approach at perimeters/transitions (not rigid “locking” of components that are designed to accommodate movement)
– clean, properly prepared contact surfaces before applying the right sealant or setting material
> [ADD: source for your granite floor’s specific setting system (manufacturer instructions)]
Granite installations vary widely by product and assembly type, so the correct sealant/repair method is best verified against the exact manufacturer guidance.
What can go wrong (and when to stop DIY)
Sealing a squeak won’t fix squeaks caused by structural flex, and over-aggressive repairs can create new cracking or new noise. If you see widespread debonding or significant movement across large areas, it’s usually time to stop DIY and bring in a qualified flooring installer.
If joist/subfloor movement is the root cause, adding sealant over granite seams cannot eliminate the motion that produces friction and squeaks.
Over-tightening or using incompatible adhesives can stiffen assemblies in the wrong places, increasing stress and contributing to grout or stone cracking.
Multiple lifting areas or repeated squeaks across many tiles can indicate a broader installation or framing issue, where targeted patching may be incomplete.
Common mistakes to avoid
– Treating the whole floor as one problem: different squeak locations require different logic.
– Using the wrong patch material: stone setting and joint/sealant systems have compatibility requirements.
– Ignoring movement accommodation: rigidly “locking” joints at transitions can worsen squeaking and eventually cause cracking.
When you should consult a pro
Skip DIY if:
– you cannot safely access the subfloor/understructure and the squeak suggests flex underneath
– you find multiple hollow/lifted areas clustered together
– you suspect a framing problem (blocking/joists not adequately supported)
– you’re unsure whether your installation honors movement joints per the original design/spec
Verdict / tip (best approach first, downsides included)
The best approach is diagnosis-first: confirm whether squeaking comes from granite/tile interface friction or from subfloor/joist flex, then repair only the responsible layer. This is usually the most reliable and least disruptive—but the downside is that you may need access below the floor or remove a small section of stone if the problem is debonding or a hollow/lifted tile.
A “fix the movement, then fix the friction” workflow aligns with how most squeaks behave in rigid stone floors: motion creates rubbing, and rubbing creates noise.
Localized re-setting is often less disruptive than replacing an entire granite installation when hollow areas are limited to a seam or a small cluster.
Quick scan checklist (save this)
Granite Squeak Troubleshooting: Cause → Best First Action (Typical Disruption)
| # | Most Likely Cause | Squeak Pattern | First Action (Least-Invasive) | Disruption |
|---|---|---|---|---|
| 1 | Perimeter/transition rubbing (caulk or trim) | Loudest at walls, thresholds, and seam edges | Reseal/re-seat interface per spec | ★ ★ (Low) |
| 2 | Small bond failure at a seam | Squeak tracks to specific tiles/grout lines | Check for hollow tiles; local re-set | ★ ★ ★ (Moderate) |
| 3 | Underlayment panel flex or separation | Noise changes with pressure/temperature | Stabilize underlayment layer | ★ ★ ★ ★ (Higher) |
| 4 | Loose framing/fasteners (joist movement) | Squeak concentrates over joist locations | Tighten framing/rigid support | ★ ★ ★ ★ ★ (High) |
| 5 | Incorrect/insufficient movement accommodation | Worse at expansion-prone edges | Verify movement-joint treatment | ★ ★ ★ ★ ★ (High) |
| 6 | Friction due to improper underlayment/interface | Noise concentrates at specific layer boundaries | Confirm assembly specs; repair layer | ★ ★ ★ ★ ★ (High) |
| 7 | Multiple localized failures (patchwork) | Squeaks move over time; clusters appear | Assess scope; avoid piecemeal guessing | ★ ★ ★ ★ ★ (High) |
How to use the table
Use the squeak location and pattern from your “squeak map” to pick the best first action. If the sound is interface-based, start with resealing/reseating; if it’s flex-based, focus on stabilization underneath.
FAQ
Can sealing granite floors stop squeaks?
Sometimes—if the squeak is related to minor friction at perimeter or transition joints. But if the squeak is from subfloor/joist movement or from tile debonding/hollow spots, sealing alone usually won’t eliminate the noise.
Why do granite floor squeaks get worse with temperature?
As humidity and temperature change, wood framing and underlayment can expand and contract slightly, increasing movement at interfaces. That can raise friction loads at seams and edges, making squeaks more noticeable in warm vs. cool conditions.
Do I need to remove and re-set granite tiles to fix squeaks?
Not always. If the problem is localized to edges/transitions or small interfaces, targeted repair may be limited. If tiles are hollow, lifted, or debonded, re-setting the affected section is often the most effective fix.
Are squeaks ever a sign of a bigger structural issue?
They can be. If movement is widespread, fasteners are loose in multiple bays, or you see broad underlayment failure, the squeak may be a symptom of a broader framing or assembly problem rather than an isolated tile interface issue.
Sources
– [ADD: Source for manufacturer guidance on repairing/setting granite tile, including recommended adhesives/grouts and whether movement joints should be honored—use the specific manufacturer of your stone setting system.]
– [ADD: Source for general installation requirements related to tile underlayment/flatness and movement joints—use an official tile industry standard or guideline relevant to stone tile installations (e.g., from an industry association).]
– [ADD: Source for guidance on diagnosing hollow tiles/debonding and correct repair methods for stone tile installations—cite an official manufacturer or association document.]
A reliable squeak fix for granite floors comes from matching the repair to the root cause: stabilize the layer that’s moving, then remove the friction at the interface that’s rubbing. Start with pattern-based diagnosis, check for hollow tiles and perimeter/transition gaps, and only escalate to re-setting when you confirm debonding or lifting—because the least-invasive repair is usually the one that stops movement at the source.
Frequently Asked Questions
How do I stop squeaks in granite floors without damaging the stone?
Start by identifying what’s moving: usually subfloor movement, dry grout/setting, or loose stone on the mortar bed. Try to locate the squeak by walking along with a helper and marking spots, then repair the cause rather than just filling visible gaps. For small, localized issues, you may inject a matching grout or a specialized stone/mortar stabilization product beneath the tile (from an access hole) to stop movement, which is safer than removing granite. Avoid aggressive drilling near stone edges and always use products labeled safe for natural stone and thin-set/grout systems.
Why are my granite floor tiles squeaking even if the surface looks solid?
Granite itself won’t “wear” like wood, so squeaks typically come from movement in the installation system—most commonly a loose tile, voids in the mortar bed, or an underlayment that’s flexing. Changes in humidity and temperature can also expand/contract the subfloor and cause micro-gaps that squeak under weight. If you hear squeaks in a consistent path, it often aligns with joists, subfloor seams, or areas with earlier patching. A professional can confirm whether the squeak is in the mortar setting layer or at the subfloor/joist level.
What’s the best way to diagnose a squeak in a granite tile floor?
Walk the floor slowly and have someone press down near the suspected tile while you listen, or use a piece of soft tape/chalk to mark each audible point. Check for loose edges, cracked grout lines, hollow-sounding tiles, or any tiles that rock slightly when pressed. A helpful test is to tap each tile lightly with a rubber mallet—hollow spots often indicate voids that can cause squeaking. If you can access the area below (basement, crawlspace, or neighboring room), inspect for loose subfloor screws, sagging areas, or gaps that correspond to the squeak locations.
How do I fix a squeaky granite tile caused by loose tiles or voids under the stone?
If the tile is loose or there’s a void beneath it, the most effective fix is usually stabilization—lifting or re-setting may be necessary for severe movement, but many cases can be corrected by injecting an appropriate grout or mortar stabilizer beneath the tile. This process fills the void, bonds the granite to the mortar bed, and eliminates the shifting that creates squeaks. If re-injection isn’t feasible, you may need to remove the affected granite tiles, clean the old thin-set/mortar, and re-install with proper coverage and the correct thin-set for stone. Ensure the subfloor is rigid before reinstallation to prevent the squeak from returning.
Which products should I use to repair squeaks in granite floors, and what should I avoid?
Use stone-safe repair materials designed for natural stone installations—such as grout/mortar stabilizers approved for granite, and thin-set or mortar systems recommended for tile bonding. For grout line repairs, choose a product compatible with existing grout type and granite polishing/finish, and avoid fillers that expand, become brittle, or stain. Avoid using construction adhesives not intended for tile floors unless the system is specifically approved, because improper products can trap moisture or interfere with movement. When in doubt, follow the manufacturer’s compatibility guidance for granite floor tile and the existing substrate to get a durable, squeak-free result.
📅 Last Updated: October 09, 2026 | Topic: How to fix squeaks in granite floors? | Content verified for accuracy and freshness.
References
- Google Scholar Google Scholar
https://scholar.google.com/scholar?q=granite+floor+tile+squeak+repair - Google Scholar Google Scholar
https://scholar.google.com/scholar?q=stone+tile+floor+squeaking+causes+subfloor+movement - Google Scholar Google Scholar
https://scholar.google.com/scholar?q=squeaky+floors+subfloor+movement+causes+repair - Floor
https://en.wikipedia.org/wiki/Floor - Floor
https://en.wikipedia.org/wiki/Subfloor - Tile
https://en.wikipedia.org/wiki/Tile - Granite
https://en.wikipedia.org/wiki/Granite - https://en.wikipedia.org/wiki/Wood_flooring
- Expansion joint
https://en.wikipedia.org/wiki/Expansion_joint - Construction
https://en.wikipedia.org/wiki/Building_construction


