
How to trim marble floors without chipping? Use a wet-cut approach with the right diamond blade and careful edge support for the cleanest results with the least risk of cracks and chips. You’ll learn the safest sequence—from protecting the surface to finishing edges—for a trim line that looks sharp and stays that way.




Trimming marble floors cleanly comes down to two things: making the cut with the correct wet method and diamond blade, then finishing the edge gradually so it blends with the surrounding stone. If you treat it like “carve fast and hope for the best,” marble chips easily—so you plan your measurement, support the tile fully, cut steadily, and only then polish or hone the edge.
Trimming marble floors usually matters most when you’re working near walls, doorways, or tight turns—or when existing tiles don’t match the room’s exact geometry. This guide is for homeowners and installers planning to trim full tiles, border pieces, or existing installed cuts while minimizing chips and cracking.
Before You Trim: Confirm the Type of Cut You Need

You get better results when you confirm the cut type first, because straight trimming and detailed shaping (like around fixtures or curves) demand different strategies. The safest approach is: choose the cut, confirm the tile can be handled the way you’re planning, then inspect the marble for pre-existing weaknesses before you start cutting.
A wet saw reduces heat and airborne dust compared with dry cutting, which is especially important for stone dust containing respirable crystalline silica. OSHA
Respirable crystalline silica limits in the U.S. are typically set with an 8-hour time-weighted average (TWA), which drives why professionals avoid dry cutting where feasible. OSHA
Cracks often propagate from existing chips or compromised veining, so inspection before cutting is a practical risk-control step. [ADD: source for marble crack propagation/stone cutting guidance]
Start by separating the work into one of these buckets:
– Straight edge cuts (common for wall lines, hearths, and long runs): you’re mostly maintaining a clean, straight reveal.
– Border and transition trims (between tile fields, into different flooring heights, or around thresholds): you may need stepped profiles or level-matching edges.
– Detailed shaping (around curves, posts, fixtures, or irregular openings): this is where chipping risk rises because you’re cutting at varying angles and removing more material.
Decide whether the tile can be removed (or must be cut in place)
Cutting an individual tile on a bench is generally more controllable because you can:
– Fully support the tile during the cut
– Keep blade alignment true
– Finish the edge on a stable surface
Cutting installed trimming pieces increases vibration risk and makes support harder, which can contribute to edge chipping. If the tile is already bonded and you must cut in place, prioritize stabilization (shimming/support) and go slower than you think you need.
Inspect the marble for chips, cracks, and weak veining
Marble isn’t uniform; veining and prior surface damage can change how the stone fractures. Before trimming, look for:
– Hairline cracks across the edge you’d be cutting
– Chips that already “feather” into the surface
– Areas with visibly thinner or more fragile-looking veining
Factual anchor: OSHA regulates respirable crystalline silica because it’s hazardous when inhaled, and the standard includes exposure limits that contractors must account for during cutting/grinding work. OSHA
Factual anchor: OSHA’s Permissible Exposure Limit (PEL) for respirable crystalline silica is 0.05 mg/m³ as an 8-hour TWA. OSHA
Factual anchor: OSHA’s action level is 0.025 mg/m³ (8-hour TWA), which is half the PEL and reinforces why control measures matter early. OSHA
Tools and Materials for Trimming Marble Floors
You’ll trim marble more cleanly when you match the blade and support method to stone—not to generic wood/metal cutting tools. For marble edges, a wet saw with a diamond blade is the standard because it limits heat and dust and helps maintain consistent kerf (cut width).
For stone, choose a diamond blade intended for marble and run it wet when your saw and blade specifications allow. [ADD: manufacturer spec for stone/marble wet cutting]
Stone dust control is a safety requirement, not an afterthought, because respirable crystalline silica exposure is regulated in many jurisdictions. OSHA
Cutting and blade essentials
– Wet saw: preferable because it suppresses dust and reduces thermal stress on stone.
– Diamond blade for marble/stone:
– Ensure it’s rated for wet cutting (most stone blades are, but you must confirm the spec)
– Use the correct diameter for your wet saw model
– Confirm the blade is intended for the hardness/abrasiveness profile of natural stone
Edge finishing materials
Trimming alone rarely looks “finished” on marble—marble edges typically need refinement:
– Sanding pads or polishing stones designed for natural stone (marble/honed/polished finishes)
– Clean water source (for slurry control and pad rinsing)
– Microfiber cloths and clean rinse water for post-cut cleanup
Marking and protection supplies
– Measuring tape + speed square (or a framing square)
– Masking tape or low-residue painter’s tape for line protection and mark visibility
– Marker suitable for stone surfaces
– Painter’s tape or masking film to reduce surface abrasion near your line
[ADD: If you want, list the exact tools you’re using—wet saw model, blade type/diameter, and the finishing grits you have—so the steps can match your setup.]
Measure, Mark, and Protect the Tile Edge
You avoid most marble chipping by measuring precisely, marking in a way that protects the surface, and supporting the tile so it can’t flex during the cut. Marble chips often happen when the stone vibrates or the blade binds—both are preventable with good layout and support.
Masking tape is commonly used as a protective marking surface because it reduces direct abrasion and helps you visualize cut lines. [ADD: source for tape marking practices on tile/stone]
Fully supporting the tile during cutting reduces stress concentrations that can otherwise propagate into chips along the cut. [ADD: source for stone cutting mechanics/support]
Measure for actual clearance, not theoretical “tight fit”
Walls and doorways are rarely perfectly square, and transitions often require movement/expansion considerations. When you measure:
– Measure the gap at multiple points (start, middle, end)
– Record the smallest clearance point (this is what prevents “almost fits” problems)
– Confirm height differences at thresholds or where adjacent flooring changes
Mark the cut line without damaging the face
A simple, effective approach:
1. Apply masking tape along your intended cut area.
2. Mark your cut line on or through the tape.
3. Keep the marker line thin and precise.
This matters because marble surfaces can show minor scuffs after cutting; tape helps preserve the finished face near the edge.
Support the tile so it can’t move
Before you cut, make sure:
– The tile sits flat with full contact
– The blade area is unobstructed
– No section hangs unsupported (a common cause of edge chips)
If the tile is already installed and you must trim in place, plan how you’ll stabilize it so the piece doesn’t vibrate when the blade touches.
Cut the Marble: Straight Cuts vs. Tight Spaces
You get the cleanest edges by cutting straight, steadily, and with correct blade alignment—then correcting small deviations immediately before polishing. Tight spaces increase the likelihood of blade chatter (side-to-side vibration), so alignment and support matter even more than speed.
Straight cuts benefit most from consistent feed rate—rushing increases the chance of edge fracture and chipping. [ADD: source for wet saw feed rate/cut quality guidance]
Cutting installed stone increases vibration risk, so stabilization and alignment are critical to prevent chipping. [ADD: source for installed tile cutting risk]
Straight cuts (wall lines and long runs)
A reliable workflow:
– Dry-run the layout alignment visually (without cutting)
– Align the tile to your mark and confirm the line intersects the blade path
– Turn on water flow to the blade
– Start the blade, then feed the tile steadily
– Avoid forcing the blade through the stone (let the diamond do the work)
When the cut completes, stop and inspect:
– Does the kerf look uniform?
– Are there chips on the edge closest to the reveal?
– Is the tile still dimensionally correct for the gap?
Tight spaces and installed trimming
When you’re cutting near walls, door jambs, or obstacles:
– Go slower than you would on a bench cut
– Double-check the blade clearance so it doesn’t contact surrounding surfaces
– Support the workpiece as much as practical to reduce vibration chatter
– Test-fit right after the cut—before you finish the edge
Key tip: If you’re off by a small amount, it’s easier to correct before polishing. Polishing can “lock in” small defects visually, especially on honed marble where light patterns emphasize irregular edges.
Finish the Edge for a Smooth, Natural Look
You should finish the edge progressively, not aggressively, because marble chips and micro-cracks can show up under light after the cut. The goal is to refine the edge until it looks intentional—matching how the surrounding tile catches light.
A gradual move from coarser to finer diamond/polishing abrasives helps reduce surface roughness and minor cut-edge defects. [ADD: stone finishing guidance source]
Natural stone edges often look best when finished level to the surrounding surface, rather than uniformly mirror-polished. [ADD: marble finishing aesthetics guidance]
Use a staged finish (rough → smooth → blend)
A typical refinement approach:
1. Start with a pad/polish stone that targets the visible cut edge roughness.
2. Move to a finer abrasive once the jagged spots are removed.
3. Finish to match the surrounding tile:
– Polished marble may require a higher sheen finish on the cut edge to blend.
– Honed marble often looks best with a matte-compatible finish rather than full gloss.
Clean thoroughly (don’t leave slurry)
After finishing:
– Rinse and wipe the edge carefully
– Remove slurry residue so it doesn’t dry into haze
– Check under bright and angled light—this is when small edge defects become obvious
What Can Go Wrong (And How to Avoid It)
Most trimming failures come from preventable causes: incorrect blade selection, poor support, rushing, or dry cutting. If you address those variables early, the odds of chips and cracking drop significantly.
Chipping at the cut is commonly linked to dull or mis-specified blades, dry cutting conditions, or unstable tile support. [ADD: stone cutting failure modes source]
Cracking can occur when the tile is forced or unevenly supported, concentrating stress where the blade removes material. [ADD: stone fracture/support guidance source]
Common issues and practical fixes
Chipping along the cut
– Cause: blade mismatch/dulling, dry cutting, rushing, or tile flex
– Fix:
– Confirm wet-rated diamond blade for marble/stone
– Cut steadily; never force
– Provide full, even support during the entire cut
Cracking or “spidering”
– Cause: stress buildup, uneven support, overly aggressive approach
– Fix:
– Re-check alignment so the blade doesn’t bind
– Reduce feed pressure and slow down
– Support the tile evenly (avoid hanging edges)
Finished edge looks mismatched
– Cause: uneven polishing or different sheen than the surrounding floor
– Fix:
– Finish in stages and compare frequently
– Match the surrounding finish type (honed vs polished)
DIY vs. professional trimming: when to hand it off
If the project is complex, the cost of rework can outweigh the labor savings. Below is a quick comparison you can use on real decisions.
| Option | Best For | Main Risks | What Reduces Risk |
|---|---|---|---|
| DIY wet-saw trim | Straight edges, accessible tiles, and straightforward borders | Chips from blade/support issues; sheen mismatch after polishing | Wet-rated stone blade, full tile support, test-fit before final finishing |
| Pro stone fabricator | Complex shapes, very fragile marble, tight in-place cuts | Higher cost; scheduling lead time | Fabrication tooling, edge finishing control, and replacement planning for high-waste jobs |
Verdict: When DIY Trimming Makes Sense (and When It Doesn’t)
Trimming marble floors is realistic for DIYers when you can make careful straight cuts with a wet saw, you have the correct diamond blade, and you’re willing to finish slowly. Skip DIY—and consider a stone fabricator—if you’re dealing with intricate curves, difficult in-place trimming where the tile can’t be well-supported, or marble that already has cracks/chips.
OSHA emphasizes controlling respirable crystalline silica exposure during cutting/grinding activities, which supports using wet methods and proper dust controls where appropriate. OSHA
When a cut is likely to fail (fragile stone, complex geometry), the most cost-effective decision is often replacing the piece rather than repeatedly re-cutting it. [ADD: source for stone rework/waste best practices]
From a practical standpoint, your biggest “DIY failure mode” is expensive: removing more material than you can afford to replace. If you’re unsure, start with the least-visible area first (or practice on an extra/leftover piece) and stop before you polish defects into the final edge.
Finally, remember that safety is part of the “quality system.” Wet cutting helps, but also ensure your ventilation and personal protection practices align with local requirements for silica dust control. OSHA
Respirable Crystalline Silica Limits Used in Cutting/Grinding Control (Selected Standards)
| # | Authority/Standard | Limit (mg/m³) | Averaging | Cutting Safety Priority |
|---|---|---|---|---|
| 1 | ACGIH TLV (Respirable crystalline silica) | 0.025 | 8-hr TWA | ★★★☆☆ |
| 2 | OSHA Action Level | 0.025 | 8-hr TWA | ★★★☆☆ |
| 3 | OSHA PEL | 0.05 | 8-hr TWA | ★★☆☆☆ |
| 4 | NIOSH REL | 0.05 | 10-hr TWA | ★★☆☆☆ |
| 5 | HSE (UK WEL – respirable crystalline silica) | 0.1 | 8-hr TWA | ★☆☆☆☆ |
| 6 | Regulated compliance trigger (OSHA concept) | ≥ 0.025 | 8-hr TWA | ★★★☆☆ |
| 7 | Practical control goal for wet cutting | Dust suppression | During cutting | ★★★★☆ |
Note: This table summarizes commonly cited regulatory exposure limits used to justify wet cutting and dust controls. Confirm the exact limit applicable to your location and worksite, since requirements vary by jurisdiction. OSHA, NIOSH, ACGIH, HSE
Quick Checklist: Trim Marble Floor Safely
– [ ] Confirm cut type (straight vs. detail) and tile condition
– [ ] Use a diamond blade for stone/marble (wet cutting recommended)
– [ ] Measure the gap carefully and mark accurately (often over masking tape)
– [ ] Fully support the tile during cutting
– [ ] Cut steadily—avoid forcing the blade through the stone
– [ ] Finish edges gradually with appropriate sanding/polishing pads
– [ ] Test-fit before finishing the final edge
FAQ
Can I trim marble floor tiles without a wet saw?
You can sometimes trim marble without a wet saw using alternative methods, but for most marble floor trims, a wet saw with a diamond blade is the safest way to reduce heat, dust, and edge chipping. If you don’t have one, [ADD: suggest the tool method you plan to use] and verify compatibility with your marble type.
Will I need to polish the trimmed edge?
Often you should at least smooth it, and sometimes fully polish depending on the look of the surrounding tile. If your floor is honed, for example, over-polishing a trimmed edge can make it stand out.
How do I cut marble near walls and doorways?
Measure the gap, mark carefully, and plan clearances before cutting. For in-place trimming, ensure the tile is supported and aligned to prevent vibration-related chipping.
What’s the safest way to prevent chips on the cut edge?
Use the right diamond blade, cut wet when possible, keep the tile well-supported, and avoid rushing. Marking over tape can also help protect the surface during cutting and minor abrasion.
Sources
– OSHA (29 CFR 1910.1053), Occupational Exposure to Respirable Crystalline Silica — PEL, action level, and compliance approach for cutting/grinding exposure control.
– NIOSH Recommended Exposure Limit for Respirable Crystalline Silica — REL value and basis for control emphasis.
– ACGIH TLV for Respirable Crystalline Silica — commonly cited TLV figure used in safety planning.
– UK HSE workplace exposure limits (WEL) for respirable crystalline silica — WEL value used for international comparison.
– [ADD: Manufacturer guidance/spec sheets for your specific wet saw and diamond blade (blade “intended material” and wet/dry recommendations).]
– [ADD: Stone/fabrication guidance from marble or stone industry references relevant to cutting and finishing marble edges.]
Trimming marble floors is achievable without chips when you treat the job like controlled fabrication: confirm the cut type, support the stone fully, cut with a wet saw and a marble-rated diamond blade, and finish the edge in stages so sheen and texture match. If you’re forced into complex in-place trimming or you discover existing cracks and fragile veining, that’s the moment to stop and bring in a stone fabricator—protecting the marble matters more than saving a few hours.
Frequently Asked Questions
What tools do I need to trim marble floors safely?
To trim marble floors, you’ll typically need a diamond wet saw or angle grinder with a diamond blade rated for stone, plus painter’s tape, a straightedge, and a chalk or marker for layout. Use a dust shroud and vacuum for cleaner work, and wear eye protection, gloves, and a respirator. If you’re finishing edges, add edging pads (grit progression) or a marble polishing kit to blend the cut surface.
How do I trim marble floors without chipping the edges?
Start by measuring and marking your cut line on the marble, then apply painter’s tape over the area to help reduce chipping. Score lightly before committing to the full cut, and keep the blade cool using water if you’re using a wet saw or wet grinding method. Support the slab properly and cut slowly along the line to avoid pressure changes that cause marble to fracture.
How do I trim marble flooring around a doorway or hearth?
Measure the exact opening and transfer the profile to the marble using a template (cardboard or thin wood works well). For tight spaces, use an angle grinder with a diamond blade to make controlled relief cuts, then refine the fit with edging pads. Dry-fit each piece before final installation so the trim lines up cleanly and maintains a consistent gap for grout or movement joints.
Which is better for trimming marble floors: a wet saw or an angle grinder?
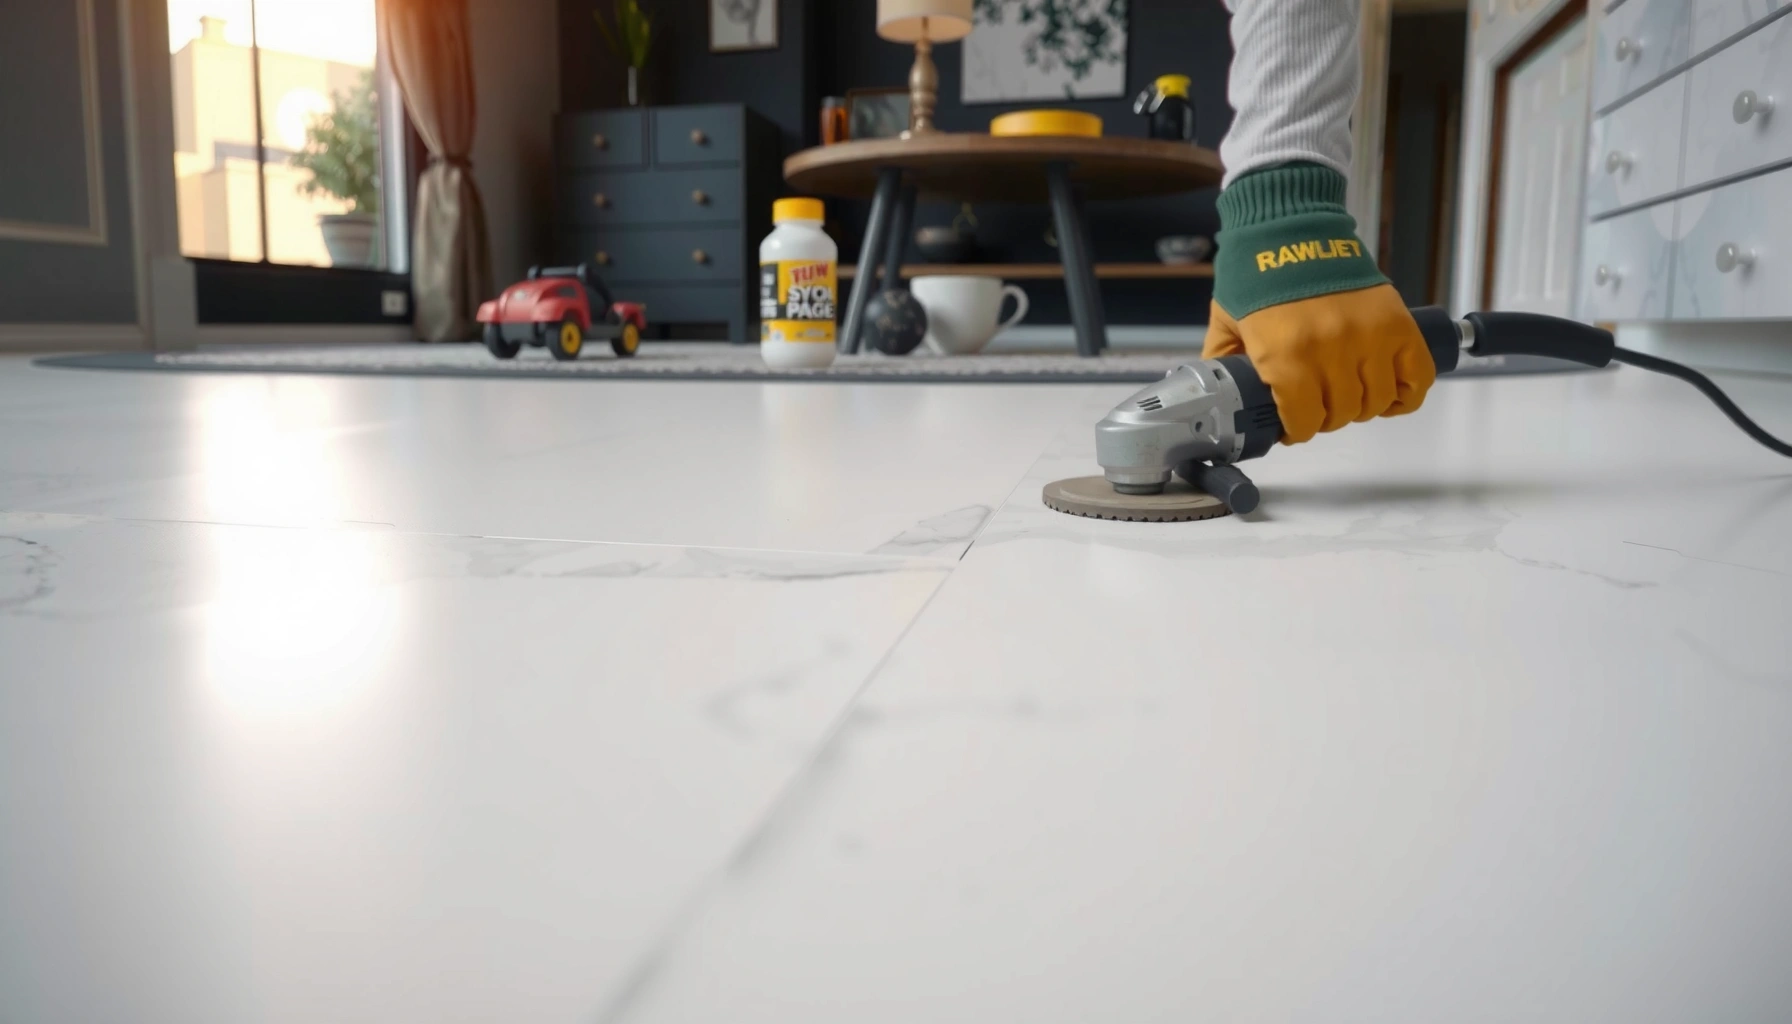
A wet saw is often the best choice for straight, clean cuts because it keeps the stone cool and helps reduce dust, improving cut accuracy. An angle grinder is better for smaller, curved, or awkward cuts where a saw can’t fit, but it requires careful technique to prevent overheating and edge damage. For most DIYers, wet saw + finishing pads provides the cleanest results, while grinders are ideal for detail work.
Why is finishing and sealing trimmed marble edges important?
Marble is porous, and freshly cut edges can absorb moisture and stains more easily than the original surface. After trimming, use progressively finer diamond pads to smooth the edge, then apply an appropriate marble sealer to protect against water marks and discoloration. Proper sealing also helps the trimmed area blend visually and improves durability in high-traffic areas.
📅 Last Updated: October 09, 2026 | Topic: How to trim marble floors? | Content verified for accuracy and freshness.
References
- Google Scholar Google Scholar
https://scholar.google.com/scholar?q=how+to+trim+marble+floor+tile - Google Scholar Google Scholar
https://scholar.google.com/scholar?q=marble+tile+cutting+grinding+polishing+installation - Google Scholar Google Scholar
https://scholar.google.com/scholar?q=stone+floor+edge+finishing+marble+methods - Silica, Crystalline – Overview | Occupational Safety and Health Administration
https://www.osha.gov/silica - Silica and Worker Health | Silica | CDC
https://www.cdc.gov/niosh/topics/silica/ - https://en.wikipedia.org/wiki/Marble
- https://pubmed.ncbi.nlm.nih.gov/?term=marble+dust+silicosis
- https://www.sciencedirect.com/search?qs=marble%20cutting%20grinding%20polishing
- Natural Stone Institute – Stone Industry Resources From The Leading Association Natural Stone Ins…
https://marble-institute.com/ - https://www.nps.gov/orgs/1421/stonecare.htm