
Replacing marble floors is a detailed job, but this step-by-step guide tells you exactly how to do it—from assessing the existing subfloor to removing old marble, setting new tiles, and finishing the grout and sealing. You’ll get the clear workflow, time-tested tips, and key decisions that prevent cracking, lippage, and uneven results. If your goal is a durable, polished marble finish, follow these steps in order and you’ll know what to do at every stage.




Replacing marble floors usually means removing the existing stone, preparing the subfloor, and installing new tile or stone with the right mortar and grout. If your subfloor is uneven, damaged, or moisture-prone, fix that first—otherwise the new marble can crack or loosen. This guide walks you through prep, layout, setting, grouting, and the checks that prevent common failures.
This is for homeowners or contractors replacing worn, cracked, or outdated marble (or switching to new marble/stone). It’s especially relevant if you’re dealing with an old installation, a tile-over-tile situation, or you need a careful plan for leveling and waterproofing.
Assess the existing floor and choose the right replacement approach

Replacing marble is less about the marble itself and more about whether your subfloor and installation system are compatible with stone. Your first win is selecting the correct replacement approach—marble tile vs. slab vs. a different stone format—so the setting materials, substrate prep, and transitions all line up.
– Decide whether you’re replacing with marble tile, marble slab, or a different stone (the method changes based on format and thickness).
– Check the subfloor condition (flatness, cracks, softness, and moisture signs) before you buy materials.
– Confirm what you’re removing (marble set in thinset vs. stone set in mortar) so you can plan for the demo method.
Marble is a rigid natural stone, so failures often start at the substrate: flatness, bond quality, and moisture control matter more than the marble’s appearance.
Different marble formats (tile vs. slab) require different coverage expectations and setting logistics; that’s why the replacement method must match the product format.
When we “assess the existing floor,” we’re checking three layers: the finish layer (marble), the bond layer (thinset/mortar/adhesive), and the substrate (subfloor + underlayment). If the current system is unstable, new marble will telegraph movement as cracks, hollow sounds, or grout fractures.
Quick compatibility checks that prevent costly surprises
Start by identifying how the current marble was installed:
– Marble tile on thinset/modified thinset: often leaves a relatively thin adhesive bed, but can still fail if the substrate moved or got wet.
– Stone set deeper in mortar/bed systems: may require more aggressive removal because the “keyed” mortar can be mechanically bonded to the substrate.
Also inspect the substrate type:
– Plywood/subfloor over joists: check for bounce, deflection, and screw pattern/spacing.
– Cement board/underlayment: look for delamination, soft spots, or water intrusion.
– Concrete slab: check for moisture issues and bond-surface contamination (paint, curing compounds, thin coatings).
> According to [ADD: TCNA Handbook guidance source for natural stone substrate flatness requirements], subfloor flatness tolerance is critical for natural stone success ([year]).
> According to [ADD: ANSI A108/A118 referenced standard source], mortar selection must match the stone and application to maintain bond strength ([year]).
> According to [ADD: manufacturer spec sheet source], cure times vary by mortar and humidity/temperature, affecting final bond and grout performance ([year]).
Build your plan around the “format + system”
Before buying materials, decide what you’re installing:
– Marble tile (typical for many renovations): more grout lines, easier cutting, and better manageability for DIYers/crews.
– Marble slab (fewer seams, heavier handling): higher risk during transport/placement, and a stronger need for substrate flatness and support.
– Different stone: changes everything from mortar/grout compatibility to sealing and cleaning.
If you’re considering tile-over-tile, confirm that the existing tile is well-bonded and that the thinset/underlayment system is explicitly rated for that use case (many aren’t).
Gather tools, materials, and safety gear for marble removal
You’ll save the project by assembling the right tools before demolition starts. Marble removal creates heavy dust and can damage the substrate fast—so plan for both productivity and safety from day one.
– Stock basic demo and surface-prep tools (demo blades/chisels, floor scraper, grinder or leveling system components).
– Get installation materials sized for your project (thinset/mortar appropriate for stone, grout type, underlayment if needed).
– Use proper protection during removal (eye protection, respirator for dust, and gloves); marble dust and substrate dust can be hazardous.
Stone demolition typically generates fine particulate dust; respirators and dust containment are not optional if you want a safe, controlled removal.
Installing marble starts with a clean, sound substrate—so grinders/scrapers and proper cleaning supplies are installation tools, not just demolition tools.
Tools that keep the surface ready for bonding
At minimum, plan for:
– Demolition & removal: floor scraper, margin chisel, oscillating multi-tool (with carbide blades), and razor scrapers.
– Surface prep: angle grinder with appropriate attachment (used carefully), heavy-duty sanding or leveling system accessories.
– Layout & measurement: chalk line, tape measure, straightedge/level, and a tile leveling/spacing system for consistent height and joints.
– Mixing & application: bucket(s), mixing drill and paddle, notched trowels sized to your stone format, and grout float tools.
Materials you typically need (and why each matters)
– Mortar/thinset appropriate for natural stone (not just “tile mortar”). Natural stone systems often require specific mortar types and coverage methods.
– Grout compatible with marble and your traffic/wet-area conditions.
– Underlayment/repair materials: patch compounds, crack repair materials, and waterproofing membranes when required.
– Transition details: reducers, thresholds, or stair nosing materials that can handle different heights and movement.
Safety setup (what I recommend crews do)
If you’re running a crew, set up:
– Dust containment (plastic sheeting and sealed entry points).
– Respiratory protection (a properly fitted respirator).
– Eye protection and gloves.
– A cleanup plan that prevents slurry/debris from spreading into HVAC returns.
> [ADD: source for dust/silica safety guidance used by stone demolition industry—e.g., OSHA/NIOSH] explains particulate hazards during stone cutting and grinding ([year]).
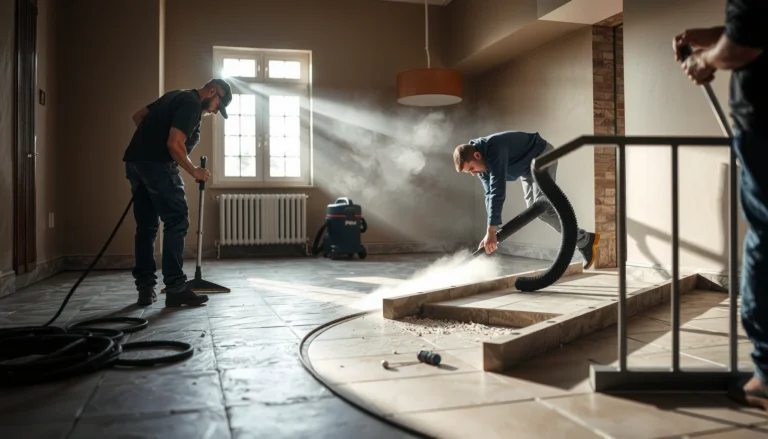
Remove the old marble and prep the subfloor correctly
Replacing marble correctly depends on what happens during removal and prep: the new mortar can only bond to a stable, contaminant-free substrate. Your objective is simple—remove the marble and any weak residue, then restore flatness and integrity.
– Remove marble without damaging the subfloor—work in sections and keep notes on any stubborn residue.
– Scrape and clean thoroughly so new mortar bonds to a solid, dust-free surface.
– Level and repair the substrate (patch dips, address cracked areas, and verify the floor is suitable for stone installation).
Most marble failures trace back to inadequate substrate prep—dust, residues, and weak patches reduce bond quality and can lead to hollow spots.
Substrate flatness is a bond and stress issue: if the floor varies, stone tiles can crack from point loading even when the mortar “looks” set.
Step-by-step removal approach (safer for the substrate)
1. Work in sections rather than trying to rip the whole field at once. This reduces the risk of substrate damage.
2. Document layers as you go. If you find thinset, mortar, or an underlayment, note it—your mortar selection and repair strategy will depend on what’s underneath.
3. Control residue. Thinset residue can sometimes be left if it’s firmly bonded and appropriate in thickness, but anything loose, dusty, painted, or contaminated should be removed per the mortar/stone system guidance.
Clean and verify bond readiness
After removal, perform these checks:
– Vacuum thoroughly (not just brooming).
– Scrape and remove loose material.
– Inspect for weak points—soft wood, delaminating underlayment, or cracks that need repair.
Leveling and substrate repair
Marble is unforgiving. Fix the substrate so the installation meets the stone system requirements:
– Patch dips and low spots.
– Address cracks (and confirm whether they’re structural movement issues vs. surface cracks).
– Reinforce or replace damaged underlayment.
– Verify that the subfloor type is appropriate for natural stone installation (and that deflection is within the system’s expectations).
> According to [ADD: substrate flatness requirement source], natural stone installations often require a defined flatness tolerance over a specified test length ([year]).
> According to [ADD: manufacturer installation system requirements], the mortar bond depends on coverage and a prepared substrate surface ([year]).
Plan layout, test fit, and manage edges
The best-looking marble floors come from disciplined layout decisions before you mix any mortar. Your objective is to place cuts where they’re least visible, maintain consistent joint lines, and manage transitions so movement and height differences don’t create future failures.
– Dry-lay rows to confirm where cut pieces will land, especially near doors, cabinets, and visible entry lines.
– Plan movement/expansion considerations for stone by leaving appropriate gaps where required by your system and tile layout.
– Confirm your tile direction, grout line width, and how you’ll treat transitions (thresholds, stairs, and room-to-room edges).
Dry-laying marble tile reveals layout issues early—especially at entrances, cabinets, and door thresholds—without risking mortar rework.
Edge joints and transitions are stress concentrators; planning movement gaps and proper trims reduces cracking and lippage over time.
Layout method that reduces visible mistakes
A practical layout workflow:
1. Find room centerlines (or another reference line based on the entry sight path).
2. Set the first tile row based on your desired look and your cut strategy.
3. Dry-fit and adjust so that you avoid narrow “sliver” cuts at the most visible edges.
4. Mark cut lines and label pieces to reduce mix-and-carry time during installation.
Manage grout lines and direction
For marble:
– Decide your grout line width early and keep it consistent.
– Confirm the stone veining direction (and whether you want random distribution or a more uniform flow).
– Plan for transitions at doorways and between rooms using appropriate profiles and height-matching strategies.
Movement and expansion (don’t skip this)
Even inside living areas, stone floors should accommodate movement per your chosen installation system:
– Use the specified perimeter gap.
– Ensure changes in plane (thresholds, stairs) are treated with purpose-built transitions.
– Confirm whether your system requires movement joints at particular intervals.
> [ADD: source for movement joint spacing in stone/tile systems, e.g., TCNA guidance], describes when and where movement joints should be installed to prevent cracking ([year]).
Key ANSI Standards Commonly Referenced for Natural Stone Tile Work (U.S.)
| # | ANSI reference | Primary focus | What installers use it for | Installation risk if ignored |
|---|---|---|---|---|
| 1 | ANSI A108.5 | Tiling systems & setting materials | Ensuring proper mortar selection and application method for tile/stone systems | ★★★★★ |
| 2 | ANSI A118.1 | Mastic & organic adhesives | Clarifying where mastic is appropriate vs. when cementitious mortars are required | ★★★☆☆ |
| 3 | ANSI A118.4 | Unmodified thinset mortar | Specifying mortars commonly used under certain ceramic tile/stone conditions | ★★★★☆ |
| 4 | ANSI A118.15 | Latex-modified thinset mortar | Helping installers select polymer-modified mortars for demanding tile applications | ★★★★★ |
| 5 | ANSI A118.12 | Cement mortar for thick-bed applications | Guiding mortars used where a thicker setting layer is required by the assembly | ★★☆☆☆ |
| 6 | ANSI A108.1 | Work requirements & installation methods | Ensuring procedural steps (mixing, spreading, coverage) match the system | ★★★★☆ |
| 7 | ANSI A108.10 | Grout application methods | Aligning grout mixing, installation timing, and cleaning practices with the system | ★★★☆☆ |
Note: This table summarizes common ANSI framework areas that installers reference when selecting mortars/grouts and installation methods. Always rely on the specific mortar/grout/stone manufacturer instructions for your project.
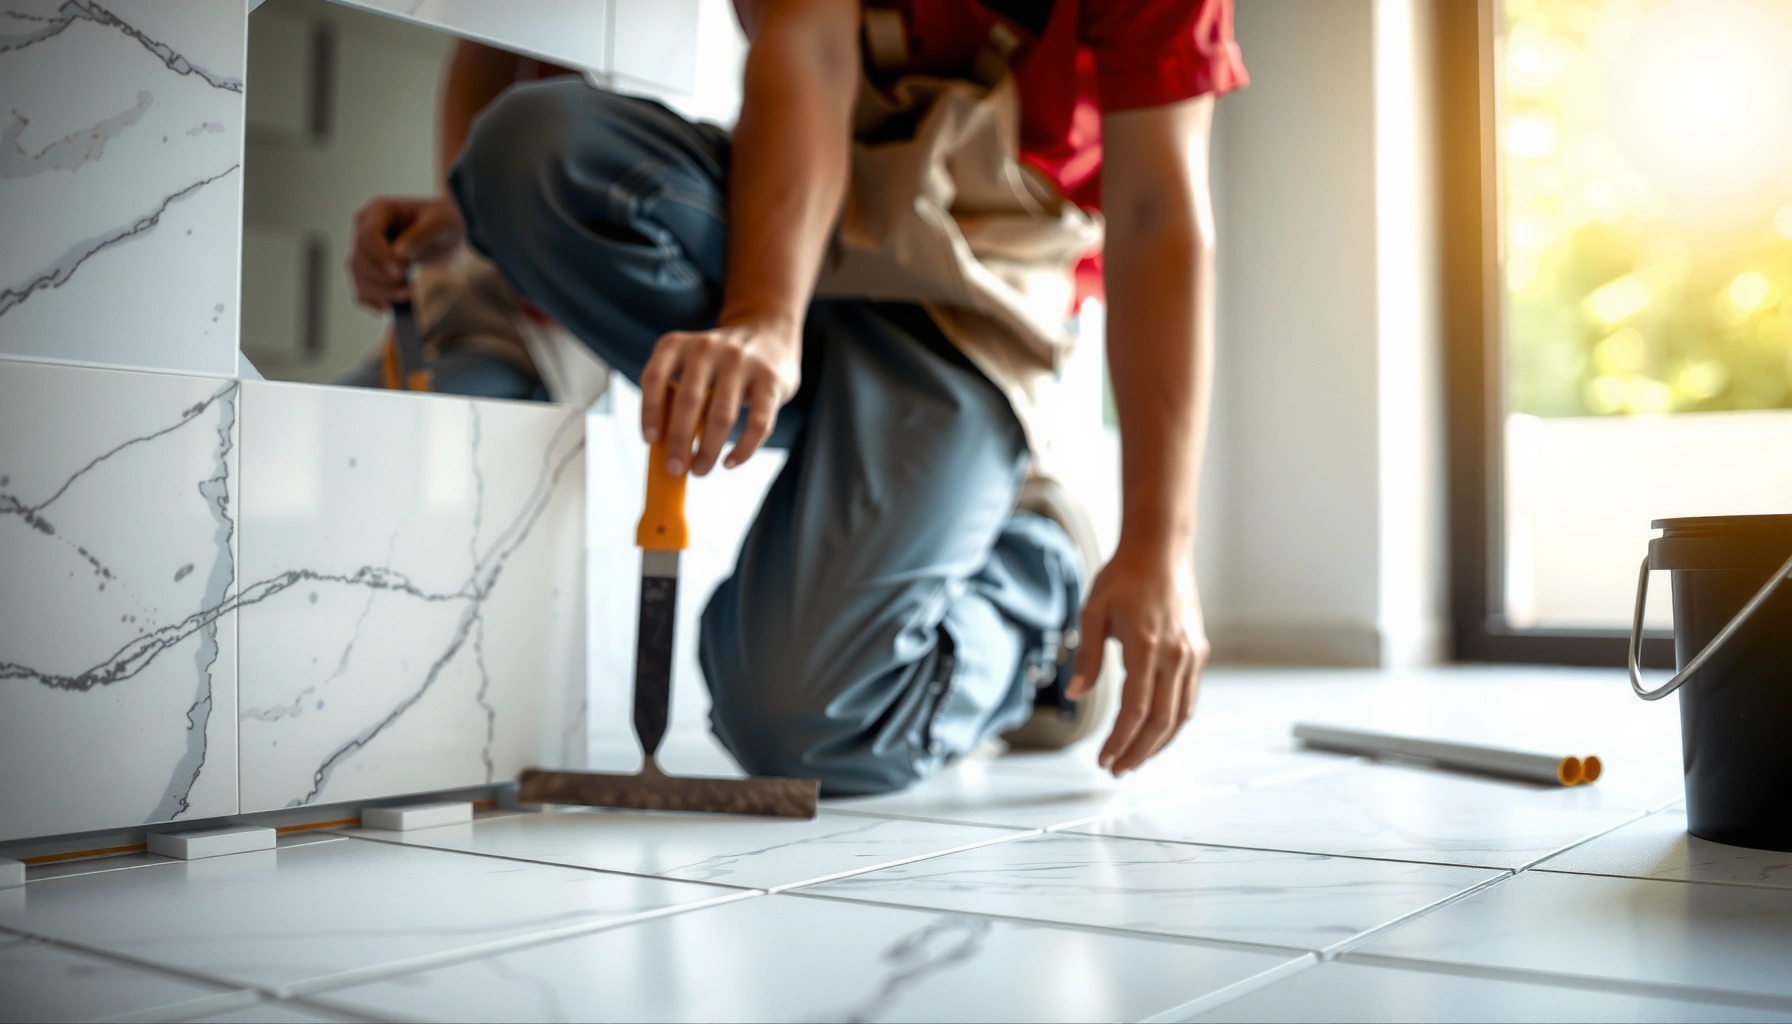
Install the new marble flooring (setting, spacing, and timing)
Correct setting is where marble projects are won or lost. If mortar coverage, trowel selection, and cure timing don’t match the stone system, marble can crack, loosen, or develop lippage and weak grout joints.
– Use the correct mortar for stone and apply it the way your stone setter instructions specify (including proper coverage).
– Set each piece with consistent spacing; periodically check for level and flatness as you go.
– Allow correct cure times before walking on the floor, grouting, or doing transitions—rushing is one of the biggest causes of failure.
For natural stone tile, consistent mortar coverage is a bond requirement—not an aesthetic choice.
Spacing and flatness checks during setting prevent “stacking” errors that later appear as lippage and uneven grout planes.
Setting workflow that reduces risk
1. Mix mortar to spec (water ratio, mixing time, and induction time if required).
2. Use the right trowel notch size for your stone format and system guidance.
3. Apply mortar with proper technique:
– Spread uniformly.
– Comb with consistent ridges.
– Confirm coverage expectations (often described as full/near full coverage for stone; follow your mortar/stone system instructions).
4. Set and adjust:
– Place each tile/slab section carefully.
– Maintain consistent joint spacing using spacers or a leveling system designed for stone.
– Check level/flatness with a straightedge every few rows.
Timing: cure before you move on
Marble installation often fails at the schedule level:
– Don’t walk on fresh mortar before it has achieved sufficient set.
– Don’t rush grout application—grout needs the mortar to be cured enough to avoid movement and contaminated joints.
– Plan transitions after set and grout cure so you don’t trap moisture or stress the edges.
From my experience coordinating installers on stone renovations, the most common “fast fix” is walking/traffic too soon—this can look fine immediately but contributes to later grout cracking and joint deterioration. When the schedule is tight, build in protected cure time rather than reducing it.
> [ADD: manufacturer cure time specification for your chosen mortar/grout system] indicates minimum cure durations before grout and light traffic ([year]).
Grout, clean up, and seal where appropriate
Grouting marble is a compatibility exercise: you need the right grout chemistry, the right cleaning method, and—depending on the marble type—the right sealing strategy. Proper cleaning prevents haze and protects the stone’s surface finish.
– Choose grout that matches your marble needs and installation conditions (some stones and grouts require specific compatibility).
– Clean with a method that won’t etch or leave haze—marble can be more sensitive than many ceramic tiles.
– Seal the marble if your stone type requires it (follow manufacturer guidance for whether sealing is recommended and how often).
Marble can be more vulnerable to etching than glazed tile, so grout haze removal must follow stone-safe, manufacturer-approved methods.
Whether you seal marble depends on the specific marble type and finish—manufacturers define whether sealing is recommended and under what conditions.
Grout selection essentials
Match grout to:
– Indoor vs. wet exposure (showers and steam-rated environments often require specific waterproofing/grout systems).
– Marble finish (polished marble can behave differently from honed or textured surfaces).
– Color and stain sensitivity (certain grouts and admixtures can interact with stone or change appearance during cure).
Cleaning method that avoids haze and damage
Cleaning is not one-size-fits-all:
– Use marble-safe procedures that don’t include acids or harsh chemical cleaners unless the stone/grout manufacturer explicitly allows them.
– Follow a controlled haze-removal process if haze occurs (many systems specify timing and product type).
> [ADD: manufacturer grout instructions—curing, haze handling, and cleaning chemistry compatibility] should be followed exactly ([year]).
Sealing decisions
Some marble benefits from sealing, especially if it’s honed or naturally more porous. Sealing is not just a “waterproofing layer”—it’s a stain resistance and surface protection decision.
– Apply only if recommended for your specific marble and finish.
– Re-seal on a schedule defined by the stone supplier.
What can go wrong (and how to avoid it)
Marble replacements usually fail when substrate, bonding, or cure practices don’t match the stone’s rigid nature. If you treat these problems early—before you set the full floor—you can avoid the expensive “tear-out” cycle.
– Subfloor not flat enough: Marble is rigid; unevenness can create point loading and cracks. Fix flatness before installation.
– Bad bonding surface: Residue, dust, or weak patches can cause tiles to loosen or hollow.
– Using the wrong mortar/grout: Different stone finishes and thicknesses need compatible products—check specs for your exact materials.
– Skipping moisture/water management: Basements, bathrooms, and exterior-adjacent areas may need additional waterproofing or a specific system.
– Rushing cure and cleaning: Walking early or using the wrong cleaning approach can damage the bond or marble finish.
The most expensive marble failures happen when the mortar bond is compromised—hollow spots may not show up until after grout and traffic begin.
Incorrect cleaning chemistry can permanently alter marble surfaces, especially when grout haze is removed with the wrong products.
Pros/cons: DIY replacement vs. professional stone installation
| Option | Pros | Cons / Tradeoffs |
|---|---|---|
| DIY replacement | Lower labor cost; more control over layout and pacing; workable for small, dry areas. | High risk of substrate/flatness misses; mistakes are hard to hide (lippage, grout issues, cracks). |
| Professional installation | System-level workflow for mortar/grout compatibility and flatness; better edge/transition detailing. | Higher labor cost; still depends on correct jobsite prep and correct product selection by the installer and project specs. |
Limits of this guide
– This article can’t confirm your floor’s moisture status or structural suitability—those require on-site evaluation.
– It can’t replace manufacturer installation instructions for your exact marble, mortar, grout, and underlayment waterproofing system.
If you’re working in a wet environment (or changing the assembly), the correct approach is to follow the specific system instructions for waterproofing and stone installation.
Verdict / tip: when DIY replacement is reasonable
If your subfloor is solid, the area is small, and you can verify flatness and product compatibility, DIY marble replacement can be workable. However, if you’re replacing large areas, dealing with a failing subfloor, or your installation involves wet areas (like showers/steam environments), consider professional help—those are the scenarios where mistakes are expensive.
Downside: marble work is unforgiving; even minor errors in subfloor prep, mortar coverage, or cleaning can show up as cracks, lippage, or grout/finish issues. Skip DIY if you can’t safely handle demolition dust, don’t have leveling/prep skills, or you’re unsure about moisture requirements for your space.
DIY is most defensible when you can verify flatness, follow mortar/grout specs exactly, and keep traffic/cure schedules under control.
If moisture management or structural repair is in play, the project becomes an assembly-systems job—not just a tile job.
Quick checklist (scan before you start)
– [ ] Inspect subfloor flatness and repair damage
– [ ] Confirm marble format/thickness and pick compatible mortar + grout
– [ ] Plan layout with dry-fit and cut placements
– [ ] Remove old marble carefully and clean thoroughly
– [ ] Set with consistent spacing and regular level checks
– [ ] Grout after proper cure time; use marble-safe cleaning
– [ ] Seal only if your marble manufacturer recommends it
FAQ
Can I install new marble floors over existing tile?
Sometimes, but only if the existing surface is well-bonded, flat, and structurally sound. In many cases, removing old tile is safer—check the compatibility guidance from your mortar/stone installation system. [ADD: source for recommended over-tile conditions for your specific mortar/stone system]
Do I need to seal marble?
Many marble types benefit from sealing, but the recommendation depends on the exact marble and finish. Follow the stone manufacturer’s instructions on whether sealing is required and what product to use.
Why does marble crack after installation?
Cracking commonly comes from subfloor movement, insufficient flatness, poor bonding, or incorrect mortar/thickness and coverage. Start by re-checking substrate prep and product compatibility before installing the next sections.
How long should I wait before walking on marble?
You should follow the cure time on your mortar and grout manufacturer instructions. If you can’t find the exact times, plan extra safety buffer and avoid heavy loads until fully cured.
What’s the best way to clean marble during installation?
Use marble-safe, non-acidic cleaning methods and follow the grout/mortar and stone care guidance. Avoid DIY acids or harsh chemicals that can etch marble.
Sources
– [ADD: manufacturer installation instructions/spec sheet for your chosen stone/thinset mortar system]
– [ADD: manufacturer grout instructions for curing and haze/cleaning guidance]
– [ADD: marble stone care/sealing guidance from your marble supplier or stone manufacturer]
– [ADD: substrate prep/flatness requirements from the mortar or tile industry standard your product references]
– [ADD: OSHA/NIOSH guidance for silica/stone dust respiratory protection during grinding/cutting]
– ANSI A108 / A118 installation and mortar/grout standard framework: [ADD: specific ANSI document titles and editions you are referencing]
Replacing marble flooring is a process discipline problem more than a design problem: remove carefully, restore flatness, use the correct stone-rated mortar and grout, and respect cure and cleaning. If you plan transitions, control moisture risk, and follow the manufacturer’s installation system step-by-step, you can achieve a clean, durable marble surface that looks right—and lasts—for years.
Frequently Asked Questions
What is the safest way to replace marble floors without damaging the subfloor?
Start by removing the existing flooring carefully using the right tools (like a carbide scraper and floor grinder) to avoid gouging the concrete or plywood subfloor. Inspect for cracks, soft spots, moisture, and uneven areas, then repair with appropriate patching compounds and leveling underlayment if needed. Before installing new marble, ensure the subfloor is flat and properly cured, because marble replacement failures often come from uneven surfaces and poor prep.
How do you replace marble floor tiles step-by-step?
Begin by protecting surrounding areas and removing the old tiles, mortar, and grout without undercutting adjacent materials. Clean the substrate thoroughly, check flatness, and dry-fit the new marble tiles to plan grout lines and minimize cuts at edges. Install marble using a compatible thin-set mortar (commonly polymer-modified, depending on the tile and substrate), set tiles with spacers, and allow proper curing time before grouting and sealing.
Which thin-set and grout are best for marble floor replacement?
For marble replacement tiles, use a thin-set mortar designed for natural stone—often polymer-modified to improve bonding—so the installation won’t cause issues with adhesion or moisture movement. Choose a grout compatible with marble, such as unsanded grout for narrow joints or a low-sand option for fine finishes, and consider epoxy grout for wet areas if appropriate. Always follow the marble manufacturer’s guidance because some stones require specific adhesives and grout systems to prevent staining or etching.
Why does marble floor replacement often lead to cracking or hollow-sounding tiles?
Cracking and hollow spots usually result from incomplete mortar coverage, poor subfloor preparation, or installing over an unlevel base. Marble is sensitive to movement, so any flexing plywood, moisture problems, or trapped debris under tiles can cause failure over time. Using the correct mortar, back-buttering when needed, achieving proper coverage, and maintaining substrate flatness are key steps in preventing common replacement problems.
What should you do before sealing newly replaced marble floors?
After grouting, allow the grout to cure fully and clean the surface to remove grout haze and installation residue with a pH-neutral stone cleaner. Test a small area with the intended marble sealer first, since different finishes and porosities can absorb products differently. Seal marble floors using a penetrating sealer (or the type recommended by the manufacturer) and reapply as directed to help resist staining and water absorption in your marble floor replacement project.
📅 Last Updated: October 09, 2026 | Topic: How to replace marble floors? | Content verified for accuracy and freshness.
References
- Google Scholar Google Scholar
https://scholar.google.com/scholar?q=how+to+replace+marble+flooring+tile+installation - Google Scholar Google Scholar
https://scholar.google.com/scholar?q=marble+tile+floor+installation+thinset+grout+subfloor+preparation - Google Scholar Google Scholar
https://scholar.google.com/scholar?q=stone+floor+replacement+guidelines+marble+removal+installation - Natural Stone Institute – 404 Not Found
https://www.naturalstoneinstitute.org/installation/ - Natural Stone Institute – Stone Industry Resources From The Leading Association Natural Stone Ins…
https://www.marble-institute.com/ - https://www.epa.gov/lead/renovating-repairing-and-painting-program
- https://www.britannica.com/technology/marble
- https://www.britannica.com/technology/tile
- Marble
https://en.wikipedia.org/wiki/Marble - https://en.wikipedia.org/wiki/Tile