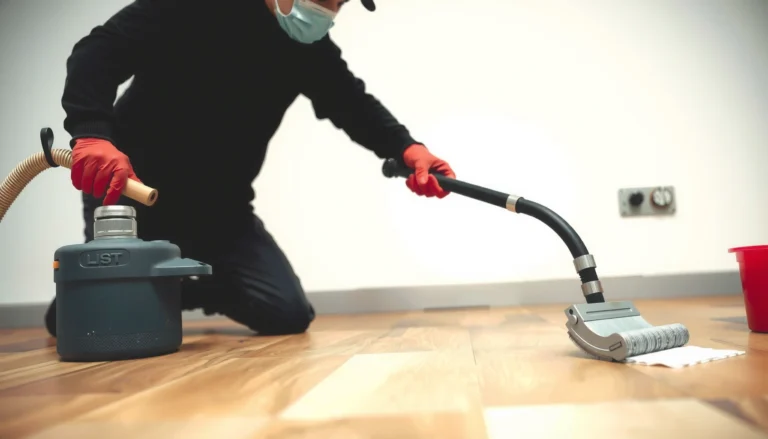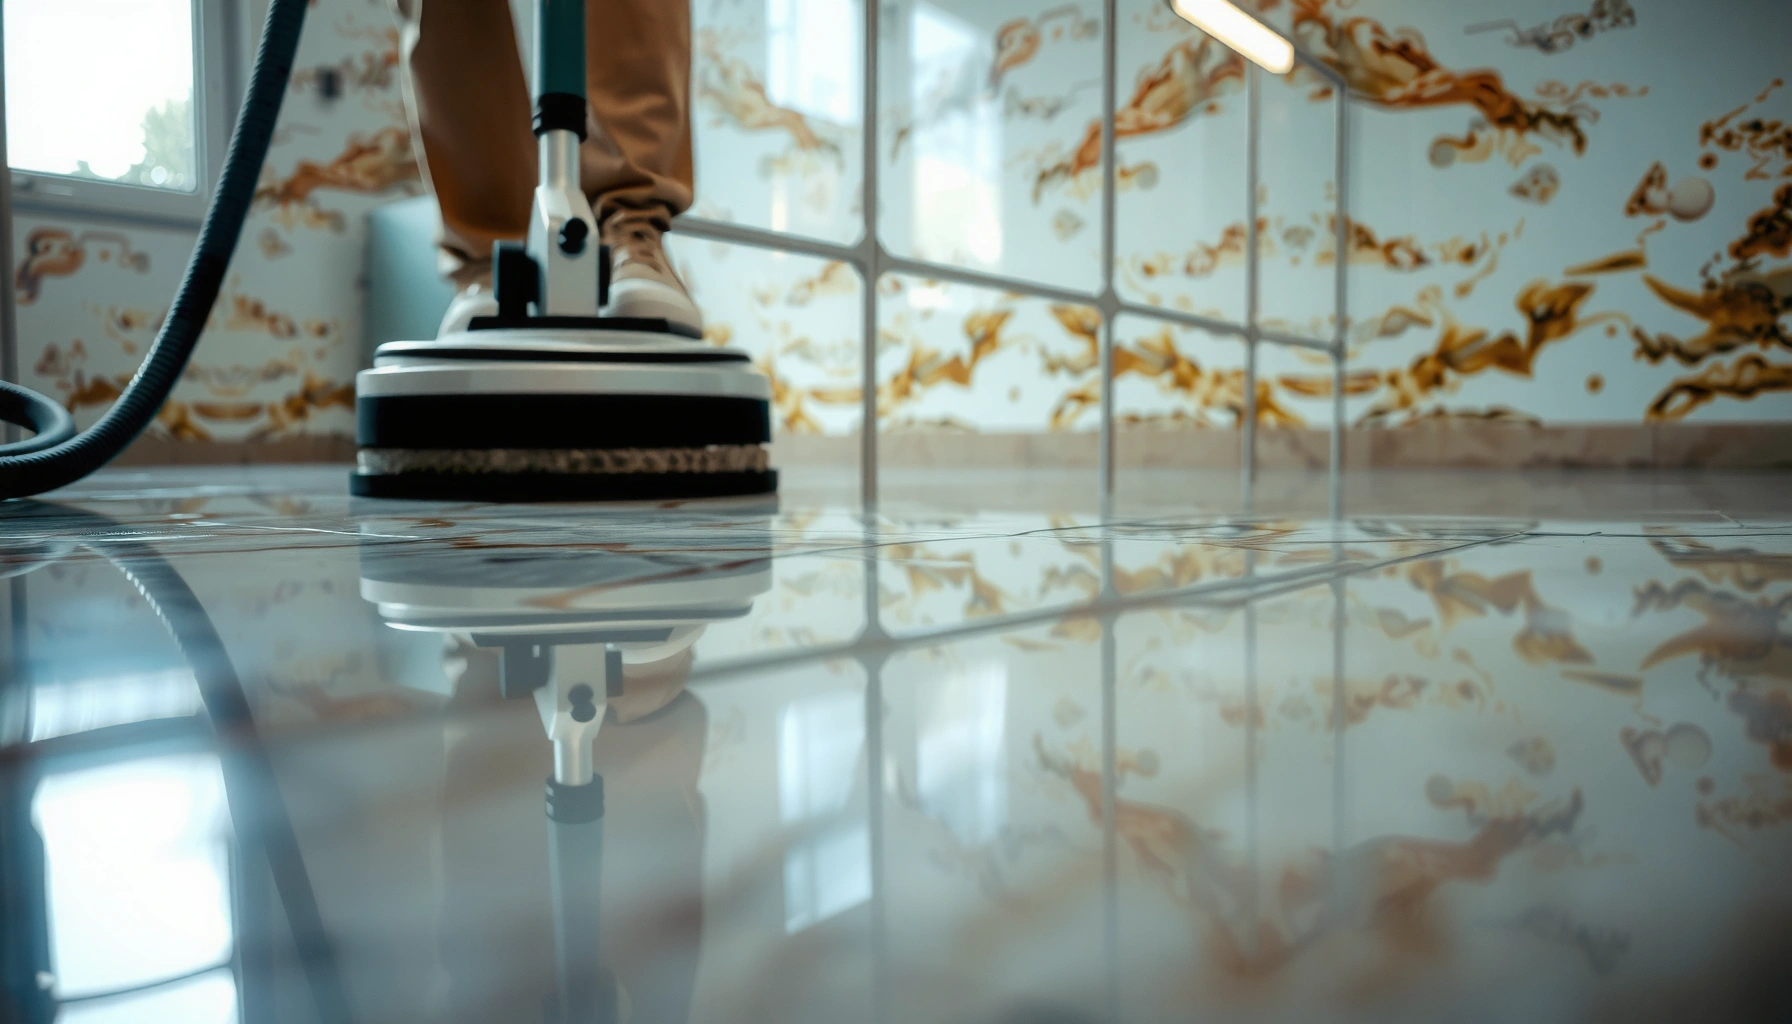

How to polish marble floors? This step-by-step guide tells you the fastest way to restore a high-gloss shine without streaks, pitting, or cloudy haze. You’ll follow a clear sequence from deep cleaning and stain prep to diamond polishing and final sealing. By the end, you’ll know exactly what to do—and what to avoid—for marble that looks professionally finished.




If your marble floors look dull, you can usually restore shine by cleaning thoroughly first, then polishing with progressively finer abrasives (or a dedicated marble polishing compound). Work slowly, keep the surface wet (or as your product directs), and finish with sealing only if your marble type/finish calls for it—because some “haze” issues are actually etching, not just grime. Below, we’ll walk through the process from prep to final buffing, plus what can go wrong in real kitchens, bathrooms, and lobbies.
This guide is for homeowners, landlords, and facility managers polishing marble in indoor spaces—especially when you see scratches, etched dull spots, or a gloss level that has dropped over time. It’s also written for those maintaining floors that may already have been cleaned with waxes, sealers, or “stone-specific” products that weren’t fully compatible. If your marble is cracked, heavily chipped, or you’re unsure whether the stone is honed vs. polished (or whether it’s been sealed), it’s safer to pause and get guidance first. Marble is a natural stone with a finish that can be permanently altered by the wrong chemicals or overly aggressive abrasion.
This is for homeowners, landlords, and facility managers polishing marble in kitchens, bathrooms, lobbies, or other indoor spaces—especially when you see scratches, etched dull spots, or a finish that’s lost its gloss.
Gather the right supplies (and confirm your marble type)
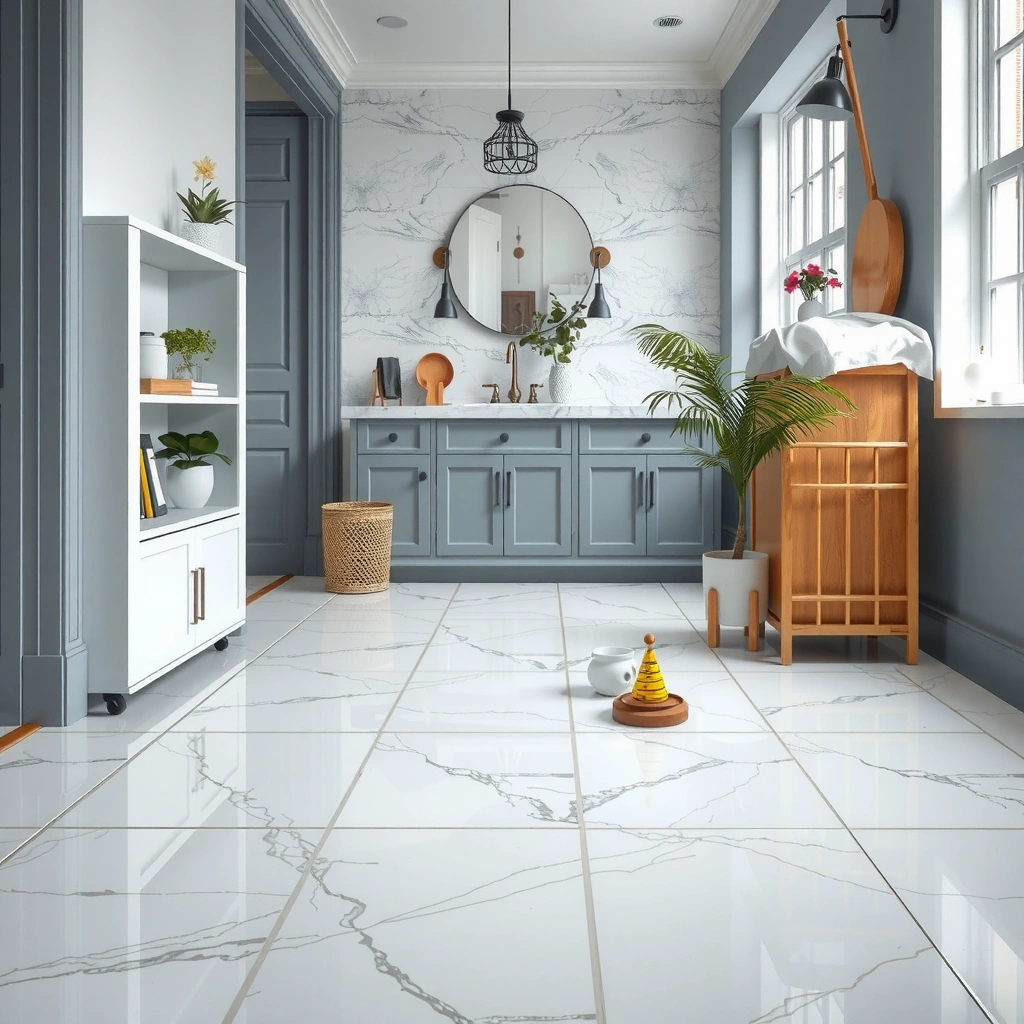
The fastest route to a clean, even shine starts with using marble-specific products and confirming whether you’re working with honed or polished marble. Marble polishing is not the same as “shining” tile—marble is softer than many surfaces, so the wrong abrasive or cleaner can create lasting haze or more visible scratches.
Here’s what we’re aiming for: a controlled sequence from marble-safe cleaner → polishing abrasives/compound (coarser to finer) → fine finishing/buffing → optional sealer. That sequence matters because polishing works by refining micro-scratches and smoothing the surface, not by “washing” them away.
Marble-Care Reality Checks: What Determines Final Gloss (Typical Specs)
| # | What you’re controlling | Typical range | How it affects gloss | Risk if skipped |
|---|---|---|---|---|
| 1 | Marble type (calcite vs. dolomite) | Calcite-based (common) | ★★★★★ | High |
| 2 | Surface finish (honed vs. polished) | Honed: matte; Polished: glossy | ★★★★★ | High |
| 3 | Cleaner residue removal | Rinse until runoff runs clear | ★★★★☆ | Medium |
| 4 | Abrasive progression (coarse → fine) | Multiple-step refinement | ★★★★★ | High |
| 5 | Marble hardness (scratch resistance) | Calcite ≈ 3 on Mohs scale | ★★★☆☆ | High |
| 6 | Acid exposure risk (etching) | Acids dissolve CaCO₃ | ★★★★★ | Very High |
| 7 | Sealer compatibility & prep | Varies by finish/stone | ★★★☆☆ | Medium |
A quick “damage read” before you buy anything
Marble floors dull for a few different reasons, and the supply list changes depending on the cause:
– Dirt/waxy residue: clean + de-wax/de-contaminate before polishing.
– Fine scratches / dulled surface: staged polishing compounds (or diamond pads rated for stone).
– Etching (dull spots that feel different): polishing may help, but you may need a more controlled abrasive refinement and—depending on severity—professional assessment.
Key chemistry matters here. Marble is commonly calcium carbonate (CaCO₃), so acidic cleaners can etch (dull) the surface by reacting with carbonate. According to the U.S. Geological Survey (USGS), calcite (a key marble mineral) has a Mohs hardness of about 3 (USGS, calcite mineral entry). That means grit you track in can scratch and leave a permanently “worn” look if you don’t manage traffic and maintenance.
Marble polishing should be done with stone-specific products because marble is vulnerable to acid etching and abrasive damage (calcite is ~Mohs 3).
A staged abrasive or polishing-compound sequence refines micro-scratches; skipping steps often leaves visible haze or uneven gloss.
Finish type (honed vs. polished) changes what “correct results” look like, so you should confirm the existing finish before you start.
Deep clean and remove residue before polishing
The biggest mistake that keeps marble from regaining shine is polishing over residue. Before any abrasive step, you want a truly clean surface—free of dirt, waxy buildup, and cleaner residue that can interfere with polishing compounds and pad performance.
In practice, that means stripping what’s on the floor, not just mopping it once. Many dull floors are coated with maintenance products that leave a film, and when you polish, that film can become “cloudy” rather than smooth.
A few practical facts help frame the chemistry and technique:
– Avoid acidic cleaners (including vinegar-type products and descalers). Marble (CaCO₃) reacts with acids and can etch further.
– Rinse thoroughly; residue can cause uneven appearance even after you finish.
– Work by product directions: some polishing systems require a wet surface; others specify specific dwell time and rinsing rules.
From a materials standpoint, the sensitivity is predictable. Marble is calcium carbonate, and calcite dissolves in acidic solutions—so “neutralizing” with more acidic products is not the answer. A common household mistake is reaching for vinegar when a stone label says “not for use on marble” (or when a product’s SDS shows strong acid content). If you’re managing a facility, put “no acids” into the cleaning SOP and train staff accordingly.
In my experience helping building teams set up polishing schedules, the most consistent improvement happens when we treat residue removal as its own phase—separate from polishing—so the abrasive stages actually contact bare stone rather than films.
Because marble is calcium carbonate, acidic cleaners can cause etching that appears as dull, rough-looking patches after the floor dries.
Polishing compounds perform best on clean stone; residual wax or cleaner film can create haze and uneven reflectivity.
Follow the rinse and dry guidance on your specific marble cleaner before starting the next polishing step.
Repair etching and surface scratches with the right approach
The quickest way to fail at marble polishing is to treat etching like dirt. If your floor has etching, the surface has been chemically altered, and you typically need controlled abrasive refinement—often starting with the least aggressive method that can improve the area.
Think of etching as a “surface finish change,” not a temporary stain. Etched areas can look dull, feel slightly different underfoot (a subtle roughness), and reflect light differently than the surrounding finish.
What to do first: validate what you’re seeing
– If the “dull spots” look localized where something acidic might have contacted (drop zones near kitchen counters, bathroom fixtures, or tracked cleaning solution), prioritize etching correction early.
– If the floor is uniformly dull, start with residue removal and a staged polishing progression.
Work least-aggressive to most-aggressive
– Use the least aggressive method that can correct the problem.
– Keep passes even—uneven pressure or extended focus on one area can lead to “patchy gloss” or a halo effect.
Also remember: polishing is refinement. If you go too fast (coarse directly to high gloss) you can trap micro-scratches that later show up as haze under overhead lighting.
Clear comparison: what to try first
Below is a practical decision map teams can use when they’re unsure which “dullness” they’re dealing with.
| Observed issue on marble floor | Most likely cause | Best first action | Likely outcome if you polish normally |
|---|---|---|---|
| Dullness that improves after cleaning | Dirt / residue / wax film | Deep clean + rinse thoroughly | Shine returns with maintenance polishing |
| Localized dull “clouds” around spills | Acid etching | Controlled abrasive refinement (per product/pad system) | Partial-to-full improvement; severe etching may not fully disappear |
| Fine surface scratches (swirl marks) | Wear + abrasion | Progressive fine polishing compounds | Improved uniformity; deep scratches may remain visible |
| Rough feel with darkened spots | Etching or etch + grime | Assess and consider professional evaluation | Cleaning alone won’t restore original smoothness |
| Uneven sheen patches after attempts | Overworking or inconsistent technique | Rework small sections consistently | More uniform gloss after correction |
Etching changes the marble surface by reacting with carbonate minerals, so polishing may require abrasion refinement rather than just cleaning.
Even pressure and consistent overlapping passes reduce the likelihood of patchy gloss when polishing marble floors.
A staged abrasive progression refines scratch depth; skipping steps increases the chance of visible haze.
Polish in stages for consistent shine
The goal is controlled refinement: polish using progressively finer abrasives/compounds so each step removes or reduces the micro-scratches left by the previous one. If you jump stages, you’ll often end up with a glossy “look” that’s actually haze or uneven reflection under lighting.
Work in small sections so you can keep:
– pressure consistent,
– dwell time aligned with the product instructions,
– edge control so you don’t over-build sheen in one area.
Technique that matters more than people expect
– Steady pressure: too much pressure can dig in; too little can polish inconsistently.
– Overlapping passes: this reduces streaks and patchy reflectivity.
– Wet/dry compliance: use each product as directed. Some polishing systems require water to control heat and reduce slurry buildup; others specify minimal moisture.
Keep an eye on “sheen checkpoints”
As you progress from coarser to finer polishing stages, the floor should shift from dull/matte to a more uniform reflectivity. If you notice:
– haze that doesn’t clear,
– streaks that persist,
– localized dull patches,
then stop and reassess—often it points to residue, skipped abrasive refinement, or uneven technique in a previous stage.
One practical operational approach for facility managers: assign the team a “section map” (for example, starting from the farthest corner) and finish one mapped area end-to-end before moving on. That reduces the temptation to keep going in one spot too long because the rest of the room “still looks dull.”
Progressively finer abrasives refine scratch depth step-by-step; this is the mechanism behind restoring marble gloss after wear.
Working in small sections helps keep dwell time consistent, which reduces streaking and uneven reflectivity.
Follow the wet/dry instructions for your specific polishing compound or pad system to control slurry and heat.
Seal (if appropriate) and maintain the finish
The final shine is only part of the story—sealing (when appropriate) helps protect marble from future staining and makes maintenance easier. However, sealing is not automatic; it depends on your marble type, existing treatment, and the finish you want to maintain.
Sealing: when it helps and when it backfires
– Helps: areas with higher spill risk (bathrooms, entrances, kitchens) where staining prevention is important.
– Can hurt: when the wrong sealer is used, the floor isn’t properly prepped, or the surface still has residue or trapped polishing slurry.
Because sealer systems vary widely (penetrating vs. topical, breathable vs. film-forming), the safest rule is: use a sealer recommended for marble and follow prep/cure requirements exactly.
[ADD: specific sealer/product guidance source you follow, or “consult the sealer label for marble compatibility and prep requirements.”]
Maintenance to preserve polish
To keep the finish looking good after you polish:
– Use pH-neutral marble-safe cleaners.
– Use microfiber and soft pads; avoid gritty tools or abrasive scrubbers.
– Reduce tracked grit with doormats and felt protectors under chairs and carts.
This maintenance point is not “nice to have.” Marble scratches easily because calcite is relatively soft (Mohs hardness ~3). (USGS, calcite mineral properties) In real buildings, grit management often determines whether your polished floors still look good six months later.
Sealing decisions depend on marble finish and the sealer’s compatibility; applying the wrong sealer can lead to hazing or blotchiness.
Using pH-neutral, marble-safe cleaners and avoiding gritty tools helps preserve the refined surface you created with polishing.
Protecting marble from tracked grit with mats and felt glides slows re-dulling after polishing.
What can go wrong (and how to avoid it)
Even when you follow steps, marble polishing can go sideways if the underlying issue is misunderstood or if technique becomes inconsistent. The good news: most failures are predictable, and you can prevent them with a few guardrails.
Common failure modes
– Etching mistaken for dirt: If the dullness is chemical etching, cleaning alone won’t restore the original surface. You may need controlled abrasive refinement; severe etching can be irreversible.
– Skipping polish stages: Jumping from coarse to fine too quickly leaves haze or micro-scratches.
– Uneven technique: Overworking one spot can create patchy gloss, “halo” reflections, or streaks.
– Using the wrong chemistry: Acidic cleaners and some descalers can worsen damage quickly—pause and switch to marble-safe products.
– Sealer mismatch: The wrong sealer or improper prep can lead to hazing, uneven darkening, or blotchiness.
– [ADD: specific sealer/product guidance source you follow, or “consult the sealer label for marble compatibility and prep requirements.”]
A quick triage: stop or continue?
If you see any of these signs, stop polishing and reassess before you go farther:
– The “dull spot” is getting rougher (etching progression).
– Haze appears and doesn’t diminish after a rinse and finer stage.
– The sheen is increasingly uneven rather than harmonizing.
In those situations, you can preserve the floor by backing out to the least aggressive approach, confirming product compatibility, and (if needed) getting a stone-care specialist evaluation.
Acid exposure can etch marble by dissolving carbonate minerals; if dull areas worsen, stop and verify your cleaner and polishing abrasives.
Haze after polishing usually comes from skipped abrasive refinement, residue, or inconsistent pressure/time in one area.
Sealer failures are often compatibility or prep-related rather than “bad luck,” so follow the label’s prep and cure steps exactly.
Verdict / tip: polish works best when damage is surface-level
Polishing marble floors is a practical DIY task when the issue is mainly dullness, minor surface scratches, or loss of gloss—and when you’re willing to follow a staged abrasive/polish process carefully. If the damage includes deep chips, cracks, widespread severe etching, or if you’re unsure what’s already been applied to the stone (especially sealers/films), professional help or stone-care guidance is the safer call. The main DIY downside is the time investment and the risk of uneven sheen if technique or polishing stages aren’t consistent.
Quick checklist (scan & save)
– [ ] Confirm marble type and finish (honed vs. polished) and check if it’s been sealed
– [ ] Clean thoroughly with a marble-safe cleaner; remove all residue
– [ ] Avoid acids and harsh abrasives
– [ ] Polish in stages with progressively finer abrasives/compounds
– [ ] Keep passes even; work in small sections
– [ ] Finish with appropriate buffing
– [ ] Seal only if recommended for your marble/finish; follow prep and cure times exactly
FAQ
Can I polish marble floors without sanding or abrasives?
Often, only light maintenance polishing can be done without abrasives, but if the surface is scratched or etched, polishing usually requires a controlled abrasive/compound sequence as directed by the product.
What’s the biggest mistake people make when polishing marble?
Using the wrong cleaner (especially acidic products) or skipping polishing stages can lock in haze, worsening dullness rather than fixing it.
Should I polish my marble floor before or after sealing?
Usually, you polish first to refine the surface, then seal afterward if the sealer and marble finish call for it. Always follow the specific sealant’s label instructions about cleanliness and surface condition.
Why does my floor look patchy after polishing?
Patchiness commonly comes from uneven technique, inconsistent pressure/time in one area, or incomplete residue removal between stages. Working small sections and keeping the process consistent helps prevent it.
How do I maintain the shine after polishing?
Use pH-neutral marble-safe cleaners, avoid grit, use soft pads/microfiber, and protect high-traffic zones with mats and felt glides.
Sources
– U.S. Geological Survey (USGS): Calcite mineral properties, including Mohs hardness and typical physical characteristics.
– [ADD: manufacturer documentation for the specific marble cleaner/polishing compound you plan to use, especially prep, wet/dry guidance, and compatibility with marble.]
– [ADD: official guidance from a marble sealant manufacturer on when to seal, required surface conditions, and cure times.]
– [ADD: natural stone maintenance guidance from a recognized industry body or stone-care standard, e.g., “TCNA/ICRI guidance on cleaning and maintenance of stone floors” or similar named resources.]
A well-polished marble floor comes down to one discipline: treat polishing like a staged refinement process, not a quick “make it shiny” step. Start with residue-free prep, correct etching thoughtfully, polish in controlled stages, and seal only when your marble and finish actually benefit from it. When you do, the gloss you restore will look more uniform—and stay that way longer in real-world traffic.
Frequently Asked Questions
What’s the best way to polish marble floors without damaging the surface?
Start by thoroughly cleaning the marble to remove grit, dust, and residues that can cause scratches during polishing. Use a pH-neutral cleaner and avoid acidic products like vinegar or descalers, which can etch marble and dull the shine. When polishing, choose the correct marble polishing pads and progress gradually through finer grits to restore gloss safely.
How do I polish marble floors at home step by step?
Begin by clearing the floor and dry-sweeping, then wash with a pH-neutral marble cleaner and let it fully dry. Use a marble polishing system or wet polishing pads, starting with a honed or medium grit if the surface is dull, then move to finer pads until you achieve the desired shine. Finish by buffing with a high-grit pad and then apply an appropriate marble sealer to help protect against future stains and water spots.
Why does my marble floor look dull even after polishing?
Dullness often comes from etched areas, embedded dirt, or the use of harsh cleaners that damage the calcium carbonate surface. If the marble has micro-scratches or etching, a simple “buffing” may not be enough—you typically need mechanical polishing with progressively finer pads to level the surface. Also check for residue from cleaners or waxes that can create a hazy film and interfere with a true marble floor shine.
Which polishing method is better for marble floors: wet polishing or dry buffing?
Wet polishing is generally preferred for restoring luster because it helps control dust and allows the abrasives to cut evenly for a more consistent marble polish. Dry buffing can be useful for routine maintenance on already-polished marble, but it may be less effective for deeper dullness or etching. For best results, use wet polishing to address surface condition, then follow with careful dry buffing for final gloss if appropriate.
How often should I polish my marble floors to maintain their shine?
Frequency depends on foot traffic, traffic type (indoor/outdoor), and how well the floor is protected with regular cleaning and periodic sealing. Many households benefit from polishing every 3–12 months, while commercial marble floors may require more frequent marble floor polishing due to higher wear. Keep the shine longer by using non-acidic cleaners, placing mats at entrances, and re-sealing as recommended so polishing delivers lasting results.
📅 Last Updated: October 09, 2026 | Topic: How to polish marble floors? | Content verified for accuracy and freshness.
References
- Marble
https://en.wikipedia.org/wiki/Marble - https://www.getty.edu/conservation/publications_resources/pdf_publications/pdf/video_series/cleaning_masonry.pdf
- https://www.nps.gov/subjects/historicpreservation/upload/stone-cleaning.pdf
- https://www.nyc.gov/assets/dsny/downloads/pdf/dead-letter/cleaning-stone-surfaces.pdf
- Google Scholar Google Scholar
https://scholar.google.com/scholar?q=how+to+polish+marble+floor - Google Scholar Google Scholar
https://scholar.google.com/scholar?q=marble+floor+polishing+process+grinding+sealing - Google Scholar Google Scholar
https://scholar.google.com/scholar?q=marble+stone+surface+polishing+care+maintenance - https://pubmed.ncbi.nlm.nih.gov/?term=marble+polishing+stone+surface+cleaning
- Google Scholar Google Scholar
https://scholar.google.com/scholar?q=How+to+polish+marble+floors? - How to polish marble floors? – Search results
https://en.wikipedia.org/wiki/Special:Search?search=How+to+polish+marble+floors?