
Learn how to install ceramic tile floors in a basement without lifting tiles or trapping moisture—here’s the exact method that works when floors are prone to dampness. You’ll get a step-by-step installation plan covering prep, underlayment, mortar selection, layout, and grout so the finished floor stays flat and durable. Follow this process and you’ll know what to do from subfloor to final caulk, with no guesswork.




Basement ceramic tile floors can be installed successfully as long as you control moisture and use the right underlayment and thinset for the subfloor. Plan on prepping the concrete thoroughly, then set tiles with a proper mortar system and grout that matches the conditions below grade. This guide walks you through the process from prep to finishing so your floor stays flat, firm, and less likely to crack or lift.
Who this is for and when it applies: This guide is for homeowners and contractors planning a ceramic tile floor over a basement slab (most common) or over a wood subfloor in a basement conversion. If your space is actively damp, has ongoing leaks, or the slab moisture situation is unknown, you’ll need a deliberate moisture plan before you spread any thinset.
Assess moisture and basement conditions first
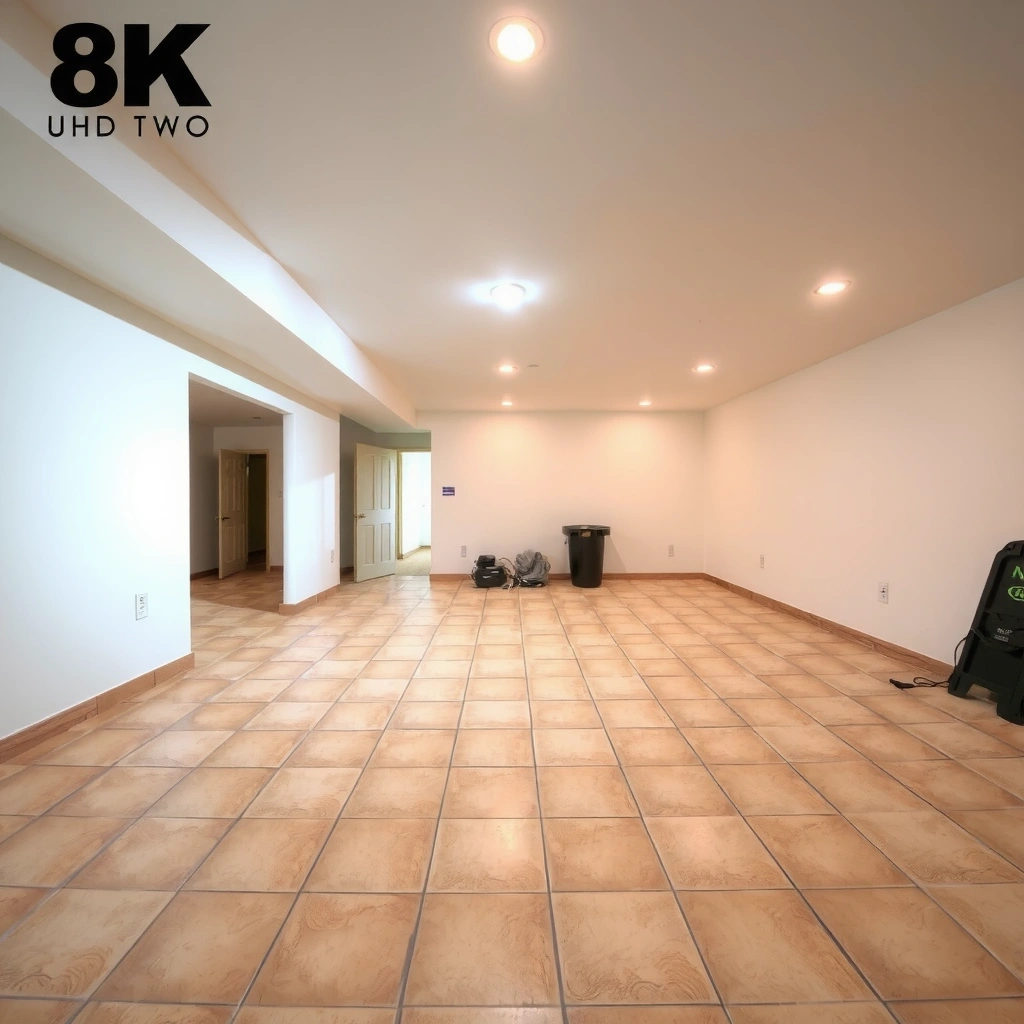
You should decide your moisture strategy before you choose tile, thinset, or an underlayment system. In basements, the substrate (concrete or wood) is the “hidden” material that determines whether the tile stays bonded and stable.
– Check for active leaks, damp spots, or recurring musty smells before you start tile.
– Decide whether you need moisture mitigation (e.g., a moisture barrier system) based on your slab conditions and the products’ requirements.
– Plan for basement traffic realities—tile is durable, but the substrate needs to be stable.
ANSI A108 installation methods require proper mortar coverage and substrate conditions; if moisture prevents stable bonding, even a correct trowel won’t save the assembly.
Below-grade slabs can release moisture that drives efflorescence, debonding, and grout discoloration—so moisture testing and mitigation are typically part of a code-appropriate approach.
For ceramic/porcelain floors on stable substrates, the success path is “control water → verify bond → achieve flatness,” not “install fast and hope.”
From the field, the most common basement failure pattern is also the most preventable: people tile over a slab that still behaves “wet” (or still cycles wet/dry seasonally) and then watch joints lighten, tiles hollow-sound, or grout discolor. If the basement currently smells musty, shows recurring dampness, or has any prior water intrusion history, treat that as a signal that your moisture plan must be more than “hope the slab dries.”
Three specific anchors to keep you grounded:
– According to ANSI A108/A108.5 (mortar setting coverage requirements), interior floor tile installations typically target at least 80% thinset coverage (and higher coverage in wet areas). [ADD: ANSI A108/A108.5 coverage requirement source]
– According to industry guidance used alongside the TCNA method approach, wood subfloor deflection limits commonly referenced for tile floors are around L/360 (and stiffer is usually better). [ADD: TCNA or ANSI referenced deflection guidance]
– Common vapor-retarder materials are rated in perms (water vapor transmission rate) under standards derived from ASTM E96; a “low-perm” barrier is generally required where product instructions specify vapor control. [ADD: ASTM E96 and product vapor-control requirement source]
Moisture testing that actually informs your material choices
Moisture testing isn’t just for curiosity—it tells you whether you need a membrane/barrier, and which one is compatible with your thinset and grout. Concrete moisture mitigation approaches often include:
– Vapor barriers / membranes (sheet or liquid applied)
– Moisture mitigation coatings (often epoxy or cementitious systems designed to accept tile installations)
– System-specific adhesives and primers that work as a complete assembly
If you’re following manufacturer instructions, expect the key requirement to be phrased like: “Use this mortar + this primer/barrier + this system under these moisture conditions.” That’s the decision framework.
Prepare the concrete subfloor (or wood subfloor) correctly
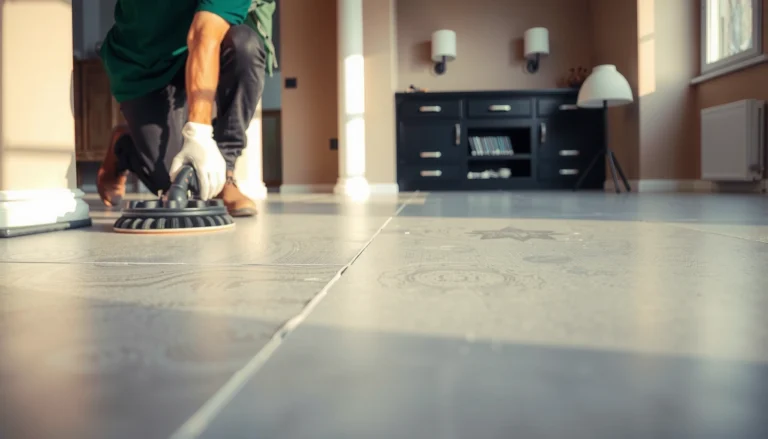
Flatness and bond-readiness determine more than almost anything once moisture is controlled. If the concrete is contaminated, sealed, or too uneven, thinset can’t develop the mechanical/chemical bond tile needs.
– Remove paint, sealers, drywall mud, and any materials that prevent a strong bond; flatten high spots and fill low spots.
– Ensure the surface is clean, sound, and within the flatness/tolerance limits required by your thinset and underlayment (follow the manufacturer spec).
– For wood subfloors (if applicable), use an approved tile-ready assembly method rather than tiling directly over flexible framing.
Tile assemblies depend on substrate preparation because thinset requires a clean, porous surface (or a manufacturer-approved primer) to bond reliably.
Flattening high and low areas to the tolerance specified by your mortar/uncoupling system is essential to minimizing lippage and hollow areas.
For wood, tile performance depends on movement control; approved “tile-ready” underlayments are designed to reduce deflection and stress at grout joints.
Concrete slab prep: bond comes first
Start with a thorough surface evaluation:
1. Remove coatings and contaminants: paint overspray, adhesives, curing compounds, drywall mud, and sealers often block bond.
2. Mechanically profile the surface when needed (grinding is commonly required rather than relying on chemical etching alone).
3. Fill and level: patch low spots with products compatible with your tile system and moisture strategy.
4. Re-check flatness: use a straightedge and confirm the surface meets the mortar and/or underlayment requirements (manufacturers specify tolerances in the installation instructions).
In my day-to-day work reviewing basement retrofits, the “surprising” problem is often not the slab being “out of level,” but being out of flat—small waves and ridges that lead to uneven thinset thickness and lippage.
Wood subfloors in basements: use a tile-ready assembly
If your basement has a wood subfloor (common in renovations, crawl-to-basement conversions, or older builds), don’t treat it like concrete. Wood moves with humidity, and that movement is the enemy of grout and bonding. Your best path is:
– Identify the framing condition and subfloor thickness
– Add/adjust supports and underlayment per an approved tile assembly
– Install an uncoupling membrane or cement backer board method where specified by system documentation
Avoid installing directly over flexible subflooring. If you can flex the deck by hand, tile is not your first “solution”—stiffness and stability are.
Choose the right tile, mortar, and grout system
The best system is the one explicitly allowed for below-grade/basement conditions by the manufacturers on your specific job. Matching tile type, mortar chemistry, and grout behavior to the basement environment is what prevents cracking, discoloration, and debonding.
– Match tile type and size to a floor-rated installation, including whether you need an uncoupling membrane for your scenario.
– Use the thinset mortar specified for concrete (and for your tile type) and follow mixing ratios and open time rules.
– Select grout that fits the basement environment; pay attention to whether the grout requires sealing and how often, based on the manufacturer’s guidance.
For tile on concrete, using a mortar designed for the substrate and following the specified mixing water ratio and open time are key bond controls.
Uncoupling membranes are often used in tile systems to reduce stress transfer caused by substrate movement or minor flatness issues.
Grout failure in basements is commonly linked to moisture-driven discoloration or joints that weren’t packed fully and cured correctly.
System matching: think “assembly,” not “materials”
At a minimum, you need a compatible combination of:
– Tile (rated for floor use; thickness/porosity suited to your basement)
– Mortar/adhesive (thinset mortar formulated for the substrate and tile absorption)
– Underlayment/membrane (if your system calls for it)
– Grout (cement grout vs epoxy; sealed vs unsealed guidance per product instructions)
– Edge and transition details (movement accommodation at doorways and wall edges)
Below-grade bathrooms, laundry rooms, and “finished basements” may also require enhanced moisture control. Cement grout is often workable, but you must follow its sealing and cure procedures and avoid leaving joints underpacked.
Quick pros/cons: mortar and membrane choices
| Option | Pros | Cons / Watch-outs |
|---|---|---|
| Unmodified/modified thinset (system-rated) | Typically easy to work with; strong bond when substrate prep and open time are followed. | Incorrect substrate compatibility or rushing open time can lead to weak bond. |
| Uncoupling membrane (thinset-set) | Helps manage stress transfer and can reduce cracking risks from minor movement. | Adds cost and requires strict thinset coverage/fastening or bonding details per manufacturer. |
| Moisture mitigation coating/barrier (system-rated) | Addresses active moisture concerns and provides a controlled interface for tile bonding. | Needs proper surface prep, moisture testing, and system curing windows; incompatible mortars can fail bond. |
Set tile: layout, thinset, and spacing
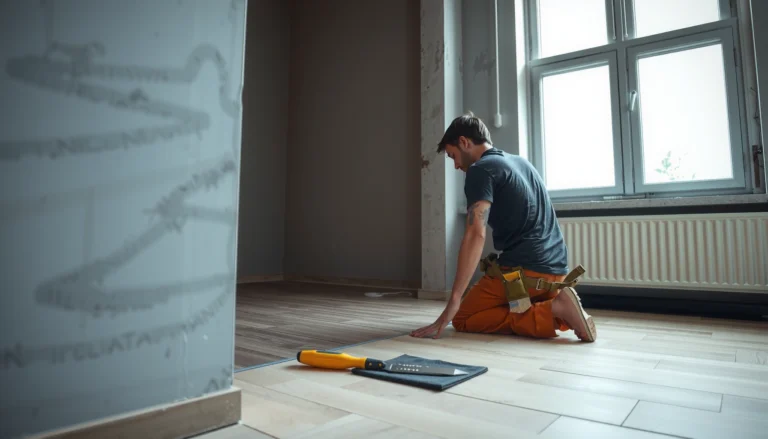
You should set tile using a planned layout and strict mortar coverage so every tile supports fully. Basement floors benefit from consistent spacing, frequent checks for level, and avoiding thinset starvation at tile edges.
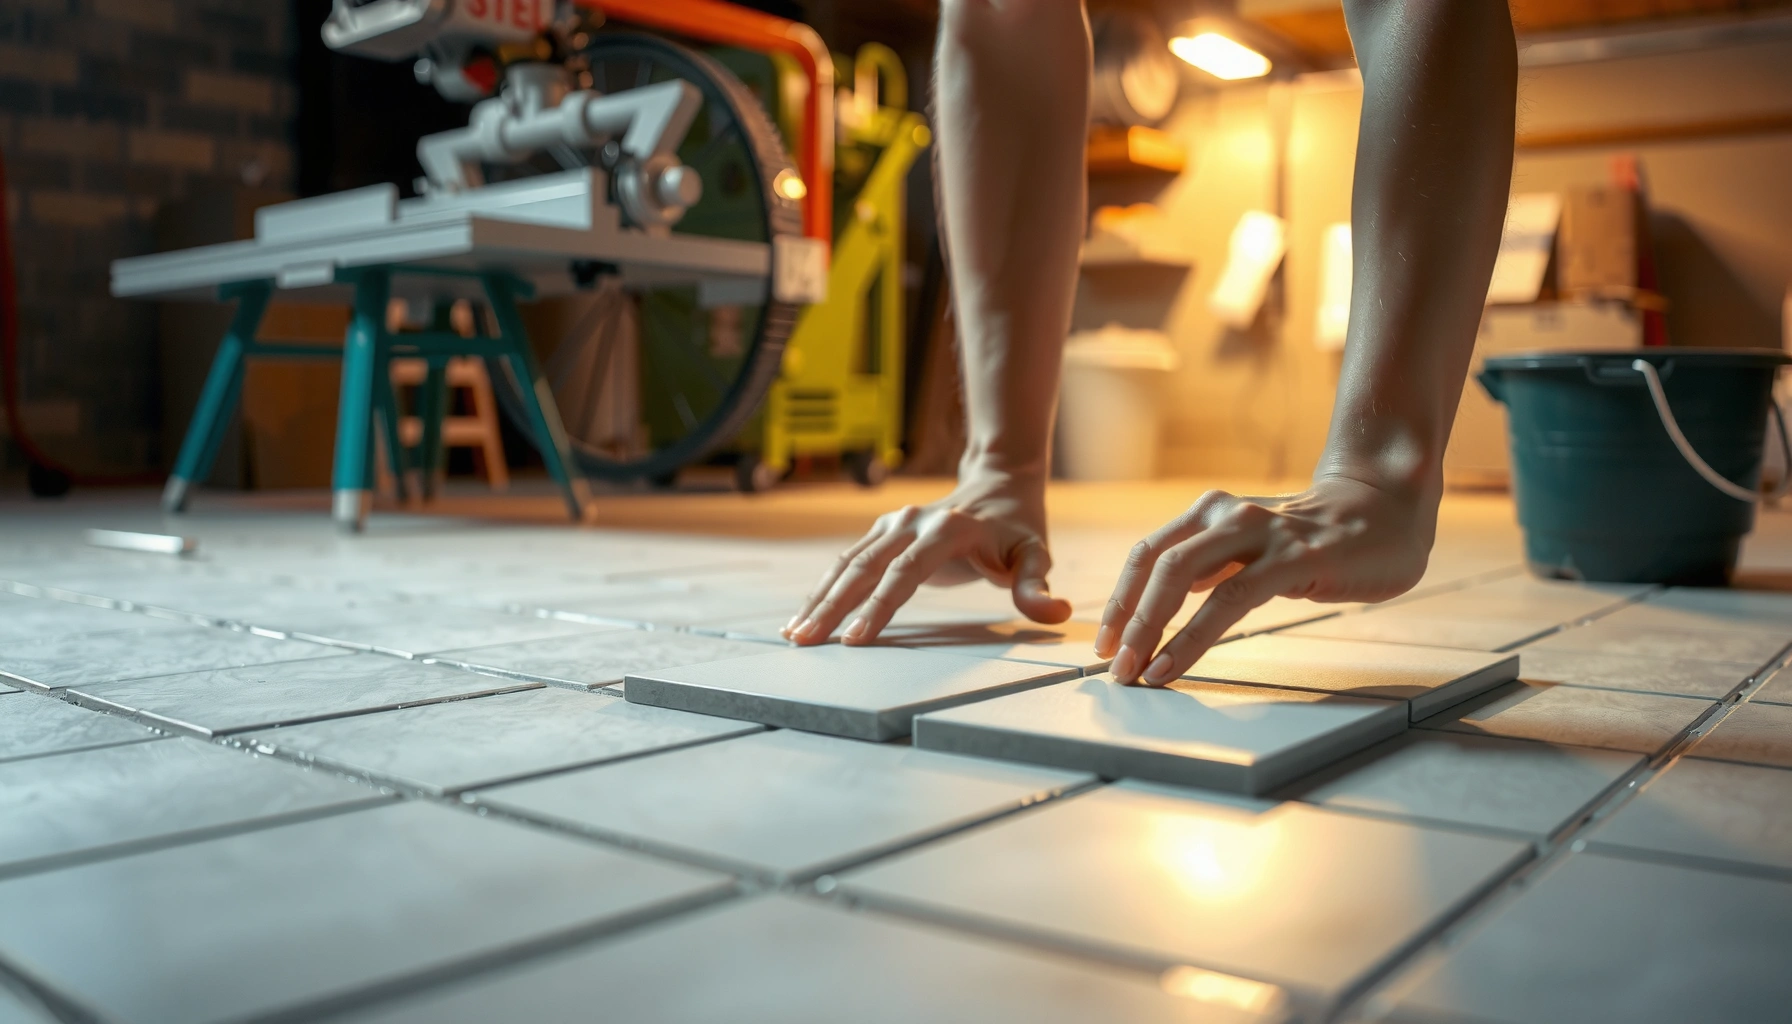
– Dry-lay to plan your layout and minimize awkward cuts near walls; adjust starting lines so the pattern looks intentional.
– Spread thinset with the correct trowel size, then set tiles using proper coverage (as defined by the mortar manufacturer).
– Maintain consistent spacing with spacers, check level frequently, and keep thinset out of grout joints.
A controlled layout reduces “micro-cuts” at walls and corners, which helps maintain uniform grout joints and a flatter visual field.
Trowel selection affects mortar ridge height; using the specified trowel size and achieving full coverage reduces hollow spots and lippage.
Keeping thinset out of grout joints is essential so grout can bond properly and joints remain strong and clean.
Layout strategy that looks professional (and performs better)
A strong layout is both visual and structural:
– Dry-fit a few rows from your main entry line to confirm tile sizes and grout joint width.
– Center or offset intentionally: aim for balanced cuts at walls where possible.
– Plan expansions/movement accommodations at floor edges where required by the system and local practice.
– Use a level reference line and confirm it with repeated checks as you progress.
Thinset application: coverage is the goal
Your mortar manufacturer will specify:
– Trowel size
– Mixing ratio
– Open time (how long the mortar can stay workable)
– Coverage percentage expectations
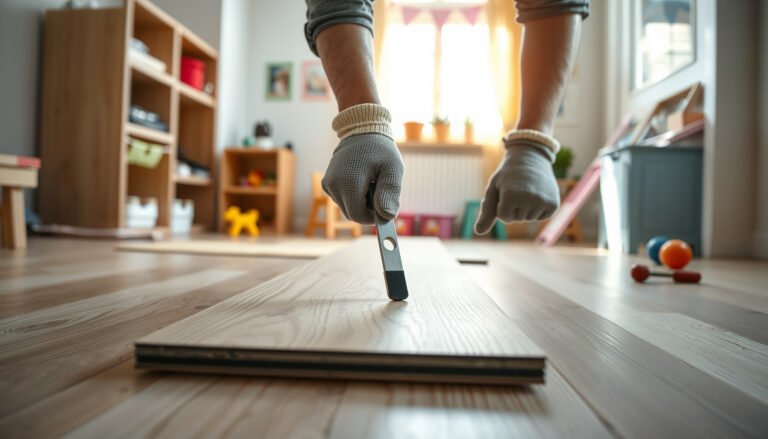
Work in manageable sections so you don’t let thinset skin over. After setting a tile, confirm full contact by periodically lifting a tile (especially early) to verify coverage. If you see voids, adjust your trowel angle, pressure, or technique.
Spacing, level, and lippage control
– Use quality spacers and replace them if they shift.
– Check level often (especially along long runs).
– If your slab has minor flatness issues (even after prep), consider flattening tools or leveling systems where permitted by your tile system.
Grout and finish details (edges, transitions, and cleanup)
Grouting completes the tile assembly, so timing and joint packing matter as much as thinset. Finish edges and transitions in a way that allows for movement and handles below-grade moisture conditions.
– Allow tiles to cure as directed before grouting; remove spacers and clean joints thoroughly so grout bonds properly.
– Mix and apply grout carefully, keeping joints fully packed without over-smoothing the surface.
– Finish transitions (doorways, stairs, and wall edges) with materials appropriate to movement and moisture—don’t rigidly “pin” areas that need a bit of flexibility.
Grout requires full joint packing to resist water intrusion and joint breakdown; incomplete packing weakens the joint.
Rushing grout before thinset reaches its cure window can reduce bond strength and increase the likelihood of cracked grout joints.
Transitions at doorways and wall edges should be detailed to accommodate movement rather than creating rigid, stress-prone connections.
Cure timing: follow the mortar’s cure window
Thinset cure time depends on the mortar type and jobsite conditions (temperature, humidity, airflow). Use the exact window in your thinset’s technical data sheet. If you’re missing that document, don’t guess—request it from the manufacturer.
Cleaning joints before and after grouting
– Remove spacers and vacuum dust from joints.
– During grouting, pack joints fully with a grout float.
– Clean excess grout without pulling it out of joints.
– Maintain consistent sponge technique to avoid uneven grout texture.
Transitions and edges in basements
Basements often have temperature swings and humidity changes. Keep these realities in mind:
– Use appropriate edge profiles and transition strips where movement is expected.
– Don’t “lock in” tile directly to wall finishes without considering expansion/movement strategies in your system.
– Where you have a perimeter wall base, ensure the finish method won’t trap moisture against the tile edge.
What can go wrong in basements (and how to avoid it)
Basement tile failures usually come from moisture problems, inadequate bonding, or flatness/lippage issues. When you identify the failure mode early, you can often prevent it by correcting the substrate and matching the complete system.
– Moisture-related failures: efflorescence, hollow spots, debonding, and cracking can happen when moisture mitigation isn’t addressed up front.
– Weak bonding: skipping surface prep or using the wrong thinset/membrane system for the substrate can cause tile to loosen over time.
– Lippage and unevenness: rushing the layout, inconsistent thinset thickness, or failing to correct flatness can lead to tiles that don’t sit flush.
– Grout issues: underpacked joints, missed cleanup, or wrong cure timing can lead to weak grout lines or discoloration.
Efflorescence is often a visible symptom of moisture migration through concrete, which can also drive bond loss if the tile system isn’t designed for it.
Debonding frequently traces back to substrate contamination or incorrect thinset choice rather than the tile itself.
Lippage is commonly caused by inconsistent thinset thickness and insufficient attention to flatness before setting the tile.
Common basement failure signatures
– Hollow-sounding tiles: usually indicates voids under tiles or inadequate thinset transfer/coverage.
– Cracked grout lines: often linked to movement (wood without stiffening) or thinset/flatness problems.
– Grout discoloration or patchiness: can come from moisture cycling, improper cleaning, or inconsistent cure.
A practical “avoidance” workflow
If you want the highest chance of success:
1. Fix leaks and eliminate obvious moisture sources first.
2. Test moisture and pick a manufacturer-approved mitigation/vapor control method.
3. Prep flatness and cleanliness like bond depends on it—because it does.
4. Use the full system: thinset + membrane/barrier (if required) + grout that match the conditions below grade.
One caution: “it passed once” is not the same as “it will last”
If your basement conditions change (new plumbing leaks, seasonal humidity spikes, HVAC failures), tile assemblies respond to those shifts. Maintenance—especially moisture control—becomes part of the floor’s long-term performance.
Verdict: is it worth doing, and who should skip DIY?
Tile in a basement is a very doable DIY project if you’re comfortable with careful substrate prep, you follow manufacturer installation instructions, and you address moisture before setting anything. It’s not the best choice to DIY if you have ongoing water intrusion, unknown slab moisture conditions, significant slab heaving/settlement, or a subfloor that can’t be made stable—those cases often need an experienced installer or a moisture mitigation specialist. If you proceed, treat preparation as the main job, because tile performance depends on what’s under it.
Basement tile success is strongly tied to substrate stability and moisture management; install instructions should be treated as part of the warranty pathway.
If you can’t verify moisture conditions or flatness to the system requirements, the risk of debonding and cracked grout rises significantly.
If you’re on the fence, a good decision rule is this: if you can’t confidently answer “What moisture system are we using, and what exact mortar/grout are allowed with it?”, then pause and get clarification from the product manufacturer or a qualified installer.
Basement Tile Installation: Critical Control Points and Key Requirements
| # | Control Point | Why It Matters | Key Requirement (System/Standard) | Risk if Skipped |
|---|---|---|---|---|
| 1 | Moisture testing | Prevents debonding and efflorescence | Follow chosen product’s moisture limits & test method | High ★★★★☆ |
| 2 | Substrate surface profile | Enables mortar bonding | Remove sealers/contaminants; prep per mortar system | High ★★★★☆ |
| 3 | Mortar coverage | Reduces hollow spots and cracks | Interior floors often target ≥80% coverage (ANSI A108.5) | High ★★★★☆ |
| 4 | Flatness tolerance | Prevents lippage/failed bonds | Meet thinset/membrane flatness specs in instructions | Medium ★★★☆☆ |
| 5 | Wood deflection control | Limits grout and tile cracking | Follow L/360-type deflection targets (TCNA/ANSI guidance) | High ★★★★☆ |
| 6 | Thinset open time | Prevents weak bond | Work within mortar open time; don’t reset skinned thinset | Medium ★★★☆☆ |
| 7 | Grout packing & cure | Improves joint strength and color stability | Fully pack joints; follow grout cure/seal schedule | Lower ★★☆☆☆ |
Quick checklist before you start
– [ ] Confirm no active leaks and assess dampness/musty odors
– [ ] Remove coatings/sealers and flatten the slab; fill low spots
– [ ] Verify flatness and follow your thinset/underlayment flatness requirements
– [ ] Pick a floor-rated tile + thinset + grout that match the substrate
– [ ] Plan layout with dry-fit; set starting lines to avoid tiny edge pieces
– [ ] Use correct trowel, proper coverage, and spacing throughout
– [ ] Cure per instructions before grouting; clean joints thoroughly
– [ ] Finish edges/transitions with movement-aware details
FAQ
Do I need a moisture barrier for a basement ceramic tile floor?
Often, moisture mitigation is required in below-grade spaces, but the exact need depends on slab conditions and the tile system you choose. Follow the mortar/underlayment manufacturer’s installation guidance and any moisture requirements they specify—[ADD: source for moisture requirements from your chosen products].
Can I install ceramic tile directly over concrete?
You can usually tile over concrete if the slab is clean, sound, properly prepped, and meets the product’s requirements for bond strength and flatness. If there are coatings, contaminants, or moisture concerns, you’ll need the appropriate prep or system first.
How long should I wait before grouting after setting tile?
Grout timing depends on the thinset and jobsite conditions, so use the cure window listed by the mortar manufacturer. [ADD: exact wait time from your chosen thinset’s technical data sheet.]
What’s the best tile size for a basement floor?
Smaller tiles can be easier to keep consistently flat if your slab has minor imperfections, but the “best” size depends on your layout and your installers’ ability to achieve proper coverage and spacing. Choose based on your plan and the product specs for installation.
Sources
– [ADD: thinset mortar technical data sheet for concrete/substrate requirements—manufacturer installation instructions]
– [ADD: grout manufacturer installation and cure/sealing instructions—technical data sheet]
– [ADD: tile/underlayment or uncoupling membrane manufacturer instructions for basement/subgrade installations—technical documentation]
– [ADD: any moisture barrier system manufacturer guidance and required testing/conditions—official docs]
– [ADD: ANSI A108.5 mortar coverage and relevant installation requirements]
– [ADD: TCNA Handbook method guidance for tile over wood deflection/assembly requirements]
– [ADD: ASTM E96 or ASTM E1745 vapor/permeance testing background (as applicable to your barrier)]
– [ADD: Any manufacturer-required moisture test standards and pass/fail thresholds used for below-grade systems]
A basement ceramic tile floor can look great and last for years when you treat moisture control and substrate prep as the real “installation.” If you verify conditions, follow the complete mortar/membrane/grout system instructions, and finish edges with movement-aware details, you’ll significantly reduce cracking, debonding, and lippage—turning your below-grade project into a floor that performs, not just one that starts strong.
Frequently Asked Questions
What type of tile and grout are best for basement ceramic tile floors?
For basements, choose ceramic or porcelain tile with low water absorption, since basements can have higher humidity. Use a grout rated for wet areas and consider polymer-modified thinset mortar for better bonding and resistance to moisture. If you’re dealing with frequent dampness, ask a flooring pro about a moisture barrier system under the ceramic tile floor.
How do I prepare a basement slab before installing ceramic tile floors?
Start by checking the concrete for moisture, cracks, and flatness—use a straightedge and fill any low spots with a leveling compound. Remove paint, adhesive, and debris, then thoroughly clean and dry the slab. If there are cracks or uneven areas, repair them before you set ceramic tiles to prevent cracked grout lines and tile lippage.
How can I install ceramic tile over basement concrete with moisture concerns?
First, perform a moisture test (such as a calcium chloride or RH test) to confirm whether you need a moisture barrier. Install the recommended waterproofing or vapor barrier system according to the manufacturer, then use the proper thinset for the substrate. This step helps protect your basement ceramic tile floors from moisture-related issues like moldy smells, loose tiles, and grout deterioration.
Which underlayment or membrane should I use for basement ceramic tile installation?
In many basement applications, a membrane is chosen based on your moisture results and whether you need waterproofing, crack isolation, or both. Options often include uncoupling membranes or waterproofing systems designed specifically for ceramic tile floors over concrete. Follow the membrane manufacturer’s instructions for overlap, thinset coverage, and curing so the system performs as intended.
What is the step-by-step process for installing ceramic tile floors in a basement?
Measure and plan your layout to minimize small “cut” pieces along walls, then dry-lay rows to confirm your design before spreading thinset. Apply thinset with the correct trowel size, set tiles firmly, and use spacers to maintain consistent grout joints. After the tiles cure, grout the joints and seal grout if recommended, then allow full cure time before exposing the basement ceramic tile floors to heavy foot traffic or cleaning.
📅 Last Updated: October 09, 2026 | Topic: How to install in a basement ceramic tile floors? | Content verified for accuracy and freshness.
References
- Google Scholar Google Scholar
https://scholar.google.com/scholar?q=basement+ceramic+tile+floor+installation+moisture+vapor+barrier - Google Scholar Google Scholar
https://scholar.google.com/scholar?q=ceramic+tile+installation+guidelines+subfloor+preparation+thinset+grout - Google Scholar Google Scholar
https://scholar.google.com/scholar?q=cement+backer+board+vs+uncoupling+membrane+ceramic+tile+floor+installation - https://en.wikipedia.org/wiki/Ceramic_tile
- Tile
https://en.wikipedia.org/wiki/Tile_floor - Thinset
https://en.wikipedia.org/wiki/Thinset_mortar - Grout
https://en.wikipedia.org/wiki/Grout - https://www.epa.gov/mold/moisture-basements-and-attics
- Mold | Mold | CDC
https://www.cdc.gov/mold/ - https://www.britannica.com/technology/tile