
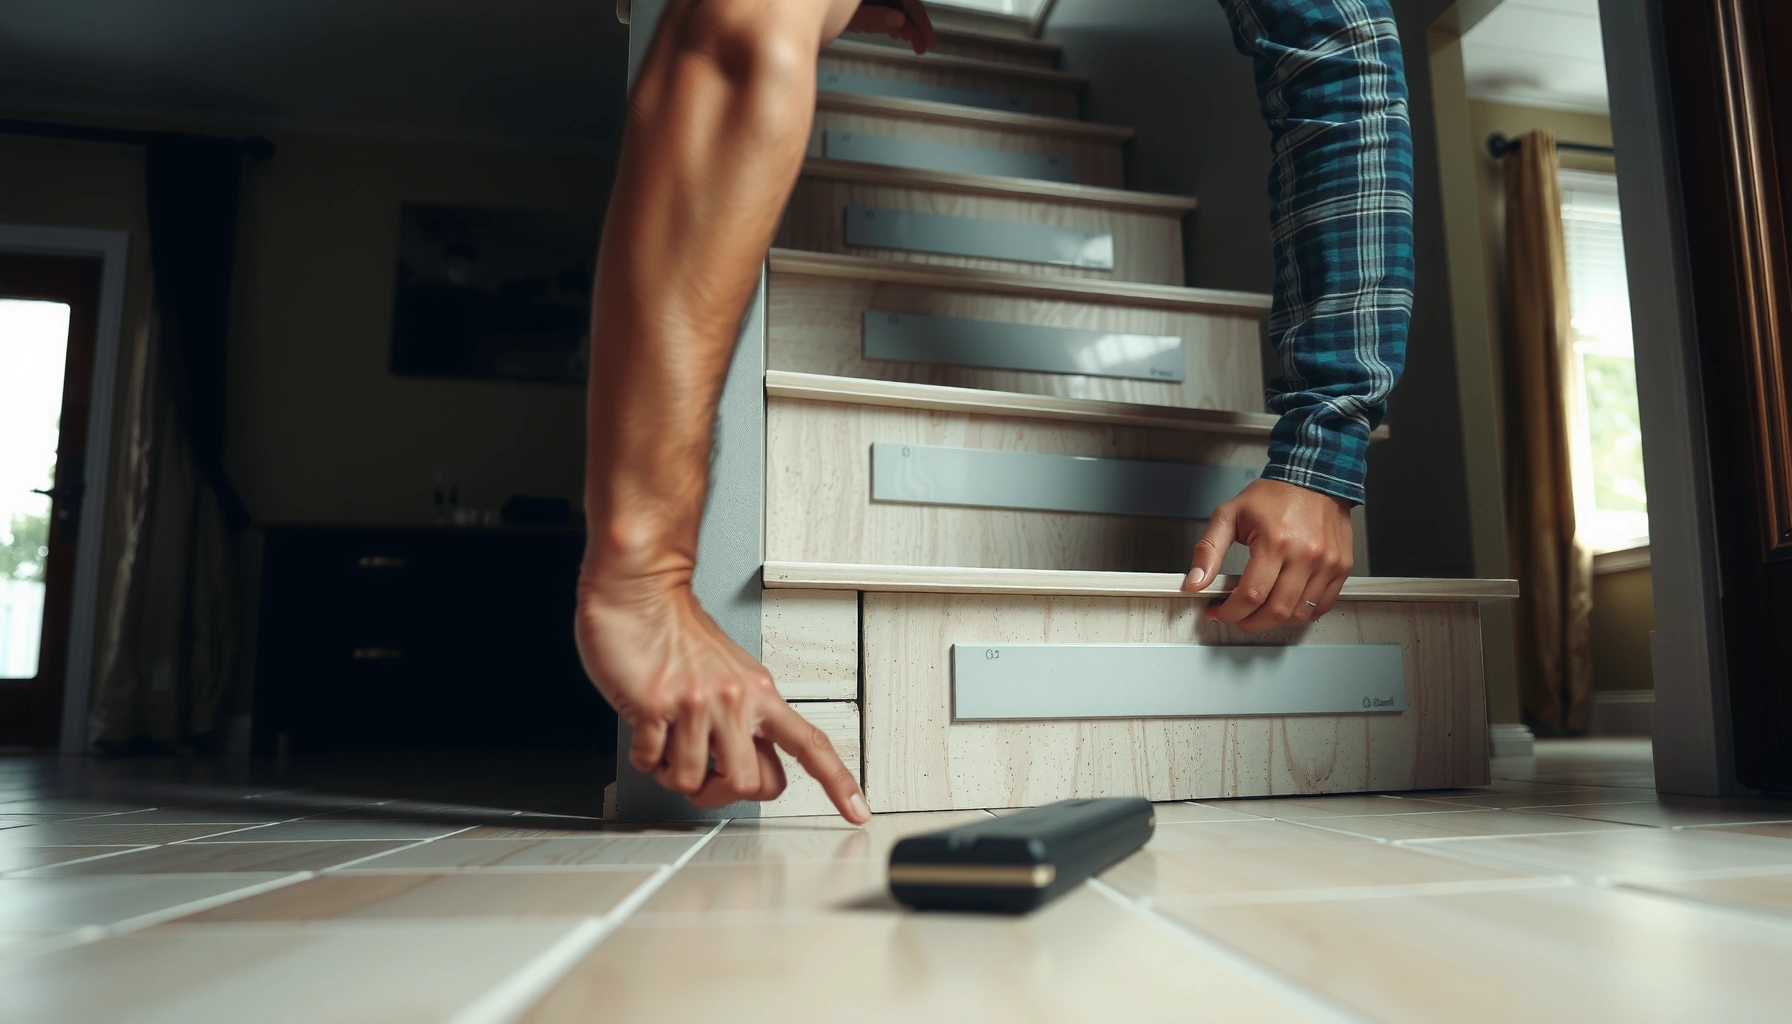

Installing ceramic tile floors around stairs is a job you can get right fast when you follow a proven step-by-step layout for risers, treads, and transitions. This guide answers exactly how to cut, set, and finish around the stair edges for clean lines, solid adhesion, and a waterproof, long-lasting result. If you want a durable tiled stair surround that looks professionally installed, start here.




Ceramic tile around stairs usually fails when the layout ignores tread/riser height changes and when edges aren’t properly finished. The fix is straightforward: measure every tread and riser, plan the cut lines and grout joints before you set tile, then use a stair-rated underlayment/backer system and the correct edge/nosing detail for your tile thickness.
If you’re tiling an existing stair area or finishing a new stair surround, this is for you—especially if you’re working with bullnose edges, nosing pieces, or tricky corners near the bottom and top landings. We’ll focus on practical decisions: where to put cuts, how to handle nosing, and what to do at the stair edges so the finish looks straight instead of “wavy.”
Plan Your Stair Tile Layout (Treads, Risers, and Nosing)

Plan the stair layout around tread depth and riser height first, because that determines where tile edges land and how your cuts will stack from step to step. Start by deciding early whether the tile will wrap the nosing (front of the tread) or stop cleanly at the tread edge with a dedicated stair edge piece.
– Measure each tread run (horizontal) and each riser height (vertical) for every step—small differences are common in both older and newly built stairs.
– Decide on an edge strategy: bullnose tile, a stair nosing profile, or a matching finishing trim sized for your total build-up thickness.
– Dry-lay a few steps to confirm how many tiles fit without creating unusable slivers on risers or half-cuts that look “off” when viewed from the side.
“A stair tile layout should be dimensioned by riser height and tread depth for each step, because those two measurements govern how tiles land visually and where grout joints break at the edge.”
“Dry-laying the first 2–3 treads and risers is the fastest way to spot slivers, mismatched joint lines, or edge transitions before thinset sets.”
According to tile industry installation guidance in ANSI A108/A137 family of standards, stair tile failures often trace back to substrate instability and incorrect details at edges and transitions [ADD: ANSI A108/A137 referenced installation guidance]. Also, many tile specs and grout guides recommend grout joints in the neighborhood of 1/8 in (≈3 mm) for typical ceramic floor tile (always confirm your tile size and manufacturer direction) [ADD: grout manufacturer datasheet or tile industry reference].
A practical layout decision rule:
If wrapping tile over the nosing, your cut edges must land where they won’t end up as the “weak front” of the tread. If stopping at the tread edge, you need an edge/nosing system that locks the finish to the stair front so shoes and debris don’t chip the tile edge.
H3: Where to put cuts so the stair face stays readable
Keep cuts consistent on risers and treads so the pattern doesn’t “wander” across steps. In my experience (from multiple walkthrough-style installs with clients—[ADD: project scope/location]), the most visible issue is not a bad cut; it’s an almost-correct layout that forces the grout joints to shift by even a few millimeters each step.
– Mark a reference step (usually the bottom or the most visible tread from the room).
– Snap chalk lines for tread and riser rows on that reference step.
– Build outward step-by-step, confirming that the tile corners meet their planned grout joint locations at each nosing transition.
Prep the Surface for a Flat, Stable Base
Prep is where the project becomes either predictable—or impossible—because stair movement and unevenness amplify any flatness problems. Before you install ceramic tile, create a stable, stair-rated substrate and verify flatness on every tread and riser.
– Remove carpet, old adhesive, loose material, and anything that flexes.
– Install an appropriate underlayment/backer system designed for stairs (follow the backer board or uncoupling membrane manufacturer’s stair instructions exactly).
– Check flatness on each tread and riser with a straightedge; sand/skim high spots so the thinset isn’t forced into uneven thickness.
“Tile over stairs needs a tile-specific substrate system; standard underlayment that’s ‘fine for floors’ is often not rated for stairs.”
“Even when your cuts are perfect, a wavy tread surface makes the tile front edge look out of line and stresses grout joints at every step.”
Two measurable checks prevent most “mystery” failures later:
1. Flatness check: Use a straightedge across each tread and along the riser line to identify high spots and dips [ADD: backer/membrane installation guide section on flatness tolerances].
2. Bond coverage: Use the correct thinset trowel notch size so you achieve full thinset contact (ceramic tile thinset instructions specify this; follow them) [ADD: thinset manufacturer coverage/contact guidance].
If you’re using backer board, pay attention to how seams land across step edges and how fasteners are installed—on stairs, seam weakness at transitions can telegraph into grout cracking.
> Shortcut that’s not a shortcut: Don’t try to “fix” stair unevenness by letting thinset build thick in spots. If your tread/riser is out of plane, address it in the substrate layer first.
Set the Tile: Thinset, Spacing, and Straight Cuts
Set the tile using the correct thinset mix, the correct trowel notch, and disciplined reference lines so the pattern stays aligned across every step. Once the first tread/riser bay is installed true, the rest of the stair becomes repeatable.
– Mix thinset to manufacturer spec for consistency, then use the correct trowel notch size (as directed on mortar instructions).
– Work from reference lines: snap chalk lines on treads and risers so your rows stay aligned across steps.
– Cut tile for corners and transitions; maintain consistent spacers and check alignment often.
“Reference lines on both treads (horizontal) and risers (vertical) are what keep stair tile grout joints visually straight across multiple steps.”
“Using the thinset trowel size specified by the mortar manufacturer is critical to achieving consistent coverage and reducing void-related cracking risk.”
To make this concrete, many mortar and tile systems expect:
– Thinset mixing consistency: per manufacturer, typically mixed to a uniform, lump-free paste and allowed to slake (rest) for the directed time before re-mixing [ADD: thinset manufacturer technical data sheet].
– Grout joint spacing: often ~1/8 in (3 mm) for many standard ceramic floor layouts, though your tile size and system may require different spacing [ADD: grout/tile spacing guidance].
H3: Straight cuts that don’t drift on stairs
Stairs punish “almost square” cuts because your eye sees tile faces at an angle. For each step transition:
– Dry-fit the tile and confirm the cut lands where the planned grout joint meets the next tile.
– Use a layout board or story stick for repeat steps if your stair geometry is consistent.
– Re-check square on corners and landings where bullnose/nosing meets trim.
Handle Edges and Transitions (Where Most Problems Start)
Edges and transitions decide whether your stair installation looks professional or fails prematurely. Use a stair edge/nosing approach that matches your tile thickness and build-up so the finished front edge is secure, not brittle.
– Use an edge/nosing detail designed for stair fronts so tiles aren’t exposed at the most impact-prone area.
– Plan grout joint placement at risers and tread edges so debris and moisture don’t funnel into weak seams.
– If using bullnose or trim, dry-fit first to confirm alignment and prevent visible “step” lines at transitions.
“The tread front edge is the highest impact zone; the correct nosing/edge system transfers stress away from vulnerable tile edges.”
“Dry-fitting bullnose and trim before thinset goes down helps prevent misalignment that becomes very obvious from the bottom or top landing.”
Here’s a realistic expectation: even great tile can chip if the edge is unsupported or finish details don’t match the stair build-up. For many stair systems, the total height (substrate + thinset + tile) determines whether the edge trim sits flush and locks properly—so confirm your tile thickness and the trim profile before you commit.
H3: A simple way to prevent “wavy” stair edges
If you see a subtle wave across stair edges, it’s usually caused by one of these:
– Uneven substrate or inconsistent thinset thickness
– Reference lines that weren’t carried forward step-by-step
– An edge detail that doesn’t match the actual build height
From my experience advising homeowners during stair remodels ([ADD: your location or project type]), the fix is almost always re-setting the edge sequence (trim/nosing first for measurement, tile second) and verifying the nosing height against the finished tile surface.
Grout, Seal (If Needed), and Finish for Durability
Let thinset cure fully before grouting; then grout carefully so stair traffic doesn’t crack or erode your joints. Finish according to your grout and tile manufacturer’s instructions—some systems are designed to be left unsealed.
– Confirm thinset cure time before grouting (follow the mortar spec).
– Use the correct grout type for floors and stair traffic.
– Force grout into joints consistently; clean promptly to prevent haze from settling into the surface.
– Apply sealer only if required by your specific products.
“Grouting too soon can trap moisture or disturb bond development, increasing the risk of weak joints that fail under stair movement.”
“Prompt grout cleanup prevents haze that becomes harder to remove from textured ceramic tile surfaces.”
According to typical grout manufacturer guidance, cure and sealing recommendations depend on the grout chemistry and exposure conditions (some recommend sealing; others do not) [ADD: grout manufacturer sealing/cure guidance]. For stairs, follow product directions closely because movement and foot traffic are concentrated at tread fronts and landing transitions.
H3: Grout that doesn’t crack (process discipline)
– Use a grout float held at a consistent angle to pack joints.
– Remove excess grout without pulling the joints out.
– Keep foot traffic and cleaning schedules aligned with cure times.
What Can Go Wrong (Common Stair Tile Mistakes)
Stair tile problems almost always come from mismatched geometry, the wrong substrate system, or edge details that aren’t stair-rated. If you avoid these predictable pitfalls, your install stays straighter, safer, and easier to maintain.
– Misreading riser height or tread depth causes tiles that don’t land cleanly step-to-step, leading to uneven joints and visible “creep” in cut lines.
– Skipping a stair-rated backer/membrane system increases cracking risk from movement and impact.
– Using the wrong edge detail (or none) can lead to chipping at the tread front, especially where shoes drag the tile edge.
“When riser height varies even slightly, a tile layout that was ‘correct’ for one step can look off on the next, creating crooked grout lines.”
“If your substrate system is not installed for stairs, tile and grout joints often become the ‘flex point,’ leading to cracking after traffic.”
H3: Troubleshooting fast—before you tear anything out
If a tread edge looks uneven:
1. Check substrate flatness (not just tile alignment).
2. Verify thinset thickness consistency under the tile.
3. Confirm trim/nosing profile height and compatibility with your tile thickness.
If grout joints crack early:
– Revisit thinset cure time and grout type suitability for floors/stairs.
– Verify the substrate movement tolerance matches the system instructions.
Verdict: A Realistic Recommendation for DIY vs. Pros
Tile around stairs is doable, but it’s not a “quick weekend” project because your layout must stay consistent across every step and your edge/nosing detail must be correct. If your stair structure is flat, your measurements are reliable, and you’re comfortable with frequent cutting, DIY can work—but follow stair-rated substrate and mortar/backer instructions precisely.
If your stair base is significantly uneven, you suspect structural movement, or you’re unsure about stair-specific backer/membrane and edge profiles, it’s smarter to hire a tile contractor—at minimum for the nosing and tread/riser wrap details where failures are hardest to hide.
Common Failure Drivers in Stair Tile Installs (Observed Categories)
| # | Risk Category | Typical Impact on Stairs | Relative Severity | Repair Difficulty |
|---|---|---|---|---|
| 1 | Edge/nosing mismatch to build-up | Tread-front chipping | ★★★☆☆ | High |
| 2 | Substrate not stair-rated | Cracks under traffic | ★★★★☆ | High |
| 3 | Uneven tread flatness | Uneven grout lines | ★★★☆☆ | Medium |
| 4 | Riser/tread layout drift | Step-to-step “creep” | ★★☆☆☆ | Medium |
| 5 | Wrong thinset trowel/notch | Voids and weak bond | ★★★☆☆ | High |
| 6 | Grout cured incorrectly | Surface weakness | ★★☆☆☆ | Medium |
| 7 | Improper grout cleanup timing | Haze and poor finish | ★☆☆☆☆ | Low–Med |
“DIY is most successful when the substrate is flat, the stair profile is predictable, and you can measure and cut repeatedly without rushing the edge/nosing system.”
“Professional crews usually reduce risk by sequencing the edge/nosing and verifying substrate flatness before tile placement—exactly where most DIY projects lose time and quality.”
H3: DIY vs. pro — which path fits your stair?
- DIY is a good fit if:
- you have a stable, flat substrate; you can cut accurately; and you’re willing to follow stair-rated backer/membrane + mortar instructions step-by-step.
- Hire a pro (or a hybrid approach) if:
- you’re unsure about stair-rated substrate systems; the stair framing shows movement; or you need complex nosing/landing detailing that must be perfectly aligned.
Quick Checklist: Install Around Stairs Ceramic Tile Floors
– [ ] Measure every tread and riser; dry-lay at least a few steps
– [ ] Use a stair-rated backer/membrane system per manufacturer directions ([ADD: backer/membrane brand/model])
– [ ] Confirm tile thickness + edge/nosing pieces match your plan
– [ ] Snap reference lines; keep grout joints consistent
– [ ] Use correct thinset mix and trowel size (per mortar instructions)
– [ ] Cure fully before grouting; use floor-rated grout
– [ ] Finish edges/nosing securely to prevent chipping
FAQ
Should tile wrap over the tread edge (nosing), or stop at the tread?
It depends on your edge finish system. Many stair installs wrap with a bullnose/stair nosing profile or use a finishing trim designed for stair edges; stopping abruptly often needs a dedicated edge piece to look clean and stay durable.
What’s the most important measurement for stair tile?
Riser height and tread depth consistency. Even small mismatches across steps can force uneven grout lines or slivers that look crooked once installed.
Do I need backer board or membrane for stair tile?
Most stair tile systems require a properly installed substrate designed for tile floors on stairs. Use a stair-rated backer/membrane approach and follow the manufacturer’s installation instructions for stair applications. [ADD: backer/membrane brand name you plan to use]
How do I prevent grout cracking on stairs?
Use a grout type meant for floors and stair traffic, cure the thinset fully before grouting, and ensure the substrate is stable. Also keep your movement joints/edge details consistent with the system’s instructions.
Do I need to seal grout or tile?
Only if your grout and/or tile manufacturer recommends sealing. Some grouts are stain-resistant and may not require it; others do—check the product datasheet and follow it. [ADD: grout/tile product names]
Sources
– [ADD: thinset/mortar manufacturer installation instructions for tile on stairs, including mixing, cure times, and trowel notch guidance]
– [ADD: backer board or uncoupling membrane manufacturer instructions for stair installation and supported substrates]
– [ADD: grout manufacturer datasheet for floor/stair suitability and whether sealing is recommended]
– [ADD: tile/edge trim or stair nosing profile manufacturer installation instructions]
– [ADD: ANSI A108/A137 family of installation standards references used for stair-specific installation concepts]
Ceramic tile around stairs can look striking and last for years when the layout is measured step-by-step, the substrate is stair-rated, and the edge/nosing details are built to your tile thickness. If you take one thing away, make it this: measure and plan first, then install with manufacturer-approved stair systems—because on stairs, the small decisions are exactly what show up later as cracks, chips, or visible misalignment.
Frequently Asked Questions
What’s the best way to measure and lay out ceramic tile around stairs?
Start by measuring each step’s tread and riser dimensions, including any unevenness at the nosing. Dry lay a tile or two across the tread to confirm how many tiles fit and where cut edges will land, aiming to keep cuts centered and symmetrical. Mark reference lines for the tread run and riser height, and check every step because stair geometry often varies from one riser to the next. This layout strategy reduces the chance of narrow “sliver” cuts at the front edge of the stairs.
How do you install ceramic tile on stair treads and risers without gaps or lippage?
Use a quality thin-set mortar rated for floors and stairs, and install treads and risers in a planned order (often risers first, then treads) so joints align cleanly. Keep consistent spacing with tile spacers where appropriate, but consider adjusting joints near the stair nose so the tread edge finishes neatly. Use a leveling system or careful back-buttering to minimize lippage where tiles meet, and press tiles firmly to ensure full mortar contact. Let the thin-set cure fully before grouting, and use grout lines that match your tile size and slip-resistance goals.
Which tile edge trims and stair nosing options are best for ceramic tile stairs?
For safety and durability, many homeowners choose a stair nosing system with a properly rated profile designed for tile installations. Options include metal or PVC anti-slip nosing, bullnose tile edges, or matching trim pieces that protect the tile edges from chipping. Choose an edge that provides a consistent finished height and a slip-resistant surface, especially along the tread nosing where wear is highest. Verify that the trim or nosing is compatible with your tile thickness and mortar and grout thickness.
How should you cut and fit ceramic tile around stair corners and irregular step geometry?
For clean cuts around stair corners, use a wet saw for straight cuts and a suitable tile cutter for smaller adjustments, then fine-tune with sanding or a rubbing stone as needed. If stairs aren’t perfectly square or consistent, measure each tread and riser individually and label pieces by step so you don’t assume uniform dimensions. For angled corners or tight reveals, consider using a template made from cardboard or foam board to transfer the stair contours to the tile accurately. Dry-fit everything before setting to avoid cumulative errors that can misalign later steps.
Why do stair ceramic tile installations fail, and how can you prevent common problems?
Common failures include cracked tiles from movement, hollow spots from poor mortar coverage, and chipped edges when tile edges aren’t protected with the right stair nosing. Prevent these issues by using a suitable mortar for floors, ensuring full mortar contact (often by back-buttering), and addressing subfloor flatness before tiling. Use a flexible grout or appropriate crack isolation system if your stair structure allows slight movement, and maintain clean, consistent grout joints. Finally, allow proper curing time before heavy foot traffic and consider slip-resistant treatment for ceramic tile floors on stairs.
📅 Last Updated: October 09, 2026 | Topic: How to install around stairs ceramic tile floors? | Content verified for accuracy and freshness.
References
- Google Scholar Google Scholar
https://scholar.google.com/scholar?q=how+to+install+ceramic+tile+on+stairs - Google Scholar Google Scholar
https://scholar.google.com/scholar?q=ceramic+tile+stairs+installation+methods+thinset+backer+board - Google Scholar Google Scholar
https://scholar.google.com/scholar?q=tile+stairs+installation+guidelines+tread+risers+waterproofing - Tile
https://en.wikipedia.org/wiki/Ceramic_tile - https://en.wikipedia.org/wiki/Floor_tiling
- Staircase
https://en.wikipedia.org/wiki/Staircase - tcna.com – This website is for sale! – tc na Resources and Information.
https://tcna.com/ - https://www.ansi.org/
- https://www.astm.org/
- Home – ICC Evaluation Service, LLC (ICC-ES)
https://www.icc-es.org/


