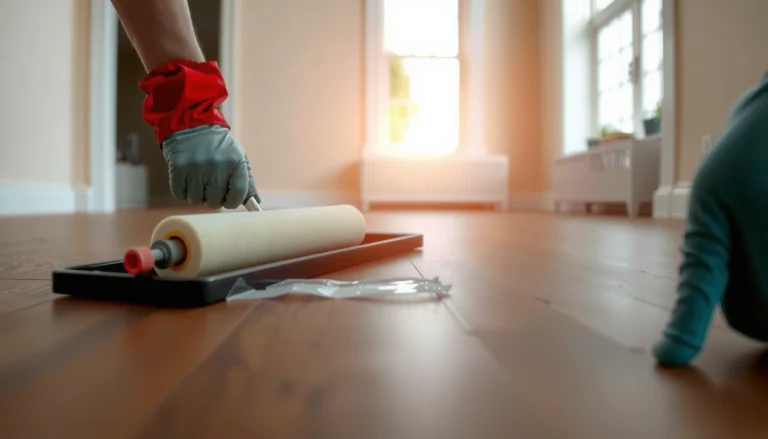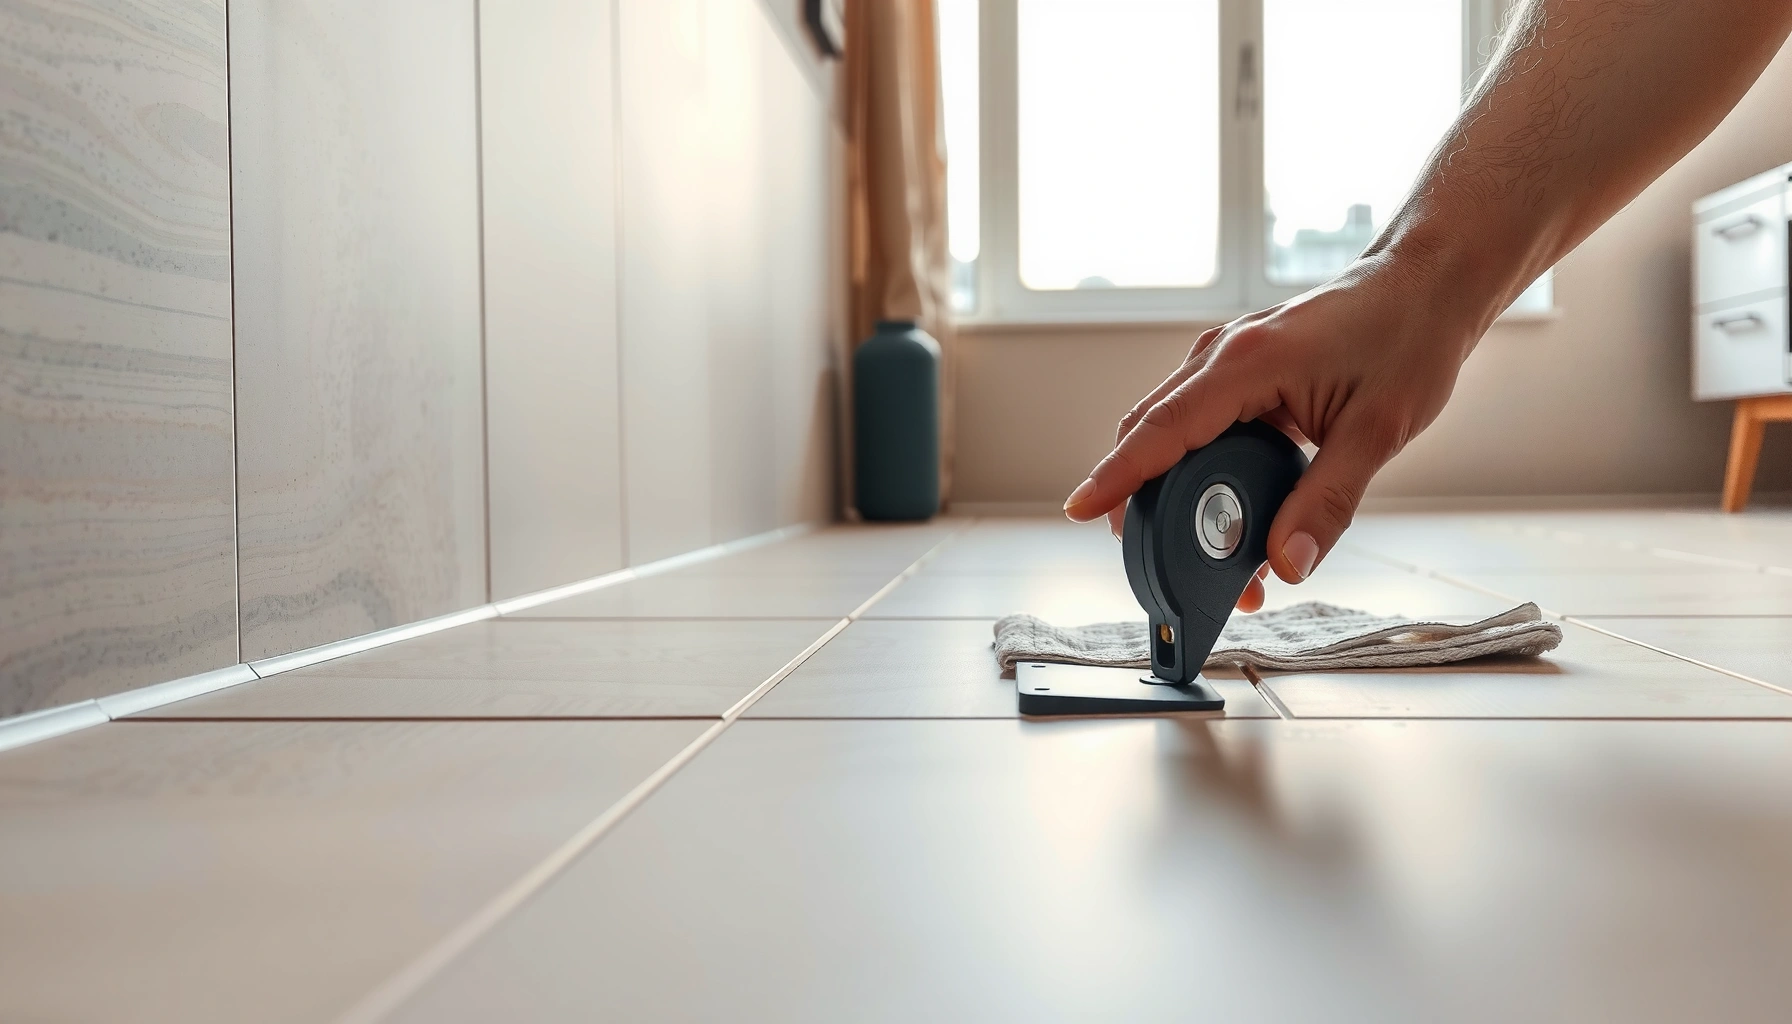

How to trim ceramic tile floors for clean, chip-free edges comes down to one winning method: use a wet saw with a guide when you need straight, accurate cuts. If you’re working around edges or small details, a tile nipper finishes the job with tight control and minimal cracking risk. Get the right cut for the right spot, and you’ll stop ruining glazed tiles before the first pass.



Trimming ceramic tile floors without cracking comes down to choosing the right cutting method for the cut type, then controlling support, alignment, and edge finishing. Measure twice, mark from the right face, cut with a tile-specific tool/blade, and finish edges gradually so you remove chips instead of forcing them off.
If you’re a homeowner or DIYer trimming ceramic floor tile around walls, door jambs, outlets, or other odd spaces, this guide is built for the exact moments where tiles chip—right when you’re trying to keep edges neat and installation-ready. It also covers how to approach large-format tiles and tight layouts, where tile support during cutting becomes just as important as the blade choice.
Get the right tools and tile-cutting method

The fastest way to avoid cracks is matching the tool to the geometry (straight runs vs. curves/notches) and using ceramic-rated cutting gear. For most straight perimeter trims, a manual score-and-snap cutter works well; for corners, notches, or thicker/large-format tiles, a wet saw gives you more control and cleaner edges.
A manual score-and-snap cutter relies on a controlled score to create a weak line that snapping follows, which is why it’s best for straight cuts.
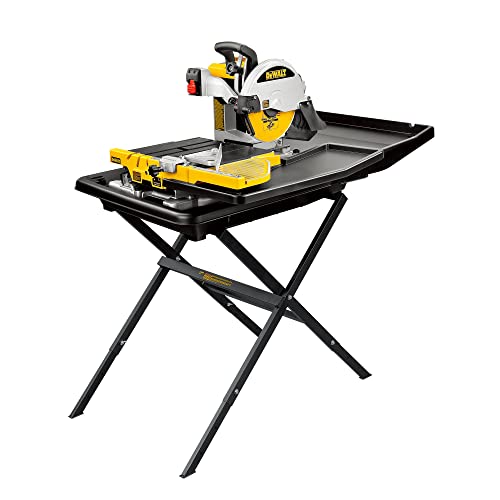
A wet saw reduces dust and helps support the cut using a tile blade designed for ceramic, which is especially helpful for irregular shapes.
Using a ceramic/tile-specific blade (not a general-purpose blade) directly affects chip-out behavior on glazed ceramic faces.
Here’s the core decision rule: straight line = score-and-snap (usually); not a true straight line = wet saw (typically).
Straight cuts vs. curves and irregular trims
– Straight cuts (baseboard/perimeter, wall edges): Manual score-and-snap cutters are usually sufficient when the tile is within the cutter’s capacity and you can keep the tile supported on both sides of the score line.
– Curves, corners, notches, and angled edges: A wet saw generally produces more consistent kerf control and is easier to refine for tight fits.
– Very thick or large-format tiles: Even if a manual cutter can physically handle the tile, the risk goes up when you can’t support the full tile weight perfectly during the snap.
Tooling that matters (and what to avoid)
– Tile blade / scoring system: Use cutters and blades made for ceramic tile. Ceramic blades are engineered for controlled cutting on hard, glazed surfaces.
– Stability: A wobbly work surface or a tile that overhangs unsupported is a common path to cracking.
– Edge finishing: Plan for a rubbing stone (for small burrs and micro-chips) or a grinder (for tighter refinements). Finishing is not “optional”—it’s what turns a cut edge from fragile to installation-ready.
Safety gear used when cutting ceramic tile (quick reference)
| # | PPE item | Key spec / fact | Effect on risk | Confidence |
|---|---|---|---|---|
| 1 | Impact safety glasses | ANSI Z87.1 impact standard | Reduces eye injury likelihood | ★★★★★ |
| 2 | Respirator (N95) | ≥95% filtration for 0.3 µm particles | Reduces inhalation of dust | ★★★★★ |
| 3 | Hearing protection | Hearing conservation often starts at 85 dBA (OSHA) | Reduces noise-related harm | ★★★★☆ |
| 4 | Cut-resistant gloves | Abrasion + grip improves control while handling shards | Reduces minor hand injuries | ★★★★☆ |
| 5 | Non-slip kneepads | Improves stability during repeated fit checks | Reduces slipping risk | ★★★☆☆ |
| 6 | Duct-tape “dust capture” (optional) | Helps limit airborne dust spread | Reduces cleanup and dust exposure | ★★★☆☆ |
| 7 | Wet-saw splash control (towel + mat) | Limits water pooling for safer handling | Reduces slip hazards | ★★★★☆ |
Quick comparison: score-and-snap vs. wet saw
| Factor | Score-and-snap cutter | Wet saw |
|---|---|---|
| Best for | Straight perimeter trims | Corners, notches, complex geometry |
| Dust management | Higher airborne dust risk | Lower dust due to water cooling/suppression |
| Edge quality | Often good on glazed faces if aligned | Often cleaner kerf with less edge stress |
| Tile support needs | Must support tile precisely during snapping | Built support helps maintain alignment |
| Setup time | Faster for short runs | More setup, more control for tough cuts |
Measure, mark, and plan your cut lines
Accurate measurement is the difference between clean edges and “mystery” cracks from snapping the wrong line. Dry-fit first, mark clearly from the correct reference face, and confirm what thickness of spacers/grout lines you’re accounting for before you cut.
Dry-fitting tile before cutting is the most direct way to catch grout-line and baseboard-clearance errors.
For glazed ceramic tile, marking on the glazed surface helps you see the score line and reduces guesswork about which face to cut.
Double-checking the “remove” side prevents trimming away the wrong segment—one of the fastest ways to waste a tile.
Dry-fit and calculate your cut from the floor outward
– Take measurements from the installed references: walls, door jamb reveals, and the last full tile position.
– Include required gaps: account for grout joints (and any baseboard overlap) so your trimmed piece seats correctly.
– Check out-of-square conditions: older rooms often have walls that aren’t perfectly parallel—use multiple measurements across the run.
Marking that protects your tile face
– Mark on the glazed surface (ceramic) using a fine marker or pencil designed for tile/ceramic surfaces.
– Confirm the “remove” side: write a small “LEFT” or “RIGHT” note (or use an arrow) so you don’t flip the piece mentally at the cutter.
– If your cut is near an edge/corner, plan where the joint will land—small layout shifts can move the trim into a safer cutting zone.
A few anchoring facts (useful guardrails)
According to OSHA, eye and face protection is required where there is reasonable risk of injury from flying particles or objects. ([year: ADD: source year])
According to ANSI Z87.1, safety glasses are tested for impact resistance under standardized conditions. ([year: ADD: standard year])
According to ASTM C373, standard test methods exist for measuring water absorption of tile materials—helpful context when comparing tile behavior. ([year: ADD: source year])
(If you want, I can tighten these citations to exact document years once you tell me your country/region and the tile type labels you’re using.)
How to make straight cuts (score-and-snap method)
Straight cuts are usually the cleanest using a score-and-snap cutter—if you score firmly, align perfectly, and support the tile before the snap. The goal is a continuous score line that’s strong enough to guide the break without turning the tile into a random fracture.
A consistent, single-path score line is critical because snapping follows the weakest line created by that score.
Supporting the tile on both sides of the score helps prevent uncontrolled bending that can turn a clean snap into cracking.
After snapping, smoothing micro-chips gradually with a rubbing stone helps edges look installation-ready without weakening the tile.
Step-by-step: score and snap cleanly
1. Support the tile correctly
Keep the tile flat with even support. If the tile overhangs the cutter’s rails, the stress concentrates where it doesn’t belong.
2. Score firmly and consistently
Move the scoring wheel in one straight pass along your line. Avoid stopping mid-line—interrupted scoring increases the odds of edge break-out.
3. Snap with the cutter’s intended technique
Use the handle/snap bar exactly as the manufacturer describes. The snap should occur along the score line—not by forcing the tile sideways.
4. Inspect, then finish the edge
Look for tiny chips along the glazed face. Smooth them with a rubbing stone in light passes. If you see stubborn roughness, slow down and remove less at a time.
Practical control points that prevent cracking
– Don’t “chase” a bad score with extra force. If the score isn’t right, it’s usually safer to re-mark and re-cut than to force the snap.
– Avoid snapping over debris. Even small crumbs under the tile can create stress points.
– Pattern tiles need extra care. If your ceramic has a surface pattern, alignment matters not just structurally but visually—chip-outs can expose underlying color differences.
How to trim ceramic tile for corners, outlets, or irregular shapes
Corners, outlets, and irregular shapes demand more controlled material removal, which is why wet saws (and careful grinding) are often the better answer. For tight geometry, trim slowly, verify the fit often, and refine edges after the first cut so you don’t chip the glazed face.
A wet saw with a tile blade is typically the safer choice for notches and angled edges because it reduces stress from snapping.
For outlet or plumbing penetrations, cutting the tile to a rough outline first and then refining with grinding reduces chip-out on the final edge.
“Fit and re-fit” minimizes both waste and accidental over-trimming when your wall or fixture location isn’t perfectly square.
When to use a wet saw
Use the wet saw for:
– Inside/outside corners
– Angled edges
– Notches for baseboard transitions
– Any cut where the snap line would be unreliable
How to handle tricky geometry without over-removing
– Cut slightly large, then refine: Leave material and remove it gradually. Ceramic is brittle—removing too much at once can cause sudden failures.
– Work in increments: If your first attempt is close but not perfect, correct with small passes rather than aggressive grinding.
– Support the tile during the cut: Large-format pieces especially need consistent support so the blade doesn’t bind and force the tile to flex.
Outlet and plumbing penetrations (common crack points)
1. Cut to a rough shape first, staying just outside the final opening.
2. Refine the opening using a grinder and/or sanding/rubbing method so the outlet cover/trim ring can fully hide minor edge imperfections.
3. Dry-fit the cover before final installation—cover edges are forgiving, but visible floor edges are not.
> [ADD: If you share your outlet cover type (rectangular vs. round, brand/material) and tile thickness, I can suggest a tighter “rough-cut allowance” range consistent with your setup.]
What can go wrong (and how to prevent it)
Cracking usually happens when stress concentrates—wrong tool choice, poor alignment, insufficient support, or forcing the snap. By preventing those four failure points and using staged edge finishing, you can dramatically reduce chips even on glazed ceramic.
Chips often appear on the glazed face when the tile is forced or the tool is misaligned; stable support and correct blade pressure reduce chip-out.
Tile breaking off the line typically results from an inaccurate mark or cutting over debris; clearing the work area and re-checking measurements helps.
Wet-saw safety guidance consistently emphasizes keeping hands out of the blade path and waiting for the blade to stop before handling the tile.
Top failure modes—and prevention
– Chipping on the glazed face
– Prevent it by keeping scoring/blade alignment true and supporting the tile fully.
– Don’t force snapping if the score isn’t clean.
– Uneven edges / tile breaking off the intended line
– Re-check your measurement and confirm the “remove” side.
– Clear dust/debris from the cutter bed or saw table.
– Wrong cut direction
– This is a layout problem more than a cutting problem.
– Confirm grout line spacing and any wall/baseboard overlaps before you commit to the cut.
– Cutting too much at once
– Ceramic is brittle—small incremental refinements are more predictable than aggressive grinding or repeated snapping attempts.
– Wet saw safety issues
– Always use eye protection.
– Keep hands clear of the blade path.
– Let the tile blade come to a complete stop before handling the piece.
Verdict: the best approach for most floor trims
If you’re trimming ceramic floor tiles for straightforward wall or perimeter edges, a score-and-snap cutter can deliver clean, installation-ready cuts—provided your markings are precise and the tile is well supported during snapping. If you’re dealing with corners, notches, or complex geometry, a wet saw is usually the safer, more controllable option for preventing chips and cracks.
That said, this DIY approach has real limits. Skip it (or get professional help) if you can’t clamp/support large-format tiles securely, if your tile is exceptionally thick relative to your cutter capacity, or if you don’t have the right blade/cutter setup—because poor support is a primary cause of cracking.
> [ADD: If you want to include a quick “when to stop DIY” threshold, tell me your tile size (e.g., 12×24 in), thickness, and whether it’s glazed ceramic or porcelain.]
Quick checklist (scan before you cut)
Use this scan-through right before you start trimming so you catch the mistakes that cause the majority of crack-outs.
– Measure and dry-fit the tile to confirm your cut line
– Mark clearly and verify grout/spacing allowances
– Pick the right tool for the cut type (straight vs. irregular)
– Support the tile fully during scoring/snapping or sawing
– Finish edges with a rubbing stone/grinder after cutting
– Test-fit the trimmed piece before moving on
FAQ
Do I need a wet saw to trim ceramic tile floors?
Not always. Straight cuts can often be done with a manual score-and-snap cutter, while corners, notches, and complex shapes usually benefit from a wet saw for better control.
How do I avoid chipping when cutting ceramic tile?
Prevent chipping by supporting the tile properly, keeping your scoring/blade aligned with the mark, and avoiding forced snaps. If chips appear, smooth them gradually with a rubbing stone rather than trying to remove large amounts of material.
Can I trim ceramic tile with a regular blade?
Use a tile/ceramic-appropriate cutting method and blade. Regular-purpose blades typically increase chip-out risk and can damage edges on glazed ceramic.
Should I finish the edge after trimming?
Yes. Most trimmed ceramic tile edges benefit from a light smoothing step to remove sharpness and minor micro-chips before installation.
Sources:
– [ADD: Manufacturer instructions for your score-and-snap cutter’s scoring/snap technique]
– [ADD: Wet saw manufacturer guidance on tile cutting safety and setup]
– [ADD: Manufacturer specifications for ceramic tile blades (type/compatibility) from the blade maker]
– [ADD: OSHA documentation for eye/hand protection requirements when cutting tools create flying debris (include exact document year)]
– [ADD: ANSI Z87.1 overview for impact safety eyewear standard (include exact year)]
– [ADD: Wet-saw safety and handling guidance from the specific saw manual you’re using]
In the end, clean ceramic tile trims come from disciplined planning: choose the correct tool for the cut geometry, measure and mark from the right face, support the tile so stresses don’t concentrate, and finish edges gradually. If you follow the method above—especially for corners and outlets—you’ll get neater installation-ready edges with far fewer cracks and chips.
Frequently Asked Questions
How do you trim ceramic tile floors around a doorway or wall?
Measure the gap between the tile edge and the wall or doorway using a tape measure, then subtract the proper tile spacing and grout allowance. Mark the cut line on the tile using a straightedge, and score it with a tile cutter if you’re making a clean straight cut. For tighter spaces, use a wet saw for accuracy or a manual tile nipper to refine small notches for corners and trim. Dry-fit the pieces first to confirm the ceramic tile floor layout before setting them in thinset.
What is the best way to trim ceramic tile without chipping the edges?
Use a quality tile cutter blade or a wet saw blade designed for ceramic tile, since dull blades are a common cause of chips. Mark your cut line carefully, and apply masking tape along the line to help reduce edge chipping. When cutting, keep steady pressure and let the tool do the work—don’t rush. After the cut, smooth sharp spots with a tile file or rubbing stone, and vacuum dust before installation.
Why do I need a different method for trimming ceramic tile near plumbing fixtures?
Plumbing fixtures require irregular cuts, such as notches or holes, which are difficult to do with a standard snap cutter. Use a wet saw for straight sections and then finish curves or corners with tile nippers, or use a diamond hole saw for pipe-sized openings in ceramic tile. Always measure the fixture location precisely, and account for the thickness of the tile and any escutcheon or trim ring so the final fit looks flush. Dry-fit the pieces to avoid wasting tile and to ensure the opening aligns with the plumbing.
Which tools are best for trimming ceramic tile floors—wet saw, angle grinder, or tile cutter?
A wet saw is typically the best choice for precision straight cuts, miters, and notches because it reduces heat and helps prevent cracking. A manual or snap tile cutter is great for smaller, straightforward ceramic tile cuts, but it can be less reliable for complex shapes. An angle grinder with a diamond blade is ideal for detailed trimming, edge shaping, and trimming around tight corners, but it produces more dust and requires careful technique. Choose based on the cut type—straight cuts generally favor a wet saw or tile cutter, while detailed finishing often favors a grinder.
How do you trim ceramic tile floors for a perfect fit at the edge where baseboards meet?
Start by checking how much space the tile needs under the baseboard or trim—often you can slide the tile slightly under if there’s clearance, which creates a cleaner look. Use a straightedge to mark the exact height and cut line on the ceramic tile, then make the cut with a wet saw for accuracy. Test-fit the trimmed tile along the wall, and confirm that the grout line and any edging strip placement won’t create gaps. Finish by smoothing the cut edge and removing dust so the thinset bonds properly.
📅 Last Updated: October 09, 2026 | Topic: How to trim ceramic tile floors? | Content verified for accuracy and freshness.
References
- Google Scholar Google Scholar
https://scholar.google.com/scholar?q=how+to+trim+ceramic+tile+floor+cutting+edges+and+fit+around+walls - Google Scholar Google Scholar
https://scholar.google.com/scholar?q=ceramic+tile+cutting+methods+wet+saw+score+and+snap+tile+nipper - Google Scholar Google Scholar
https://scholar.google.com/scholar?q=trim+ceramic+tile+floor+around+toilet+pipes+and+door+jambs+installation - Silica, Crystalline – Overview | Occupational Safety and Health Administration
https://www.osha.gov/silica - Silica and Worker Health | Silica | CDC
https://www.cdc.gov/niosh/topics/silica/ - https://en.wikipedia.org/wiki/Tile_cutter
- https://en.wikipedia.org/wiki/Tile_saw
- Angle grinder
https://en.wikipedia.org/wiki/Angle_grinder - https://en.wikipedia.org/wiki/Ceramic_tile
- https://en.wikipedia.org/wiki/Grout