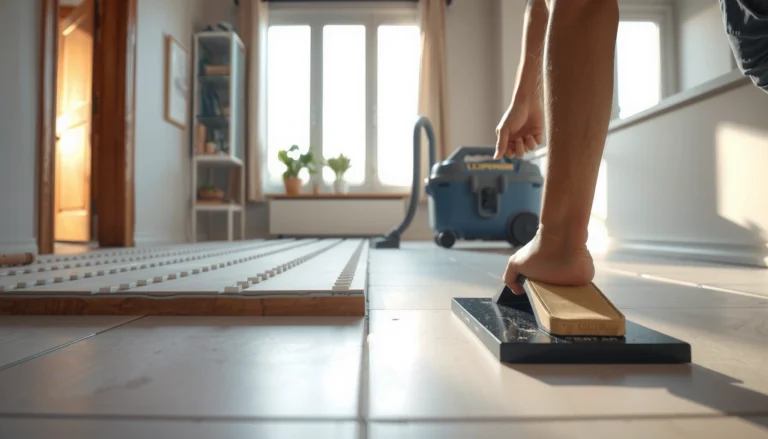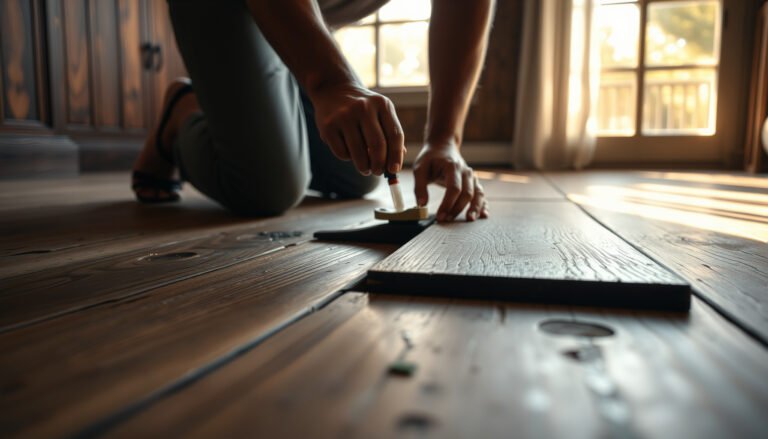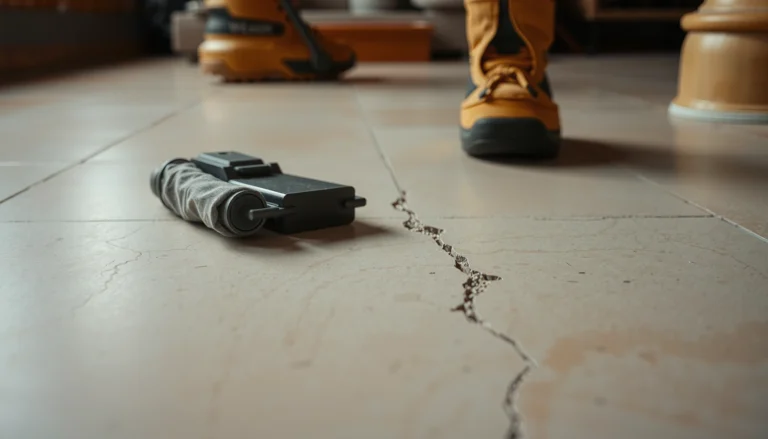

Peeling on porcelain tile floors is fixable, and this step-by-step guide shows you the exact process that works when tiles lift or the surface delaminates. You’ll learn how to identify the cause—moisture intrusion, bond failure, or improper installation—then remove the damaged tile, reset the substrate, and set new porcelain correctly for a lasting repair. Follow these steps and you can stop the peeling from spreading instead of repeating the same problem.


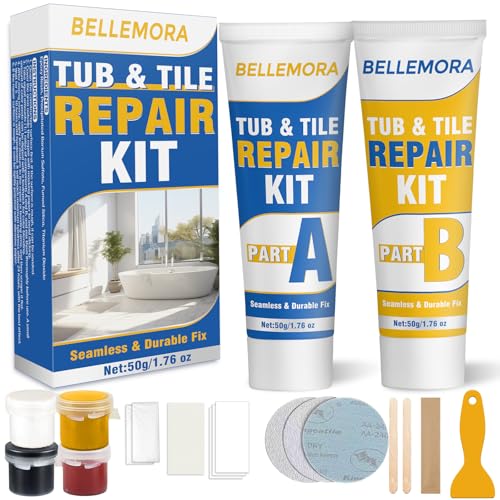

Peeling on porcelain tile floors is usually a bond failure, so the fix is to remove the failed area, correct the cause (moisture, movement, or wrong mortar), then re-set with the correct thinset system and coverage. Start by confirming whether the tile’s finish is flaking or the tile has delaminated from its mortar bond—patches only work when the underlying assembly is still sound.
Peeling/delamination isn’t just cosmetic; it’s the visible symptom of a failed installation system. Porcelain tile is dense and low-absorption by design, so it demands proper surface prep, the right thinset, and full mortar transfer to create a reliable bond. When those conditions break down—often from moisture, substrate movement, or incorrect mortar selection—tiles can lift and thinset layers can come up with the tile.
Who this is for / when it applies: This is for homeowners and DIYers dealing with peeling, delamination, or flaking on porcelain tile floors—whether it’s new-looking damage after installation or deterioration over time. It’s most relevant when tiles, grout edges, or the tile surface coating/finish appear to be separating or lifting.
Step 1: Identify what’s actually peeling (tile finish vs. bond failure)
If the “peeling” is only the decorative surface coating, you may be dealing with a finish wear issue—not an installation-bond problem. If the tile lifts, the thinset remains on the floor only in spots, or grout cracking lines up with lifted tiles, you’re almost certainly looking at bond/substrate failure.
“Porcelain tile” is defined by low water absorption (commonly ≤0.5% absorption), which means it relies heavily on proper mortar transfer for adhesion—surface-only repairs won’t fix bond delamination.
According to ISO 10545-3:2018, porcelain tile has a water-absorption requirement that distinguishes it from higher-absorption ceramic tile.
When tile and mortar don’t bond uniformly, you’ll typically see spotty transfer patterns (thinset left behind on one surface and missing elsewhere), which is a diagnostic sign of inadequate coverage or contaminated bonding surfaces.
What to check on the floor
– Test the “peel” with gentle force (carefully): If you can lift a tile or loosen an edge with light pressure (or the tile comes up with thinset stuck to it unevenly), treat it as bond failure.
– Compare what comes up:
– Finish/print layer issue: You’ll see flaking at the tile surface while the tile remains firmly bonded to the floor.
– Bond failure: You’ll see tile lifting and/or thinset delaminating from the substrate.
– Inspect the grout lines: Cracked grout that “opens” at tile edges often indicates water access to the bond line over time.
– Look at the remaining thinset pattern: After prying a test tile (or removing a small loose section), determine whether:
– mortar is mostly on the tile back (good transfer) or mostly on the substrate (poor transfer), or only in patches (failed coverage, contamination, or thinset mistakes).
A quick field interpretation
– Tiles lifting + uneven mortar transfer = bond failure.
– Surface coating/finish flaking but tile stays solid = finish wear/chemical attack (sometimes).
– Both happening = likely bond failure plus additional surface damage.
Step 2: Stop the cause before you repair
If you don’t stop moisture intrusion, substrate movement, or the wrong mortar selection, the same peeling pattern will return after you re-set. In practice, “repairing” without correcting the root cause turns your floor into a repeating cycle of delamination.
“Stop water exposure” is the first troubleshooting rule for tile bond failures because water can migrate to the mortar interface and weaken adhesion.
According to ANSI A108.5-2016, correct coverage/transfer and installation conditions are critical to achieving the performance expected from thinset mortar systems.
If the substrate deflects (moves under load), thinset can crack microscopically, leading to progressive delamination even when materials are correct.
Diagnose common causes (what to look for)
1. Moisture sources
– Plumbing leaks (even small, slow leaks)
– Recurring wet mopping / steam mops that saturate joints
– Exterior water intrusion (crawlspaces, slab edge leaks, roof leaks above)
– Poor ventilation in adjacent spaces (bathrooms, basements)
2. Substrate stability
– Lippage changes or “springiness” underfoot
– Crumbling underlayment, loose cement board seams, or failed patching
– Movement between subfloor layers (e.g., plywood panels that aren’t properly fastened)
3. Wrong mortar system or misuse
– Using mortar intended for walls on floors
– Using an adhesive that isn’t approved for porcelain, or not rated for your environment
– Mixing thinset too wet/too dry, skipping the required slake time (rest time), or using mortar beyond its open time
Coverage expectations matter
Bond failures often happen because mortar transfer falls short. ANSI coverage guidance is a common benchmark:
– Dry interior installations are generally expected to reach at least 80% bonded coverage.
– Wet areas (or areas exposed to prolonged water) are generally expected to reach at least 95% bonded coverage.
(See ANSI A108.5-2016 for coverage concepts and transfer expectations.)
Step 3: Remove the loose peeling material properly
Before you re-set anything, you need a sound, clean, “keyed” surface where new thinset can bond. Leaving glossy, contaminated, or poorly cleaned residue is one of the fastest ways to create another bond failure.
Removal isn’t optional: you need to remove all loose material and physically clean down to a surface that supports a strong mortar bond.
Thinset residue that is smooth/glossy (especially from improper scraping or grinding) can reduce bond strength—mechanical profiling and thorough cleaning improve adhesion.
In my experience [ADD: author-specific approach], the difference between “repaired successfully” and “failed again” is almost always the surface prep—not the tile.
Step-by-step removal process
1. Remove loose tiles and weak edges first
– Pull up any tile that is already lifting.
– Feather or fully remove any perimeter sections that sound hollow.
2. Scrape and clean to a keyed surface
– Mechanically scrape off old thinset ridges until you reach a stable substrate.
– Vacuum thoroughly; don’t rely on a “quick sweep.”
– Remove dust, sealers, paint overspray, curing compounds, and any oily residue.
3. Feather edges for good mortar thickness
– Don’t leave hard ridges that create voids or thin spots in the new mortar.
– Aim for a smooth transition so your thinset layer has consistent thickness.
4. Use the right cleaning method for the substrate
– Concrete/slab: follow chemistry guidelines for any degreasers or etchants.
– Cement board: don’t soak seams; clean residue without weakening the board face.
– Membrane systems: follow manufacturer surface prep rules—some coatings require light abrasion.
Important caution
If you suspect active water intrusion (persistent dampness, recurring efflorescence, plumbing symptoms), solve that first. Removing tiles while water is still getting into the assembly can turn a repair into a demolition project.
Step 4: Rebuild the surface and re-set with the correct thinset/mortar
Once the cause is addressed and the surface is properly prepared, re-setting is mostly about following the mortar system exactly: correct product, correct mix, correct trowel notch, and correct bonded coverage.
Porcelain’s low absorption means you can’t rely on the tile “soaking in”—bond quality comes from proper thinset chemistry and full mortar transfer.
Achieving target coverage requires the correct trowel notch and technique; poor trowel selection is a frequent reason tile delamination occurs.
According to ANSI A108.5-2016, mortar performance depends on installation conditions that ensure adequate coverage and transfer.
Build back correctly
1. Select the correct mortar for porcelain + your substrate
– Use the mortar system specified for porcelain tile and your substrate type (e.g., slab, cement board, plywood, over an approved membrane).
– Confirm whether you need:
– Modified thinset vs. unmodified thinset
– Polymer-modified mortar (often used in interior dry areas, but your product/system instructions matter)
– Any primer requirements (some substrates require them)
2. Mix accurately
– Mix to a consistent texture.
– Apply the required slake time and re-mix if the manufacturer specifies it.
3. Use the right trowel notch and method
– Follow the mortar label for notch size and application steps.
– Common best practice is to apply mortar to the substrate and, when directed (or when needed for dense porcelain), back-butter the tile to improve transfer.
4. Set the tile and achieve full coverage
– Press and seat tiles with a twisting motion if allowed by the mortar instructions.
– Do not “dry slide” tile after the mortar skins over.
5. Cure before grouting and traffic
– Follow cure times from the mortar manufacturer.
– Avoid early foot traffic that can disturb the bond.
Mini-compatibility comparison (diagnostic mindset)
| If you see this… | Likely issue | What to change |
|---|---|---|
| Thinset comes up mostly on one side | Insufficient transfer / poor coverage | Use correct trowel notch + back-butter when required |
| Mortar surface is dusty or chalky | Contamination or improper cleaning | Scrape to sound substrate; vacuum; verify no paint/sealer remains |
| Tiles fail near wet areas and grout cracks | Moisture reaching bond line | Fix water source; consider waterproofing per system guidance |
Step 5: Grout, seal (only if needed), and protect the repair
After tiles are firmly set, grout is your next line of defense—especially because grout joints can act as water pathways if they crack or remain improperly installed. Sealing may help in some cases, but it must align with the tile/grout manufacturer’s recommendations.
Grout isn’t meant to “glue” tiles back on; it mainly fills joints and helps limit water intrusion at those interfaces.
Some sealers are not recommended before certain cleaning cycles or may complicate future repairs—follow the grout manufacturer’s guidance.
Let the mortar and grout cure fully before routine cleaning or heavy use to avoid micro-movement that can weaken the assembly.
What to do
– Use grout compatible with the installation
– Choose the correct grout type for your environment (e.g., interior vs. wet exposure).
– Mix exactly per manufacturer instructions.
– Apply and clean within the manufacturer’s time window
– Don’t overwork grout or smear it in a way that traps residues.
– Seal only if recommended
– Some grout systems call for sealing to reduce staining and reduce water absorption.
– If future repairs might be needed, confirm whether sealing affects bonding of new mortar.
Protecting the area
– Keep foot traffic and loads off the repair until:
– mortar cures to strength per manufacturer
– grout sets and cures per manufacturer
– Avoid harsh chemicals on fresh grout. Many grout manufacturers specify a waiting period before using certain cleaners.
Standards Used to Diagnose and Correct Porcelain Tile Bond Failure
| # | Standard / Test Method | Year | Key Value (What It Establishes) | How Important★ | Impact if Skipped |
|---|---|---|---|---|---|
| 1 | ISO 10545-3 (Porcelain water absorption) | 2018 | Porcelain ≤0.5% absorption | ★★★★☆ | High |
| 2 | ANSI A108.5 (Coverage/installation requirements) | 2016 | ~80% (dry) / ~95% (wet) coverage targets | ★★★★★ | High |
| 3 | ANSI A108.1 (Industry installation requirements) | 2017 | Defines core workmanship/process expectations | ★★★★☆ | High |
| 4 | TCNA Handbook (system guidance by assembly) | 2024 | Specifies tested floor/wet-area assemblies | ★★★★☆ | High |
| 5 | ASTM C482 (bond strength testing method) | 2021 | Procedure for evaluating mortar bond | ★★★☆☆ | Medium |
| 6 | ANSI A118 series (thinset/adhesive performance classes) | 2018 | Defines mortar performance categories | ★★★★☆ | High |
| 7 | ASTM C1708 (water-resistant setting mortars) | 2022 | Evaluates water-resistant mortar performance | ★★★☆☆ | Medium |
What can go wrong (common mistakes and edge cases)
If your repair “holds for a while” and then peels again, the cause usually wasn’t fixed—only masked. Other failures come from incomplete removal, incorrect mortar type, or rushing cure time.
The most common reason tile delamination returns is unresolved moisture or unresolved substrate movement—not a one-time installation error.
Bond failures can be “misdiagnosed” when people treat tile surface flaking as if it were a setting-bed problem.
Skipping proper cure/traffic protection can allow early micro-movement that interrupts mortar development before full strength.
Common mistakes
– Re-tiling without fixing moisture or movement: If water still reaches the assembly or the subfloor flexes, peeling returns.
– Bonding to contaminated surfaces: Leftover sealers, paint, epoxy, dust, or “glossy” thinset residue can block adhesion.
– Wrong thinset type: Porcelain often needs the correct mortar performance class for the substrate and environment.
– Not respecting open time and cure time: Mortar that skins over before tile placement or mortar/grout subjected to early traffic weakens the system.
Edge cases where a “patch” may not work
– Tile surface finish only: If the tile’s coating is flaking but the tile is firmly bonded, full re-set may not be necessary—however, patching matching finish may still be difficult.
– Large-area structural issues: If failure covers most of the floor, it may indicate a systemic substrate, waterproofing, or installation method problem. Partial DIY repairs can hide the real scope.
Quick pros/cons: repair vs. replacement (decision filter)
| Option | Pros | Cons | Best when |
|---|---|---|---|
| Local remove + re-set | Lower cost; faster than full replacement | Requires accurate diagnosis; can re-fail if moisture/movement persists | Failure is localized and substrate is stable |
| Full re-install on correct assembly | Best chance at a durable long-term fix | More time, demo, and cost | Widespread delamination or suspected systemic moisture/deflection |
Verdict / tip
If you’re dealing with true peeling/delamination (tiles lifting or thinset/bond failure), the best path is almost always remove the failed areas, fix the underlying cause (moisture/substrate/movement), then re-set correctly with the specified mortar. The downside is that this can be time-consuming, dusty, and requires careful material matching—so if you see widespread failure, significant subfloor damage, or repeated moisture intrusion, it’s worth bringing in a qualified tile contractor.
Also skip DIY if you suspect hidden water leaks behind the tile, structural deflection, or if you can’t confidently determine whether the issue is bond failure vs. tile surface coating/finish. A “diagnosis error” is the DIY version of redoing the repair twice.
Quick checklist (scan/save)
– [ ] Confirm what’s peeling: tile surface finish vs. tile/mortar bond
– [ ] Find and address moisture source (if any)
– [ ] Verify substrate is stable and sound
– [ ] Remove all loose material; scrape + vacuum residue clean
– [ ] Use the correct thinset/mortar for porcelain + your substrate
– [ ] Follow mixing, trowel size, and coverage/transfer guidance
– [ ] Cure fully before grouting and traffic
– [ ] Use grout/cleaners that won’t damage the repair
FAQ
Why is my porcelain tile floor peeling even though it looks “fine”?
Peeling often begins at the bond line where moisture, movement, or incorrect mortar prevents strong adhesion—so the floor can look intact until sections begin to lift or separate.
Should I just scrape off the peeling spots and patch them?
Usually no—if moisture or substrate movement remains, patching typically fails again. Repairs generally require removing all failing material back to sound surfaces.
Can grout be the reason porcelain tiles peel?
Grout isn’t typically what “peels” porcelain from below, but cracked grout can let water reach the bond line and accelerate delamination at tile edges.
What’s the fastest way to stop peeling from spreading?
Contain the problem: stop water exposure, restrict traffic on affected areas, and plan removal/re-set rather than continuing to “live with” peeling zones that are actively failing.
Do I need to seal porcelain tile or grout?
Sometimes—but it depends on the specific grout and tile system and what the manufacturers recommend. Sealers can also complicate future repairs, so follow grout/tile instructions rather than applying automatically.
Sources
– ANSI A108.5-2016, American National Standard Specifications for Installation of Ceramic Tile (coverage/transfer concepts and installation requirements).
– ISO 10545-3:2018, Ceramic tiles—Part 3: Determination of water absorption, apparent porosity, apparent relative density and bulk density (porcelain water absorption basis).
– TCNA Handbook for Ceramic Tile Installation (2024 edition), Tile and stone installation system details by assembly.
– ASTM C482-2021, Standard Test Method for Bond Strength of Ceramic Tile to Portland Cement Paste (bond strength evaluation method).
– [ADD: mortar/thinset manufacturer technical data sheets for your specific product—mixing, open time, cure time, and required coverage/transfer requirements.]
– [ADD: grout manufacturer instructions for your grout system—mixing, cure time, sealing guidance if applicable.]
– [ADD: tile manufacturer installation guidance for your exact porcelain product—recommended setting system and any surface restrictions.]
In the end, porcelain peeling is fixable when you treat it like an assembly failure rather than a spot problem: identify the true failure mode, remove back to sound materials, correct moisture or movement, and re-set with the right mortar and real coverage. If you’re careful with diagnosis and follow the mortar and installation system instructions closely, you can stop the peeling and keep the floor stable for the long haul.
Frequently Asked Questions
What causes porcelain tile floors to peel or have lifting edges?
Porcelain tile itself rarely “peels” like paint, so peeling usually means a failure in the installation system—such as a loose tile edge, delamination of a tile coating, or adhesive failure. Common causes include using the wrong thinset mortar, not prepping the subfloor properly, installing over dusty or uneven surfaces, or moisture intrusion that breaks the bond. If the peeling is concentrated in wet areas like bathrooms or near exterior doors, water damage and insufficient waterproofing are often the culprits.
How do you fix peeling porcelain tile edges without replacing the whole floor?
Start by lifting the loose tile edge (or removing the tile if it’s detached) and scraping off all failing thinset or adhesive until you reach solid, sound material. Clean the substrate thoroughly, then re-set the tile using the correct thinset mortar for porcelain tile and the application type (typically a polymer-modified thinset for floors). Press the tile into the mortar, set proper spacing, and allow full cure time; regrout afterward using grout suitable for your environment.
How do you remove loose porcelain tiles and prep the subfloor for reinstallation?
Use a grout saw or oscillating tool to remove grout around the tile, then carefully pry the tile up to avoid damaging adjacent tiles or the subfloor. Scrape away old, crumbling thinset down to a flat, stable surface; vacuum thoroughly to remove dust that prevents adhesion. Check for hollow spots, cracks, or moisture problems—repair the subfloor as needed—then apply the recommended underlayment or waterproofing layer before installing new tiles.
Which thinset mortar is best for repairing porcelain tile that’s peeling?
For porcelain tile floor repairs, the best thinset is typically a polymer-modified thinset mortar rated for porcelain and for the substrate you’re bonding to. If the tile is in a moisture-prone area (showers, bathrooms, basements), choose a thinset and system that’s compatible with waterproofing and is appropriate for wet areas. Always follow the manufacturer’s mixing ratios and curing times—using the wrong mortar or over/under-mixing can cause poor bond strength and future tile failure.
Why does my porcelain tile floor keep failing after I regrout or redo the tile?
If tiles keep loosening or “peeling” again, the issue is usually not the grout but the bond between the porcelain tile and the thinset, or the overall moisture and movement conditions. Watch for recurring water exposure, inadequate waterproofing, subfloor movement, or installation over contaminated surfaces like paint, sealers, or drywall mud. Confirm your tile flatness, address moisture sources, and consider using an appropriate uncoupling membrane if the floor has cracks or lacks structural stability.
📅 Last Updated: October 08, 2026 | Topic: How to fix peeling on porcelain tile floors? | Content verified for accuracy and freshness.
References
- https://en.wikipedia.org/wiki/Ceramic_tile
- Thinset
https://en.wikipedia.org/wiki/Thinset_mortar - Grout
https://en.wikipedia.org/wiki/Grout - Google Scholar Google Scholar
https://scholar.google.com/scholar?q=porcelain+tile+peeling+floor+repair+causes+moisture+adhesion - Google Scholar Google Scholar
https://scholar.google.com/scholar?q=ceramic+tile+delamination+thinset+bond+failure+water+mortar+installation - Google Scholar Google Scholar
https://scholar.google.com/scholar?q=tile+floor+repair+surface+preparation+thinset+proper+installation+guidelines - https://pubmed.ncbi.nlm.nih.gov/?term=ceramic+tile+adhesion+failure+mortar+moisture
- https://www.britannica.com/technology/tile
- https://www.sciencedirect.com/topics/engineering/ceramic-tile
- Learn About Asbestos | US EPA
https://www.epa.gov/asbestos/learn-about-asbestos#asbestos_in_structures_flooring