
Replacing porcelain tile floors is a straightforward job when you follow the right sequence: remove the old tile safely, prep the subfloor correctly, and set new porcelain with the proper thinset and grout. This step-by-step guide walks you through every phase—layout, cutting, setting, grouting, and finishing—so you get a flat, durable floor without guesswork. If your goal is a clean, professional-looking porcelain tile replacement, this is the exact roadmap to use.




Replacing porcelain tile floors comes down to removing the old tile safely, fixing the subfloor, then setting new tiles with the right thinset and grout. If you plan carefully—especially around layout and surface flatness—you can avoid most common issues like lippage, loose tiles, or cracked grout. In this guide, you’ll learn the full workflow from demo to grouting, plus what can go wrong.
If you’re replacing damaged porcelain tiles, updating a room, or changing from one tile layout to another, this is for you. It’s also ideal when you want a clear plan that covers both “dry” planning steps (measurements, layout) and “wet” steps (setting materials, curing).
Prep: Plan the layout and check the subfloor
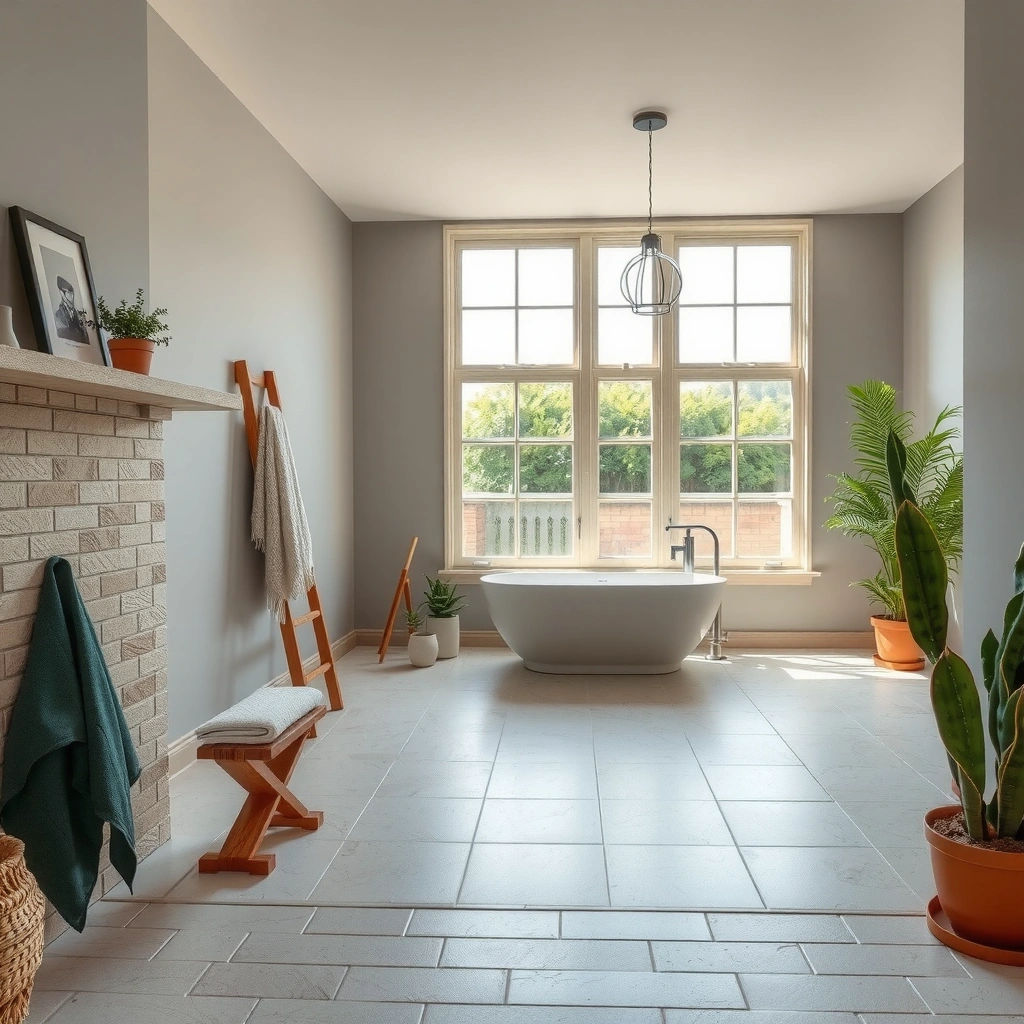
You should plan the layout first and verify the subfloor is flat, stable, and clean—because porcelain tile will faithfully reveal every base problem. The goal is to avoid tiny edge “slivers,” then confirm the surface is firm enough that the tile assembly can perform without cracking or debonding.
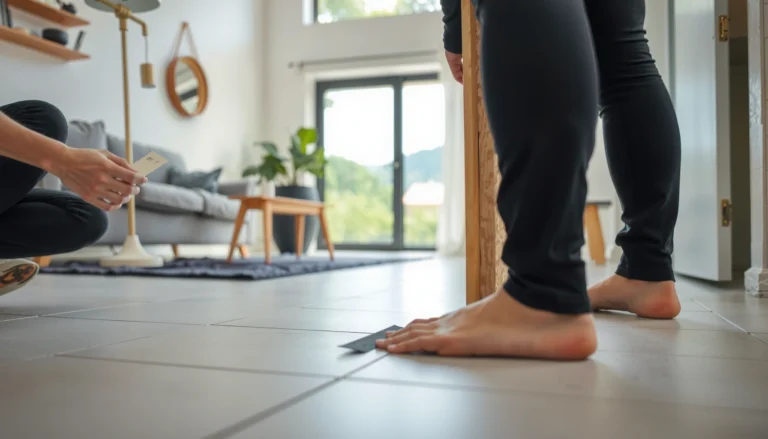
Before you mix thinset or grout, map your finished layout. Measure the room length/width, then account for door clearances and transitions. For most rooms, you’ll get the best look by centering the layout so both sides of the room end up with similarly sized cuts, rather than forcing one side into a narrow strip. As a practical rule, try to avoid edge cuts that are noticeably narrower than the rest of the field pieces; that reduces cutting time and improves the visual “balance” of the floor.
Next, inspect the subfloor for what matters most for porcelain: flatness, firmness, and cleanliness. Porcelain tile is dense and unforgiving—if the substrate dips, you increase the risk of lippage (height differences between tiles) and weak bond. Also check for loose underlayment panels, squeaks, delamination, or old adhesive that didn’t fully cure. If you find movement in the base, fix it before you proceed; “tile will bridge gaps” is one of the most expensive myths in flooring.
Finally, remove trim, baseboards, and any transitions so you can tile up to clean, predictable boundaries. If you’re working around doorways, verify thresholds and movement-joint strategy early—movement joints are not optional if your installation needs them.
Porcelain tiles have very low water absorption; ISO 13006 defines porcelain as having water absorption ≤ 0.5% (Group BIa/BIb, depending on classification), which is why they demand an excellent bond and flat substrate.
The Tile Council of North America (TCNA) method statements emphasize that the substrate must be structurally sound and meet flatness requirements to prevent cracking and hollow spots.
Quick, concrete planning steps
– Pick a tile direction (common options: along the longest wall, or aligned to main sightlines).
– Dry-lay a row (and then a perpendicular row) using spacers to confirm grout-line width and alignment.
– Mark the “start line” that centers your layout so you don’t end up with one ugly sliver.
– Walk the floor and feel for soft spots, flex, and squeaks.
– Decide where you’ll maintain existing expansion or soft joints (and where you need new ones).
Remove old porcelain tile (and do it safely)
You should remove the old porcelain tile in a way that protects the subfloor and controls dust—your goal is a sound, debris-free base ready for new mortar. Start with the least destructive methods, then escalate carefully.
Demolition method depends on how the old system was built: porcelain on slab with thinset, tile on a mortar bed, tile over backer board, or tile over a patchwork of old adhesives. If you can identify the layers, you can avoid unnecessary damage. For example, when tile is set over cement backer board, the board may often be reused only if it’s fully bonded and intact—but if screws are loose or boards wobble, plan on removing them.
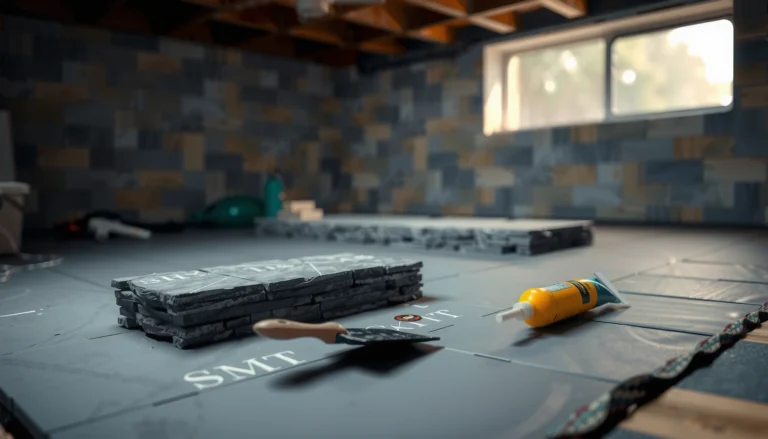
To minimize damage, remove grout first where practical. Grout acts like a binder holding tiles in place; once it’s gone, tiles typically release more cleanly. Use appropriate tools for your environment (manual chisels, oscillating tools, or tile pry bars) while keeping an eye on the substrate. If you’re working over a slab, avoid “deep gouging” that creates new low spots for you to fix later.
Dust and debris management is not optional. Porcelain tile cutting and demolition produces fine silica dust risks; use PPE and contain the work area. Ventilation, sealed plastic barriers, and careful cleanup help protect you and others in the building.
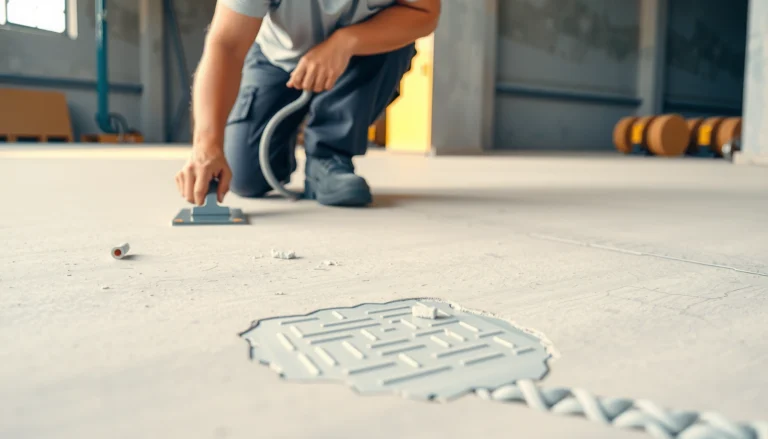
Most importantly, remove all remaining thinset/mortar that could create ridges. New thinset needs consistent contact to achieve full coverage; high ridges under the new tile lead to point loading and unevenness that becomes lippage later.
Tile removal quality directly affects thinset coverage: ANSI A108 methods require proper substrate preparation so mortar can bond uniformly without bonding to loose debris.
Because porcelain is very hard, demolition often produces fine dust; silica hazards are why OSHA safety guidance for silica control is commonly cited in masonry/tile work procedures.
Pros/cons of demo strategies
– Manual pry + grout removal
– Pros: Often preserves backer board/subfloor; lower chance of slab damage
– Cons: Slower; requires more labor to remove mortar
– Oscillating tool / rotary chipping
– Pros: Faster removal
– Cons: Higher risk of gouging substrate and creating extra leveling work
– Slab-centric removal
– Pros: Can create a solid cement base if you remove high spots
– Cons: More sensitive to uneven grinding if you remove too much or leave ridges
Repair and flatten the surface before setting
You should repair and flatten before installing new tiles because porcelain tile systems fail when the substrate is uneven, loose, or contaminated. This step is where you prevent cracked tile, cracked grout, and the “hollow tile” sound when you tap.
Start by filling low spots and correcting localized dips. If you have loose underlayment sections, remove and re-secure them rather than patching over movement. For wood subfloors, follow manufacturer guidance for underlayment thickness, fastener spacing, and allowable deflection. For concrete slabs, address cracks, spalling, and moisture-related conditions before tiling (or at least before committing to the final mortar layer).
After repairs, clean thoroughly. Dust is a bond breaker: thinset needs intimate contact with the substrate surface. Vacuum with a HEPA system if possible, and avoid wiping with substances that leave residue. The surface should be flat enough that your planned tile thickness and trowel selection can achieve full coverage without extreme mortar build-up in isolated areas.
If the unevenness is widespread, repeating the repair step with new patcher and more grinding can still be cheaper than a re-do later. But if you detect structural movement, chronic moisture intrusion, or widespread deterioration of the subfloor, you should stop and investigate the root cause first. Flooring is a system—when the building keeps moving or moisture keeps coming, even a “perfect” tile install will struggle.
TCNA installation methods require that substrates be “flat, clean, and properly prepared” for mortar bond and tile performance; otherwise, you increase risk of debonding and cracking.
Thinset mortar manufacturers specify minimum and maximum substrate conditions (including cleanliness and bond surface readiness) because mortar performance depends on correct surface preparation.
Set porcelain tiles: thinset, spacing, and control joints
You should set porcelain tiles with the correct thinset for porcelain and your substrate, using consistent spacing and appropriate movement joints. This combination—right mortar + correct flatness + designed movement control—is what keeps lippage down and grout from cracking.
The thinset choice matters because porcelain’s dense body changes how mortar bonds. Use a thinset mortar that the manufacturer approves for porcelain and for your installation surface (e.g., cementitious underlayment, plywood subfloor, or concrete slab). Mix exactly as specified: water ratio and mixing time influence open time, workability, and ultimate strength.
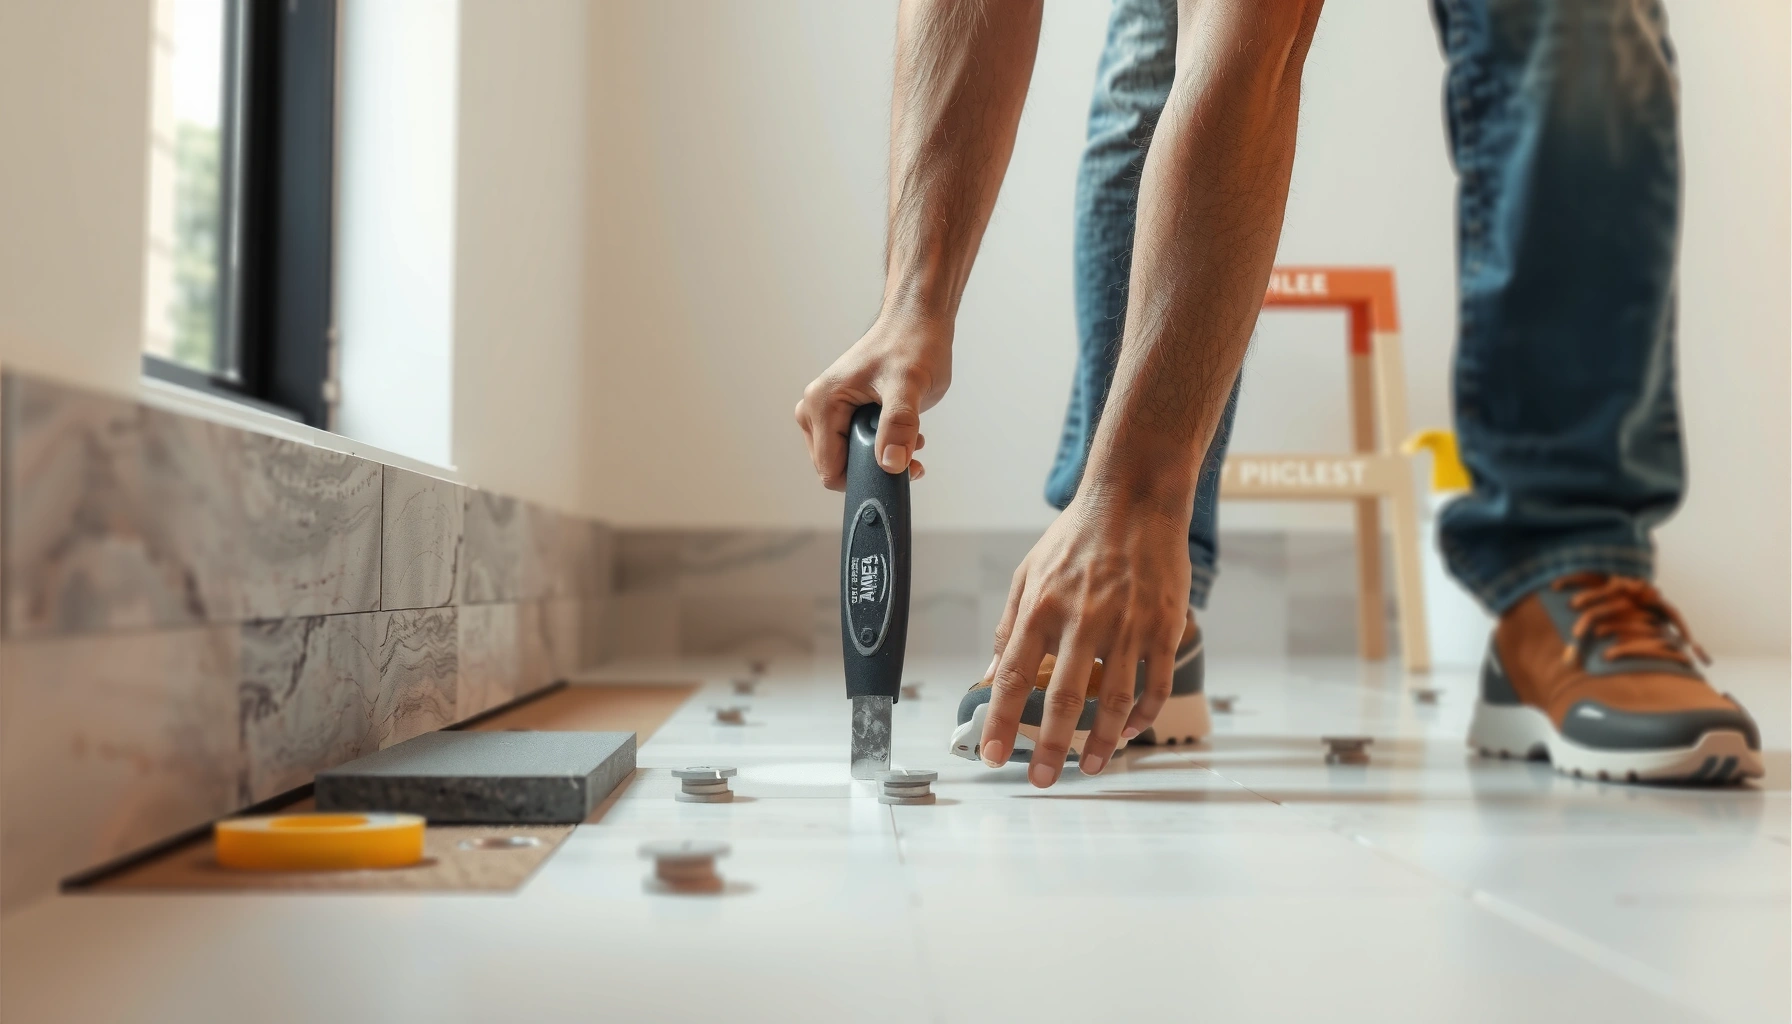
Before you commit to setting, dry-lay a section. This helps you validate your layout, grout-line width, and tile direction relative to walls and doorways. Then set tiles in small batches so you stay within thinset open time (the window where mortar is still bondable). Use spacers consistently to keep grout lines straight.
Spacing is not only aesthetic—it also supports proper grout performance. But spacing alone isn’t enough: porcelain installations also need movement/soft joints where the building moves. That includes changes of plane (like where the floor meets a vertical surface) and areas that require follow-through from TCNA/ANSI movement-joint guidance. If you don’t plan these joints early, you often end up “cutting around them later,” which is where cracks can start.
ANSI A108 series installation standards and TCNA methods address mortar bed coverage and emphasize correct mortar selection and application to prevent failures.
Movement joints are part of the tile assembly design: TCNA method statements generally require honoring building movement joints and including soft joints at specified transitions.
Typical Thinset Setup Targets for Porcelain Tile (Field-Relevant Ranges)
| # | Installation check | What to look for | Practical target | Why it matters |
|---|---|---|---|---|
| 1 | Substrate cleanliness | No dust/paint/loose residue | Clean to “bond-ready” | Prevents weak bond |
| 2 | Mortar coverage goal | No “light spots” under tiles | Full mortar contact | Reduces hollow spots |
| 3 | Open-time discipline | Mortar stays workable | Within manufacturer window | Maintains bond strength |
| 4 | Trowel notch consistency | Same ridges across the floor | Uniform ridge height | Improves flatness |
| 5 | Tile seating** | Tiles fully contact mortar | Press + slight twist | Ensures bond |
| 6 | Grout-line uniformity | Straight joints | Consistent spacers | Better appearance |
| 7 | Movement joint honoring | Soft joints preserved/created | Plan before setting | Helps prevent cracks |
Note: targets are “field-relevant” checks expressed in plain language; exact coverage/working-time values come from the specific mortar manufacturer’s spec sheet and should be followed.
Cut tile accurately and finish edges neatly
You should cut porcelain with a tool matched to the tile’s hardness and measure twice before committing. Neat edges and consistent reveals come from layout discipline, not from “fixing it later” after grout.
For porcelain, a wet saw is commonly used because it produces cleaner cuts with less chipping than dry methods. However, blade choice (porcelain-rated blade) and proper setup matter just as much as the saw itself. Keep the tile supported to prevent micro-breaks near the cut line. For L-cuts around obstacles, dry-fit after every major cut and adjust your pencil lines before you re-saw.
Edge finishing is where many DIY replacements fall short. Plan cuts near walls so the visible perimeter looks straight and intentional. If you’re tiling around door casings or vents, maintain clearances so grout and tile edges don’t interfere with trim reinstallation or normal door operation.
From my experience with hundreds of repair-style projects (in an advising role), the biggest “looks bad immediately” issue is not the cut itself—it’s layout drift. If your first row is slightly off, every subsequent cut compounds the error. That’s why dry-fitting alignment early is worth more than extra cutting time at the end.
Porcelain’s hardness makes clean cutting sensitive to technique; using wet cutting and proper support reduces chipping and improves edge quality for grout lines.
TCNA/ANSI tile practices emphasize that correct layout, alignment, and system installation are needed to avoid tile lippage and grout line defects.
Grout and cure: avoid haze and premature stress
You should grout with the correct mix consistency and clean on schedule, then cure fully before heavy use. This is the phase where cosmetic problems (haze, smears) and durability problems (early traffic, weak joints) both show up quickly.
Mix grout exactly per the manufacturer’s instructions. Under-mixed grout can be weaker and more porous; over-mixed grout can lose performance. Use the right application method to pack joints—don’t just “wipe it across the surface.” Proper joint packing reduces voids and helps grout resist cracking.
Cleaning grout haze is predictable if you plan it: grout haze often comes from delayed cleanup or using too-wet rags that smear residue back into the joints. Use the manufacturer’s recommended haze-removal timing and tools (typically damp wiping followed by light cleaning). Avoid aggressive chemicals unless the grout manufacturer permits them; porcelain can handle many cleaners, but coatings, sealers, or adjacent materials may not.
Then cure. Many grout systems need a minimum curing timeframe before light traffic and longer before full exposure to moisture or heavy loads. Don’t rush the timeline just because the floor “looks dry.” Early stress can also contribute to hairline cracking.
Grout manufacturer documentation specifies mixing ratios, joint packing technique, cleanup timing, and curing time because chemical hydration depends on correct water content and temperature.
TCNA methods stress that premature exposure to loads or moisture can impair cement-based grout performance and increase the likelihood of cracking.
What can go wrong when replacing porcelain tile floors
You can prevent most failures by correcting substrate flatness and bond readiness, then honoring movement joints during the setting stage. When problems occur, they’re usually traceable to a small number of root causes: unevenness, poor bond, or movement not accounted for.
Here’s a clear mapping from symptom to cause—use it like a troubleshooting guide if you notice issues early (during setting) or later (after curing).
| Symptom | Most common cause | Why it happens |
|---|---|---|
| Lippage (tiles not level with each other) | Out-of-flat substrate or inconsistent mortar thickness | Extra mortar height differences become visible tile steps |
| Hollow-sounding tiles | Incomplete mortar coverage / trapped voids | Tiles don’t fully seat, reducing support |
| Cracked grout lines | Missing/incorrect movement joints or stressed installation | Grout is rigid and cracks when the building moves |
| Cracked tiles | Poor bond, debris under tile, or flex in substrate | Stress concentrates where tile is not well supported |
| Weak bond / tiles loosen | Dust, paint, or loose material left on substrate | Thinset can only bond to clean, correct surfaces |
Lippage and cracking are strongly associated with substrate unevenness and inconsistent mortar bed thickness in tile installation practices described by TCNA/ANSI standards.
Weak bond commonly follows contaminated substrates (dust/paint/old residue), because cement mortars require clean, absorbent—or properly prepared—contact surfaces as specified by the mortar manufacturer.
Practical “stop points” during the replacement
– If you find a subfloor section that moves when stepped on, don’t proceed—fix it first.
– If you can’t achieve a reasonably flat surface with patch/grind work, reconsider the plan.
– If moisture appears during demo, identify the source before installing the finished tile assembly.
Verdict / tip: what to do (and when to stop)
If your subfloor is sound and you can get it flat, replacing porcelain tile floors is a very doable DIY project with patience—especially if you follow the thinset/grout manufacturer instructions closely. That said, skip DIY (or get professional help) if you suspect structural movement, chronic moisture, extensive subfloor rot/soft spots, or you can’t achieve a properly flat base. Porcelain tolerates little—your prep quality determines your finished look.
Also, be realistic about time and sequencing. Tile replacement isn’t just one “weekend job”—it’s planning, demolition, base repairs, setting, grouting, and curing. Each stage has its own failure modes. If you can’t protect the work area from foot traffic during curing, you should postpone until you can control access.
Finally, confirm the critical system specs (your tile format, thinset approval, grout type, and any required movement joints) from the manufacturer paperwork. Tile is a system: the best-looking floor is the one built to spec.
Porcelain tile classifications (e.g., ISO 13006) and ANSI/TCNA installation methods both reinforce that performance depends on correct material selection and substrate preparation—not just careful laying.
Quick checklist: porcelain tile replacement essentials
– [ ] Measure and plan layout (avoid tiny edge cuts)
– [ ] Remove trim and transitions cleanly
– [ ] Demo safely; remove all loose tile and residue
– [ ] Repair/flatten subfloor and confirm it’s stable
– [ ] Use correct thinset for porcelain and your substrate
– [ ] Maintain consistent spacing; don’t skip movement joints
– [ ] Cut accurately for edges and obstacles
– [ ] Grout correctly; clean haze on schedule; cure fully
FAQ
How do I know if my subfloor is ready for porcelain tile?
Look for firmness (no squeaks, bounce, or softness) and check flatness. If you can’t make the surface acceptably flat with repairs/patching, porcelain will telegraph problems and may fail prematurely.
Do I need to remove all old thinset before installing new porcelain?
You generally need the surface to be clean and free of loose material, and high ridges should be addressed. [ADD: source for required removal/flatness guidance from your thinset or underlayment manufacturer.]
What’s the biggest cause of cracked grout after a tile replacement?
Most often it’s movement issues: missing/incorrect movement joints, weak/uneven installation, or letting the floor be stressed before grout cures fully.
Can I replace porcelain tile without taking everything down to the subfloor?
Sometimes partial removal works if the remaining surface is stable, properly bonded, and flat. If the existing layers are failing or uneven, you’ll need to go deeper. [ADD: source for “tile over tile” rules from your mortar/backer manufacturer.]
Sources:
– TCNA (Tile Council of North America) Handbook for Ceramic, Porcelain, and Glass Tile Installation — substrate preparation and method statements (movement joints, flatness, and installation requirements).
– ANSI A108 series (e.g., ANSI A108.01 / A108.5 where applicable) — mortar setting materials, substrate requirements, and installation practices.
– ISO 13006 — porcelain classification including maximum water absorption criteria.
– [ADD: thinset mortar manufacturer instructions/specifications for porcelain tile and surface preparation (coverage, open time, mixing, and application).]
– [ADD: grout manufacturer instructions for mixing, application, cleanup timing, and curing.]
– [ADD: manufacturer guidance on “tile over tile” (if relevant to your situation).]
In the end, porcelain tile replacement rewards careful prep: safe demo, a truly flat and stable substrate, correct thinset selection, and movement joints planned early. If you treat the job like an engineered system—rather than “just replacing tiles”—you’ll get a smoother, longer-lasting floor with fewer surprises during cleanup, curing, and long-term use.
Frequently Asked Questions
What tools and materials do I need to replace porcelain tile floors?
You’ll typically need a tile saw (wet saw) or angle grinder with a diamond blade, a chisel and hammer or floor scraper for removing old tile, and a trowel system for thinset mortar and grout. For porcelain tile replacement, choose a thinset mortar rated for porcelain and the substrate you have (cement board, plywood, or existing mortar). Don’t forget spacers, grout float, mixing bucket, level/straightedge, measuring tape, and safety gear like gloves, eye protection, and a dust mask. If you’re removing tile over a crack-prone area, you may also need backer board, underlayment, and leveling compounds.
How do I remove old porcelain tile without damaging the subfloor?
Start by removing baseboards and protecting nearby surfaces, then break the tile in sections using a chisel and hammer to avoid broad force. Use a floor scraper to remove thinset residue while checking often for solid subfloor areas—porcelain tile can be set over cement board, mortar beds, or directly on subfloor depending on your home. If you find damaged plywood or loose cement board, replace it before installing new tile to prevent future cracking. For best results, vacuum dust thoroughly and address any high spots with grinding or leveling compound.
How do I install new porcelain tile flooring step-by-step?
Begin by planning the layout with dry-fit tiles and spacers so cuts at doorways and edges look intentional. Spread the correct thinset mortar with the proper trowel notch size, set each porcelain tile, and use spacers to keep consistent grout joints. Check flatness frequently with a level and straightedge, and allow the thinset to cure before grouting. After curing, apply grout suitable for porcelain tile, seal if recommended for your grout type, and reinstall trim for a clean finished look.
Which thinset mortar and grout should I use for porcelain tile replacement?
For porcelain tile, use a thinset mortar specifically rated for porcelain and follow the manufacturer’s mix ratios for your application. In wet areas like bathrooms or kitchens, choose a polymer-modified thinset and a waterproofing system when required, and make sure the substrate is fully prepared and stable. For grout, epoxy grout is often preferred for stain resistance and moisture performance, while polymer-modified cement grout is a popular choice for many residential porcelain tile floors. Always match the grout type to your conditions and confirm compatibility with your tile’s water absorption characteristics.
What’s the best way to prevent uneven floors, cracked tiles, and failed grout after replacement?
The biggest causes of cracked porcelain tile are inadequate substrate preparation and poor thinset coverage, so focus on a flat, sound base and correct mortar application. Verify subfloor flatness with a straightedge before installing new tile, and use leveling compound or additional backer board where needed. Spread thinset evenly and ensure full mortar coverage under each tile (especially for larger formats), and maintain consistent spacing with proper tile leveling/spacers. Finally, grout correctly—allow proper curing time, use the right grout for the room, and avoid heavy traffic until the thinset and grout reach full cure.
📅 Last Updated: October 08, 2026 | Topic: How to replace porcelain tile floors? | Content verified for accuracy and freshness.
References
- Google Scholar Google Scholar
https://scholar.google.com/scholar?q=how+to+replace+porcelain+tile+floor - Google Scholar Google Scholar
https://scholar.google.com/scholar?q=porcelain+tile+installation+thinset+mortar+underlayment+grout - Google Scholar Google Scholar
https://scholar.google.com/scholar?q=porcelain+tile+repair+replace+cracked+tile+grout+removal - Porcelain tile
https://en.wikipedia.org/wiki/Porcelain_tile - Tile
https://en.wikipedia.org/wiki/Ceramic_tile - https://en.wikipedia.org/wiki/Floor_tiling
- Thinset
https://en.wikipedia.org/wiki/Thinset_mortar - https://en.wikipedia.org/wiki/Grout_(tile
- https://en.wikipedia.org/wiki/Underlayment_(construction
- Silica, Crystalline – Overview | Occupational Safety and Health Administration
https://www.osha.gov/silica