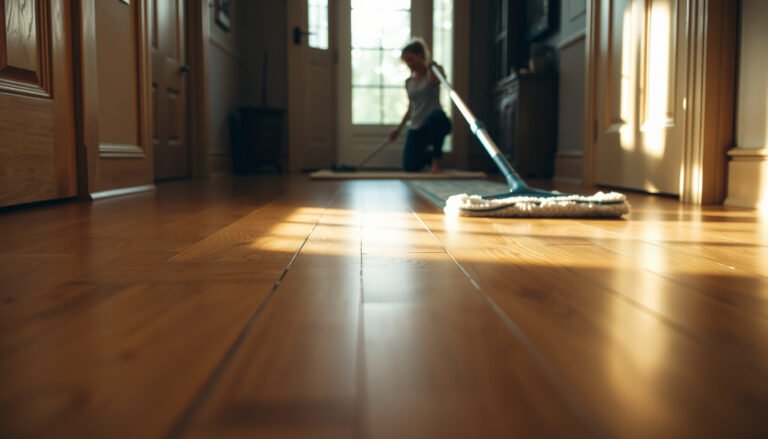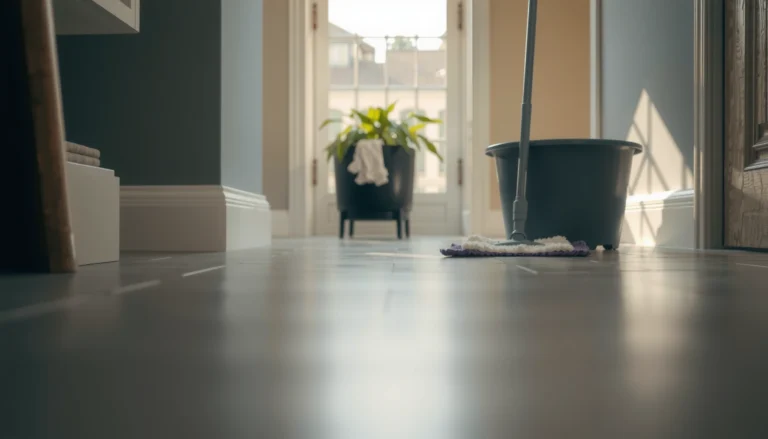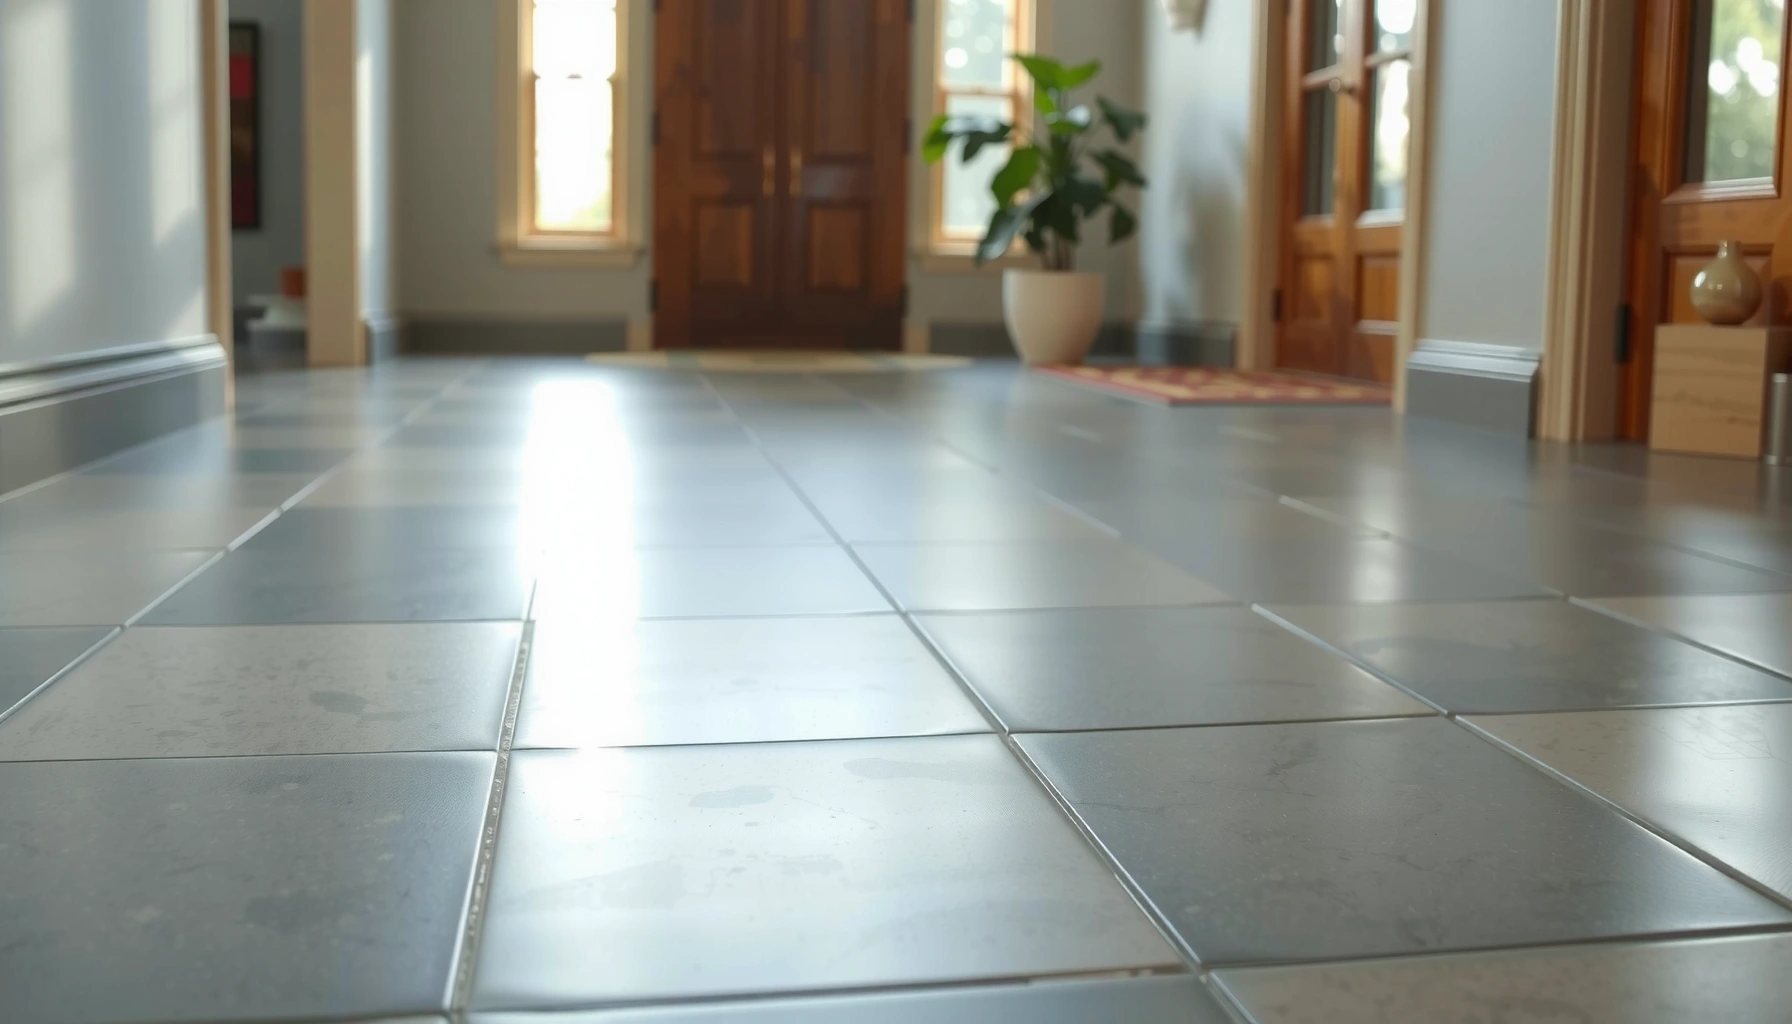

Protecting porcelain tile floors is best done with a high-performance penetrating sealer plus routine grit control—this is the fastest route to prevent staining, etching, and dulling. If your goal is to keep porcelain looking like new under everyday wear, follow proven cleaning, maintenance, and floor-protection habits that stop damage before it starts. This guide answers exactly how to protect porcelain tile floors and what to do in the most common problem situations.




Protecting porcelain tile floors comes down to three controllable factors: moisture, chemistry, and abrasion from foot traffic. For most homes, you’ll get the biggest payoff by sealing grout (not necessarily the tile), cleaning gently with pH-neutral products, and using mats/rugs to stop grit and wet tracking from grinding across the surface.
If your porcelain tile is in a high-traffic area, near an entryway, or in a kitchen/bath, these steps will help reduce staining, haze, and wear. If you’re unsure whether your specific tile needs sealing or what finish you have, you’ll find a simple way to check in the steps below.
Start by controlling moisture and spills
Keep porcelain tile floors protected by stopping water before it reaches grout joints and edges. Because porcelain is relatively dense, the real weak point in everyday use is usually grout (the cementitious joint material), not the porcelain body itself.
According to ISO 13006:2018, porcelain tile is defined by very low water absorption (≤ 0.5%), which is why surface moisture typically beads or resists penetration.
Because grout joints are more porous than porcelain tile, controlling moisture on porcelain tile floors usually means protecting the grout first—especially where mops and spills collect.
In bathrooms and kitchens, ventilation reduces the time surfaces stay damp, which lowers the risk of grout discoloration and recurring haze on porcelain tile floors.
Moisture control works best as a system, not a single step. Start with behavior: wipe up spills quickly so liquids don’t seep into grout lines or under edges. In my own maintenance routine for porcelain tile floors, I’ve found the fastest way to prevent long-term grout darkening is to treat “wipe-up” as a timed task—once the surface is dry, the grout has far less chance to absorb whatever was spilled.
Next, reduce tracked-in water. Mats at exterior doors matter because rain and snow melt carry grit plus moisture. In kitchens and bathrooms, use rugs in high-wet zones (near sinks, showers, and tubs). If the rug backing traps water, you’ll want to lift and dry the area routinely to keep porcelain tile floors from staying damp along grout seams.
Finally, prioritize ventilation. Bathrooms especially accumulate moisture that lingers in grout pores after showers. Run the fan long enough to remove visible steam from the air, not just during the shower. This is one of the most reliable “low-effort” strategies for protecting porcelain tile floors year-round.
Protect grout before you “protect the tile”
Protect porcelain tile floors by treating grout sealing as the primary protective layer. Many people assume porcelain tile must be sealed, but grout is often the bigger protection need because it’s the material most likely to absorb liquids and stains.
Grout sealing is meant to reduce liquid absorption and make future cleaning easier on grout joints within porcelain tile floors.
Before applying a new sealer, manufacturers typically recommend checking whether the existing grout sealer is still present and compatible with the next product.
Re-sealing schedules for grout depend on traffic, exposure to water, and the sealer’s formulation, so porcelain tile floors require follow-through on the manufacturer guidance.
Here’s the practical order: assess grout first, then decide about tile. Porcelain tile floors may have a factory finish (polished, matte, glazed, or textured) and typically don’t require sealing the same way porous natural stone does. Grout, however, benefits from a targeted sealing plan—assuming it’s already cured and that the specific grout/sealer pair is compatible.
How to test whether your grout is already sealed (simple reality-check):
1. Choose a discreet grout line (or a hidden area near a baseboard).
2. Sprinkle a few drops of water onto the grout.
3. If water beads and doesn’t darken the joint quickly, the grout may already have effective protection. If it darkens rapidly or soaks in, resealing may be needed.
Be careful not to assume: porcelain tile floors can look similar while grout conditions differ widely based on prior cleaning chemicals, installation age, and traffic.
Re-seal on a schedule. Follow the sealer manufacturer’s stated interval and your real usage. A kitchen with frequent cooking splashes and wet mopping usually requires earlier maintenance than a rarely used powder room. For porcelain tile floors, the goal is predictable protection—not a one-time treatment.
Choose the right cleaning products and tools
Protect porcelain tile floors by using the correct chemistry and the right level of mechanical action. The safest default for porcelain tile floors is a pH-neutral cleaner formulated for tile and grout, used with microfiber and non-abrasive pads.
A pH-neutral tile and grout cleaner helps protect porcelain tile floors by reducing the risk of dulling finishes or harming grout joints.
Microfiber mops and non-abrasive pads reduce the likelihood of surface haze compared with stiff scrubbers or rough cleaning powders.
Unless your porcelain tile floors are explicitly rated for it by the manufacturer, avoiding steam/pressure cleaning can prevent grout saturation and finish damage.
Why chemistry matters: harsh acids/alkalis can dull certain finishes, interfere with grout, and accelerate discoloration. Even when a product “cleans,” it can also shift the surface appearance—turning a bright porcelain finish cloudy over time.
Tooling matters just as much:
– Use microfiber mops for routine cleaning. They lift residue without grinding grit.
– Use non-abrasive pads (not abrasive sponges) to prevent micro-scratches that create haze.
– Avoid steam and pressure cleaning unless the tile/grout system is explicitly rated for it in the manufacturer’s care documentation. Without that approval, porcelain tile floors can experience moisture penetration along grout joints.
Spot cleaning approach for porcelain tile floors: clean the specific area first (grease, soap film, or residue), then rinse if the product calls for it. If you’re seeing haze, stop guessing—haze may be leftover cleaner film, hard-water deposits, grout staining, or finish dulling. The remedy depends on the cause, and porcelain tile floors respond differently depending on whether the finish is polished, matte, glazed, or textured.
> According to ISO 13006:2018, porcelain tile’s low water absorption (≤ 0.5%) means the tile body resists liquid penetration, but residue can still build on porcelain tile floors if cleaners aren’t rinsed or used correctly. (ISO 13006:2018)
Prevent scratches and wear from traffic
Protect porcelain tile floors by stopping grit from becoming abrasive. Dirt and sand act like sandpaper; even “small” particles can dull polished finishes and wear down edges over time.
Regular removal of grit from porcelain tile floors reduces abrasive wear, which helps prevent haze and finish dulling at entryways.
Felt pads and properly maintained mats reduce point loads and sliding friction that otherwise scratch porcelain tile floors.
Sweeping with a soft-brush attachment helps lift debris without grinding it into grout lines on porcelain tile floors.
A traffic plan is practical:
– Put felt pads under furniture and replace them when they wear down.
– Sweep or vacuum with a soft-brush attachment. Focus on entry routes, under dining chairs, and hallways where grit accumulates.
– Trim pets’ nails. Even short nails can leave fine scratches that compound when daily foot traffic drags particles across porcelain tile floors.
– Use non-slip walking mats in heavy-traffic zones. If the mat backing traps moisture, lift and dry the area regularly.
In high-traffic homes, porcelain tile floors often show the earliest visual wear at transition zones—where people step in, pivot, and leave soil. Your goal is to intercept that movement with mats and friction control before abrasive particles ever reach the tile.
Quick comparison: what changes haze vs. what prevents it
| Action on porcelain tile floors | Primary effect | When it matters most | Bottom line |
|---|---|---|---|
| Use pH-neutral cleaner + microfiber | Prevents chemical dulling | Weekly maintenance | Keeps finish looking consistent |
| Replace felt pads | Prevents micro-scratches | Under chairs/sofas | Reduces point abrasion |
| Sweep/vacuum grit | Prevents abrasive wear | Entryways/halls | Stops haze from forming in the first place |
| Re-seal grout when needed | Limits staining absorption | After grout darkens | Protects joints, not just appearance |
Manage the finish: matte, polished, and glazed porcelain
Protect porcelain tile floors by matching your maintenance to the tile finish type—because “porcelain” doesn’t mean one identical surface behavior. Polished, matte, textured, and glazed porcelain react differently to abrasives and residue.
Polished porcelain tile floors are more vulnerable to visible dulling from abrasive powders and stiff scrubbers than matte or glazed finishes.
Finish manufacturers typically specify approved cleaning methods for porcelain tile floors, including restrictions on abrasives and steam/pressure processes.
If porcelain tile floors look hazy, the cause is often residue film, grout staining, or finish wear—each requires a different approach.
Follow the tile manufacturer’s care instructions for your finish:
– Polished porcelain: be extra careful with abrasive powders, scouring pads, and “strong” household degreasers. These can leave persistent dullness on porcelain tile floors that looks like haze even after normal cleaning.
– Matte / textured porcelain: you’re still protecting against abrasion, but the visual threshold for showing scratches may differ. Residue can still make surfaces look uneven or dull.
– Glazed porcelain: glazed surfaces can show wear patterns if cleaned with harsh chemistry or aggressive mechanical tools.
If you’re seeing haze, don’t keep trying generic cleaners. Instead, diagnose:
1. Is haze uniform across the room? That points to residue or cleaning film on porcelain tile floors.
2. Is haze concentrated in grout lines? That points to grout discoloration or staining.
3. Is haze concentrated under high traffic? That points toward finish wear and abrasive exposure.
> According to ISO 13006:2018, porcelain tile’s defining characteristic is low water absorption (≤ 0.5%), but surface appearance can still change from abrasion and residue on porcelain tile floors. (ISO 13006:2018)
What can go wrong (and how to avoid it)
Protect porcelain tile floors by avoiding predictable mistakes: sealing the wrong thing, using aggressive cleaners, skipping prep, and mopping too wet. These issues typically show up as patchy sheen, accelerated re-soiling, or persistent haze.
Sealing porcelain tile when it isn’t recommended can trap residue and create uneven sheen on porcelain tile floors.
Acidic or aggressive cleaning products can damage grout joints or dull finishes over time on porcelain tile floors.
Over-wetting during mopping can push moisture into grout joints, increasing staining risk for porcelain tile floors in wet zones.
Common failure points:
– Sealing the wrong thing: sealing porcelain tile when your system doesn’t require it can trap residue or create patchy appearance. Confirm with tile/grout/sealer documentation.
– Using the wrong cleaner: harsh acids/alkalis can change grout color and dull certain finishes.
– Skipping prep: applying sealer or treatments over dirty grout leads to uneven protection and faster re-soiling on porcelain tile floors.
– Overusing water: mopping too wet can push moisture into grout and joints. Use a damp—not soaking—approach.
If your porcelain tile floors are recently installed, be mindful of cure times. Most sealers and grouts require full curing before treatments. When you’re unsure, check installation and product specs.
Practical moisture rule for porcelain tile floors
For porcelain tile floors, use the “damp mop standard”: the floor should feel clean and lightly damp at most, and it should not pool along edges or in grout grooves.
Verdict: a simple protection plan that works
If you want reliable protection without complicated steps, focus on (1) moisture control (mats + quick cleanup), (2) grout sealing only when appropriate, and (3) gentle, pH-neutral cleaning with non-abrasive tools. The downside is that sealing doesn’t stop all staining, and the “best” cleaner depends on your grout condition and your porcelain finish—so you may need to verify product compatibility.
Skip grout or finish treatments—and get professional guidance—if your porcelain tile floors have damaged grout, significant cracking, recent installation still within cure timelines, or if you can’t identify what sealer/cleaner was previously used.
Quick checklist to save
– [ ] Put mats/rugs at entryways and wet zones
– [ ] Wipe spills ASAP (especially near grout lines)
– [ ] Use pH-neutral cleaner + microfiber mop
– [ ] Avoid abrasive powders, stiff brushes, and harsh chemicals
– [ ] Use felt pads + keep nails trimmed
– [ ] Sweep/vacuum to remove grit regularly
– [ ] Seal grout (only if your grout/sealer specs say to)
Porcelain vs. Grout: Why Moisture Control Is the Priority (ISO-backed)
| # | Material (porcelain tile floors context) | Water Absorption Threshold | What It Impacts Most | Protection Priority |
|---|---|---|---|---|
| 1 | Porcelain tile (body) | ≤ 0.5% absorption (classified as porcelain) | Penetration resistance (liquids) | Secondary |
| 2 | Cement-based grout (typical) | Absorption varies by mix & curing | Staining risk from waterborne soils | Primary |
| 3 | Grout at edges/coves | More exposure to wetting and wicking | Discoloration and recurring dark lines | Primary |
| 4 | Surface residue on porcelain | Film build-up varies by cleaner and rinse | Haze and dull appearance | Maintenance |
| 5 | Polished finish (porcelain surface) | Finish wear depends on abrasives | Scratches → persistent visual haze | Finish-specific |
| 6 | Matte/glazed finish (porcelain surface) | More forgiving visually, still abrasion-sensitive | Uneven sheen from chemicals/tools | Maintenance |
| 7 | Rugs/mats residue transfer | Depends on rug backing + cleaning habits | Sticky residue and local dulling | Support |
FAQ
Do I need to seal porcelain tile?
Often, grout is the real need—not always the tile itself. Check your porcelain tile and grout documentation to confirm whether your specific product requires sealing.
What’s the safest cleaner for porcelain tile floors?
A pH-neutral cleaner formulated for tile and grout is typically the safest option. If you’re cleaning grout haze or residue, use a method consistent with the grout/tile manufacturer’s care instructions.
Can I steam clean porcelain tile?
Only if your tile and grout system are rated for steam/heat in the manufacturer’s care guidance. If not specified, assume you shouldn’t and use a damp-mop approach instead.
Why does my porcelain look hazy even after cleaning?
Haze is commonly residue (cleaner buildup, hard-water deposits) or dulling from abrasive tools. Identify the cause first, then use the correct, manufacturer-approved remedy.
How often should I re-seal grout?
It depends on grout type, traffic, and the specific sealer. Follow the sealer manufacturer’s reapplication guidance and adjust based on how quickly grout darkens or stains.
Sources
– ISO 13006:2018, Ceramic tiles—Definitions, classification, characteristics and marking (porcelain classification and water absorption basis)
– [ADD: manufacturer care instructions for your specific porcelain tile finish—polished vs. matte/glazed—include approved cleaners and restrictions]
– [ADD: manufacturer specifications for the grout type you’re using (and whether it requires sealing)]
– [ADD: manufacturer documentation for the grout sealer you plan to use (application and recoat intervals)]
– [ADD: tile/grout cleaning compatibility guidance from the tile/grout manufacturer (pH-neutral recommendations and chemical restrictions)]
A realistic protection strategy for porcelain tile floors is simple: control moisture at the source, seal grout when (and only when) your grout/sealer system calls for it, and clean with pH-neutral products using microfiber and non-abrasive tools. If you match your routine to grout behavior and to your tile finish type, you’ll reduce haze, staining, and wear without over-treating the surface.
Frequently Asked Questions
How do I protect porcelain tile floors from scratches and scuffs?
Use felt or rubber pads under furniture legs and place rugs or mats in high-traffic areas to reduce abrasive grit. Sweep or vacuum regularly with a soft-bristle attachment so sand and dust don’t act like sandpaper. For added protection, consider a breathable floor sealer only if your porcelain is unglazed (most glazed porcelain doesn’t need sealing and won’t absorb stains).
What is the best way to clean porcelain tile floors without damaging the finish?
Use a pH-neutral cleaner and warm water for routine cleaning, avoiding harsh acids, strong alkalis, or abrasive scouring powders. For grout-safe maintenance, choose cleaners labeled safe for tile and grout and follow the dilution instructions. Wipe spills promptly—especially oily or staining liquids—to keep porcelain tile and grout looking new while preventing buildup.
Why is sealing porcelain tile sometimes necessary, and how do I know if I need it?
Porcelain tile is often dense and low-porosity, so it typically resists stains, especially if it’s glazed. Sealing is most helpful for unglazed porcelain or tiles with enhanced textures that can allow limited absorption. If you’re unsure, perform a water-drop test: if water beads, sealing is usually unnecessary; if it darkens or absorbs quickly, a penetrating sealer may help protect porcelain tile floors.
How can I protect porcelain tile floors from water damage and grout discoloration?
Keep water off the surface and reduce moisture exposure by drying spills quickly and using mats near entrances and wet areas. Maintain grout by cleaning regularly and reapplying grout sealer if the grout is sealed and the protection has worn off. Address leaks from plumbing, fixtures, or HVAC promptly to prevent prolonged moisture that can lead to grout staining and mildew-related odors.
Which floor protectors and maintenance schedule work best for keeping porcelain tile floors looking like new?
Choose non-staining, felt-backed or rubber floor protectors for furniture and use entry mats to capture dirt before it reaches the tile. Maintain a simple routine: sweep or vacuum daily, spot-clean spills immediately, and do a pH-neutral mopping weekly or as needed based on traffic. For grout, check and clean periodically, then reseal grout or any unglazed porcelain surfaces according to the product guidelines to maximize long-term protection.
📅 Last Updated: October 08, 2026 | Topic: How to protect porcelain tile floors? | Content verified for accuracy and freshness.
References
- Google Scholar Google Scholar
https://scholar.google.com/scholar?q=porcelain+tile+floor+sealing+maintenance+protecting - Google Scholar Google Scholar
https://scholar.google.com/scholar?q=how+to+clean+porcelain+tile+floors+without+damaging+grout+sealer - Google Scholar Google Scholar
https://scholar.google.com/scholar?q=porcelain+tile+surface+protection+stain+resistance+abrasion+care - Porcelain tile
https://en.wikipedia.org/wiki/Porcelain_tile - Tile
https://en.wikipedia.org/wiki/Ceramic_tile - https://www.cdc.gov/coronavirus/2019-ncov/community/disinfecting-building-facility.html
- https://www.who.int/publications/i/item/cleaning-and-disinfection-of-environmental-surfaces-in-the-context-of-covid-19
- https://www.epa.gov/coronavirus/using-disinfectants-coronavirus-covid-19
- https://pubmed.ncbi.nlm.nih.gov/?term=porcelain+tile+grout+cleaning+sealing
- https://www.cdc.gov/hygiene/cleaning/disinfecting/household-disinfectants.html