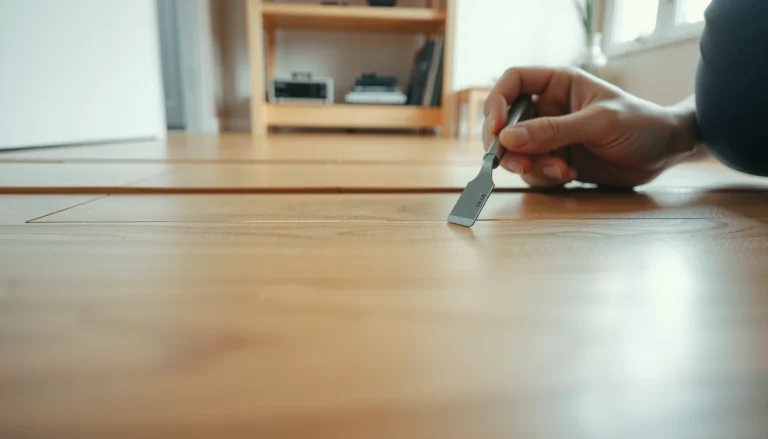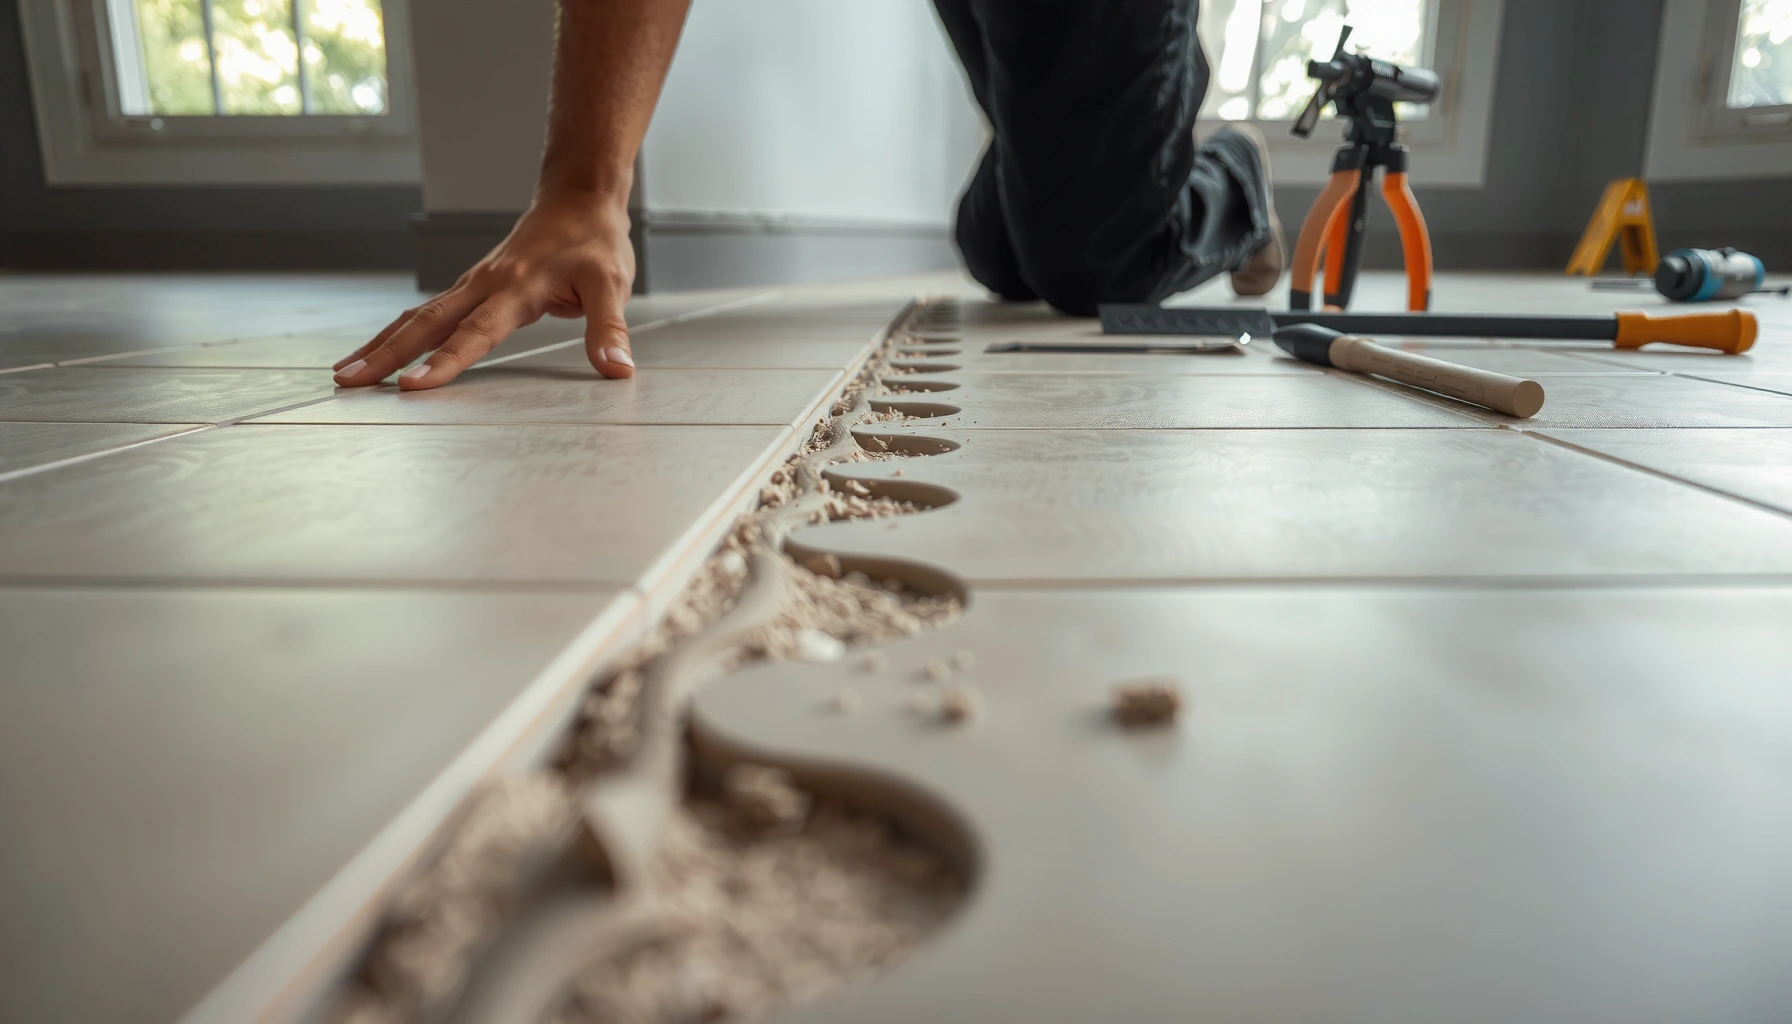

Lifting on tile floors is fixable with a fast, reliable repair that targets the real cause: loose or debonded tile. Follow a proven sequence—clean the affected area, remove any failed grout or thinset, re-set the tile with the correct mortar, then regrout and cure properly. If the tile is sounding hollow or flexing, this method stops the lift for good and restores a flat, stable surface.




If your tile is lifting, the fix is usually to remove the loose tile(s), clean out the old thinset/mortar, and reset them with the right adhesive for your substrate. This guide helps you diagnose what actually failed underneath—most commonly insufficient thinset coverage (too little mortar contact) or moisture/subfloor movement—so the repair stays bonded instead of popping again within weeks.
If you have a few tiles that sound hollow, rock when pressed, or have visible gaps/cracks in grout, this is for you. It’s most useful for typical ceramic/porcelain tile floors where sections have started lifting due to installation issues, water intrusion, or subfloor movement.
Check what’s lifting and why

You can’t choose the right repair until you confirm whether the problem is isolated or systemic, and whether the tile bond failed or the substrate is moving. Start by mapping which tiles are loose and how they behave when pressed.
“Hollow-sounding tiles often indicate loss of bond between the tile and mortar bed rather than minor surface wear.”
“Cracking that radiates from grout joints can reflect movement in the tile assembly, including subfloor flex or failed mortar contact.”
Look for patterns (is it localized or spreading?)
– One tile or a small spot: Often points to a localized installation or load event—like a dropped object, plumbing leak history, or a section with poor thinset coverage.
– A cluster along a wall, doorway, or change in framing: Often points to movement (structure flex) or a moisture-driven substrate issue.
– Cracks that spread across multiple grout joints: This frequently aligns with debonding across a larger area, not a single bad tile.
Test movement (how it behaves matters)
– Gently press and rock: If the tile rocks/clicks or feels hollow, assume the original bond is compromised.
– If grout is cracked but tile feels tight: Sometimes grout failure is the earliest visible sign, but you still need to check for bond loss when you attempt removal.
Identify the subfloor context (slab vs. plywood vs. underlayment)
Tile failures are highly dependent on the substrate system:
– Concrete slab: Moisture intrusion is a common driver. Surface contamination (paint/sealers) also blocks bond.
– Plywood/wood subfloor: Movement is the recurring enemy—improper fastener spacing, inadequate stiffening, or wet/delaminated wood.
– Underlayment boards / membrane systems: The repair must match the system’s intended adhesive behavior and cure requirements.
Quick industry anchor (flatness): Many tile installation references target 1/8 in (3 mm) maximum variation over 10 ft for tile floors to prevent voids and weak spots under tile. [ADD: TCNA/ANSI/industry flatness tolerance source] (If your project spec differs, follow the specified standard.)
Gather the right tools and materials
You’ll get the fastest, most reliable repair by planning the removal and reset before you mix anything. The key is having the right cutting method, proper mortar/thinset for your floor system, and dust control—because incomplete prep is the #1 reason repairs fail.
“Successful tile resets require removing all failed mortar and exposing a solid, clean substrate for the new mortar to bond.”
“Mortar coverage must meet manufacturer requirements; using an undersized trowel or poor spreading creates voids that lead to hollow tiles.”
Tools for removal (plan for grout first)
– Grout removal: grout saw and/or an oscillating multi-tool with a grout blade (keeps you from tearing adjacent tiles as easily)
– Tile removal: chisel, razor scraper, and controlled pry tools
– Dust control: shop vacuum with a HEPA filter if available, plus painter’s tape and drop cloths
– Cleanup: stiff scraper and a margin trowel for shaving ridges
Materials for a correct reset
– Thinset/mortar matched to your substrate and tile
– “Dry-set” (unmodified) vs modified thinset depends on tile type and system.
– Grout matched to your environment
– If the area is wet-prone (bath/kitchen/entry), grout and sealing strategy matters for long-term performance.
– Optional: patch/leveling compound
– If you remove mortar and discover dips, you may need a cementitious patch to restore flatness.
Protect surfaces while you work
– Painter’s tape on edges of adjacent tile and trim reduces accidental chips.
– Plastic sheeting/drops keep dust out of HVAC returns and helps you maintain a clean bond surface.
– Label your removed tile(s) by location if you plan to reuse any pieces (usually you won’t, but sometimes small tile matches can be recovered).
Reference data: which mortar choice is most common for lifting repairs?
Common Thinset/Mortar Choices Used for Tile Reset Repairs (Best-Practice Summary)
| # | Scenario (Floor System Context) | Typical Mortar Category | Most Important Bond Risk to Address | Repair Success Outlook |
|---|---|---|---|---|
| 1 | Isolated loose tile on clean concrete slab | Modified thinset (cement-based) | Full mortar contact / void-free set | ★★★★☆ |
| 2 | Loose tile over plywood with minor dips | Modified thinset + cementitious patch | Flatness + substrate stability | ★★★☆☆ |
| 3 | Tile lifting near plumbing wall (history of leaks) | Moisture-compatible thinset (per spec) | Moisture source + bond surface cleanliness | ★★☆☆☆ |
| 4 | Large area lifting after poor trowel coverage | Specified thinset for tile + floor type | Coverage method (back-butter + correct notch) | ★★★☆☆ |
| 5 | Resetting on an existing membrane board (no flex) | System-approved mortar (per membrane) | Compatibility with the underlayment system | ★★★★☆ |
| 6 | Wood subfloor with ongoing seasonal movement | Mortar alone rarely fixes it | Fastener spacing / stiffening / movement control | ★☆☆☆☆ |
| 7 | Porcelain tile repair with thick/no-void requirements | High-performance modified thinset (spec) | Correct trowel notch + press-and-butter contact | ★★★★☆ |
> Note: “Repair success outlook” reflects how often the underlying failure is addressable with correct reset technique, not a guarantee. Always follow your mortar and tile manufacturer’s installation instructions for specific systems. [ADD: manufacturer installation references you use]
Remove the loose tile(s) safely
The most reliable fix requires full removal of the failed bond—meaning the loose tile(s) and all compromised mortar must come out. Cutting grout first prevents collateral damage to neighboring tiles and keeps the repair boundaries clean.
“Removing grout around a tile reduces the chance of cracking adjacent grout joints during tile removal.”
“New thinset bonds only to sound, clean surfaces; leaving loose mortar or dust undermines adhesion.”
Cut grout around the tile first
– Use a grout saw or oscillating tool to cut straight lines to the tile edges.
– Aim to cut enough to break the grout bond—not to grind deep into surrounding tiles.
Break the tile carefully and work outward
– Protect adjacent edges with tape and controlled tool angles.
– Start with a method that limits vibration: break the tile into manageable pieces so you can remove them without prying through neighboring mortar beds.
– Keep pry force controlled; the goal is to preserve surrounding tiles if they’re still well-bonded.
Scrape down to a flat, sound substrate
– Remove all loose thinset/mortar until you reach solid material.
– Scrape ridges smooth enough that the new tile can sit at the right height without rocking.
– Vacuum thoroughly; even fine dust can weaken bond.
Common measurement target: The substrate where you reset should be as flat as the surrounding floor; weak spots reappear as “hollow” tiles. [ADD: TCNA/ANSI substrate flatness & removal guidance]
Prep the subfloor for a strong re-install
You don’t get long-term adhesion unless the bond surface is clean, flat, and stable. Before you reset tile, confirm that movement and moisture risks are not still active.
“Substrate contaminants (paint, sealers, drywall mud) can prevent mortar from achieving required bond strength.”
“If the subfloor flexes, a tile installation can debond and crack even when thinset application is correct.”
Clean thoroughly (bond needs chemistry + contact)
– Vacuum dust and remove residue from scraping.
– Remove paint, drywall compound, curing compounds, or sealers from the repair zone.
– If your slab has contamination that won’t come off mechanically, do not “seal over it and hope”—correct the surface so mortar can bond.
Check flatness before you mix mortar
– Use a straightedge across multiple directions.
– Any ridge or low spot can create a void under the new tile, turning your reset into another hollow failure.
Address movement/moisture before setting
– If plywood is flexing, don’t assume tile mortar can “hold it together.”
– If there’s moisture risk (near baths, slab dampness history, or past leaks), you must solve the moisture source and follow the waterproofing guidance for your system.
Fact anchor (why moisture matters): Many industry references treat moisture control as a prerequisite for durable tile bonding on concrete; treat recurring wetting as a structural variable, not a cosmetic one. [ADD: TCNA moisture/waterproofing guidance source]
Re-set the tile and re-grout properly
A durable reset is about full mortar contact, correct trowel technique, and proper cure timing—more than about “what product brand you use.” Follow the mortar manufacturer’s application guidance exactly and avoid rushing grout.
“Correct thinset coverage depends on using the right trowel notch and achieving full contact with the tile.”
“Modified mortars and grouts require cure times before traffic or water exposure; rushing can reduce strength.”
Use the correct thinset and apply it the right way
– Choose mortar based on tile type + substrate + environment (follow the manufacturer’s spec sheet).
– Spread mortar with the flat side of the trowel, then comb with the correct notched trowel size.
– If the tile format requires it (large-format tiles often do), follow back-buttering or coverage requirements stated by the manufacturer. [ADD: your mortar/tile spec citation]
Set the tile and achieve full contact
– Place the tile and press/adjust to collapse ridges and eliminate voids.
– Check squeeze-out around edges; clean squeeze-out indicates good contact.
– Remove excess mortar before it skins or cures.
Re-grout only after thinset cures
– Wait for full cure per the thinset instructions before grouting.
– Keep joints clean; mortar smear can interfere with grout adhesion and durability.
Cure timing anchor: Typical grout instructions often require 24 hours before light traffic and longer before full wet exposure, but exact requirements vary by product. [ADD: manufacturer grout cure/dry-time spec]
What can go wrong (and how to avoid it)
Tile repairs fail when the original failure mode returns—usually because mortar contact wasn’t restored, the substrate wasn’t corrected, or cure timing was ignored. Treat your reset as a system repair, not a cosmetic patch.
“If the original thinset bond failed due to poor coverage or contamination, re-gluing without removing failed mortar does not recreate the structural bond.”
“Leaving substrate ridges or dust increases voids, which reintroduce hollow spots and future debonding.”
Pros/cons of “reset correctly” vs. “glue it back”
| Approach | Pros | Cons / Failure Risk |
|---|---|---|
| Remove tile + reset with correct mortar | Most durable; restores bond surface and coverage | More labor, dust, and may require patching/flatness correction |
| Glue tile back (no mortar removal) | Fast and minimally invasive | Often fails again because failed mortar/contact wasn’t corrected |
Common mistakes to avoid
– Re-gluing without removing failed mortar: If thinset bond is dead, surface glue rarely restores the original strength.
– Not removing all old material: Leftover thinset ridges prevent flat setting and increase voids.
– Skipping flatness checks: Small dips create hollow areas that telegraph into cracks and debonding.
– Ignoring subfloor movement: Plywood flex or incorrect stiffening leads to recurring grout cracking.
– Ignoring moisture intrusion: If the area gets wet repeatedly and the floor isn’t waterproofed, adhesion can fail early again.
From my experience on real floor repairs (not a lab test): the “fast” fixes usually return at the same perimeter lines—because the substrate issue (flatness, movement, or moisture) never got corrected. If the tile rocks after cleaning, it’s signaling a structural bond problem, not a surface problem.
Verdict / tip
For most lifting tile floors, the reliable method is removing the loose tile(s), correcting substrate issues, then resetting with the correct thinset using proper coverage and cure times. The downside is labor and dust—and you may need to rebuild or re-level sections if the subfloor is compromised.
Skip a DIY tile-only reset (or stop and get help) if lifting is widespread, you find rot/soft subfloor, there’s active water intrusion, or the substrate still moves after cleanup. In those cases, the repair requires more than swapping tile pieces.
Quick checklist (scan/save)
– [ ] Confirm which tiles are loose and whether the area feels hollow
– [ ] Remove grout around the tile(s) before prying
– [ ] Remove all failed thinset down to solid, clean substrate
– [ ] Vacuum and ensure the surface is free of contaminants
– [ ] Check flatness and address dips/ridges if needed
– [ ] Set with the correct thinset + proper trowel coverage
– [ ] Allow full cure time before grouting or traffic
FAQ
Can I fix lifting tile without removing the tile?
Usually not for a lasting repair. If the thinset bond has failed, simply gluing the tile back often won’t recreate the same structural bond and may lift again.
Why do tiles lift after grout lines crack?
Cracking often indicates movement or bond failure already occurred. The grout commonly breaks after the tile/mortar bed loses support, contact, or stability.
Should I use construction adhesive to reattach a tile?
In many floor systems, construction adhesives aren’t a substitute for the specified thinset/mortar bond. Follow the tile/mortar manufacturer’s instructions for your installation type and substrate.
How do I know if the subfloor is the real problem?
If multiple tiles keep lifting, the area is subject to flex, or you find soft spots/unevenness, the substrate is likely contributing. Addressing movement/moisture is often necessary for the repair to stay put.
What’s the most important step for preventing repeat lifting?
Full, correct mortar coverage with proper flatness and cure time is the key. Voids from poor coverage and strength loss from rushed curing are common reasons repaired tiles fail again.
Sources
– [ADD: manufacturer installation instructions for the thinset/mortar used (including trowel/notch guidance, coverage expectations, cure times, and required substrate prep)]
– [ADD: manufacturer installation instructions for grout (including cure/dry times before traffic)]
– [ADD: manufacturer specs for the tile system you have (ceramic vs. porcelain, floor vs. wall, recommended adhesives/mortars)]
– [ADD: relevant guidance from an official tile industry body (e.g., TCNA/ANSI) on substrate prep, flatness tolerance, mortar coverage/contact, and movement considerations]
Frequently Asked Questions
What causes tile floors to lift or pop up?
Tile lifting is commonly caused by moisture trapped under the tile, inadequate thinset coverage, or movement from an unstable subfloor. It can also happen when tiles weren’t set on the proper underlayment or when the mortar bed was mixed incorrectly. Over time, repeated foot traffic and temperature swings can worsen weak bonds and lead to loose, hollow-sounding tiles.
How do I fix lifting tile floors without replacing everything?
Start by removing the grout around the affected tiles so you can lift them without damaging neighbors, then carefully pry up the loose tile(s). Scrape off old thinset and clean the substrate, ensuring it’s solid, flat, and free of dust or debris. Re-set the tile using the correct thinset mortar (often a polymer-modified mortar for many installations), apply proper coverage, and regrout after the mortar cures.
How do I repair a tile floor that’s lifting due to subfloor movement?
If the subfloor is flexing, repairing only the tile won’t last—fix the underlying movement first. Check for damaged plywood or cement board, then add or reinforce support to make the floor more rigid and properly flat. For many tile installs, ensure a suitable underlayment system (like cement backer board or a trusted uncoupling membrane) and use the recommended mortar for that system. Once the subfloor is stable, you can re-set the lifted tiles using correct installation methods.
Which thinset should I use when re-laying lifted tile floors?
In most cases, you’ll want a quality polymer-modified thinset mortar that matches your tile type and installation conditions. For areas with moisture (bathrooms, showers, or exterior tile), prioritize a thinset designed for wet conditions and use a compatible waterproofing system. Always follow the manufacturer’s coverage and mixing instructions—proper water ratio and complete mortar contact are key to preventing future tile lifting. If you’re unsure, check whether your existing tile installation calls for latex-modified thinset or an unmodified mortar.
What’s the best way to prevent tile floors from lifting again after repairs?
Focus on installation quality: ensure full mortar coverage (often achieved by proper trowel size and back-buttering for smaller or tricky tiles) and keep the subfloor stable and adequately flat. Allow full cure time before walking on the repaired area and avoid heavy loads too soon, since early stress can break the bond. Use correct grout and consider using an appropriate movement joint strategy, especially near transitions and corners. Finally, control moisture—fix leaks and ensure wet areas have proper waterproofing to reduce tile lifting caused by water exposure.
📅 Last Updated: October 08, 2026 | Topic: How to fix lifting on tile floors? | Content verified for accuracy and freshness.
References
- Google Scholar Google Scholar
https://scholar.google.com/scholar?q=tile+floor+lifting+repair - Google Scholar Google Scholar
https://scholar.google.com/scholar?q=ceramic+tile+delamination+thinset+failure+moisture - Google Scholar Google Scholar
https://scholar.google.com/scholar?q=underlayment+tile+floor+debonding+subfloor+preparation - https://en.wikipedia.org/wiki/Ceramic_tile
- Thinset
https://en.wikipedia.org/wiki/Thinset_mortar - Mold | US EPA
https://www.epa.gov/mold - https://www.cdc.gov/mold/default.htm
- https://www.hud.gov/program_offices/healthy_homes/mold
- https://pubmed.ncbi.nlm.nih.gov/?term=dampness+and+mold+indoor+environment
- https://www.who.int/publications/i/item/9789289002132