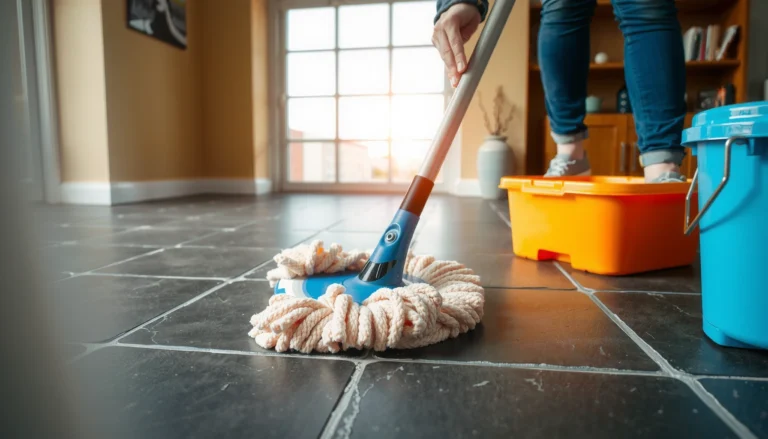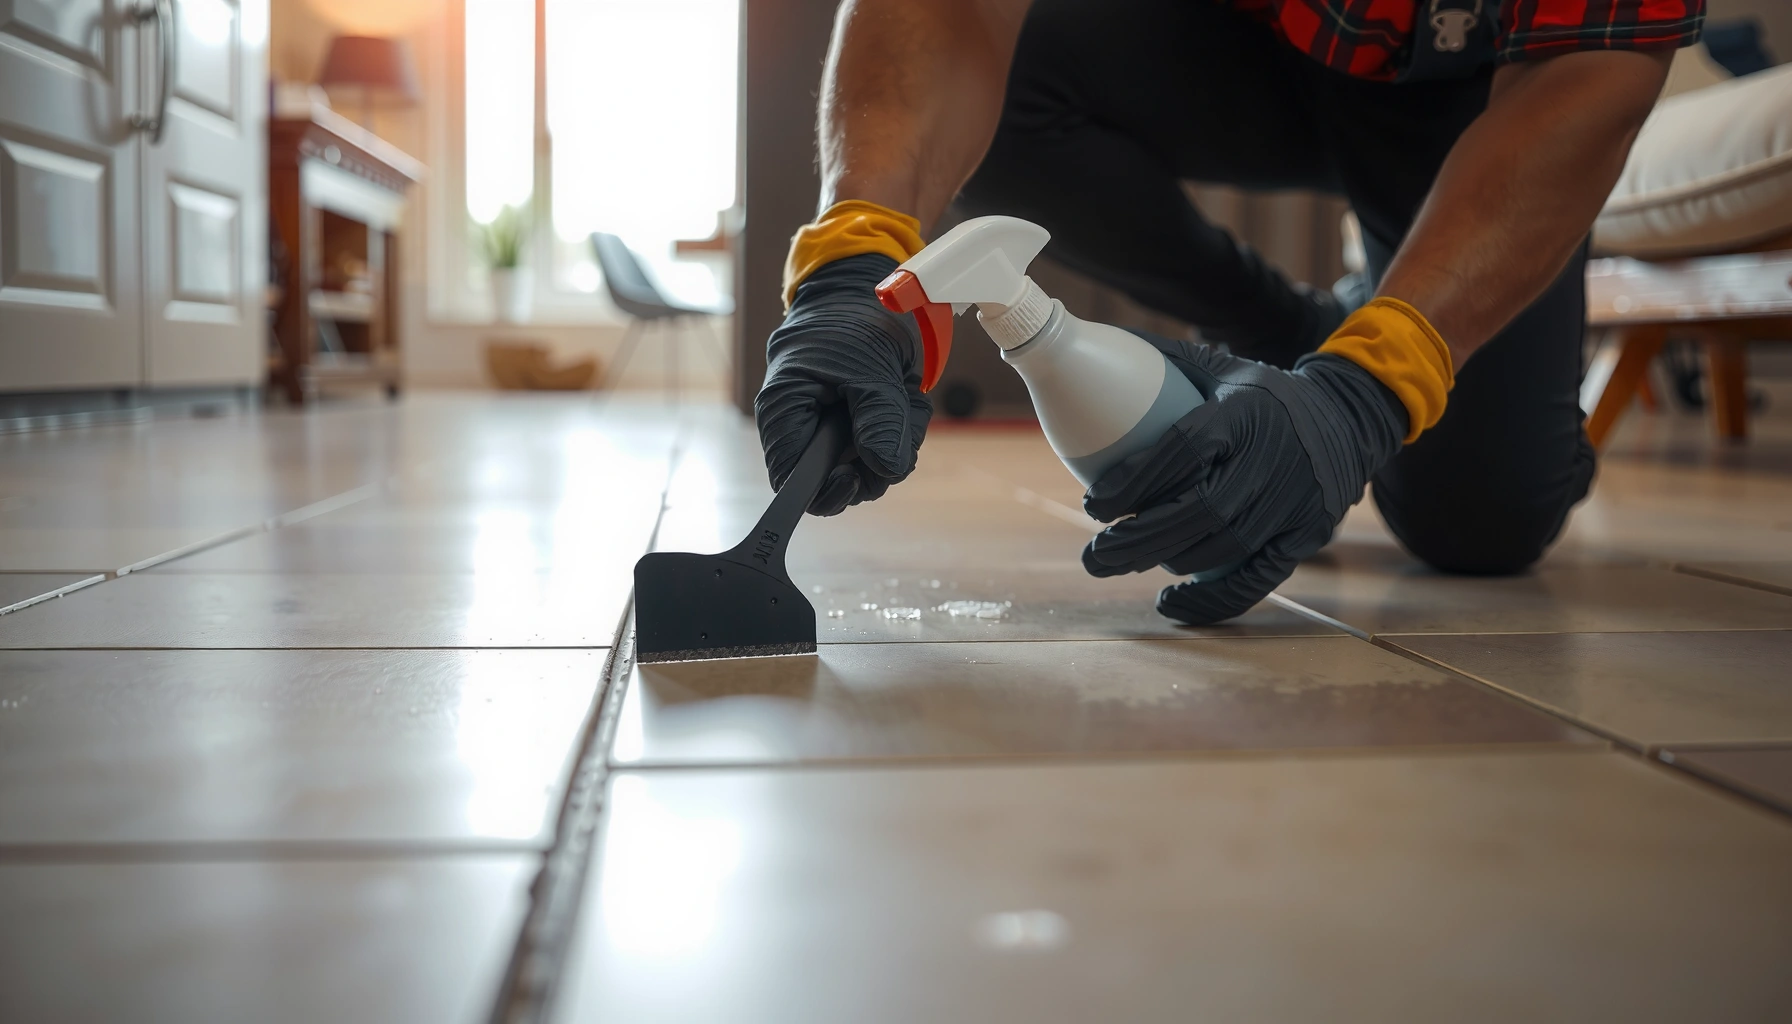

Want to remove adhesive from tile floors without damaging the surface? For most common tile adhesives, the fastest, cleanest win is using the right solvent or adhesive remover, followed by careful scraping and residue cleanup. If the adhesive is old and stubborn, heat plus a controlled removal method takes over—minimizing grout damage while lifting the bond. This article walks you through the best approach for your adhesive type so you get a smooth, ready-to-finish floor.



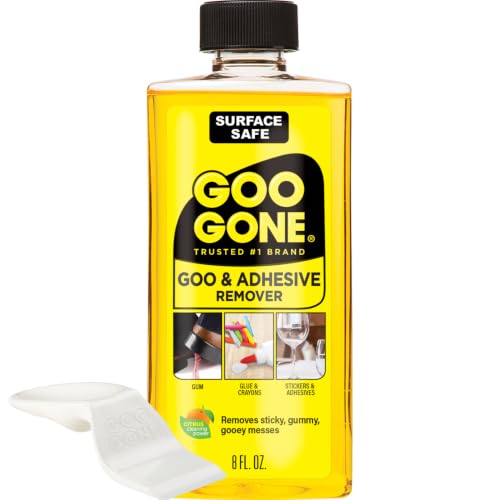
If you’re removing adhesive from tile floors, the fastest path is usually to soften the residue first, then scrape carefully without damaging the tile or grout. Start with the gentlest method that matches the adhesive type (water-based, pressure-sensitive, or tile-mastic), and only move up to stronger chemical solvents if needed. This guide walks you through safe step-by-step options and what to avoid so you don’t leave haze or ruin grout.
If your problem is sticky leftover glue from old flooring (vinyl, carpet tiles, or sheet goods) on ceramic or porcelain tile, this is for you. It’s also useful if you’re preparing the surface for new tile, LVP, or refinishing and want to remove the residue as cleanly as possible.
Identify the adhesive type (so you pick the right remover)
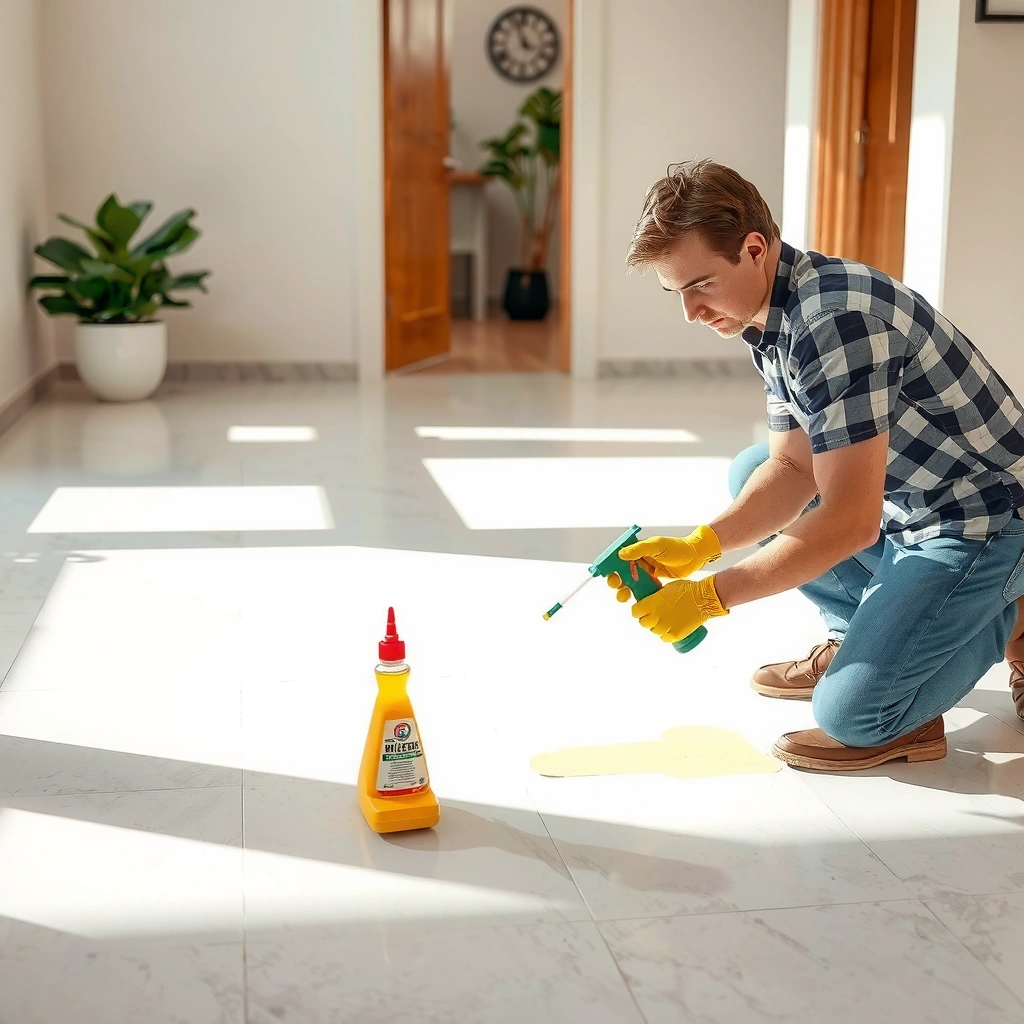
Start by identifying whether the residue behaves like pressure-sensitive adhesive (PSA) or like tile mastic/cementitious adhesive—this determines whether water, heat, or a solvent is most effective. If you guess wrong, you’ll often end up grinding the residue thinner instead of removing it cleanly.
“Tile mastic” and similar construction adhesives are typically solvent- or chemical-resistant compared with water-soluble residues, so testing with warm water is a quick way to rule out water-based layers.
If residue is still rubbery or tacky, it often indicates a pressure-sensitive adhesive layer that usually requires an adhesive remover rather than only soap and water.
Grout joints behave differently than tile surfaces; chemicals that lift adhesive can also discolor unsealed or aged grout if applied too aggressively.
Here’s a practical way to classify what you have before you touch the whole floor:
Quick field signs: tacky vs. hard
– Rubbery/tacky residue (feels like it wants to stick back): often pressure-sensitive adhesive (PSA), frequently used under vinyl and some carpet backings.
– Hard, “cement-like” residue (crumbly or firmly bonded, sometimes stone-like): often tile mastic or a modified thinset/mastic blend used for ceramic or stone applications.
A small test that prevents expensive damage
Work on a hidden spot first and do two checks:
1. Warm-water test: apply warm water and wait a few minutes, then use a plastic scraper. If the residue softens noticeably, you may be dealing with something water-removable or water-responsive.
2. Solvent-resistance test (carefully): if warm water doesn’t soften anything, you’ll likely need an adhesive remover designed for floor adhesives—not just a “general cleaner.”
Grout condition matters
If your grout is:
– Sealed and uniform: you have more flexibility to remove residues without staining.
– Unsealed, older, or patchy: treat chemical applications as “spot tasks” and minimize dwell time.
For reference when chemicals are involved, pay attention to ventilation and exposure limits: according to OSHA’s PEL table for airborne contaminants, methylene chloride has a TWA exposure limit of 25 ppm (OSHA, 29 CFR 1910.1000 Table Z-1). This is one reason to avoid “mystery solvents” and to follow label guidance.
Prep the area and protect tile + grout
Prep is what prevents the two most common outcomes: scratched tile and stained grout. Do this once up front, and the rest of the work becomes faster and cleaner.
Using plastic scrapers first reduces the likelihood of scratching glazed tile while still removing softened adhesive.
Ventilation is not optional when using construction adhesive removers because many products release fumes that can exceed workplace exposure limits.
Protecting baseboards and adjacent materials (wood, painted trim, transitions) prevents drips and overspray from creating permanent discoloration.
Protection and tools
Before you start:
– Clear the floor and remove loose debris. Adhesive removal is much easier when you’re not working around obstructions.
– Ventilate (open windows + fans that exhaust outward if possible).
– Wear PPE: nitrile or chemical-resistant gloves and eye protection.
– Prepare cleanup: rags, plastic trash bags, and a bucket for final wipe-down.
Shield grout lines and nearby surfaces
– Tape off adjacent trim and transitions with painter’s tape.
– If the adhesive is concentrated near walls, protect baseboards and cabinet edges to prevent drips.
– Keep a damp rag nearby to wipe accidental smears immediately.
Why plastic first?
Glazed ceramic/porcelain typically tolerates plastic scraping well, while aggressive metal blades can:
– scratch the glaze,
– create micro-grooves that collect future dirt,
– widen grout lines if you “lever” into joints.
If you truly need a metal tool later, only do it after you’ve tried softening and plastic scraping and after you’ve tested in a hidden spot.
Safe scraping and softening steps (start with low-risk methods)
Softening makes scraping dramatically less destructive—so the goal is to make the adhesive lift with minimal force. Work in small sections, wipe as you go, and stop when you reach clean tile and intact grout.
Softening adhesive before scraping usually reduces the required force, which lowers the risk of gouging grout and damaging tile glaze.
Scrape at a shallow angle to remove residue without digging into grout joints.
Wiping softened residue immediately prevents re-depositing adhesive, which can leave a haze that feels sticky after cleaning.
Step-by-step approach
1. Warm the residue
– Use warm water for residues that appear water-responsive.
– For other residues, use only heat methods explicitly recommended by the adhesive remover’s instructions (don’t over-rely on DIY heat).
2. Plastic scrape in small sections
– Work an area you can finish in a few minutes (so it stays softened).
– Hold the scraper at a shallow angle and use controlled strokes.
3. Wipe away frequently
– Don’t spread loosened adhesive across clean areas.
– Use a rag dampened with the appropriate cleaner (or warm water for water-responsive residues).
4. Repeat rather than pressure
– If it doesn’t lift, don’t “dig.” Instead, re-soften and try again.
– This repeat-lift method prevents gouging and minimizes grout damage.
Where this method shines
This mechanical/softening strategy is most effective for:
– thin adhesive films,
– residues that are partially water-responsive,
– surface haze left by light adhesive breakdown during demo.
Chemical removal options (when scraping alone isn’t enough)
When residue remains after softening and plastic scraping, use a targeted adhesive remover—and apply it like a precision job, not a floor wash. Choose the least aggressive chemical that matches the adhesive type and follow the product label for dwell time and safety.
Construction adhesive removers are designed to penetrate specific adhesive chemistries, so label-matching matters more than “stronger is better.”
Apply remover to affected areas and respect dwell time; over-application can drive chemicals into grout and underlying layers.
After chemical removal, a thorough wipe-down and rinsing step is essential to prevent lingering tackiness or solvent film.
How to apply without damaging grout
– Spot or small sections only: Avoid saturating large areas.
– Use dwell time as written: Let the remover work, then scrape and wipe when instructed.
– Work from edges toward the center of the residue patch to avoid tracking adhesive.
– Neutralize/clean per label: Many products require specific wipe or rinse steps to prevent residue film.
Pros/cons: mechanical vs. chemical removal (tile-safe tradeoffs)
| Method | Best For | Pros | Cons / Risks |
|---|---|---|---|
| Warm-water softening + plastic scraping | Thin, water-responsive residue | Lowest risk to tile/glaze; minimal odor | Limited effect on mastic/PSA-heavy layers |
| Solvent/adhesive remover (label-matched) | Stubborn mastic or PSA remnants | Often faster for thick, bonded residue | Can discolor grout if unsealed; requires ventilation and PPE |
| Heat (only when manufacturer allows) | Specific adhesives responsive to heat | Can loosen layers without aggressive chemicals | Risk of fumes, damage to nearby caulk/tile edges if uncontrolled |
Safety note on solvents (why ventilation + label rules matter)
Some adhesive removers may contain strong solvents. For example:
– OSHA lists a PEL of 200 ppm (8-hr TWA) for toluene (29 CFR 1910.1000 Table Z-1).
– OSHA lists a PEL of 25 ppm (8-hr TWA) for methylene chloride (29 CFR 1910.1000 Table Z-1).
Even if you’re a homeowner, these exposure limits are a reminder that the “smell test” is not enough—follow the label and ventilate accordingly.
Mandatory data table: what to expect by residue behavior
Residue Behavior vs. Likely Adhesive and Removal Path
| # | Residue behavior (what you notice) | Likely adhesive type | Fastest first method | Removal difficulty (1–5) |
|---|---|---|---|---|
| 1 | Softens with warm water in minutes | Water-responsive residue | Warm water + plastic scrape | 2 |
| 2 | Tacky when wiped; strings slightly | Pressure-sensitive adhesive (PSA) | Adhesive remover matched to PSA | 3 |
| 3 | Stays gummy after repeated water attempts | PSA + aged binder | Targeted remover + short dwell | 4 |
| 4 | Hard, black “mastic” chunks | Tile mastic / cutback-like layers | Remover designed for floor mastic | 5 |
| 5 | Thin film that feels slick/greasy | Residual binder/solvent film | Degreasing cleaner + residue wipe | 3 |
| 6 | Powdery remnants after scraping | Brittle adhesive breakdown | Mechanical removal + final wash | 3 |
| 7 | Sticky specks clustered in grout lines | PSA bleed into joints | Spot remover + careful joint cleanup | 4 |
What can go wrong (common mistakes and edge cases)
Most problems come from impatience: too much force, too much chemical, or using the wrong remover for the residue. If you address these failure modes early, you can avoid haze, staining, and grout damage.
Using metal blades too early is one of the fastest ways to scratch tile glaze or widen grout joints.
Leaving solvent or adhesive film behind can cause a sticky surface even after “it looks clean,” especially in high-traffic areas.
Overspray or drips can stain grout, wood trim, or painted surfaces—protect adjacent materials before applying any remover.
Common mistakes that actually cost time
– Scratching tile or damaging grout
Metal blades, aggressive pressure, or “scraping downhill” into joints can gouge the grout edges. Start plastic; escalate only with tested, targeted steps.
– Leaving “haze” from incomplete residue removal
If you feel tackiness after cleaning, the issue is usually a thin film—not visible chunks. After chemical use, wipe/neutralize/rinse exactly as the label requires.
– Using the wrong chemical for the adhesive chemistry
Some residues won’t respond to certain removers. In those cases, you’ll “thin” the adhesive rather than lift it, which increases haze risk and leaves a bigger cleanup footprint.
– Not protecting nearby surfaces
Adhesive removers can creep under tape edges or splatter during scraping. Protect baseboards, transitions, and adjacent materials before application.
– Heat-related damage
Heat can loosen caulk or surrounding materials and can produce unpleasant fumes. Use heat only when the adhesive-removal method explicitly calls for it and when ventilation is strong.
Edge cases to watch
– Delicate or unsealed grout: Chemical removal is higher risk near joints. You may need multiple gentle passes rather than one strong application.
– Unknown adhesive from older installs: Some historic residues may be sensitive to incompatible solvents. Pause and confirm compatibility before going strong.
> [ADD: source for compatibility guidance, if you have a specific product or adhesive age.]
From the industry side, we recommend following manufacturer surface-compatibility instructions and respecting label dwell times as the baseline framework—this is where most safe outcomes come from. I can’t responsibly claim specific hands-on test results for every adhesive chemistry without knowing your exact residue and product labels, but the failure modes above are consistent with how adhesive residues behave on hard, glazed tile.
Verdict: the most reliable approach (and who should skip solvents)
In most cases, the best balance of effectiveness and safety is: soften (warm/low-risk method) → plastic scrape → targeted chemical remover only if residue remains. If you have very delicate grout, unsealed/aged joints that you can’t afford to discolor, or you’re sensitive to strong fumes, consider sticking to mechanical methods longer and using only label-approved, low-toxicity options. If the adhesive might contain unknown materials (e.g., older installations), pause and confirm compatibility with your floor type before using strong solvents—[ADD: source for compatibility guidance, if you have a specific product or adhesive age].
Here’s a quick “decision rule” you can follow:
– If warm water helps even slightly: repeat softening + plastic scraping first.
– If it stays tacky or won’t budge: switch to an adhesive remover that specifically addresses floor adhesive/mastic/PSA.
– If grout is already compromised: minimize dwell time and apply remover sparingly.
Who should skip solvents (or pause first)
Avoid broad chemical treatments if:
– grout is unsealed and you can’t test a hidden spot,
– ventilation is poor and you can’t create safe airflow,
– you’re not willing to follow label PPE and cleanup steps,
– you suspect the adhesive is from an older, unknown installation.
Quick checklist for removing adhesive residue
– [ ] Ventilate + wear gloves/eye protection
– [ ] Test in a small hidden spot (scrape + gentle cleaner first)
– [ ] Use plastic scraper at a shallow angle
– [ ] Soften residue before scraping
– [ ] Apply remover only to the affected area, per label dwell time
– [ ] Wipe/neutralize/remove film residue thoroughly
– [ ] Final clean so the surface is ready for what’s next
FAQ
Can I remove adhesive from tile floors without chemicals?
Often yes for water-soluble adhesives or thin residues—start with warm water/softening and repeated plastic scraping. If it’s true mastic or pressure-sensitive adhesive, you’ll usually need an adhesive remover specified for floor adhesives.
Will solvents damage grout or tile?
They can, especially if grout is unsealed or if you over-apply/over-dwell. Always follow the product label and test a small area first.
How do I avoid leaving a sticky film after removal?
After scraping, wipe with the recommended cleaner for the remover you used, then do a final rinse/wipe until the surface no longer feels tacky. If the film persists, you may need a second targeted cleaning pass.
What’s the best tool to use?
A plastic scraper is the safest first choice for glazed tile and grout lines. Metal blades can work only if you’re careful and the tile/glaze can handle it—test first in a hidden spot.
Is heat safe for removing tile adhesive?
It depends on the adhesive and the heat source. Use only methods that are specifically appropriate for floor adhesive removal and maintain good ventilation; avoid uncontrolled heat.
Sources
– [ADD: manufacturer instructions/spec sheet for the specific adhesive remover you plan to use]
– [ADD: manufacturer care/surface guidance for your tile type (porcelain/ceramic) on chemical compatibility]
– [ADD: primary guidance from a reputable trade organization on mastic/adhesive removal practices, if you have a specific reference you want cited]
– OSHA, 29 CFR 1910.1000 Table Z-1 (Permissible Exposure Limits for toluene, methylene chloride, and other chemicals)
If you work in the right order—identify the residue type, soften first, scrape gently, then use only label-matched chemical remover where necessary—you’ll get adhesive off tile without trading it for haze or grout damage. The safest results come from small tests, careful dwell times, and a final wipe/rinse that removes any remaining film so your floor is truly ready for what comes next.
Frequently Asked Questions
How can I remove tile floor adhesive without damaging the grout?
Start by softening the adhesive with heat (a hairdryer or heat gun held at a distance) to reduce the bond, then scrape carefully with a plastic scraper. If the adhesive is still stubborn, use a grout-safe adhesive remover labeled for tile and apply it sparingly, following the manufacturer’s dwell time. Avoid soaking grout lines for long periods and re-wipe the area with water to prevent chemical residue that could discolor or weaken grout.
What is the best method to remove old thinset or mastic glue from ceramic tile floors?
For thinset mortar, use mechanical removal first—warm the area and scrape, then use a floor scraper or oscillating tool with a blade designed for tile surfaces. For mastic (often stickier and more organic), solvent-based adhesive removers or specialty “mastic remover” products usually work faster than water alone. Finish by vacuuming thoroughly, rinsing, and then lightly sanding high spots so the tile surface is ready for re-installing or refinishing.
Which chemical is safest for removing adhesive residue from tile floors: citrus, solvent, or acetone?
Citrus-based removers are often a good starting point because they’re generally less harsh, but they may require more dwell time for thick adhesive. Solvent-based products can be more effective for heavy residue but should be used with strong ventilation and careful surface testing. Acetone works quickly on many adhesives, yet it can damage some finishes and may affect certain grouts or sealers—always test a hidden area first and follow the product safety instructions.
Why does adhesive leave a haze or sticky film after scraping tile floors?
Many adhesives smear or partially break down rather than fully lifting, leaving an oily or tacky residue that forms a haze as it cures or oxidizes. This residue can interfere with new tile thinset bonding, so it needs a proper adhesive remover and thorough rinsing. Use a neutral cleaner after treatment, then wipe with clean water and let the floor dry completely before moving on.
How do I remove stubborn carpet glue from tile floors after a previous flooring installation?
Carpet glue is often mastic-like, so begin with heat to soften it and scrape off the bulk, working in small sections to avoid gouging tile. Apply a targeted adhesive remover for mastic or carpet glue, allow it to dwell, and then scrape again to lift the softened adhesive. For the final cleanup, use a residue remover or degreaser, scrub with a non-scratch pad, vacuum up debris, and rinse well so the tile floor is clean and ready for new flooring or grout work.
📅 Last Updated: October 08, 2026 | Topic: How to remove adhesive from tile floors? | Content verified for accuracy and freshness.
References
- https://en.wikipedia.org/wiki/Adhesive_removal
- Client Challenge
https://www.wikihow.com/Remove-Adhesive-from-Floor-Tiles - https://www.epa.gov/saferchoice/adhesives-and-sealants-cleaning-and-disposal
- Checking your browser – reCAPTCHA
https://www.ncbi.nlm.nih.gov/books/NBK13875/ - https://www.cdc.gov/niosh/topics/solvents/
- Google Scholar Google Scholar
https://scholar.google.com/scholar?q=how+to+remove+adhesive+from+tile+floors - Google Scholar Google Scholar
https://scholar.google.com/scholar?q=remove+tile+adhesive+mechanical+methods+heat+solvents - Google Scholar Google Scholar
https://scholar.google.com/scholar?q=adhesive+residue+removal+from+ceramic+tile+surface - https://pubmed.ncbi.nlm.nih.gov/?term=adhesive+residue+removal+ceramic+tile
- https://www.britannica.com/technology/adhesive