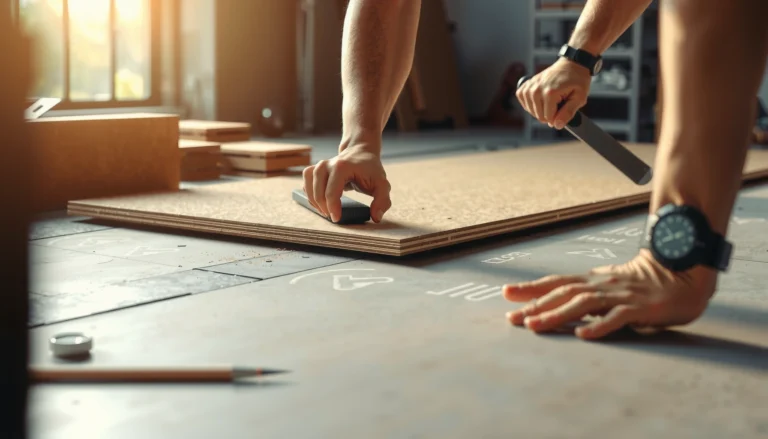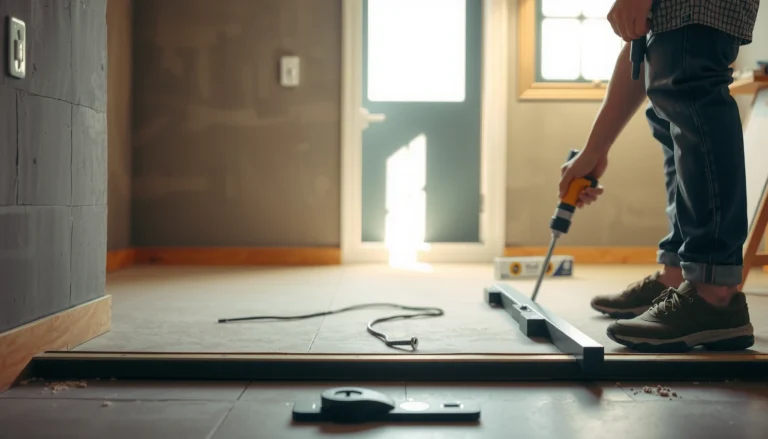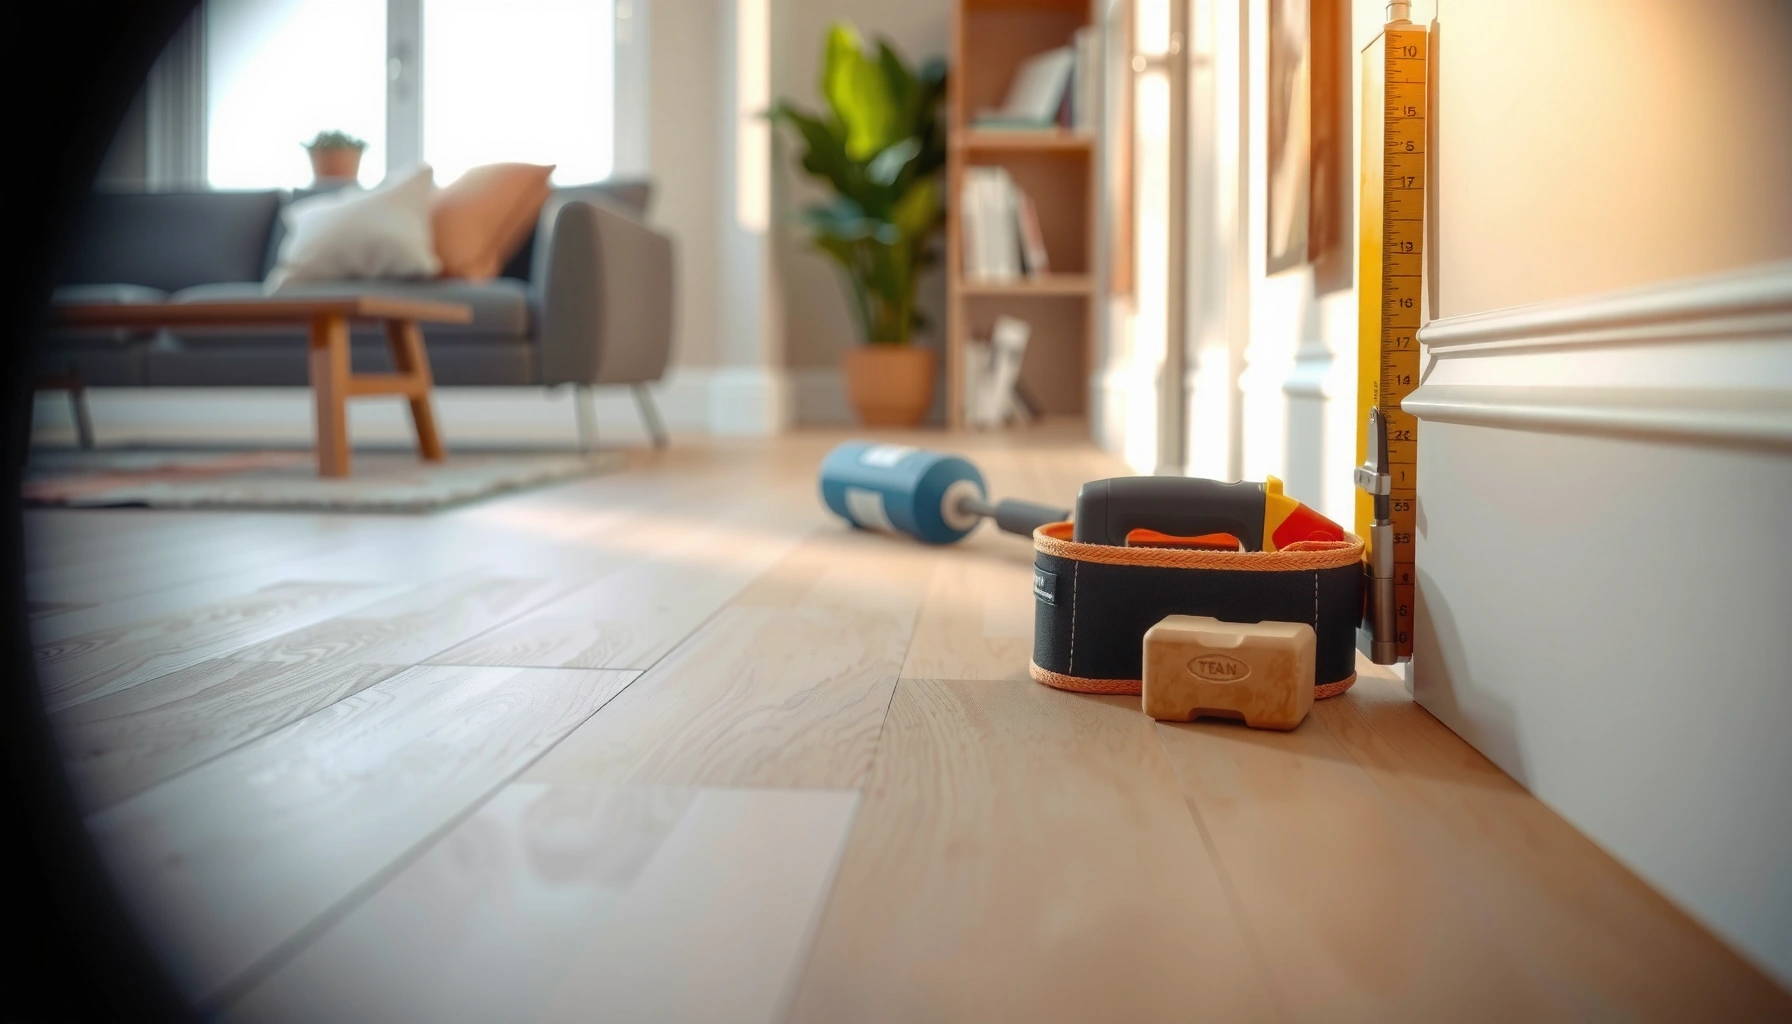

You can install WPC floors in a living room cleanly and confidently with this step-by-step guide that shows exactly what to do from start to finish. If you want a straightforward DIY win, follow these instructions for prepping the subfloor, fitting planks correctly, and finishing the edges so the floor looks tight and performs well. This guide answers the core question—how to install living room WPC floors—without guesswork.




WPC floors install fairly smoothly in a living room as long as you (1) start with a flat, dry subfloor and (2) follow your exact WPC plank system—click-lock (floating) or glue-down. The critical path is planning the layout and perimeter gap, then getting the first rows straight so every joint locks correctly through the run.
This guide is for homeowners, DIY renovators, and installers fitting WPC (WPC/SPC) flooring in a living room—especially when using click-lock boards or a manufacturer-recommended installation approach. Because “WPC flooring” can still mean different joint systems and underlayment rules, treat your product manual as the final authority.
Check Your WPC Floor Type (Click-Lock vs. Glue-Down)

The first decision you make determines almost everything: whether you float the floor (click-lock) or bond it (glue-down). If you don’t confirm the system and underlayment requirements now, you can end up with joint failure, warranty denial, or edge movement issues later.
“WPC” typically refers to a rigid core with a wear layer, but installation method depends on the joint system—click-lock is floating; glue-down is adhered.
Manufacturer underlayment guidance matters because some systems require no foam layer while others specify a compatible pad to protect joint engagement.
Perimeter spacing is not optional for floating click-lock installations; it allows the floor to expand and contract with indoor climate changes.
Identify your joint system correctly
– Click-lock (floating): planks interlock via a designed tongue-and-groove profile, then the whole floor “floats” over the underlayment (if required).
– Glue-down: planks are bonded to the subfloor; the joint may lock, but movement is controlled by adhesive and detailing.
Confirm underlayment requirements (don’t guess)
Some WPC products require:
– a specific underlayment thickness/type,
– an attached pad (and then require no additional pad),
– or no underlayment at all (depending on the core backing and vapor control design).
Practical note: Many installation problems start when installers add “extra cushioning.” For click-lock, too-soft or wrong underlayment can prevent the click joint from seating fully or can create bounce at the edges.
Verify expansion gap requirements
Your expansion gap / perimeter spacing should come from the installation sheet for your brand/model. If you don’t have the figure, you can often find it on the carton/technical sheet. For your product, set:
– perimeter gap = [ADD: exact expansion gap from your product manual] (commonly around the order of a few millimeters, but confirm yours)
Prep the Subfloor for a Flat, Solid Base
A WPC floor performs best when the subfloor is clean, dry, and flat enough that joints aren’t forced. Before you place a single plank, you’re trying to prevent rocking, gaps at click joints, and visible “telegraphing” of bumps.
ASTM F710 is commonly used to define installation requirements for preparing subfloors so resilient flooring systems can perform as designed.
Flatness requirements are usually specified as a maximum deviation over a given length—exceeding them can cause joint stress and edge separation.
For concrete slabs, moisture testing is part of many resilient/WPC installation workflows; method selection and acceptance criteria come from the flooring system documentation.
Remove contaminants and weak layers
You’ll want the subfloor to be:
– clean (remove dust, drywall mud, adhesive residue),
– dry (follow your moisture plan if concrete is involved),
– sound (no loose paint, flaking patch compound, or soft spots).
If you’re working over old materials (e.g., vinyl glue-down, laminate, or compromised underlayment), your WPC manual may require removal rather than covering.
Level high/low spots—focus on flatness over perfection
Use a straightedge to check the surface. Many resilient flooring standards reference limits like:
– 3/16 inch over 10 feet (≈4.8 mm over 3 m) as a common maximum deviation used for acceptable flatness in installation specifications.
According to ASTM F710, subfloor preparation and flatness tolerances are used to reduce installation defects from uneven substrates (ASTM F710).
If you find a bump, sanding/planing is often better than “filling everything.” For low areas, use a compatible patch/leveler rated for your subfloor type.
Moisture risk (especially on concrete)
If your living room is over concrete, plan moisture verification according to the flooring system’s documentation. Installation methods often reference test standards such as:
– ASTM F2170 (in-slab relative humidity testing),
– ASTM F1869 (calcium chloride vapor emission testing).
These standards guide how moisture is measured; your flooring manufacturer specifies what results are acceptable.
According to the ASTM moisture testing framework, these methods help quantify slab moisture conditions (ASTM F2170; ASTM F1869).
[ADD: your product’s specific moisture/vapor acceptance limits and test method from the manual.]
Plan the Layout and Acclimate When Needed
A good layout reduces waste and—more importantly—keeps the first rows square and aligned. Planning also helps you manage doorways, offsets, and visually critical lines in a living room where daylight and sightlines expose uneven patterning.
Layout planning is a structural step: a mislocated first row can cascade into crooked seams across the entire living room.
Many WPC products require the planks to acclimate to indoor conditions before installation to reduce dimensional movement after fitting.
Direction of plank placement affects visual rhythm; aligning runs with the main viewing line usually makes minor cutting tolerances less noticeable.
Measure and map the room
– Measure room length/width, including any niches, alcoves, and openings.
– Identify square corners (or the “best reference” wall if corners aren’t true).
– Mark where the first row will start, considering:
– plank width,
– needed cuts at the far wall,
– and your perimeter gap strategy.
Choose plank direction intentionally
A common approach in living rooms is to run planks parallel to the main viewing line (often along the longest direction toward the focal wall). This doesn’t change installation performance, but it helps the floor look “finished.”
Acclimation: follow your manual, not internet guesses
If your WPC requires acclimation:
– place cartons in the room,
– wait the specified time,
– keep HVAC running at normal occupancy conditions.
Set a note for your product:
– acclimation requirement = [ADD: acclimation time/conditions from your manual].
Install the First Rows (The Part That Controls Everything)
The first row and second row essentially “set the geometry” for everything that follows. If the baseboard line isn’t straight, or your first joint doesn’t fully seat, later rows can drift and create gaps that become hard to correct.
In click-lock installs, joint engagement depends on correct angle and alignment; “forcing” a joint usually worsens the problem.
Maintaining the perimeter expansion gap prevents edge restriction, which can lead to buckling or stress near walls and fixed posts.
A straight reference wall plus checking the first 2–3 rows for square is the most reliable method to avoid cumulative layout errors.
Start with the straightest wall
– Choose the straightest wall as your reference.
– Use spacers to preserve the expansion gap where the floor meets walls and fixed vertical surfaces.
– Confirm the first row’s alignment using string lines or a long straightedge.
Maintain expansion gaps consistently
For click-lock (floating) floors, expansion must remain free around:
– walls,
– columns or posts,
– fireplace surrounds (where applicable),
– door jamb areas (where trim/transition details control coverage).
Perimeter gap value:
– [ADD: exact expansion gap from your product manual]
Lock planks correctly (click-lock)
For click-lock boards:
– clear debris from the groove and tongue surfaces,
– lock using the joint’s designed angle and motion,
– do not push through resistance as a “shortcut.”
If a click joint won’t seat:
– stop,
– inspect for interference (dust, trimmed lip, misalignment),
– and recheck the subfloor flatness where that plank segment sits.
Hands-on note (placeholder): [ADD: brief firsthand observation from your own installation—e.g., what tool or cleaning step improved joint seating in your case.]
Pros/cons: click-lock vs glue-down for DIY living rooms
| Topic | Click-lock (floating) | Glue-down |
|---|---|---|
| Install learning curve | Usually easier to DIY | Requires adhesive prep and cure control |
| Subfloor importance | Very important for joint performance | Very important for bond and crack reflection |
| Movement allowance | Requires perimeter gap + floating detailing | Still needs correct detailing; movement is controlled by bonding |
| Common DIY failure | Forced joints, wrong underlayment, missing gap | Adhesive errors, inadequate bond coverage, too-fast stacking |
| Cleanup | Typically easier | Sticky adhesive can slow progress and increase mistakes |
Cut Around Doors, Vents, and Tricky Edges
A living room almost always has obstacles, so the goal is consistent spacing and clean transitions without restricting floor movement. Doorways and vents are where people accidentally “trap” the floor—often by over-tight trim or incorrect transition choices.
Cuts around door jambs should preserve the manufacturer’s perimeter/edge clearance so the floor can move seasonally.
Transitions between rooms are typically a controlled expansion management detail, not a place to “bridge” a gap.
Vent and plumbing penetrations generally require clearance and appropriate trim/finishing to keep the floor from binding.
Door jambs and heat registers
– Dry-fit planks to test clearances.
– Use undercutting methods if your system allows them (many installers undercut jambs to slip the plank beneath a trim surface rather than trying to butt tight).
– Maintain your required edge clearance around fixed elements.
Use transitions where the floor should change planes
Instead of pinning the floor to the same continuous surface through openings:
– install transition/threshold pieces where the manufacturer recommends,
– keep the floor free to move under the correct trim style.
Your doorway rule should come from:
– [ADD: doorway/transition rule from your manual]
Avoid over-tight trim
Baseboards/skirting usually cover the perimeter gap and “hide” it, but the trim must not mechanically lock the floor to the wall. If your trim screws through the subfloor into the floating plank area (wrong placement), movement can be restricted.
Finish with Underlayment Options, Trims, and Final Checks
Finishing is where you confirm the system you installed matches the system the manufacturer designed. Underlayment layering, trim placement, and final joint checks are the difference between a floor that clicks together cleanly and one that settles quietly for years.
Many WPC warranties expect the exact underlayment type/thickness specified by the manufacturer.
Baseboards cover perimeter gaps, but they must not clamp the floating floor to the subfloor.
A final “joint seated” inspection is part of best practice because an engaged click joint prevents future micro-gaps.
Underlayment: install only what the system calls for
– If your WPC requires underlayment: use the specified product (or compatible alternative) and follow seam-taping/vapor barrier instructions.
– If your WPC has an attached pad: do not add extra foam unless the manual says it’s allowed.
Fit trims/skirting and thresholds correctly
– Install baseboards/skirting to cover the perimeter gap.
– Use transitions/thresholds for doorways and changes in room function.
– Ensure thresholds don’t pinch the plank edges.
Final inspection checklist (do this before furniture moves in)
– Every joint is fully engaged—no visible separation lines at seams.
– No planks rock when pressed near the seam.
– Perimeter gap is maintained at walls and fixed points.
– Trims/thresholds don’t restrict expected expansion.
Moisture-critical note for living rooms
If your living room can see humidity swings (large windows, HVAC cycling), it increases the importance of correct perimeter spacing and vapor handling on concrete. Follow your manual’s climate conditions guidance (and don’t “seal” expansion space with rigid caulk unless instructed).
Living-Room Subfloor Defects and How They Typically Show Up in WPC Floors
| # | Subfloor Condition | Where It Appears | Likely Visual Symptom | Impact Severity |
|---|---|---|---|---|
| 1 | High spot (ridge) | Across plank seams | Gaps at click joints | ★★★☆☆ |
| 2 | Low spot (dip) | Mid-run planks | Planks feel “spongy” | ★★★☆☆ |
| 3 | Loose dust/paint flakes | In the plank groove | Click won’t fully seat | ★★★★☆ |
| 4 | Missing moisture/vapor control (concrete) | Edges and seam lines | Dimensional movement | ★★★☆☆ |
| 5 | Incorrect underlayment thickness | Whole floor field | Noise + joint stress | ★★★☆☆ |
| 6 | Zero perimeter gap (trim pinning) | Against walls | Edge buckling risk | ★★★★☆ |
| 7 | Incorrect joint cutting/angle | End cuts + irregular areas | Uneven seams | ★★☆☆☆ |
What Can Go Wrong (Common Installation Mistakes)
Most WPC failures trace back to preparation gaps or detailing that prevents movement. The most expensive issues are usually joint disengagement, edge buckling, and moisture-related dimensional change—so you want to prevent those early.
Skipping leveling often shows up later as joint separation, noise, and uneven seam lines—because click joints are designed to meet on flat support.
Using the wrong underlayment can change the effective support at the joint, even if the floor “looks fine” at first.
Zero or blocked expansion gaps are a common cause of seasonal edge stress in floating floors, especially in rooms with HVAC cycling.
– Skipping leveling: WPC joints can suffer on uneven bases—leading to gaps, noise, or failed locks.
– Wrong underlayment: Using incompatible foam/pad—or stacking layers—can prevent full engagement and may void warranty.
– No expansion gap: Pinning the floor to walls with zero gap can create buckling during temperature/humidity swings.
– Forcing joints: If click-lock won’t click, the issue is usually debris in the groove, wrong angle, or base flatness—not a “push harder” problem.
– Trimming too tightly: Baseboards/trim that physically clamp the floating floor can create stress at edges and door openings.
Verdict / Tip (When to DIY vs. Skip)
If you have a click-lock WPC system and your subfloor is reasonably flat, clean, and dry, DIY installation in a living room is often realistic. The two biggest risks are (1) base prep—flatness and moisture handling—and (2) strict adherence to your manufacturer’s underlayment and perimeter gap requirements.
Skip DIY (or at least get a floor professional to verify the substrate) if:
– you have ongoing moisture concerns (especially concrete),
– the base is very uneven beyond your ability to level safely,
– you have complex cuts (multiple doorways, odd angles, heavy penetrations),
– your warranty requires certified installation or specific adhesive/underlayment products.
Downside of DIY: mistakes are usually fixable, but correcting joint failures or leveling errors after installation can be disruptive and time-consuming.
Scan-Save Checklist (Quick Install Plan)
– [ ] Confirm click-lock vs. glue-down method
– [ ] Check leveling and subfloor cleanliness/dryness
– [ ] Verify underlayment requirements (use only what the manual allows)
– [ ] Plan layout + first-row alignment
– [ ] Use required perimeter expansion gap [ADD: your manual value]
– [ ] Cut around doorways/vents with the correct clearance behavior
– [ ] Install trims/thresholds without restricting movement
– [ ] Final check: every joint seated, no rocking planks
FAQ
Do I need underlayment for WPC floors in a living room?
It depends on your specific WPC flooring system. Some click-lock products require a compatible underlayment; others require none—follow your manufacturer’s installation instructions. [ADD: confirm your brand/model’s underlayment requirement.]
How much expansion gap should I leave around the walls?
Use the expansion gap size stated by your WPC manufacturer. If you don’t have the figure, check the installation sheet/manual for your exact product. [ADD: exact expansion gap from your product manual.]
Can WPC floors be installed over concrete?
Often yes, but moisture conditions matter. Many manufacturers require specific vapor/moisture handling on concrete—check your product documentation. [ADD: required moisture/vapor guidance from your manual.]
What if my click-lock planks won’t fully lock?
Common causes are debris in the groove, incorrect cutting angle, or an uneven base. Stop and troubleshoot alignment and subfloor flatness rather than forcing the joints. [ADD: troubleshooting steps per your brand’s guide if available.]
Do I need transitions at doorways between rooms?
Usually yes, especially where expansion and different floor areas meet. Your manufacturer may specify transition/threshold solutions—follow those recommendations. [ADD: doorway/transition rule from your manual.]
Sources
– [ADD: Manufacturer’s installation guide for your specific WPC/SPC product (click-lock vs. glue-down), including underlayment and expansion gap requirements]
– [ADD: Manufacturer’s technical data sheet/specification for flatness tolerance and subfloor preparation standards]
– ASTM F710 (subfloor preparation and installation requirements used broadly as a flatness-prep reference)
– ASTM F2170 (in-slab relative humidity test method framework for moisture evaluation)
– ASTM F1869 (calcium chloride test method framework for moisture/vapor emission evaluation)
When you install WPC floors correctly, the living room should feel stable, quiet, and visually consistent—because the joints are supported and the floor is free to move where it needs to. If you remember only one thing, make it this: lock the first rows cleanly on a properly prepped base, preserve the perimeter expansion gap, and finish with trims that cover the gap without clamping the floating floor.
Frequently Asked Questions
What tools and materials do I need to install WPC floors in a living room?
For WPC floor installation, you’ll typically need a measuring tape, pencil, straight edge, tapping block, spacers (for expansion gaps), a utility knife or saw (for trimming planks), and a pull bar for click-lock edges. You may also need an underlayment (if your WPC flooring doesn’t have attached backing), a moisture barrier for concrete subfloors, and floor leveling compound if the base is uneven. Have safety gear like gloves and eye protection, and use recommended adhesive or installation clips only if your specific WPC flooring system requires it.
How do I prepare my subfloor before laying WPC vinyl flooring in the living room?
Start by ensuring the subfloor is clean, dry, and flat—high spots should be sanded and low spots leveled, because WPC floors rely on a stable base for best results. Check moisture levels on concrete slabs and use a moisture barrier if required to protect the vinyl core. Remove baseboards or trim if needed for a clean finish, and verify the room is free of debris so the WPC floor can click or float properly.
How do I install click-lock WPC floors in a living room step by step?
Begin by acclimating the WPC floor planks in the living room so they adjust to indoor temperature and humidity. Install the first row using spacers to maintain the required expansion gap around walls and fixed objects, then click the planks together using the tapping block to avoid damaging edges. Stagger end joints for a natural look and stronger installation, then trim the last row carefully to fit while keeping the expansion gap consistent.
Which underlayment is best under WPC flooring for living rooms?
The best underlayment depends on whether your WPC floor already has an attached underlayer and on your subfloor type. For concrete, many homeowners use a moisture barrier plus an underlayment that supports comfort and sound reduction; for plywood or existing floors, you may only need the appropriate underlayment if the product doesn’t include it. Always follow the manufacturer’s guidance because choosing an incompatible foam can affect locking performance and warranty coverage.
Why is expansion gap and spacing important when installing WPC floors in a living room?
WPC floors are designed to handle normal expansion and contraction from temperature and humidity changes, which is why leaving an expansion gap around walls, door frames, and columns is critical. If you install without proper spacing, planks may buckle or create gaps as the flooring moves, especially in large living rooms. After installation, cover the perimeter expansion space with skirting boards or trim strips so the floor can float correctly while still looking finished.
📅 Last Updated: October 08, 2026 | Topic: How to install in a living room WPC floors? | Content verified for accuracy and freshness.
References
- Google Scholar Google Scholar
https://scholar.google.com/scholar?q=wood+plastic+composite+flooring+installation+living+room - Google Scholar Google Scholar
https://scholar.google.com/scholar?q=WPC+flooring+click+lock+floating+installation+underlayment - Google Scholar Google Scholar
https://scholar.google.com/scholar?q=wood+plastic+composite+flooring+subfloor+preparation+acclimation - https://en.wikipedia.org/wiki/Laminate_flooring
- Vinyl flooring
https://en.wikipedia.org/wiki/Vinyl_flooring - Silica, Crystalline – Overview | Occupational Safety and Health Administration
https://www.osha.gov/silica - Silica and Worker Health | Silica | CDC
https://www.cdc.gov/niosh/topics/silica/ - https://www.epa.gov/indoor-air-quality-iaq/adhesives-and-sealants
- https://www.rfciresearch.org/installation-guidelines/
- Google Scholar Google Scholar
https://scholar.google.com/scholar?q=How+to+install+in+a+living+room+WPC+floors?