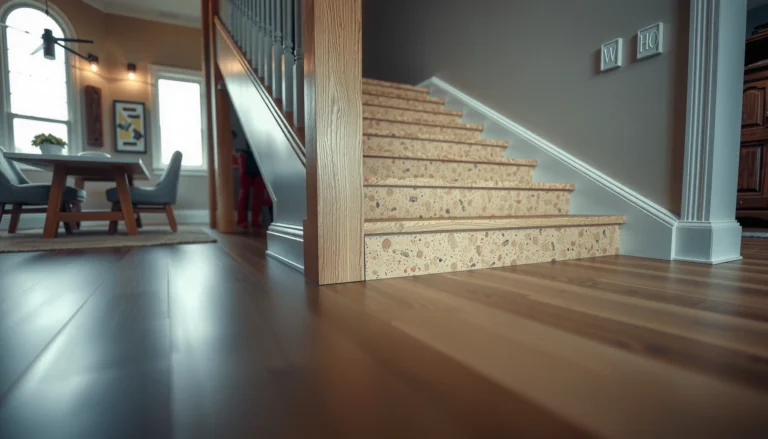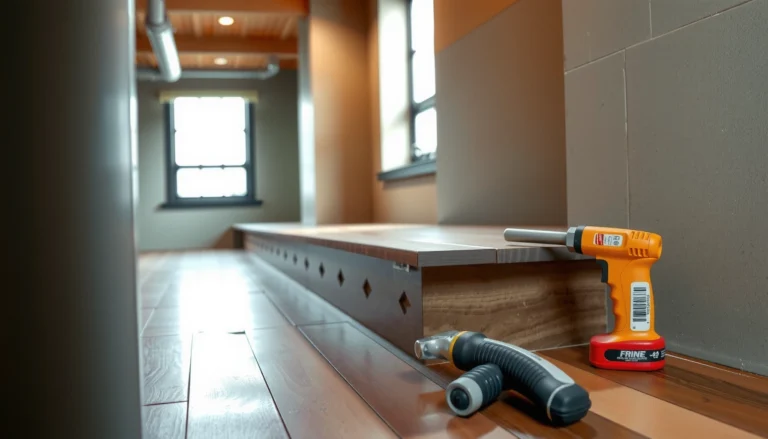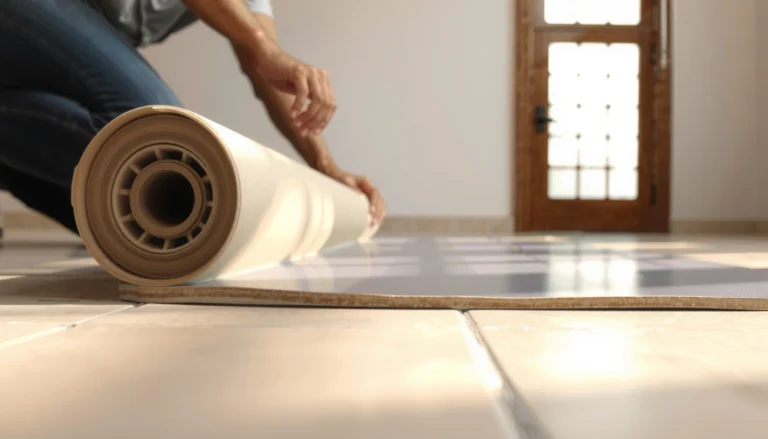

If you’re trying to install WPC floors on uneven floors, this step-by-step guide shows the exact method that delivers a flat, secure click-lock result with minimal risk of gaps or rocking boards. You’ll get the winning approach for prepping the subfloor—leveling where needed and choosing the right underlayment and fastening strategy—before the first plank goes down. Follow these steps and your installation stays level from day one through the life of the floor.




If your WPC floor needs to go over uneven areas, the right fix is to level the subfloor (or use a purpose-built leveling system) before you lock the planks together. “Let the planks flatten it” often leads to joint stress, gaps, and click-system wear—especially in renovations, older homes, basements, or over patchwork/tile remnants.
If you’re aiming for a stable, quiet installation, start by measuring flatness and then match your prep method to how uneven the base really is. This guide gives you a practical sequence to reduce movement, prevent steps at seams, and protect WPC joint performance—while staying aligned with what your specific flooring manufacturer requires.
Who this is for / when it applies: This is for homeowners and installers planning to fit WPC (WPC/SPC-style) flooring in rooms where the base floor isn’t perfectly flat—common in renovations, older homes, basements, or places with tile/patchwork subfloors.
Assess the unevenness before you start

Leveling comes first because WPC’s click joints can only tolerate so much subfloor irregularity. Your job at this stage is to quantify “how uneven” and identify where it occurs, so you can choose patching, sanding, or full leveling with confidence.
A subfloor is considered “flat enough” for resilient/vinyl-type floors only if it meets the installation standard (often expressed as tolerances measured with a straightedge).
Local dips and broad waves call for different fixes—spot patching cannot correct an overall slope pattern across the whole room.
Subfloor type (concrete vs. plywood/OSB vs. existing tile) directly changes preparation steps, curing behavior, and what leveling products you can use.
Measure like an installer, not like a homeowner
Use a 6–10 ft straightedge or a quality level and check multiple directions (along the room length, across it, and diagonally if needed). Mark:
– Low spots (dips): where the straightedge bridges and you can measure the gap.
– High spots (ridges): where the straightedge touches early.
– Patterns (waves): repeating undulations that suggest uneven screed, previous floor removal, or settling.
For context, installation guidelines for resilient flooring commonly reference tolerance targets such as 3/16 in over 10 ft (≈4.8 mm/3 m) and 1/32 in over 1 ft (≈0.8 mm/0.3 m) when evaluating flatness with a straightedge. According to ASTM F710, these types of tolerances are used to assess whether a substrate is suitable to receive resilient flooring without excessive strain at joints.
Identify what’s uneven (and how extensive it is)
WPC failures from uneven floors usually come from either:
– Localized dips (small, isolated low areas): these often respond well to patching/smoothing.
– Broad waves or roaming high spots: these require a wider leveling strategy so the plank underside isn’t repeatedly “unsupported.”
Also check transitions between materials—like tile to concrete, or old patch to original slab. Those ridges can create “steps” that show up visually and feel worse underfoot once the WPC is locked in place.
Confirm the subfloor material
This matters because the correct leveling compound/underlayment system depends on whether you’re working on concrete, plywood/OSB, existing tile, or mixed substrates. Manufacturer prep instructions often specify what products are allowed, required primers, moisture mitigation, and cure times.
[ADD: Include your flooring brand/model flatness tolerance in mm/in here once you have it.]
Repeat anchor: Measure flatness for WPC/SPC flooring, because WPC/SPC flooring installation tolerances are usually expressed as straightedge flatness limits, and prep methods depend on substrate type.
Choose the right leveling approach for WPC floors
The best approach is the one that reduces subfloor irregularity to the exact flatness tolerance your WPC manufacturer requires. If you’re unsure, default to “level the base” rather than increasing thickness or skipping the prep step.
When WPC flooring exceeds the manufacturer’s subfloor flatness tolerance, joint stress and separation risk increases—so prep cannot be optional.
Self-leveling compounds can correct broader low areas, but only if your substrate is compatible and properly prepared.
A leveling underlayment or strip system works when designed for resilient/vinyl-type floating floors—not as a random thickness hack.
Minor unevenness: patch and smooth
If your straightedge shows small localized dips:
1. Fill low spots using an approved patch/feather-finish product.
2. Sand/skim to blend high/low transitions.
3. Vacuum thoroughly and re-check with the straightedge.
This is usually the fastest route when you’re dealing with isolated defects, chipped areas, or small construction irregularities.
Noticeable unevenness: use self-leveling or a vinyl-ready leveling system
If the room shows broad waves or consistent low areas:
– Self-leveling compound (where compatible) can create a consistent plane across the full footprint.
– A designed leveling underlayment/strip system can raise low sections while maintaining the support behavior the WPC floating system expects.
Important: if your WPC system is designed to float with specific underlayment behavior (or no underlayment at all), you must follow that—adding random layers to “soak up” unevenness is where many click floors fail.
Follow manufacturer tolerances, not estimates
WPC products typically state required flatness tolerances and acceptable substrate conditions. Skipping that step is the most expensive mistake because leveling requirements vary by:
– click mechanism design,
– board thickness,
– backing type,
– and underlayment/vapor-control requirements.
Repeat anchor: For WPC floors, choosing the leveling approach is about meeting the manufacturer’s flatness tolerance—self-leveling, patching, or leveling systems only work when they align with those specs.
Quick pros/cons: patching vs. self-leveling vs. leveling systems
– Patch/skim (spot fixes)
– Pros: Less mess than full leveling; faster for localized dips.
– Cons: Won’t correct broad waves; feather edges still must be smooth.
– Self-leveling compound
– Pros: Good for widespread low areas; builds consistent flatness.
– Cons: Requires strict substrate prep, priming, and cure timing; incompatible substrates can fail.
– Leveling underlayment/strip systems
– Pros: Can be efficient where compounds aren’t suitable; mechanical approach can control height changes.
– Cons: Must be designed for floating vinyl-type floors; alignment and support spacing matter.
Prepare the subfloor so WPC joints don’t get stressed
Preparation is where your flatness results either hold—or fail later. The goal is a stable, smooth, debris-free surface so the WPC underside doesn’t create point loads at every small bump.
Loose debris, ridges, or adhesive residue can create “high spots” that defeat leveling and stress WPC click joints.
All patching and leveling products must cure fully before installation, because premature flooring can lock in unevenness.
Clear the surface completely
Remove:
– dust and grit,
– loose material,
– old adhesive (if applicable),
– protrusions and ridges,
– anything that prevents leveling materials from bonding evenly.
Vacuum thoroughly, then inspect with light from multiple angles. If you can see or feel bumps, you can usually measure them with a straightedge.
Repair cracks, dips, and material transitions
Fill:
– cracks,
– depressions,
– spalled/crumbly concrete areas,
– uneven seam transitions between tile and concrete or between patch and original slab.
Feather/skim transitions so the WPC doesn’t meet an abrupt ridge. Even a small ridge can become a visible “step” after the floor is locked.
Let compounds fully cure (don’t rush this step)
Most failures traced to “uneven installation” aren’t from leveling logic—they’re from cure timing and jobsite shortcuts. Follow cure time and recoat limits exactly as specified by the patch/leveler manufacturer.
According to ASTM F710 and general resilient flooring prep practices, proper substrate preparation and flatness are essential to prevent excessive strain and premature wear at joints.
Repeat anchor: WPC joint longevity depends on clean prep and full cure, because the click system transmits stress directly to the board edges when the base isn’t uniform.
Install correctly over a leveled base
Once the base is properly leveled, WPC installation is mostly about consistent floating behavior and correct spacing. The click joint is designed to lock boards together, not to compensate for missing expansion space or an unsupported base.
Floating WPC/SPC floors require expansion gaps around walls and fixed objects even when the subfloor is perfectly leveled.
Acclimatization helps reduce early gapping caused by board movement from temperature and humidity changes after installation.
Acclimatize WPC planks
Bring the flooring into the installation space and acclimatize according to your manufacturer’s temperature/humidity guidance. Different WPC brands specify different timelines—so use the instructions that came with your product.
Maintain expansion gaps—unevenness and no gap is a double risk
Even with leveling complete, boards expand and contract. Keep the expansion gap around:
– walls,
– door jambs,
– columns,
– built-ins,
– pipes and recesses (using proper trim/finishing solutions).
A common pattern in service calls is: uneven subfloor causes stress at joints, and inadequate expansion gap worsens movement—leading to gaps, lifted edges, or clicking-system wear.
Use the specified underlayment (or no underlayment)
WPC/SPC systems may be:
– attached (rare for true floating click systems),
– require specific underlayment,
– or require underlayment only if provided/compatible (especially for acoustics or vapor control).
Keep it flat, aligned, and installed as directed. If the underlayment has seams, tape/overlap methods matter as much as the leveling.
Repeat anchor: Installing WPC floors over a leveled base works only when you also respect expansion gaps and underlayment requirements.
Subfloor Flatness Benchmarks Commonly Used for Resilient/Vinyl Flooring
| # | Straightedge Check | Typical Flatness Target | Converted Value | Practical Result (for WPC/SPC) |
|---|---|---|---|---|
| 1 | Gap over 1 ft (short span) | ≤ 1/32 in | ≈ 0.8 mm | ★★★★☆ |
| 2 | Gap over 10 ft (room span) | ≤ 3/16 in | ≈ 4.8 mm | ★★★★★ |
| 3 | If above targets (early warning) | Fails tolerance | — | ★★☆☆☆ |
| 4 | High spots (ridges) | Avoid bridges | Scrape/sand first | ★★★☆☆ |
| 5 | Localized low spots | Spot-fixable | Patch/feather | ★★★★☆ |
| 6 | Broad wave patterns | Needs leveling | Compound/system | ★★☆☆☆ |
| 7 | Finish after prep (before WPC) | No bumps/debris | Vacuum + inspect | ★★★★☆ |
Source basis: resilient flooring flatness concepts commonly referenced from ASTM F710 and related resilient flooring substrate-prep practices; always verify your WPC/SPC brand’s stated tolerance.
What can go wrong on uneven floors
Uneven subfloors don’t just affect how the floor “feels”—they directly stress WPC joint geometry and support. When the base isn’t uniform, the click system carries extra load that it isn’t designed for.
A WPC plank that flexes over a dip can cause joint separation, squeaks, and accelerated wear of the locking mechanism.
Uneven transitions can create visible seams or “steps” at the edges once boards are installed.
Common failure modes
– Joint separation and gapping: Dips cause repeated flex at the lock. Over time, the tongue-and-groove/click interface can open.
– Squeaks and hollow spots: When only parts of the underside contact the base, foot traffic pumps movement.
– Visible steps at seams: Small ridges at transitions can create an aesthetic “lift” between planks.
– Soft spots from incomplete curing: If leveling compound or patch material hasn’t fully hardened, it can compress and create new unevenness after installation.
– Underlayment mismatch: Using the wrong underlayment thickness or stacking extra layers can conflict with how the floating system distributes loads.
One honest reminder about “thicker is better”
Some installers try to solve unevenness by adding underlayment thickness. Don’t. If the manufacturer doesn’t approve thicker underlayment for the specified flatness, you may reduce support quality at the joint line instead of improving it.
[ADD: If your WPC brand provides an approved underlayment list or thickness limits, paste the exact guidance here.]
Repeat anchor: Most WPC problems on uneven floors come from flex at dips, transitions, incomplete cure, and incorrect underlayment—not from the boards themselves.
Verdict: level first, then install (when to avoid this DIY)
Leveling first is the best practice because it protects the click joints, keeps the walking surface consistent, and reduces callbacks. The main downside is cost and schedule impact—especially when self-leveling requires priming, controlled mixing, and full cure times.
For WPC/SPC floating floors, meeting the manufacturer’s flatness tolerance is the difference between a stable lock and a stressed joint system.
When unevenness is widespread or the substrate is damaged, the most reliable path is repair/leveling using approved methods and products—not installing over defects.
Downsides and realistic constraints
– Time/cost: Full leveling, priming, and cure windows can add days.
– Substrate compatibility: Not every concrete/patch/tile surface works with every leveling compound.
– Cure discipline: Rushing to installation can lock in soft or uneven areas.
When you should hire a pro or stop DIY
Pause your DIY plan if:
– Unevenness is widespread and substantial across the room (not just a couple of spots).
– There is major subfloor damage (crumbling concrete, failing plywood sections, lifting/loose tile).
– You can’t confidently meet the manufacturer’s flatness tolerance using available prep products.
– You suspect moisture issues (especially for basements), and you don’t have a plan aligned with the flooring system’s requirements.
Repeat anchor: Level first for WPC flooring—skip leveling only when your subfloor already meets the stated flatness tolerance and the manufacturer’s prep instructions are satisfied.
Quick checklist (scan/save)
– Measure unevenness with a straightedge and mark low/high spots
– Follow the WPC manufacturer’s flatness tolerance for your specific product
– Patch high spots, fill low spots, smooth transitions, remove bumps
– Allow full curing time for any compound/patch material
– Confirm correct underlayment (or none) per instructions
– Keep expansion gaps and install on a truly firm, stable base
FAQ
Can WPC flooring be installed on uneven floors?
It can sometimes be installed only if the subfloor meets the manufacturer’s flatness tolerance for your specific WPC product. If unevenness exceeds that tolerance, you’ll need to level or repair first to avoid joint stress and gaps.
Should I use a thicker underlayment to “fix” uneven floors?
Don’t use thickness as a workaround unless the manufacturer explicitly allows it for uneven bases. Extra thickness can change how the click system supports and may not solve the root problem.
What’s the fastest way to level an uneven subfloor for WPC?
Often the fastest route for larger low areas is patching/leveling with an approved compound—if the substrate is compatible and you can prep properly. For small dips, targeted patching and sanding usually reduces variables.
Do I need expansion gaps if the floor is leveled?
Yes. Expansion gaps are still required around walls and fixed objects because WPC floors move with temperature and humidity, even on a perfectly leveled base.
Where can I find the exact flatness requirement for my WPC floor?
Check your specific flooring package documentation or the manufacturer’s installation guide. Look for sections labeled “subfloor flatness” and “preparation,” and use those exact limits rather than generic guidance.
Sources
– [ADD: WPC/SPC flooring manufacturer installation guide for your exact product model—specifically the “subfloor flatness tolerance,” underlayment requirements, and expansion gap instructions.]
– ASTM F710 (standard practice for preparing concrete and other substrates for resilient floor coverings), for flatness evaluation concepts and common tolerance benchmarking.
– [ADD: Subfloor leveling compound manufacturer technical data sheet—surface preparation and curing requirements, if self-leveling is used.]
– [ADD: Underlayment manufacturer installation instructions—thickness, acceptable subfloor conditions, and vapor barrier guidance (if relevant).]
Leveling uneven floors before installing WPC is the most dependable way to prevent gaps, movement, and joint failure. Measure first, choose the leveling method that matches the unevenness pattern and your substrate type, prep thoroughly, and then install with the correct expansion gaps and underlayment rules. If you’re working with widespread unevenness or uncertain substrate compatibility, it’s usually worth pausing DIY—your future floor performance depends on that upfront decision.
Frequently Asked Questions
What is the best way to install WPC floors on uneven subfloors?
Start by measuring the floor flatness using a 2 m straightedge or laser level to identify high and low spots. If the unevenness is within the manufacturer’s tolerance, you can level using an underlayment system designed for WPC flooring or leveling compound for minor dips. If the floor is significantly uneven, use a self-leveling underlayment or appropriate floor leveling screed before installing the WPC floor to prevent gaps and clicking joint stress.
How do I level an uneven floor before installing WPC click-lock flooring?
Clean the subfloor thoroughly and remove any loose paint, dust, or debris so leveling compound and underlayment bond properly. For localized low areas, fill them with a compatible leveling compound, feathering edges smoothly; for larger variations, consider self-leveling compound to create a flat surface. After leveling, allow full curing time, then re-check flatness to ensure a stable base for the WPC click-lock system.
How much unevenness is acceptable when installing WPC vinyl (WPC) floors?
The acceptable tolerance depends on the specific WPC floor brand and thickness, so follow the manufacturer’s instructions for maximum floor flatness. As a general rule, small variations can be managed with an appropriate underlayment, but excessive unevenness can cause joint separation, movement noise, and possible panel damage. If you measure large dips or uneven rises, leveling the subfloor is the safest way to protect the long-term performance of your WPC flooring.
Which underlayment is recommended for WPC floors on uneven floors?
Use an underlayment that is compatible with WPC flooring and supports your goal of achieving a smoother surface, such as a high-density foam or leveling underlayment system recommended by the flooring manufacturer. Avoid using soft, overly compressible underlayments as they may not compensate for unevenness and can lead to instability in click joints. Make sure the underlayment has the correct moisture protection (as required for your subfloor) and is installed flat with properly sealed seams.
Why do WPC floor boards sometimes lift or separate on uneven floors, and how can I prevent it?
When the subfloor is uneven, the panel ends may not stay fully supported, putting stress on the locking mechanism and creating lifting, noise, or gaps over time. To prevent this, ensure the subfloor is flat enough for WPC floor installation, level high/low spots, and install the panels according to the click-lock pattern and expansion gap requirements. Using the correct underlayment and maintaining proper acclimation of the WPC flooring also helps reduce movement that can worsen minor unevenness.
📅 Last Updated: October 08, 2026 | Topic: How to install on uneven floors WPC floors? | Content verified for accuracy and freshness.
References
- Google Scholar Google Scholar
https://scholar.google.com/scholar?q=WPC+flooring+installation+uneven+subfloor+flatness - Google Scholar Google Scholar
https://scholar.google.com/scholar?q=installing+vinyl+plank+floor+on+uneven+floor+subfloor+leveling - Google Scholar Google Scholar
https://scholar.google.com/scholar?q=resilient+flooring+subfloor+flatness+requirements+installation+guidelines - https://en.wikipedia.org/wiki/Subfloor
- https://en.wikipedia.org/wiki/Floor_leveling
- Vinyl flooring
https://en.wikipedia.org/wiki/Vinyl_flooring - https://www.resilientflooring.org/installation-guidelines/
- https://www.resilientflooring.org/wp-content/uploads/2019/05/RFCI-Resilient-Flooring-Installation-Guidelines.pdf
- WBDG
https://www.wbdg.org/structure-flooring-systems/flooring-systems - Google Scholar Google Scholar
https://scholar.google.com/scholar?q=How+to+install+on+uneven+floors+WPC+floors?