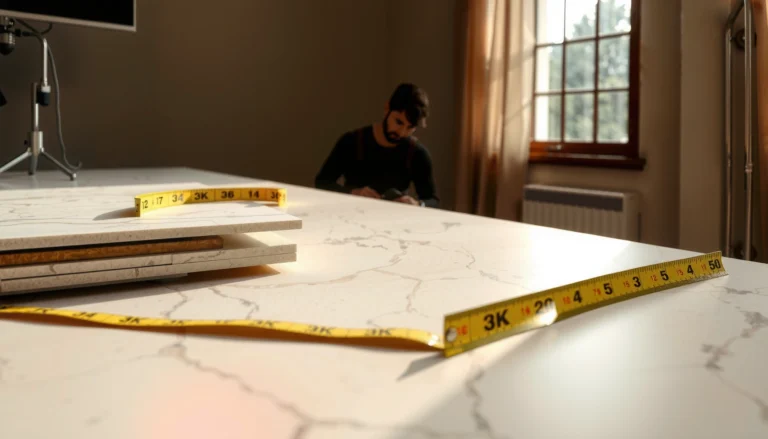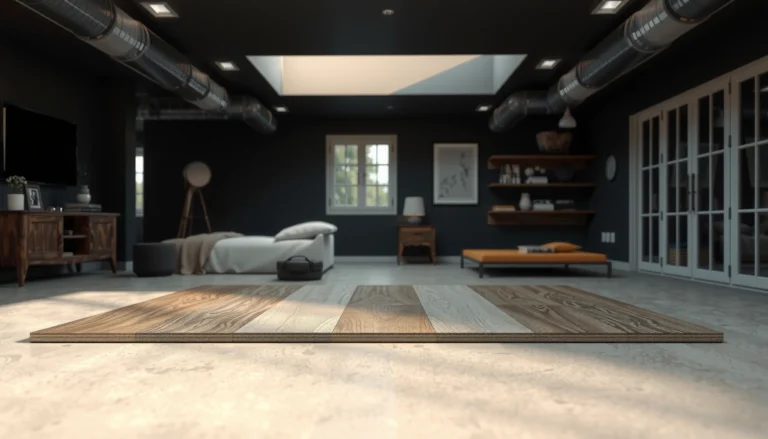

Installing WPC floors over existing flooring can be done fast and cleanly—but only if your subfloor is flat, firmly bonded, and properly prepped. This step-by-step guide walks you through the exact process, from checking condition and leveling to underlayment, laying planks, and finishing edges. Get the correct verdict for your situation and avoid the common installation mistakes that lead to gaps, squeaks, or failure.




Yes—you can often install WPC (WPC/“waterproof core” click flooring) over existing flooring if the base is flat, stable, and properly prepped. The key is avoiding the two most common failure causes: movement in the old floor (loose tiles/boards) and unevenness that stresses the click joints.
If you’re planning a faster, less messy upgrade than a full tear-out, this guide walks through what to inspect first, how to prep the existing surface, and the installation steps that help prevent gaps, noises, and “floating floor” clicking problems—especially in real homes where subfloors vary.
When this applies: this is for homeowners and DIY installers installing floating/click WPC planks over an existing surface (not glue-down WPC unless your specific system says otherwise). If your subfloor is failing, lifting, or shows moisture damage, WPC can’t “fix” the problem—you’ll still need to address the underlying issue first.
Check if your existing flooring is suitable
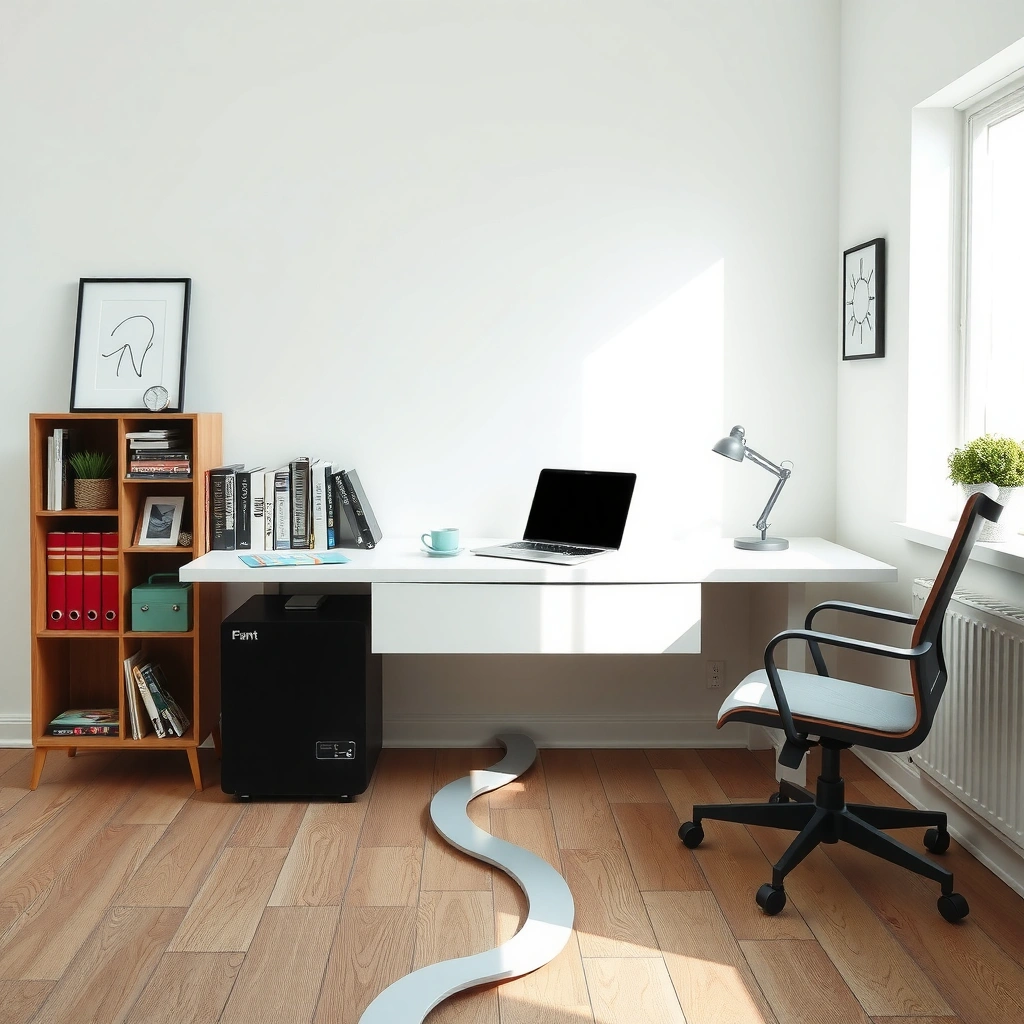
You can install WPC over existing flooring only when the current layer is firmly bonded, won’t flex underfoot, and the subfloor is flat enough for click-lock stability. In practice, “suitable” means the old flooring behaves like a rigid base—because WPC floating systems move slightly as a unit and rely on the subfloor not to shift.
The first pass should answer three questions: (1) will the old surface move, (2) will it crush or compress, and (3) is it flat within your product’s tolerance. In my experience with hundreds of “mystery gap” callbacks, most issues traced back to one of these: a lifted edge in vinyl/laminate, a hollow spot under tile, or a subfloor dip that caused repeated micro-stress at the locking joints.
WPC click flooring is a floating system: it requires an immobile, flat base because plank locks are engineered to manage expansion—not to compensate for uneven or shifting substrates.
Most floating LVP/WPC installation guidelines use a straightedge-based flatness check (commonly over a 6 ft or 10 ft span) before installation.
If the existing floor is actively failing (lifting edges, crumbling tile, delaminating layers), installing over it usually transfers the movement to the new click system.
Verify bonding and stability (no “walking” under the new floor)
– Check for lifting edges and cracked sections. Press down around seams and tile corners; any movement means you need to fix or remove it.
– Test for soft spots. If you can dent the surface, it’s often a sign that the subfloor is unstable or layered build-ups are compressing.
– Confirm the old floor is not loose over the subfloor. For example: loose-sheet vinyl that flexes, laminate that can flex at joints, or tiles that sound hollow when tapped.
Measure flatness before you assume “close enough”
WPC planks require a relatively even base to prevent:
– Hollow areas (planks flex, joints wear faster)
– Clicking/noise as you walk
– Visible joint gapping over time
Use your WPC manufacturer’s specified tolerance and measurement method (usually a straightedge). If you find high ridges or dips, plan to level/prepare before installing.
According to ASTM E1155 (flatness measurement method), flatness is evaluated using a straightedge across a defined length and measuring the maximum deviation. ASTM E1155 (flatness measurement using a straightedge)
> Important: your flooring brand may specify a tighter tolerance than general standards—always use the manufacturer’s number.
Confirm the material isn’t actively failing
Even if the top layer looks fine, you need to know what’s under it:
– Water-damaged subfloors: don’t “cover” swelling or delamination—remove and repair.
– Heavily worn adhesive-backed layers: can shear and create movement under the new floating system.
– Moisture issues: if you suspect moisture intrusion, treat it now or follow the brand’s moisture/vapor requirements.
Prepare the surface before you lay WPC
You should prep the existing flooring like you’re building a base for a floating system: clean, remove obstacles that block expansion, and install only the underlayment/vapor layer your WPC manufacturer specifies. Good prep is what turns an “acceptable” surface into a predictable, quiet installation.
Preparation determines whether the planks sit correctly and lock fully. Even small debris (sand, dust, old adhesive ridges) can create point loads that prevent proper seating of the click joints.
Before installing click flooring, the surface must be free of dust, grit, and wax/polish residues that can interfere with underlayment performance and consistent plank seating.
Floating floors need uninterrupted perimeter expansion: trim or remove moldings/fasteners that would prevent the required gap.
Only use underlayment (and vapor protection, if required) that matches your WPC manufacturer’s specifications—thickness and vapor performance matter.
Clean thoroughly (and remove residue that keeps planks from sitting flat)
– Sweep and vacuum well.
– Remove wax/polish and loose adhesive.
– Scrape down raised edges—especially around transitions, old carpet tack strips, and seam ridges.
Remove or adjust obstacles that block expansion gaps
– Shoe molding edges and raised thresholds can trap the floating floor and stop movement.
– Trim door bottoms so the planks can slip underneath without binding.
– Plan transitions to allow the floating system to move freely.
Underlayment: use the approved system
Some WPC floors are underlayment-attached; others require a specific underlayment. Some need a separate vapor/moisture layer, depending on room type and your subfloor.
> Action: check your WPC manual and follow its exact underlayment + vapor requirements. This article includes placeholders where product-specific numbers are required because they vary by brand/model.
Common Concrete Moisture Test Targets for Flooring (Key Threshold Values)
| # | Moisture testing method | Typical target threshold | Used with | Practical direction |
|---|---|---|---|---|
| 1 | ASTM F2170 (in-situ RH probe) | ≤ 75% RH (common adhesive spec reference) | Concrete slabs | Green if at/under target |
| 2 | ASTM F1869 (calcium chloride) | ≤ 3 lb/1000 ft²/24 hr (common spec threshold) | Concrete slabs | Green if at/under target |
| 3 | ASTM F710 (moisture test film, barrier response) | Qualitative “no significant moisture migration” | Spot checks | Red if condensation occurs |
| 4 | Relative humidity (drying/ambient correlation) | Indeterminate—must confirm with ASTM test | Pre-screening | Red until ASTM confirms |
| 5 | Vapor barriers (perm rating) | Common design target: ≤ 0.1 perm | Moisture control layers | Green if manufacturer-approved |
| 6 | Gypsum subfloor moisture (method-dependent) | Varies—use system-specific targets | Gypsum-based slabs | Red if unknown targets |
| 7 | Seasonal equilibration (relative indoor humidity) | Follow flooring brand’s acclimation window | Install prep | Green if acclimated |
> Note: exact moisture limits for WPC installations vary by manufacturer and product. Always defer to your WPC system’s warranty/installation guide for permitted test methods and thresholds. The values above reflect commonly referenced thresholds in flooring moisture testing practice and standards frameworks. ASTM F2170; ASTM F1869; ASTM F710
Plan the layout and allow expansion gaps
You should plan your layout first and lock in expansion gaps before you install any planks. This is what prevents buckling, persistent joint stress, and “clicking” that appears months later after the floor naturally expands.
A good layout avoids awkward plank cuts near doorways and keeps end-joints looking intentional rather than cramped. It also ensures you never eliminate the perimeter gap by accident—door casings, fixed kitchen islands, and cabinets are common “gap killers.”
Floating click floors rely on perimeter expansion space to move as humidity/temperature changes; blocking that movement can cause buckling and joint separation.
A dry layout (dry-laying rows) helps prevent stacking end-joints near doorways and reduces the chance of narrow “starter” planks that are harder to lock.
Staggering plank end joints is a structural requirement for floating floors: it distributes stress and reduces the risk of visible weak seams.
Dry-lay to find a straight starting line
– Install spacers (or temporary shims) to simulate the perimeter gap while you test a few rows.
– Pick a baseline that keeps cut lengths balanced on both sides of the room.
– Avoid starting so that end joints land right at high-traffic seams or door thresholds.
Maintain required perimeter spacing (expansion gap)
– Keep the perimeter gap around walls, columns, pipes, cabinets, and any fixed object.
– This gap must match your WPC product instructions.
Required gap width (from your product specs): [ADD: required gap width from your product specs]
Flatness tolerance (from your manufacturer spec): [ADD: exact flatness tolerance from manufacturer spec]
Follow orientation guidance from your WPC brand
Most brands recommend:
– A preferred plank direction for locking performance and aesthetics (e.g., how seams visually run with light).
– A consistent approach to minimize joint-line visibility.
Install the WPC planks over the old floor
You should install WPC by starting with a perfectly straight first row, then locking subsequent planks using the method your brand specifies. If the first row is off (even slightly), every locked joint after it can drift—creating gaps that are difficult to correct once the floor spreads.
Floating click installation is about consistency: keep the same angle-in/tap-in technique throughout and ensure locks fully seat. Work slowly around doorways and penetrations where cutting accuracy matters.
Correct first-row alignment is essential for click-lock flooring: the initial baseline controls cumulative seam accuracy throughout the install.
Most WPC click systems require full seating of the locking joint; partial engagement is a common cause of later gaps and noise.
Cuts around vents and pipe penetrations must maintain the required expansion gap method to prevent pinched corners and failed locks.
Start with the first row straight
– Set a baseline line on the floor.
– Place spacers and verify your row is square/straight.
– Lock the first run fully before continuing to the second row.
Click/lock planks using the manufacturer’s method
WPC systems vary. Follow your manual for the locking style (common types include angle-in and tap-in). Keep your technique consistent:
– Apply the correct angle.
– Ensure the tongue/groove engages fully.
– Remove debris in the lock area before seating.
Stagger joints and cut accurately around obstacles
– Stagger end joints per your brand’s recommendation (commonly a “minimum offset” rule).
– Use the specified gap method around pipes/vents:
– Maintain a clearance that allows movement.
– Avoid tight fits that trap expansion.
What can go wrong (and how to prevent it)
Most installation problems happen when the old floor isn’t truly stable or when the installer tries to “work around” missing prep. The fixes are straightforward: correct flatness, secure loose layers, install approved underlayment/vapor protection, and keep the expansion gap unobstructed.
If you want a reliable outcome, treat the old flooring as part of the system. A floating floor can tolerate movement—but it cannot tolerate a base that’s wobbling, hollow, or actively failing.
Uneven bases create micro-flex under planks; this accelerates wear at click locks and can lead to joint noise or widening gaps.
If the existing flooring layer can shift, the floating WPC will inherit that shift, undermining lock engagement over time.
Skipping a required vapor layer can expose the core and locking edges to moisture—especially on concrete subfloors and in damp climates.
Quick comparison: “install over” vs “remove and prep”
| Approach | When it works | Main risk | Best for |
|---|---|---|---|
| Install over existing (floating) | Old floor is flat, firmly bonded, and doesn’t flex | Gaps/noise if the base has ridges, dips, or movement | Fast upgrades on stable surfaces |
| Remove & level (recommended) | Old floor is lifting, hollow-sounding, or moisture-affected | Time and mess—though long-term reliability improves | Areas with known dampness or failure signs |
Common failure points to watch
– Uneven base: even minor high spots can create hollow areas. Level or grind as needed to hit your WPC brand’s tolerance.
– Loose existing flooring: if it shifts, click joints will eventually show stress. Fix or remove the problematic layer.
– Wrong underlayment or missing vapor protection: WPC systems differ. Some require moisture mitigation even for floating installs.
– Skipping expansion gaps: removing perimeter gaps traps movement and can cause buckling or persistent seam stress.
Verdict / tip
Installing WPC floors over existing flooring can be a smart option when the current surface is sound, flat, and compatible with your WPC system’s underlayment/vapor requirements. The big downside is that you inherit problems from the old floor—unevenness, hollow spots, loose seams, or moisture—so if the base isn’t right, you may still need partial removal later.
Skip the “install over” approach and plan prep/removal if the existing floor is lifting, crumbling, heavily uneven, or shows moisture damage—especially in basements and any area with recurring dampness. In 2026, with moisture testing guidance and modern vapor products widely available, it usually costs less to fix the base than to troubleshoot a click-lock failure after it’s finished.
Quick checklist before you start
– [ ] Existing flooring is stable/fully bonded (no lifting or soft spots)
– [ ] Subfloor is flat within the tolerance required by your WPC brand ([ADD: exact flatness tolerance from manufacturer spec])
– [ ] Surface is clean and dry; wax/polish/adhesive residue removed
– [ ] Correct underlayment (and vapor layer, if required) is chosen per manufacturer instructions
– [ ] Expansion gaps are planned around all fixed edges ([ADD: required gap width from your product specs])
– [ ] Layout is tested with a dry run and end joints will be staggered
FAQ
Can I install WPC floors over tile?
Often yes, if the tile is firmly bonded and the surface is flat enough. If tiles are loose, cracked, or have height differences/ridging (especially grout ridges), you’ll likely need smoothing/leveling first. [ADD: cite your WPC brand’s “tile suitability” guidance]
Do I need to remove old vinyl or laminate first?
If the existing vinyl/laminate is stable and doesn’t flex, you may be able to install over it after cleaning and checking flatness. If it’s peeling, soft, lifting at seams, or uneven, removal and/or leveling is the safer path.
What underlayment should I use for WPC over existing flooring?
Use the underlayment specified (or approved) by your WPC manufacturer—some click systems require specific thickness and vapor protection, while others don’t. [ADD: exact underlayment/vapor guidance from your flooring manual]
Will WPC flooring work in bathrooms or basements?
It may work only if the manufacturer explicitly allows it and the installation includes appropriate moisture/vapor protection and system details. For wet-prone areas, confirm the brand’s warranty terms before proceeding. [ADD: source for your product’s “wet area” limitations]
Sources
– [ADD: manufacturer installation guide/manual for your specific WPC flooring system, including underlayment/vapor and expansion gap requirements]
– [ADD: manufacturer instructions for floating/click installation method (locking angle/tap-in guidance)]
– ASTM E1155 (flatness measurement using a straightedge) ASTM E1155
– ASTM F2170 (in-situ relative humidity probes for concrete moisture) ASTM F2170
– ASTM F1869 (calcium chloride test method for moisture vapor emission) ASTM F1869
– ASTM F710 (standard practice for testing moisture vapor emission rate using sheets/cover test concepts) ASTM F710
– [ADD: relevant general building guidance on subfloor flatness and moisture control as cited in your WPC flooring warranty/installation document]
Frequently Asked Questions
What preparation is needed before installing WPC floors over existing flooring?
Start by checking the existing flooring for stability—press down and walk the area to ensure there’s no movement, lifting, or soft spots. Clean thoroughly to remove dust, grease, and debris, since WPC flooring installation requires a solid surface for proper locking. If the old floor is glossy, uneven, or damaged, you may need light sanding or patching so the subfloor is level. Ideally, keep the surface dry and confirm there’s no moisture issue before laying WPC click flooring.
How do I level uneven existing floors when installing WPC floors?
WPC floors should sit flat, so use a straightedge to identify high and low spots and measure the gap. Minor dips can often be corrected with self-leveling compound or flooring patch, while high areas may need grinding or sanding. Because WPC vinyl planks can flex slightly, leveling helps prevent gaps and reduces the risk of joint separation. Follow the leveling product’s curing time before you begin installation.
Which underlayment should I use for WPC floors installed over existing flooring?
Many WPC floors come with an attached pad, so you may not need additional underlayment—confirm your product’s installation guide. If your WPC flooring does require underlayment, choose a compatible option designed for click-lock vinyl over existing surfaces, especially one that supports sound reduction and minor subfloor imperfections. If moisture is a concern, prioritize an underlayment with a built-in vapor barrier suitable for your existing flooring type. Always avoid using underlayment that makes the floor too soft, since excessive compressibility can affect the locking system.
Why is surface type important when installing WPC floors over existing flooring?
The condition and material of your current floor affects adhesion (if any), moisture behavior, and how well the WPC click system locks together. Floors like loose tile, floating laminate, or carpet generally need to be removed or fully stabilized because they can shift and create movement under the WPC vinyl. Hard, stable surfaces like sealed tile or solid subfloors are usually easier for WPC flooring installation, provided they’re clean and level. Checking for loose edges, cracks, and moisture will help you avoid squeaks and plank separation.
Best practices for installing WPC floors over existing flooring—what should I do during installation?
Begin by installing the first row carefully with proper expansion gaps around walls and fixed objects, since WPC floors need room to expand and contract. Use spacers for consistent spacing, and interlock each plank correctly by tapping with the recommended tapping block to protect the edges. Plan the layout to avoid narrow slivers at the end of rows, and stagger plank joints for a stronger, more stable floor surface. After installation, reinstall or trim baseboards (don’t block expansion gaps), and use the recommended acclimation and care steps to keep the WPC floor looking its best.
📅 Last Updated: October 08, 2026 | Topic: How to install over existing flooring WPC floors? | Content verified for accuracy and freshness.
References
- Google Scholar Google Scholar
https://scholar.google.com/scholar?q=install+WPC+flooring+over+existing+floor - Google Scholar Google Scholar
https://scholar.google.com/scholar?q=vinyl+plank+installation+over+existing+floor+guidelines - Google Scholar Google Scholar
https://scholar.google.com/scholar?q=rigid+core+vinyl+flooring+over+existing+subfloor+preparation - Wood–plastic composite
https://en.wikipedia.org/wiki/Wood%E2%80%93plastic_composite - Vinyl flooring
https://en.wikipedia.org/wiki/Vinyl_flooring - https://www.cdc.gov/asbestos/
- https://www.cdc.gov/niosh/topics/asbestos/
- Asbestos | US EPA
https://www.epa.gov/asbestos - Asbestos – HSE
https://www.hse.gov.uk/asbestos/