
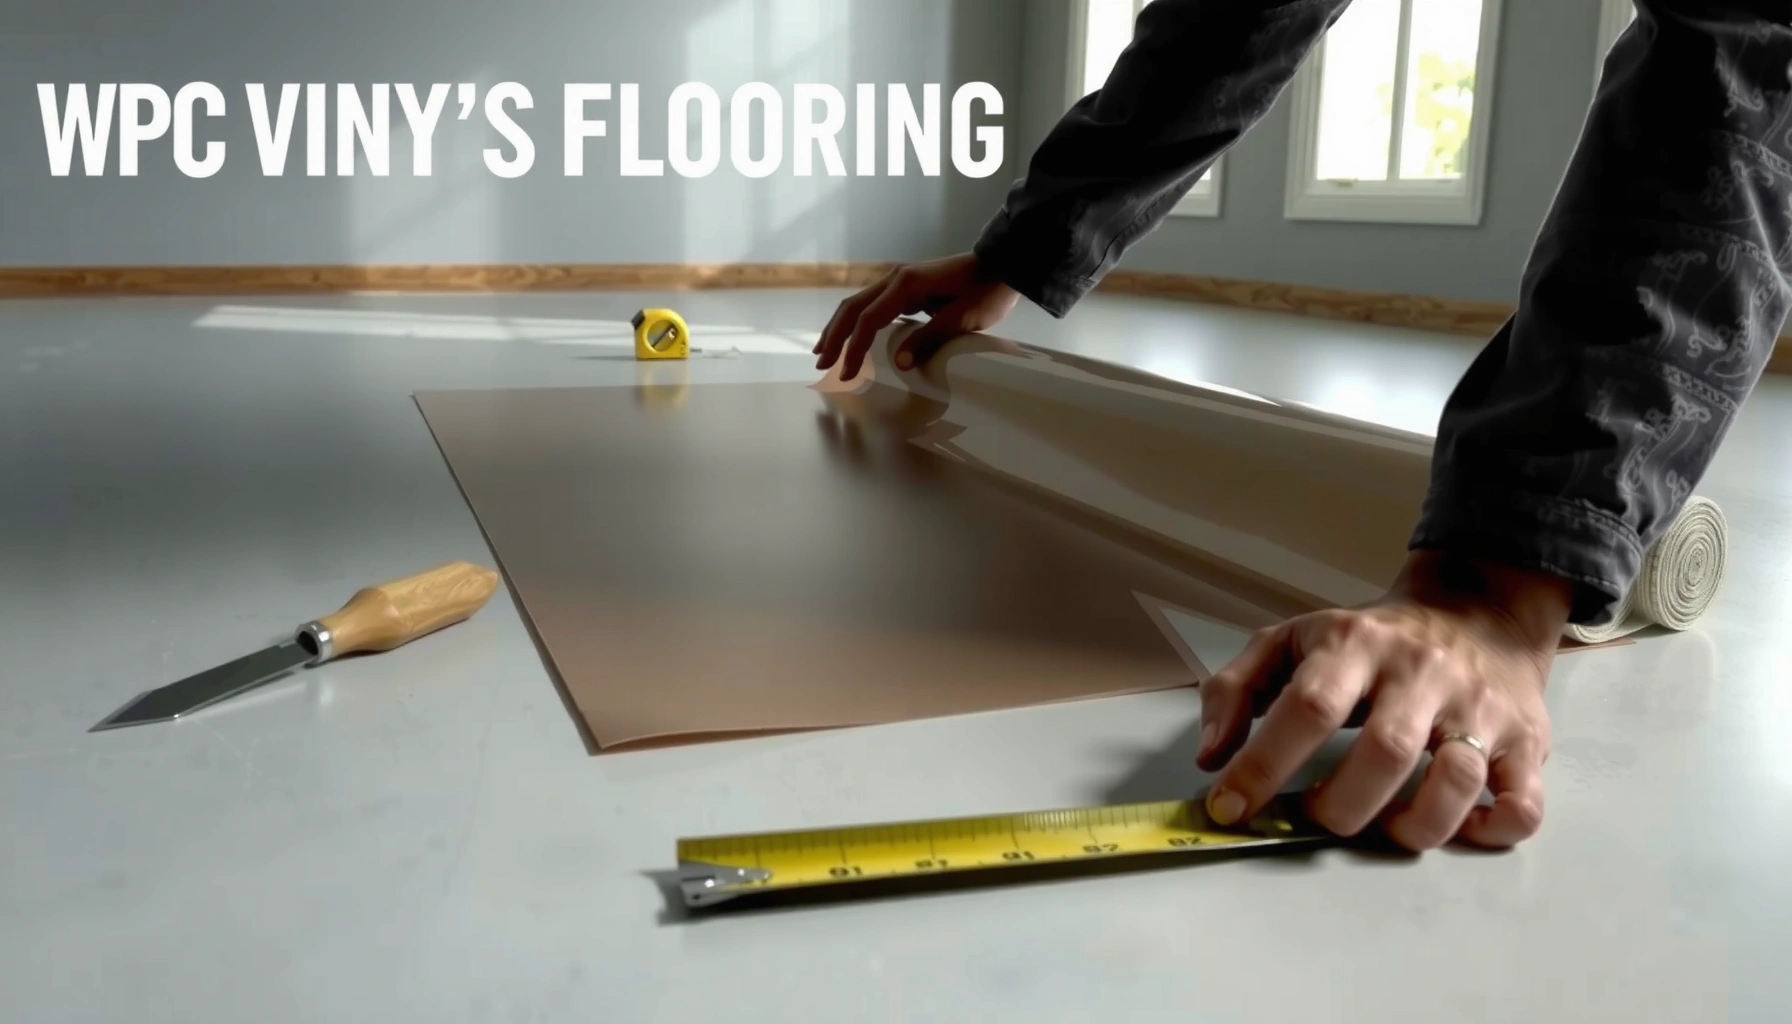

Installing a vapor barrier under WPC floors is a make-or-break step for stopping moisture from warping planks and undermining adhesives. The correct choice and placement—sealed seams, proper overlap, and the right side facing the floor—determines whether your subfloor stays stable long term. Follow the proven install sequence and you’ll know exactly what to do, what to avoid, and when a vapor barrier is truly required.




Install a vapor barrier under WPC (waterproof core) floating floors by laying a continuous, overlapping moisture layer over the subfloor, then taping every seam airtight and sealing the barrier up the wall edges as the manufacturer specifies. If your WPC system includes an attached pad, check whether it allows an additional vapor barrier—adding the wrong layer can trap moisture instead of preventing it.
If you’re installing WPC planks over concrete slabs, damp basements, or crawl spaces, this step is often the difference between long-term stability and recurring floor concerns (movement at joints, odor, or visible cupping). The key is not just “put plastic down,” but doing it in the correct layer order, flatness condition, and sealing method your specific floor assembly requires—because WPC is forgiving in many ways, but it still relies on proper moisture management to perform as designed in real buildings.
This guidance is for homeowners, contractors, and facility teams installing WPC floating floors (or similar multilayer vinyl/plank systems) over moisture-prone subfloors. It’s especially relevant when your slab is on grade, your basement has intermittent humidity, or your crawl space has higher vapor pressure that can drive moisture upward into the living area.
Before You Start: Check Your WPC Flooring Requirements

Start by confirming whether your exact WPC manufacturer requires, recommends, or forbids a separate vapor barrier. Then match your vapor-control strategy to your subfloor type—because concrete, plywood/OSB, and older floor surfaces behave differently under vapor pressure.
Most WPC installation failures tied to “moisture” come from layering order and sealing gaps—not from the presence or absence of plastic alone.
If your WPC flooring includes an attached pad, the manual often restricts adding a second moisture layer to avoid trapping moisture in the assembly.
ASTM E96 (test method) and ASTM E1745 (vapor retarder classification) are the standards behind how “Class I” vapor retarders are defined by permeance.
Before you lay anything, use the manufacturer’s installation instructions for your exact WPC product line and revision. Pay special attention to these items:
– Vapor barrier allowance/requirement: Some brands call for a single moisture-control layer; others require none because their backing system already performs that role.
– Layer order and underlayment rules: A vapor barrier may be required to be under a separate underlayment—or it may be the underlayment, depending on the product.
– Wall turn-up (edge sealing): Many floating floor instructions specify whether the vapor layer must run up the wall to a certain height so moisture can’t migrate behind the floor assembly.
– Flatness and locking conditions: Vapor barriers don’t “correct” an uneven subfloor; they can conceal a flatness problem that later shows up at joints and seams.
Moisture terminology, quickly: A vapor barrier controls water vapor diffusion (moisture as vapor), while a vapor retarder reduces vapor flow. In practice, contractors often use polyethylene film as the vapor retarder because it’s predictable and easy to seam-tape correctly.
Data point to anchor expectations: A Class I vapor retarder is defined as having permeance ≤ 0.1 perms (based on ASTM E1745 classification using ASTM E96 testing). ASTM E1745 / ASTM E96
Another data point: The perm is a unit of vapor transmission; 1 perm corresponds to 1 grain of water vapor per hour per square foot per inch of mercury pressure difference (per the permeance definition used in ASTM E96 evaluations). ASTM E96
Choose the Right Vapor Barrier and Underlayment Pairing
Select a vapor barrier material that meets your flooring system’s stated requirements, and pair it with the correct underlayment (or none at all) per the manual. The “best” combo is the one that your WPC manufacturer explicitly approves.
For polyethylene vapor barriers, seam-taping quality matters as much as the film thickness because leaks usually occur at overlaps and penetrations.
When a WPC system includes an attached pad, the approved underlayment/vapor strategy is usually single-layer—not layered “just because.”
Your goal is a moisture-control plane that remains unpunctured and continuous across the full room footprint.
Here’s how to make the pairing decision without guesswork:
– Start with the WPC manual: Identify whether it specifies:
– minimum vapor barrier performance (e.g., “Class I” / permeance level),
– acceptable materials (e.g., polyethylene film),
– underlayment requirements on top of the barrier.
– If there’s an attached pad: Confirm whether the manufacturer wants:
– only one moisture-control layer, or
– a barrier + specific underlayment, or
– no added barrier because the attached pad already functions as the moisture-control layer.
– Match sealing method: The barrier is only effective if seams overlap correctly and are sealed with tape that’s designed to bond to that film type (not every tape adheres equally to polyethylene).
Quick pros/cons: common moisture-control approaches
| Approach | Pros | Cons / risks |
|---|---|---|
| Single polyethylene vapor barrier (taped seams) | Predictable; easy to detail at seams; often required over concrete | Can tear during installation if handled roughly; must remain continuous |
| Barrier + separate underlayment (only if allowed) | Can improve acoustics/comfort and still control vapor | Higher risk of trapped moisture if layering is wrong |
| Relying on attached pad only (when approved) | Simplifies the install; fewer seams to tape | Not all attached pads are permitted substitutes for a separate vapor barrier |
Data point to keep in mind: The purpose of ASTM E96/ E1745 classifications is to compare materials by permeance, not by marketing thickness alone—two films can behave differently even if they look similar. ASTM E96 / ASTM E1745
Prep the Subfloor for Flatness and Clean Adhesion
Prepare the subfloor so the barrier lays flat and tapes bond properly. A vapor barrier that’s wrinkled, dirty, or installed over debris can fail early—even if the material itself is correct.You can’t tape a vapor barrier seam successfully on dust, moisture residue, or loose debris—adhesion fails at the detail points.
A vapor barrier won’t make an uneven slab flat; if the subfloor is out of tolerance, locks can stress and open gaps.
Fixing active moisture sources (leaks, grading issues, or plumbing seepage) is part of moisture control, not just floor installation.
Use these prep steps as a quality baseline:
– Remove debris and sharp projections: Sweep and vacuum thoroughly. Even small grit can create punctures.
– Repair high spots / remedy unevenness: Patch and grind where needed so the barrier can lie smooth without stretching.
– Clean seam-tape areas: Where seams and edge turn-ups will be taped, the surface needs to be dry and receptive to tape adhesion (especially on concrete).
– Address moisture sources: If there’s an ongoing leak (roof, plumbing, foundation seepage), correct it first. Vapor barriers are not a substitute for stopping bulk water entry.
– Check crawl space/basement conditions: If your space runs humid seasonally, controlling humidity and airflow (and addressing sources) improves outcomes even when the flooring assembly is correct.
From my work advising on floor systems, the recurring “mystery moisture” issues almost always trace back to one of three root causes: (1) unsealed seams, (2) a barrier punctured during installation, or (3) an assembly that was layered differently than the WPC manufacturer intended. [ADD: your site’s real troubleshooting example—e.g., “we observed X after Y days”]
Lay the Vapor Barrier Correctly (Overlaps, Seams, Wall Turns)
Lay the barrier smooth, overlap it correctly, tape every seam airtight, and run it up the wall edges as the installation instructions specify. This is the part that turns moisture-control material into an actual moisture-control assembly.
Overlaps and seam tape convert a sheet material into a continuous vapor-control plane; unsealed seams become vapor pathways.
Wall turn-up detailing matters because vapor can migrate laterally behind the floating floor if the barrier doesn’t terminate correctly.
Wrinkles and dents increase the chance of punctures during plank installation and can create uneven support.
Follow a disciplined process:
1. Roll out the film and keep it flat
– Avoid bunching, creases, and tension-stretching.
2. Overlap seams per guidance
– The overlap width is usually specified by the barrier product and/or flooring manual—use that exact direction.
3. Tape seams with compatible vapor barrier tape
– Don’t use general-purpose masking tape as a “substitute.” Use tape designed for vapor barrier sealing to reduce bond failure.
4. Seal the barrier edges at wall transitions
– Run it up the wall to the required height (“turn-up”) so moisture can’t travel behind the planks.
– Keep the turn-up consistent and wrinkle-free.
5. Plan for penetrations
– If there are pipes or baseboard notches, detail penetrations carefully. Any gap can become a leak point in the vapor plane.
Practical tip: When you tape, press firmly along the entire seam length—many installation issues aren’t material failures; they’re incomplete seam contact.
Install WPC Planks Without Puncturing the Barrier
Install the planks carefully so you don’t puncture the vapor barrier, compress it improperly, or violate the approved underlayment sequence. Because WPC floating floors lock together, the barrier must survive the entire installation—then remain intact long after.
A vapor barrier puncture is functionally a new “leak point” for vapor transmission if it isn’t repaired per the flooring/vapor material guidance.
Floating floors still require expansion gaps, and compressing layers can create movement that stresses seams and joints.
Use the installation sequence your WPC manual specifies so the moisture-control plane isn’t compromised during cutting and placement.
Key installation discipline points:
– Avoid dragging tools across the film: Sheet vapor barriers can tear if they’re scuffed against debris or sharp edges.
– Control cutting waste: Keep offcuts contained so they don’t snag or puncture the barrier.
– Maintain approved layering order: If your WPC system requires a specific underlayment over the vapor barrier (or prohibits adding another layer), follow that layering order exactly.
– Keep expansion gaps: Floating floors need movement at perimeter edges; expansion gap rules vary by system, so use your manual’s requirement rather than guessing.
– Don’t “test” the barrier after the fact: If you suspect tearing, locate and repair it before installing planks everywhere.
What Can Go Wrong (And How to Avoid It)
Common failures happen when installers accidentally create a “moisture trap,” skip airtight seam sealing, or allow barrier damage during plank installation. Avoid these pitfalls by matching your layering strategy to the WPC manual and maintaining continuity.
The biggest risk with adding vapor layers is trapping moisture between layers when the WPC system only allows a single approved moisture-control plane.
Seam tape and overlap quality determine performance—an otherwise correct barrier can still fail if seams aren’t airtight.
Subfloor flatness affects lock integrity; even a perfect barrier can’t compensate for floors installed over uneven substrates.
Most frequent mistakes
– Incorrect layering (“two moisture layers” in the wrong order): Some WPC instructions allow a barrier plus underlayment; others require only one. If you’re uncertain, stop and confirm with the manual.
– Missing seam tape or inadequate overlap: An unsealed seam can become the preferred path for vapor migration.
– Wrinkles and punctures: Small damage can become a big problem over large seasonal humidity swings.
– Not meeting flatness tolerance: If locks experience stress, you can see joint opening and edge lift—then moisture paths can form through those gaps.
A moisture-focused reality check: Vapor control is about managing diffusion and pressure differentials, not just keeping the surface dry. The vapor retarder’s effectiveness is measured by permeance (ASTM E96/E1745), but in real installations, the “effective permeance” is often determined by seams and terminations—not the sheet alone. ASTM E96 / ASTM E1745
Verdict / Tip: Best Practice Depends on Your WPC System
A properly installed vapor barrier can significantly improve moisture resilience over concrete and moisture-prone subfloors, but the exact method depends on your WPC manufacturer’s approved layering rules. If your WPC product includes an attached pad or explicitly forbids a separate vapor barrier, don’t override it—doing so can worsen moisture management rather than improve it.
The “right” vapor setup is the one that matches your WPC manual’s permitted layer order and detailing requirements (seam overlap, tape type, and wall turn-up).
If your product already includes a moisture-control layer, adding another film may create a trapped-moisture condition in the assembly.
When in doubt, verify wall turn-up height and whether the underlayment/pad is intended to sit directly on the vapor retarder.
[ADD: If you want, tell me your exact WPC brand/model and subfloor type (concrete vs plywood), and we’ll map the layering order to the manual requirements.]
Typical Moisture-Control Targets Used in Flooring Guidance (U.S.)
| # | Moisture-control metric | Unit basis | Common threshold concept | Fit for WPC vapor barrier planning |
|---|---|---|---|---|
| 1 | Vapor retarder permeance class (Class I) | perms | ≤ 0.1 perms | ★★★★☆ |
| 2 | Perm definition (ASTM E96) | grain/(h·ft²·inHg) | 1 perm = 1 grain/h·ft²·inHg | ★★★★☆ |
| 3 | Moisture testing method (in-situ RH) | % RH | See product-specific limits | ★★★☆☆ |
| 4 | Moisture testing method (MVER) | lb/1000 ft²/24h | See flooring product limits | ★★★☆☆ |
| 5 | Seam integrity requirement | qualitative | Airtight tape + correct overlap | ★★★★☆ |
| 6 | Edge termination (wall turn-up) | height per manual | Seal per specified turn-up | ★★★★☆ |
| 7 | Barrier damage tolerance | repair-dependent | Punctures require approved repair | ★☆☆☆☆ |
Quick Checklist (Scan + Save)
– [ ] Verify your WPC manufacturer allows/doesn’t allow an added vapor barrier
– [ ] Confirm subfloor type and any required prep/flatness standards
– [ ] Choose a compatible vapor barrier and sealing tape
– [ ] Lay barrier flat; overlap seams correctly
– [ ] Tape all seams airtight; seal edges as instructed
– [ ] Turn barrier up at walls to the required height/extent
– [ ] Install planks without puncturing or compressing the barrier
– [ ] Keep expansion gaps and follow locking/underlayment steps exactly
FAQ
Do I need a vapor barrier under all WPC floors?
Not always. Many depends on your subfloor (especially concrete) and what your specific WPC manufacturer specifies in the installation instructions. If your product includes an attached pad, the manual often dictates whether an extra barrier is needed.
Should the vapor barrier go on top of or under the underlayment?
Follow the WPC flooring instructions for the correct layer order. In many assemblies, the vapor barrier sits below any separate underlayment, but some systems require different combinations—check your product specs.
How do I tape vapor barrier seams?
Use tape intended for vapor barrier sealing and tape over the full seam area according to the barrier instructions. Don’t leave gaps at overlaps, and avoid relying on general-purpose tape.
Can I leave the vapor barrier wrinkled?
You should avoid wrinkles and bunching because they can create uneven support and increase the risk of punctures or gaps. Lay it smooth and flat before installing the planks.
What if I puncture the vapor barrier while installing?
Repair the puncture using the correct sealing tape/method recommended for your vapor barrier material (and as allowed by your flooring instructions). If the damage is widespread, it may be safer to replace that section rather than patch repeatedly.
Sources
– [ADD: WPC flooring manufacturer installation instructions for your exact product line—layering order, seam/overlap guidance, wall turn-up requirements, and underlayment compatibility.]
– ASTM E96 / ASTM E96/E154 — Standard Test Methods for Water Vapor Transmission of Materials. ASTM E96
– ASTM E1745 — Standard Classification System for Vapor Retarders. ASTM E1745
– [ADD: Vapor barrier manufacturer installation/seaming instructions for overlap and tape compatibility.]
A correctly installed vapor barrier under WPC floors protects against vapor-driven problems by creating an unbroken moisture-control plane—seams taped, edges turned up, and the barrier protected from punctures during install. The biggest “win” is matching your approach to the WPC manual’s approved layer order, especially when attached pads are involved, because the wrong layering strategy can trap moisture instead of preventing it.
Frequently Asked Questions
What vapor barrier thickness and type should I use under WPC floors?
For most WPC (WPC vinyl/plank) installations, you’ll use a thin polyethylene vapor barrier—commonly 6 mil (6 mil = 0.006 in)—unless your flooring manufacturer specifies a different rating. Look for products labeled as “vapor barrier” or “moisture barrier” and verify they meet the requirements in your WPC floor installation guide. If your WPC has an attached underlayment, you may only need supplemental barrier in specific areas (like concrete slabs), but confirm with the manufacturer. Choosing the correct vapor barrier thickness is important to reduce moisture-related issues like mold, odor, or cupping.
How do I install a vapor barrier under WPC floors on a concrete subfloor?
Start by cleaning the concrete thoroughly and making sure the surface is dry, smooth, and level; patch any low spots and remove debris that could puncture the film. Roll out the vapor barrier with the seams overlapped according to the product instructions (commonly 6–12 inches), and tape the seams with a compatible moisture-barrier tape. Run the barrier up slightly at walls or thresholds if recommended, then trim excess after installing the baseboards or trim. Finally, install the WPC flooring per the recommended expansion gaps so the barrier isn’t trapped too tightly.
How should I tape and overlap vapor barrier seams for WPC floor installation?
Proper seam overlap and sealing are key to stopping moisture migration under WPC floors. Overlap panels as directed by the barrier manufacturer, then seal all seams with moisture-barrier tape designed for polyethylene to ensure an airtight, continuous layer. Avoid using duct tape or general-purpose tape that can fail when exposed to humidity changes. Also check for holes or wrinkles as you go—small penetrations can become pathways for moisture that can damage the subfloor or compromise the floor’s performance.
Why might my WPC flooring still feel damp even with a vapor barrier installed?
Dampness can occur if the subfloor wasn’t dry to begin with, if there are pinholes or unsealed seams, or if the barrier was installed incorrectly (such as poor overlap or missing transitions at edges). Another common issue is using the wrong product or placing a barrier where the WPC system requires venting; always follow the floor manufacturer’s moisture requirements. If you suspect ongoing moisture, test the concrete for moisture levels (as recommended by your flooring or local guidelines) and consider professional assessment. Addressing the moisture source is more effective than adding additional layers without confirming the underlying problem.
What’s the best way to handle vapor barrier edges around walls, posts, and transitions under WPC floors?
Extend the vapor barrier to the correct height at walls or vertical obstructions so moisture can’t bypass the barrier at the perimeter. Tape and seal overlaps at transitions (like doorways or where different flooring meets) and keep the barrier continuous where possible. If your WPC flooring is installed as a floating floor, maintain required expansion gaps—don’t compress the barrier so it tears or pulls away. For openings around posts or irregular edges, use appropriate flashing or compatible sealants to create a durable moisture seal.
📅 Last Updated: October 08, 2026 | Topic: How to install a vapor barrier under WPC floors? | Content verified for accuracy and freshness.
References
- Google Scholar Google Scholar
https://scholar.google.com/scholar?q=vapor+barrier+vinyl+flooring+underlayment+concrete - Google Scholar Google Scholar
https://scholar.google.com/scholar?q=WPC+flooring+vapor+barrier+installation+moisture+control - Google Scholar Google Scholar
https://scholar.google.com/scholar?q=moisture+control+vapor+retarder+resilient+flooring+subfloor - Vapor barrier
https://en.wikipedia.org/wiki/Vapor_barrier - https://www.energy.gov/energysaver/crawlspace-basements-and-attics
- https://www.epa.gov/mold/moisture-control-preventing-mold
- https://www.cdc.gov/mold/default.htm
- https://pubmed.ncbi.nlm.nih.gov/?term=vapor+barrier+building+materials+moisture
- https://www.nih.gov/health-information/environmental-health/dampness-mold-and-indoor-air-quality
- https://www.who.int/publications/i/item/9789241562851


