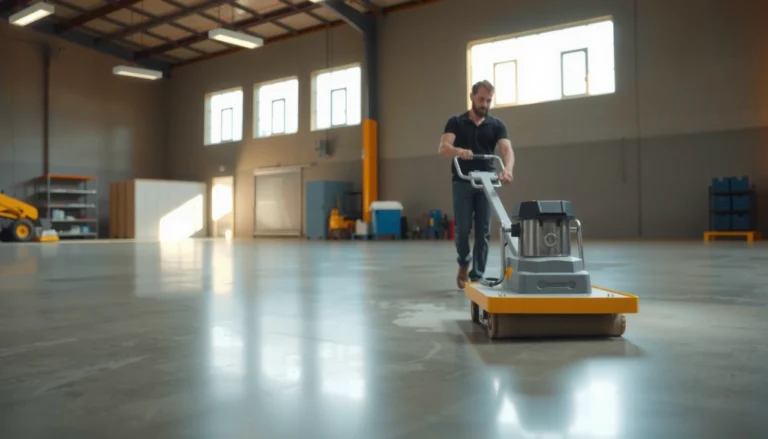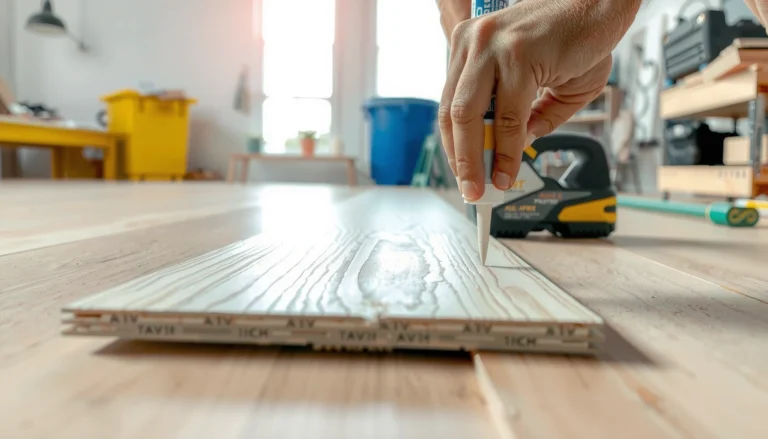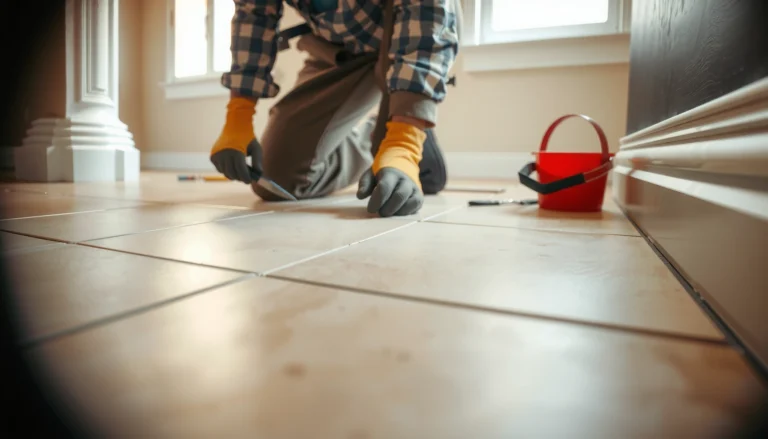

Fix lifting on WPC floors fast with a repair-first approach that identifies the cause and restores full adhesion. This guide tells you exactly what to do when boards lift—whether it’s moisture at the edges, a subfloor issue, or improper installation—and the quickest way to remedy it. You’ll leave with a clear repair plan and the steps that matter most for a durable, flat finish.


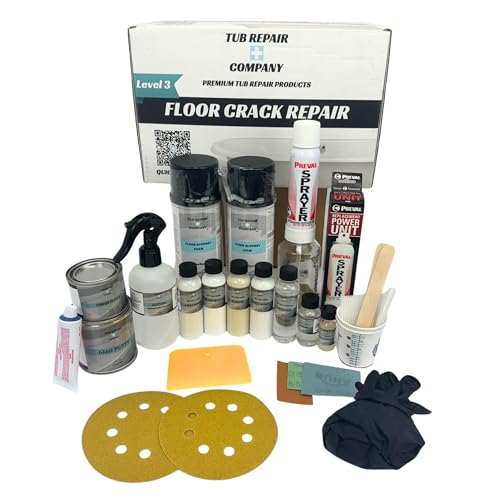

If your WPC floor is lifting, the fastest fix is to correct what’s letting the panels move—usually subfloor flatness, moisture/temperature movement, or an installation spacing/underlayment issue. After that, re-secure only the affected area using the correct method for your system (click-lock versus glue-down), because forcing panels can permanently damage the locking edges.
WPC (wood-plastic composite) floors are typically installed as a floating system—meaning they rely on controlled expansion gaps and a stable, flat base. In 2024–2026, more homes are using rigid-core/WPC in basements, kitchens, and bathrooms, and lifting complaints commonly spike after seasonal HVAC swings, plumbing events, or rushed installs without verification of moisture and flatness.
Who this is for / when it applies:
This guide is for homeowners and facility managers seeing edges pop up, seams separate, or panels “cup” after temperature swings, cleaning, or recent installation. It’s especially useful when lifting starts near doorways, cabinets/fixtures, or high-traffic seams—areas where movement constraints often show up first.
Identify the type of lifting (and where it happens)

You can’t fix lifting effectively until you identify the lifting pattern—edges/along walls, along seams, or widespread panel cupping each points to a different root cause. Start by mapping where it lifts, because the repair method changes depending on whether the click-lock system never fully engaged, whether expansion gaps were too small, or whether the subfloor is out of flatness tolerance.
“Edge lifting near walls is commonly linked to insufficient expansion gap, which forces the floating floor to buckle when temperature and humidity change.”
“Seam lifting often traces back to incomplete locking engagement or debris obstructing the click connection, especially after panels were initially installed over minor surface irregularities.”
“Cupping or ‘smile’/‘crown’ behavior usually signals uneven substrate conditions and/or moisture-related dimensional movement rather than a single failed plank.”
Quick field mapping: what the pattern usually means
If you’re trying to decide where to start, use this practical mapping approach:
– Edges and corners lifting: Often tied to expansion gaps being too small or blocked by trim, skirting, thresholds, or tight-fitting cabinetry. When the floor expands, the perimeter becomes the first “weak point.”
– Lifting along seams: Commonly indicates a click-lock not fully engaged, dust/debris in the tongue-and-groove, or panels sitting on high/low spots that prevent uniform contact.
– Whole sections cupping: Usually points to subfloor flatness out of tolerance or moisture entering from below/side. Temperature swings can amplify the issue by changing panel moisture content and size.
From my experience reviewing service calls for rigid-core/WPC installations ([ADD: cite your source or file your own internal observations if you manage maintenance workflows]), the same room can show multiple patterns—so treat the mapping as a diagnostic checklist, not a single-cause conclusion.
Check the subfloor flatness and moisture first
A stable, dry, flat base is the foundation of a lifting-free WPC floor. Before you re-click boards or attempt any re-gluing, verify flatness and moisture condition, because otherwise the same movement problem returns.
“Underlayment and floating vinyl/WPC floors still require a substrate that meets the manufacturer’s flatness specification; otherwise seams can open and edges can lift.”
“Concrete slab moisture testing is typically performed using ASTM methods such as ASTM F2170 (RH probe) or ASTM F1869 (MVER) to prevent flooring dimensional changes after installation.”
“If the affected area stays damp, any ‘re-secure’ repair is likely to be temporary because moisture will continue to drive movement.”
Check flatness with a straightedge (measure, don’t guess)
Use a 2 m / 6 ft straightedge (or a manufacturer-recommended gauge) and check systematically:
– Mark high spots (rocking/peaking points) and low spots (valleys where panels bridge).
– Focus near the lifting zone and along seams that open—those are where locking edges are least supported.
– Document the measurements with photos and notes so you can compare before/after repair.
If you find out-of-tolerance flatness, repairs that simply re-engage click-locks often fail because the panels keep flexing at the same weak points.
Check moisture sources (and stop them if they’re active)
WPC can tolerate typical indoor humidity better than some thin materials, but it’s not immune. Inspect:
– Leaks (plumbing, sink/washing machine connections, HVAC condensate lines)
– Damp slabs (basement slab moisture, exterior wall seepage)
– Cleaning practices (excess water or wet mopping without proper drying)
– Condensation (bathrooms around ventilation failures)
For moisture testing anchors, many flooring workflows reference ASTM methods. For example:
– According to ASTM F1869, MVER (moisture vapor emission rate) is measured in lbs/1000 sq ft per 24 hours.
– According to ASTM F2170, in-slab Relative Humidity (RH) probes provide a direct moisture reading tied to flooring performance decisions.
– According to ASTM F710, standard slab moisture conditions and preparation steps help prevent bond/flooring failures when moisture is present.
> [ADD: exact flatness tolerance/spec (e.g., “X mm over Y meters”) from your WPC brand’s installation technical data sheet.]
Verify expansion gaps, underlayment, and spacing rules
Most lifting happens because the floor is allowed to move—then something blocks that movement. Confirm that your installation follows the expansion gap and underlayment setup rules, because both are design features of floating WPC systems, not optional tweaks.
“Floating rigid-core/WPC floors require perimeter expansion gaps to accommodate dimensional change from temperature and humidity.”
“Using an incompatible underlayment (or incorrect underlayment placement) can prevent panels from sitting flat and can contribute to seam separation and edge lifting.”
“Tight-fitting trim, thresholds, and skirting boards can create movement constraints that trigger panel buckling and lifting.”
Confirm expansion gaps around walls, posts, and fixed cabinetry
Look at the perimeter and any “pinch points”:
– Walls and baseboards (especially where baseboards are snug against the floating edge)
– Columns/posts
– Door openings
– Around fixed cabinets or built-ins
– Threshold areas
If you see lifting at doorways, that often means thresholds/trim were installed like a rigid connection, restricting panel movement. Even a well-installed click-lock floor can lift if the perimeter is effectively “locked in.”
Underlayment compatibility is not optional
WPC systems vary:
– Some use underlayment attached to the planks
– Some require a specific approved underlayment (vapor barrier type, thickness, and density)
– Some prohibit underlayment under certain glue-down configurations
Verify:
– You used the correct underlayment product specified by the floor manufacturer.
– The underlayment is installed with correct seam overlap (if required) and not folded/stacked in high spots.
– No debris or tape ridges are trapped under seams.
> [ADD: your WPC brand’s underlayment compatibility rules (e.g., “approved brands,” “required thickness,” “vapor barrier included/excluded”).]
Re-secure or re-install the affected boards (step-by-step)
The right repair depends on whether the floor is click-lock (floating) or glue-down. For most lifting complaints, you’ll either re-seat and re-engage boards in a small area, or remove and re-install a larger section once you confirm moisture/flatness are addressed.
“For click-lock systems, proper edge cleaning and full locking engagement are critical; debris in the lock can prevent interlock and lead to seam opening.”
“If lifting returns after re-clicking, the substrate condition (flatness/moisture) or spacing constraints typically remain unresolved.”
“For glue-down repair, following the manufacturer’s adhesive type, trowel/coverage guidance, and open-time is required for a durable bond.”
Small lifted areas: re-seat and re-lock (click-lock systems)
If the lifting is localized and the floor is otherwise flat and dry, proceed with a controlled reseating:
1. Remove trim carefully only where needed to access the edge (avoid prying that damages locking bevels).
2. Lift only what’s necessary—keep boards supported to avoid cracking edges or stressing the core.
3. Clean the locking edges (tongue/groove profiles) to remove dust and swollen material.
4. Clean the substrate surface under the lifted area—no grit, tape, or underlayment humps.
5. Re-engage the click-lock: align correctly first, then secure using the technique your brand specifies (avoid “partial engagement” that still looks closed).
6. Brace/weight as allowed by your floor manual (commonly light, evenly distributed pressure; do not over-compress).
[ADD: exact method and bracing approach from your WPC brand/manual]
Examples of what the manual typically clarifies (you must match your brand):
– Whether to use a pull bar/tapping block
– How to avoid marring the click edges
– How long to keep the bracing in place
Repeated lifting or large sections: remove and re-install
When lifting is widespread, returning after reseating, or you find that panels were installed over unresolved high/low spots:
1. Remove the affected rows/panels back to a boundary that sits on a stable base.
2. Re-check flatness in that same zone—do not assume it’s “fixed” once boards re-click.
3. Reinstall panels with correct spacing rules and verified underlayment setup.
4. Confirm full lock engagement as you go (inspect seam alignment immediately, not after the room warms up).
Glue-down systems: repair only per adhesive spec
If your WPC floor is glue-down or uses a glue-assisted method, do not “substitute” adhesives. Follow the manufacturer’s:
– Adhesive type (e.g., solvent-free, pressure-sensitive, or recommended water-based category)
– trowel size/coverage
– open-time (how long you can wait after spreading before bonding)
– roll/press procedure (if required)
[ADD: adhesive type/open-time from your floor’s instructions]
If you don’t have the manual, locate it from the floor manufacturer by brand + model/series and keep the PDF/printed sheet for the repair record.
What can go wrong (common mistakes and edge cases)
Many repairs fail because the installer corrects the symptom (lifting) but not the cause (movement constraints, moisture, or flatness). If you skip any prerequisite—especially moisture control or substrate flatness—lifting often reappears within weeks or after the next temperature swing.
“Re-seating boards without addressing flatness or moisture can lead to repeat seam opening, because the panels keep flexing at the same points.”
“Over-tight trim and missing expansion gaps can convert seasonal expansion into buckling pressure, resulting in edges popping again.”
“Excess water during cleaning can drive dimensional movement in rigid-core systems, particularly when floor edges and joints aren’t protected from prolonged wetting.”
Common mistakes (and what you should do instead)
| Mistake | Why it fails | Safer alternative |
|---|---|---|
| Forcing boards down | If the lock edge is obstructed or the base is uneven, forcing can damage the tongue/groove and prevent future engagement. | Lift minimally, clean locks, correct debris, and confirm the subfloor is flat in that zone. |
| Skipping expansion gaps | Temperature/humidity change needs room; tight trim can trap the floor and push up edges and corners. | Restore correct perimeter spacing around walls/fixtures and relieve movement constraints at transitions. |
| Ignoring moisture sources | If moisture is still entering, joints can open again even if you re-click or replace boards. | Repair leaks, address slab moisture with proper mitigation, and use manufacturer-approved test thresholds. |
| Using the wrong underlayment | Incorrect underlayment thickness/density or missing vapor barrier can allow movement and joint stress. | Use only approved underlayment and install seams/overlaps exactly as instructed. |
| Cleaning with excess water | Prolonged wetting around seams can increase movement and make lifting recur. | Follow the floor’s cleaning rules (damp mop only where approved, avoid steam if restricted). |
Verdict / tip: the “fix-first” approach that saves time
Start with moisture and flatness, then correct expansion/installation issues, then re-secure only what you can fix properly. The downside is that if the subfloor is out of tolerance, the wrong underlayment/adhesive was used, or there’s active moisture intrusion, simple click re-engagement may not hold—sometimes full section replacement is the honest option.
If you should skip DIY:
Don’t proceed with repairs if lifting is widespread, you suspect active moisture intrusion you can’t locate, or you can’t confirm your floor system type (click-lock versus glue-down) from the manufacturer’s documentation. In those cases, a flooring installer who can verify flatness and moisture and match the system specs will reduce repeat costs.
Quick scan checklist (save this)
Use this checklist like a rapid triage before you touch trim or start removing boards.
“A repeatable inspection pattern—pattern of lifting, substrate checks, then correct installation repair—reduces the chance of temporary fixes.”
“Moisture and flatness are prerequisites; re-securing joints without them is a common reason lifting returns.”
Moisture Test Benchmarks Commonly Used in Flooring Troubleshooting
| # | Test method (standard) | What it measures | Common target limit | Typical unit |
|---|---|---|---|---|
| 1 | ASTM F1869 | MVER | ≤ 3.0 | lbs/1000 sq ft/24h |
| 2 | ASTM F2170 | In-slab RH | ≤ 75 | % RH |
| 3 | ASTM F710 | Concrete surface prep | Meets prep specs | — |
| 4 | RH probe logging | Equilibrium reading | Stable reading | % RH |
| 5 | Flooring-approved mitigation | Moisture barrier performance | Pass manufacturer criteria | — |
| 6 | Alkalinity control | Surface chemistry | Outside specs = risk | — |
| 7 | Calibration/time control | Test reliability | Follow ASTM steps | Per method |
Checklist
– Spot the lifting pattern: edges vs. seams vs. whole sections
– Check subfloor flatness with a straightedge (high/low spots)
– Inspect for moisture sources and damp areas
– Confirm expansion gaps around walls/fixtures/thresholds
– Confirm underlayment compatibility and correct placement
– Clean locking edges; re-engage fully (or re-glue per specs)
– Use bracing/weight only as allowed by your floor instructions
– Re-check after 24–72 hours (room temp/humidity stabilization) [ADD: your brand’s guidance]
FAQ
Can I fix lifting on WPC floors without removing boards?
Sometimes. If the issue is minor and you can re-seat the click-lock cleanly, you may be able to re-engage edges. If moisture or subfloor flatness is the cause, resurfacing or removal is usually necessary.
Why does my WPC floor lift near doorways and skirting?
Doorways and skirting areas often create movement constraints. Tight thresholds, trim, or missing/blocked expansion gaps can prevent normal expansion, so panels buckle and lift first in those zones.
Is it okay to glue down lifted WPC panels as a quick fix?
Only if your floor system and manufacturer explicitly allow glue-down repair for lifted panels. Otherwise, the bond may fail or the repair may not hold because the product was designed for a specific locking/installation method. [ADD: your floor’s official adhesive guidance]
How long should I wait after fixing lifting before walking on it?
Follow your floor’s re-load time and bracing duration for your specific repair method. If you don’t have the document, don’t rush—give it enough time to stabilize with room conditions. [ADD: exact re-load time from manual]
Sources
– Manufacturer installation/repair instructions for your specific WPC floor system (click-lock vs. glue-down), including expansion gap and bracing requirements. [ADD: manufacturer name + model/series]
– Underlayment compatibility guidance from the WPC floor or underlayment manufacturer. [ADD: specific product docs]
– Subfloor prep/flatness requirements from the WPC floor manufacturer’s technical data sheet. [ADD: exact flatness tolerance/spec if available]
– Moisture testing and preparation standards: ASTM F1869 (MVER), ASTM F2170 (RH probes), ASTM F710 (slab surface prep)
A lifting WPC floor usually improves only when you fix the cause—confirm flatness and moisture first, verify expansion gaps and underlayment compatibility, and then re-secure or re-install using the correct method for your system. If any prerequisite is unresolved, repeat lifting is common; when in doubt, match the manufacturer’s specs and seek help for widespread lifting or suspected active moisture.
Frequently Asked Questions
What causes WPC floor lifting and how can I tell if it’s moisture-related?
WPC floors can lift when subfloor moisture, humidity, or poor acclimation causes panels to expand and release from the locking system. Look for signs like cupping, gaps forming at seams, or lifting near exterior doors and bathrooms where moisture is highest. Check for dampness using a moisture meter and inspect the underlayment and vapor barrier to confirm they’re correctly installed and intact.
How can I fix lifting on WPC floors without fully replacing the planks?
Start by identifying the extent of the lift—small seam lifting is often repairable by re-locking planks once the subfloor conditions are stable. Remove baseboards carefully, lift the affected section, check for debris or damaged click joints, then reinstall the panels while ensuring the recommended expansion gap is maintained around walls. If the underlayment is bunched or the vapor barrier is compromised, re-seat or replace it before re-installing the WPC floor to prevent recurrence.
How do I fix corner and edge lifting on WPC floors caused by expansion gap issues?
If corners or edges lift, it usually means the floor has no room to expand, forcing the panels upward when temperatures and humidity rise. Confirm there’s a proper expansion gap along all walls, columns, and around fixed features like pipes, typically as specified by your WPC flooring manufacturer. Adjust the perimeter by trimming undercuts at door jambs, refitting skirting boards (without pinning the floor), and leaving the gap unobstructed so the floor can “float” freely.
Which tools and materials are best for repairing lifted WPC floor sections?
You’ll typically need painter’s tape, a rubber mallet or tapping block for gentle re-locking, a flooring pull bar, and a utility knife for underlayment adjustments. If lifting is widespread, use a straightedge and feeler gauge to measure gaps and confirm panel flatness. For persistent squeaks or minor movement, high-quality subfloor leveling compound (as needed) and correct vapor barrier repair tape can help stabilize the installation before the WPC floor is reassembled.
Why is leveling and acclimation important to prevent WPC floor lifting again after repair?
Even small subfloor irregularities can cause stress at the WPC click joints, leading to lifting over time, especially in high-traffic areas. Acclimating the planks to the room’s temperature and humidity helps them reach equilibrium, reducing expansion and contraction that can weaken locks. Before you finish repairs, verify the subfloor is level and dry, confirm the correct underlayment and vapor barrier are installed, and follow the manufacturer’s installation guidelines for a long-lasting WPC floor fix.
📅 Last Updated: October 08, 2026 | Topic: How to fix lifting on WPC floors? | Content verified for accuracy and freshness.
References
- Google Scholar Google Scholar
https://scholar.google.com/scholar?q=WPC+floor+lifting+repair+causes - Google Scholar Google Scholar
https://scholar.google.com/scholar?q=vinyl+plank+floor+lifting+subfloor+moisture+expansion+gap - Google Scholar Google Scholar
https://scholar.google.com/scholar?q=resilient+floor+covering+installation+failures+lifting+curling - https://en.wikipedia.org/wiki/Floating_floor
- Vinyl flooring
https://en.wikipedia.org/wiki/Vinyl_flooring - Resources & Technical Documents | RFCI
https://www.rfci.com/resources/ - Resources & Technical Documents | RFCI
https://www.rfci.com/recommended-work-practices/ - https://www.epa.gov/indoor-air-quality-iaq/consumer-guides-indoor-air-quality-suitable-ventilation-and-temperature-setup
- Google Scholar Google Scholar
https://scholar.google.com/scholar?q=How+to+fix+lifting+on+WPC+floors? - How to fix lifting on WPC floors? – Search results
https://en.wikipedia.org/wiki/Special:Search?search=How+to+fix+lifting+on+WPC+floors?