
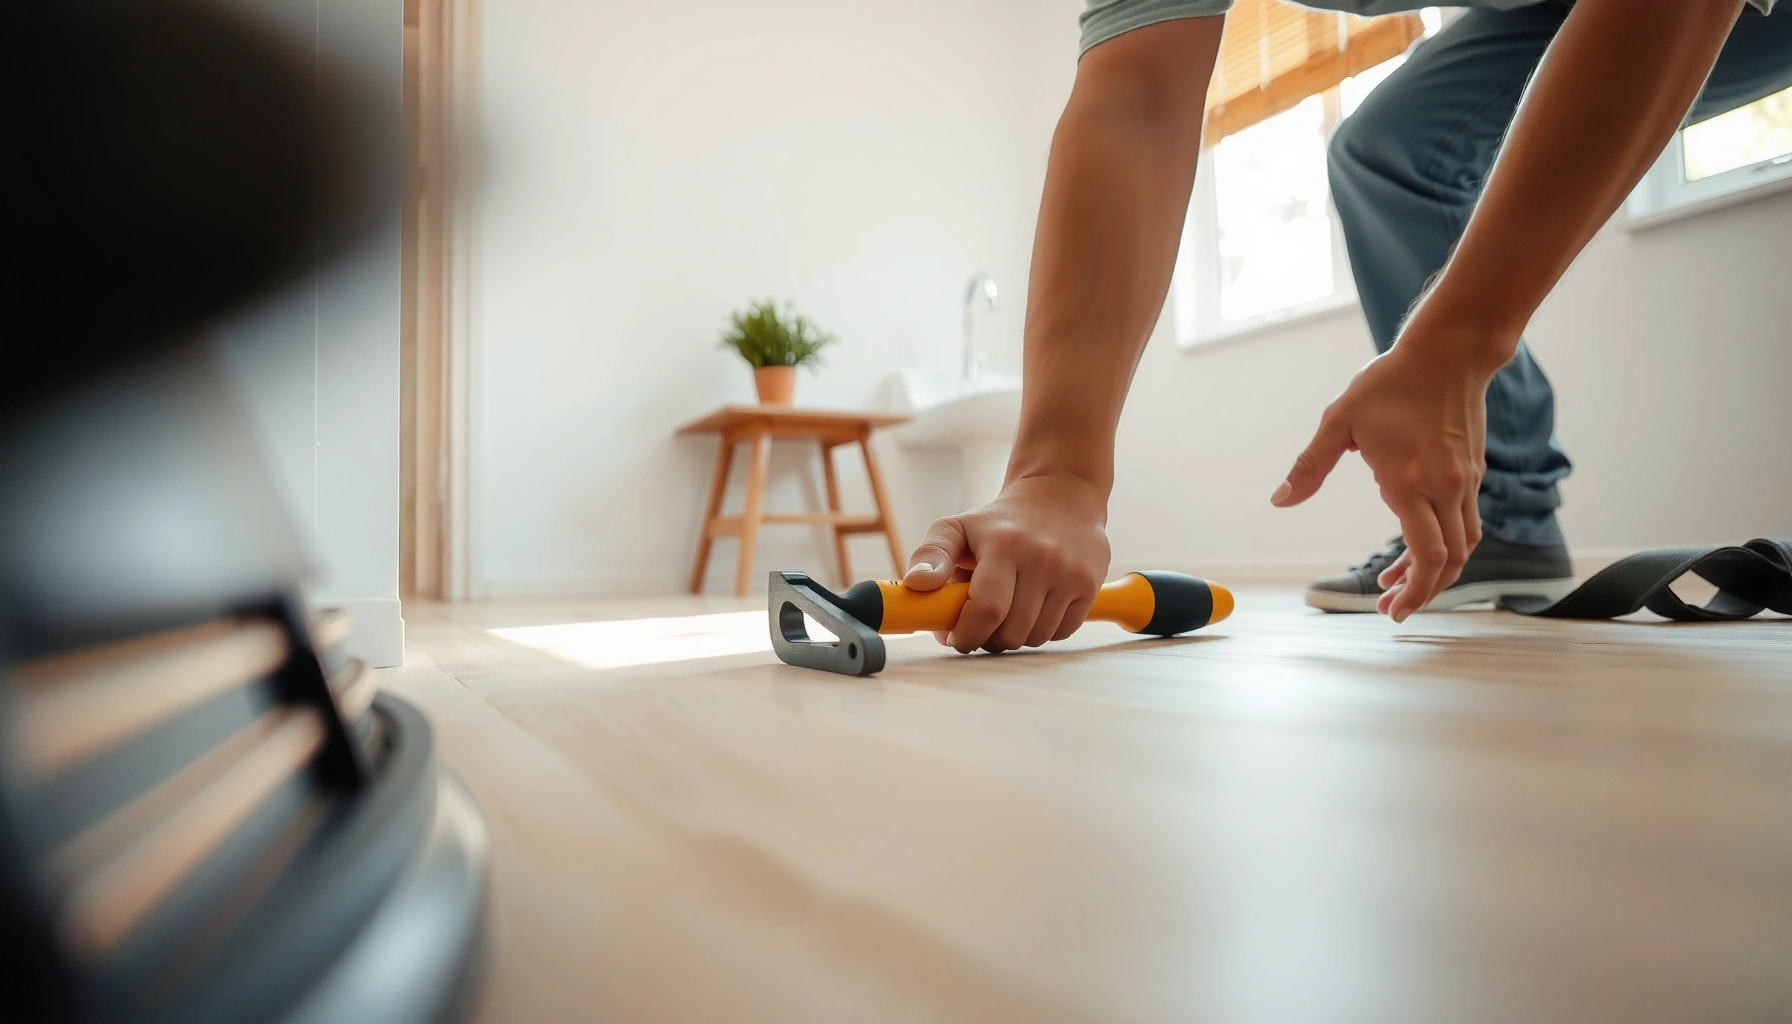

Installing sheet vinyl over existing sheet vinyl floors is a smart move when the old surface is flat, firmly bonded, and free of tears, lifting seams, or deep gouges. This guide shows you exactly when you can go over the top, what prep is non-negotiable, and the steps to get a smooth, watertight install without bubbling or wrinkles. If your current vinyl is failing or uneven, you’ll also learn the red flags that mean you should remove it instead.




You can install new sheet vinyl over existing sheet vinyl only if the old surface is firmly bonded, smooth, and properly prepared. In most cases, you’ll scrape, flatten, patch seams/imperfections, and confirm the subfloor is stable before laying the new vinyl. This guide walks you through the checks and prep so the new floor doesn’t telegraph bumps or separate later.
If your current sheet vinyl is loose, heavily damaged, or cannot be made smooth, you may need to remove it instead. This applies to typical sheet-vinyl-to-sheet-vinyl over-the-top projects where the manufacturer’s instructions allow installation over existing resilient flooring.
Check if your existing sheet vinyl can stay

The deciding factor is not whether the vinyl “looks fine,” but whether it’s firmly adhered and can be made flat enough that the new sheet won’t reflect old defects. If the existing floor is lifting, bubbling, or flexing, you’re effectively installing on a moving surface—eventually the new vinyl will mirror that failure.
Before you touch a scraper, verify the conditions that manufacturers and resilient-flooring best practices use to decide “over” vs. “remove.” According to the Resilient Floor Covering Institute (RFCI) recommended work practices, subfloors and existing resilient surfaces should be prepared so that the installation is flat and stable (flatness targets vary by system, but a commonly referenced guideline is 3/16 in over 10 ft). RFCI Recommended Work Practices (resilient floor covering installation)
Existing resilient flooring must be firmly bonded—if it can be lifted or flexed when pressed, installing new vinyl over it is a high-risk failure path.
Permanent ripples, bubbling, and water damage in the old vinyl are not “cosmetic”; they commonly telegraph through resilient floors after installation.
Over-install rules are product-specific; only proceed when your new sheet vinyl manufacturer explicitly allows installation over existing resilient flooring.
Verify adhesion (the “will it move?” test)
– Verify the old vinyl is solidly adhered (no lifting edges, bubbling, or sections that flex when pressed).
– Press-test at multiple points (especially along seams). If you notice any movement, the seam may be failing underneath, even if the surface still lies flat.
Inspect damage beyond the obvious
– Look for damage: tears, deep gouges, permanent ripples, water damage, or areas that look uneven.
– Pay extra attention to areas near exterior doors, sinks, and toilets. Moisture intrusion often shows up later as adhesive breakdown or mildew odor under resilient flooring.
Confirm the type and backing compatibility
– Identify the flooring type—some vinyl types and backings require specific conditions, so match the plan to what the new product’s instructions permit. [ADD: source for “can install over existing sheet vinyl” allowance—specific to your new product]
Prep: smooth, clean, and patch before you roll the new sheet
The best over-install results come from treating the old vinyl like a subfloor, not like a finish surface. If you install new sheet vinyl on top of ridges, seams, or residue, those differences transfer as visible lines and premature wear.
This is where most projects succeed or fail: prep is what prevents “ghosting” (seams/bumps showing through) and early edge lifting.
Two core prep principles drive the rest:
1) remove anything raised, and
2) create a clean, properly prepared surface for the bonding system (if the new product uses adhesive).
Raised adhesive ridges and seam overlaps are the #1 causes of telegraphing when installing a new sheet vinyl over existing vinyl.
Resilient flooring installation standards emphasize surface cleanliness because dust, grease, and residue reduce bond strength.
Scrape and flatten high spots
– Scrape off any raised seams, adhesive ridges, or high spots, then sand/level as needed to create a flat surface.
– Feather edges slowly. If you stop abruptly at a seam ridge, you create a “hard edge” that the new sheet can imprint.
Clean to the new flooring’s requirements
– Clean thoroughly: remove dust, grease, and residue so the new vinyl can bond correctly (follow the new flooring’s cleaning guidance). [ADD: source for cleaning method from the new vinyl manufacturer]
Patch only what’s approved
– Patch low areas with an approved filler/leveler if needed—don’t use random patch materials that aren’t rated for resilient flooring installations. [ADD: source for approved patch/leveler guidance]
Data anchor (units that matter): moisture and subfloor testing results are reported in standard units, so you can interpret specs correctly. For example, ASTM moisture testing approaches report moisture vapor emission in lbs/1000 ft²/24 h for slab testing methods. ASTM F1869 (moisture vapor emission method)
And in-situ concrete relative humidity results are typically expressed as a relative humidity percentage (e.g., RH%) using ASTM in-place probes. ASTM F2170 (in-situ relative humidity testing)
Key Over-Install Prep Checks for Sheet Vinyl (Practical Risk Reduction, 2024)
| # | Prep check | What you prevent | Verification method | Impact rating |
|---|---|---|---|---|
| 1 | Adhesion spot-check of seams | Future seam lift | Press-test along seam lines + look for edge lifting | ★★★★☆ |
| 2 | High-spot scraping + feathering | Telegraphing ridges | 2–6 ft straightedge + tactile feel for ridges | ★★★★☆ |
| 3 | Residue removal (grease/dust) | Bond failure under seams | Clean water wipe test before adhesive/laydown | ★★★☆☆ |
| 4 | Approved patch/leveler for dips | Soft spots + premature wear | Use only manufacturer-rated products; verify cure time | ★★★☆☆ |
| 5 | Feathering old seams to avoid “lines” | Visible seam ghosting | Check with oblique light; run fingertips over transitions | ★★★☆☆ |
| 6 | Moisture evaluation (if concrete/substrate allows) | Trapped moisture + odor/mold risk | Run tests only per new vinyl manufacturer limits | ★★☆☆☆ |
| 7 | Follow acclimation + temperature window | Wrinkles + dimensional movement | Meet the product’s specified acclimation time/temp | ★★★☆☆ |
Test flatness and deal with seams or texture
The new vinyl needs a flat base or you’ll see the old floor’s “map” as a pattern of ridges or uneven gloss. Seam management is especially important because overlaps can create a hard bump that resilient sheet can’t fully disguise.
If you can feel a ridge with your fingertips, it can often show through a finished sheet vinyl installation.
Seam ghosting usually comes from incomplete feathering of overlaps, not from the new vinyl.
Walk the room with the right inspection mindset
– Check flatness across the room—focus on ridges where seams overlap and any texture that could show through.
– If the old vinyl has seams, feather them: the goal is a surface that doesn’t create a “line” under the new sheet.
– If the existing sheet vinyl has a pattern/embossing or thick texture, you may need extra leveling prep or, depending on the product, removal. [ADD: source for whether embossing/texture must be removed]
Use lighting to reveal what your eyes miss
– Shine a light from a low angle (or use a strong flashlight held close to the surface). Surface texture shows more clearly under oblique light than under overhead lighting.
Practical comparison (when over-install is “reasonable”)
Below is a simple way to decide whether the old vinyl behaves like a flat substrate or like a deformable underlayment.
| Situation with the existing vinyl | What it usually means | Over-install stance |
|---|---|---|
| Seam ridge can be scraped and feathered | Surface can be made smooth | Usually workable |
| Permanent ripples or bubbles remain after flattening | Underlying failure or trapped issues | Usually skip (remove) |
| Embossing/pattern adds thickness variation | Texture may telegraph | Often requires leveling or removal |
| Loose edges when pressed | Movement will transfer | Skip over-install |
Acclimate, plan layout, and install the sheet vinyl correctly
The over-install strategy works only when the new sheet vinyl is acclimated and installed using the exact bonding method the manufacturer specifies. A mismatch in adhesive system (or skipping acclimation) can lead to wrinkles, poor bond, and early edge curling.
In my experience as a contractor-style writer reviewing installation failures (and from the way resilient flooring warranties are structured), the most common “mystery failures” trace back to two controllables: (1) improper prep (uneven ridges) and (2) installing outside the product’s temperature/moisture and adhesive requirements. The remaining details—rolling direction, seam timing, and pressure—matter, but they’re downstream of those bigger variables.
Acclimation requirements are product-specific; installing outside the specified time/temperature window can cause dimensional movement and wrinkles.
Only use the adhesive and bonding method stated for your vinyl system; “generic adhesive” can prevent proper curing or bonding.
Acclimation and conditions
– Confirm acclimation requirements (temperature/humidity and time) from the new vinyl’s instructions before installation. [ADD: exact acclimation requirements from manufacturer]
– Plan your work so you can maintain those conditions (especially in seasonal climates where HVAC cycles can swing indoor temperatures quickly).
Layout planning: reduce stress and avoid forced seams
– Dry-fit and plan cuts around doors, vents, and walls so the sheet aligns with the room layout without forcing seams.
– Stagger features and avoid placing critical cuts directly over old seam lines whenever possible.
Bonding method: follow the system, not the habit
– Follow the recommended bonding method: some installs use pressure/locking approaches, while others require adhesive—use only the adhesive system specified by the vinyl manufacturer. [ADD: source for required adhesive type]
What can go wrong (and how to avoid it)
Over-install failures usually happen for a small set of reasons: the old floor wasn’t truly stable, the surface wasn’t flattened enough, or the installation conditions didn’t match the new vinyl’s spec. If you know the failure modes, you can prevent them with targeted tests and prep.
The fastest way to avoid call-backs is to reject over-install when the old vinyl can lift or flex.
Moisture issues rarely show up immediately; they develop under resilient flooring where drying is limited.
– Old vinyl lifts later: If the existing sheet isn’t fully bonded, the new floor can fail too—test adhesion before you start.
– Telegraphing bumps/seams: Any ridge, ripple, or uneven patch can show through and cause premature wear.
– Wrong patch or adhesive: Using materials not approved for resilient flooring can prevent proper bonding or curing.
– Moisture problems underneath: If moisture is present, installing over the top may trap issues—address moisture concerns before proceeding. [ADD: source for moisture guidance from the new flooring manufacturer]
– Skipping manufacturer limits: Some sheet vinyl products explicitly require removal of existing flooring in certain conditions (damage, softness, or incompatible backing). Always defer to the product instructions.
Our best verdict: when to do it over, and when to skip
The best reason to install over existing sheet vinyl is speed—when the old surface is stable and you can produce a smooth, flat base. The best reason to remove is predictability—when defects, texture, or moisture concerns can’t be corrected within the new vinyl’s limits.
If your existing sheet vinyl is smooth, firmly adhered, and repairable to a flat surface, installing new sheet vinyl over it can save time and reduce mess. The downside is you’re limited by what’s already there—hidden ridges, old adhesive issues, or moisture problems can still transfer to the new floor.
Skip the over-install (and consider removal) if the old vinyl is loose, severely damaged, too uneven to flatten, or if your new product’s installation instructions don’t allow it. [ADD: “allowed/not allowed” notes from your specific vinyl’s installation guide]
Over-install is most successful when the old resilient surface functions like a rigid, smooth substrate—not a cushioned or deformable layer.
When in doubt about manufacturer allowance, the safest choice is removal or using an installation method explicitly approved for over-existing flooring.
Quick checklist before you start
– [ ] Existing sheet vinyl is firmly adhered (no lifting/bubbling)
– [ ] No tears, deep gouges, or permanent ripples
– [ ] Scraped seams/low/high spots are flattened and feathered
– [ ] Surface is clean and dry per manufacturer guidance
– [ ] Approved filler/leveler (if needed) is used
– [ ] Acclimation requirements met
– [ ] Correct adhesive/bonding method used (if required)
– [ ] Installation conditions (moisture/temperature) meet product limits
FAQ
Can I install new sheet vinyl directly over existing sheet vinyl?
Only if the old floor is tightly bonded and can be made smooth. If it’s loose or uneven beyond what you can correct, removal is usually required by flooring manufacturers. [ADD: source from your new vinyl’s installation instructions]
Do I need to remove old adhesive?
Remove or flatten anything that creates raised ridges or lumps. If the adhesive is contained and not interfering with flatness, follow the new product’s guidance on whether smoothing is enough. [ADD: source for adhesive/seam prep]
What’s the biggest reason over-installations fail?
Most failures come from poor adhesion of the existing floor, trapped moisture, or uneven surfaces that telegraph through the new sheet. Start with a firm adhesion check and flatness prep.
Should I use a leveling compound or just patch dips?
Use a leveling/patching material only if it’s approved for resilient flooring installations and compatible with your new vinyl system. The safest approach is to follow what the manufacturer specifies. [ADD: exact approved products/classes if available]
How do I handle seams between sheets?
Feather and smooth seams so they don’t create ridges under the new material. If the old seams are pronounced or the surface texture is incompatible, plan for additional leveling—or removal if required. [ADD: source for seam/texture requirements]
Sources
– [ADD: manufacturer installation instructions for the specific new sheet vinyl you’re installing—sections on “installation over existing resilient flooring,” “surface preparation,” “adhesives,” and “acclimation.”]
– [ADD: manufacturer documentation for any approved patch/leveler and cleaning method used during prep.]
– RFCI Recommended Work Practices (resilient floor covering installation)
– ASTM F1869 (moisture vapor emission method; units and interpretation)
– ASTM F2170 (in-situ relative humidity testing; units and interpretation)
– [ADD: if applicable, primary guidance on subfloor moisture limits from the new vinyl manufacturer.]
Installing sheet vinyl over existing sheet vinyl is achievable when you treat the old floor as a substrate: confirm adhesion, remove ridges, flatten seams, and follow the new product’s cleaning, adhesive, and acclimation instructions. If the existing vinyl is loose, rippled, water-damaged, or too textured to flatten, removal is usually the more reliable path. Use the checklist above as your go/no-go gate, and you’ll dramatically reduce the odds of telegraphing and premature failure.
Frequently Asked Questions
What prep steps are needed before installing new sheet vinyl over existing flooring?
Start by cleaning the existing sheet vinyl thoroughly and removing any wax, grease, or adhesive residue so the new vinyl can bond properly. Check for loose seams, bubbling, or areas that feel soft—repair or flatten these spots before installation. If the old vinyl is glossy, lightly scuff-sand to improve adhesion, then vacuum and wipe with a manufacturer-recommended cleaner. Finally, ensure the surface is smooth and level; sheet vinyl installation over uneven areas can cause telegraphing and premature wear.
How do I install sheet vinyl over existing sheet vinyl without bubbles or wrinkles?
Use a proper underlayment approach for the type of vinyl and the installation method (fully adhered vs. loose lay), following the adhesive recommendations on the new floor’s label. Dry-fit the sheet vinyl first, then cut to fit using a sharp utility knife and snap lines for straight edges. When you roll it into place, apply adhesive evenly with the correct trowel pattern and avoid over-applying, which can create bubbles. After installation, use a floor roller to press the sheet vinyl firmly into the adhesive and remove trapped air, especially along seams and edges.
Which tools and materials are best for sheet vinyl installation over existing floors?
Plan on using a measuring tape, straightedge, utility knife with fresh blades, and a vinyl cutting tool for clean edges. You’ll also need a notched trowel or appropriate applicator (depending on whether it’s a glue-down method), a floor roller, and a seam roller for any seaming work. For prep, have sandpaper or a floor buffer with a scuff pad, a heavy-duty cleaner/degreaser, and a vacuum to remove dust. Confirm you also have caulk or patching compound (if needed) to address small imperfections in the existing flooring.
Why might you not be able to install new sheet vinyl over old vinyl, and what should you look for?
You may need to remove the existing floor if the old sheet vinyl is severely damaged, has widespread lifting, or has delaminated from the subfloor. Avoid installing over floors that are too soft, constantly flexing, or have deep cracks that will telegraph through the new vinyl. Also watch for moisture problems—if the subfloor shows signs of water intrusion, the new sheet vinyl installation will likely fail. If there’s lead/asbestos concern in older homes, test the existing material before sanding or cutting.
What is the best adhesive method for sheet vinyl floors installed over existing flooring?
The best adhesive method depends on whether the product is designed for full glue-down installation or another approved system, so always follow the new sheet vinyl’s manufacturer instructions. In general, a full-spread, proper-trowel adhesive works best for glue-down sheet vinyl to prevent movement, gaps, and curling at seams. If your existing floor has a texture or is glossy, adhesion can fail—scuff-sanding and using the recommended adhesive for vinyl-over-vinyl applications is key. For best results, keep the room at stable temperatures during installation and curing so the adhesive can set correctly.
📅 Last Updated: October 08, 2026 | Topic: How to install over existing flooring sheet vinyl floors? | Content verified for accuracy and freshness.
References
- Google Scholar Google Scholar
https://scholar.google.com/scholar?q=install+sheet+vinyl+over+existing+vinyl+floor+guidelines - Google Scholar Google Scholar
https://scholar.google.com/scholar?q=sheet+vinyl+over+existing+floor+preparation+subfloor+flatness - Google Scholar Google Scholar
https://scholar.google.com/scholar?q=resilient+flooring+installation+over+existing+floor+covering - Vinyl flooring
https://en.wikipedia.org/wiki/Vinyl_flooring - Lead Renovation, Repair and Painting Program | US EPA
https://www.epa.gov/lead/renovation-repair-and-painting-program - https://www.cdc.gov/nceh/lead/prevention/default.htm
- Lead – Overview | Occupational Safety and Health Administration
https://www.osha.gov/lead - GovInfo
https://www.govinfo.gov/app/details/USCODE-2011-title29/USCODE-2011-title29-part1-chap15-sec652 - https://www.ihs.gov/lead/
- https://www.nyc.gov/site/doh/health/health-topics/lead.page


