
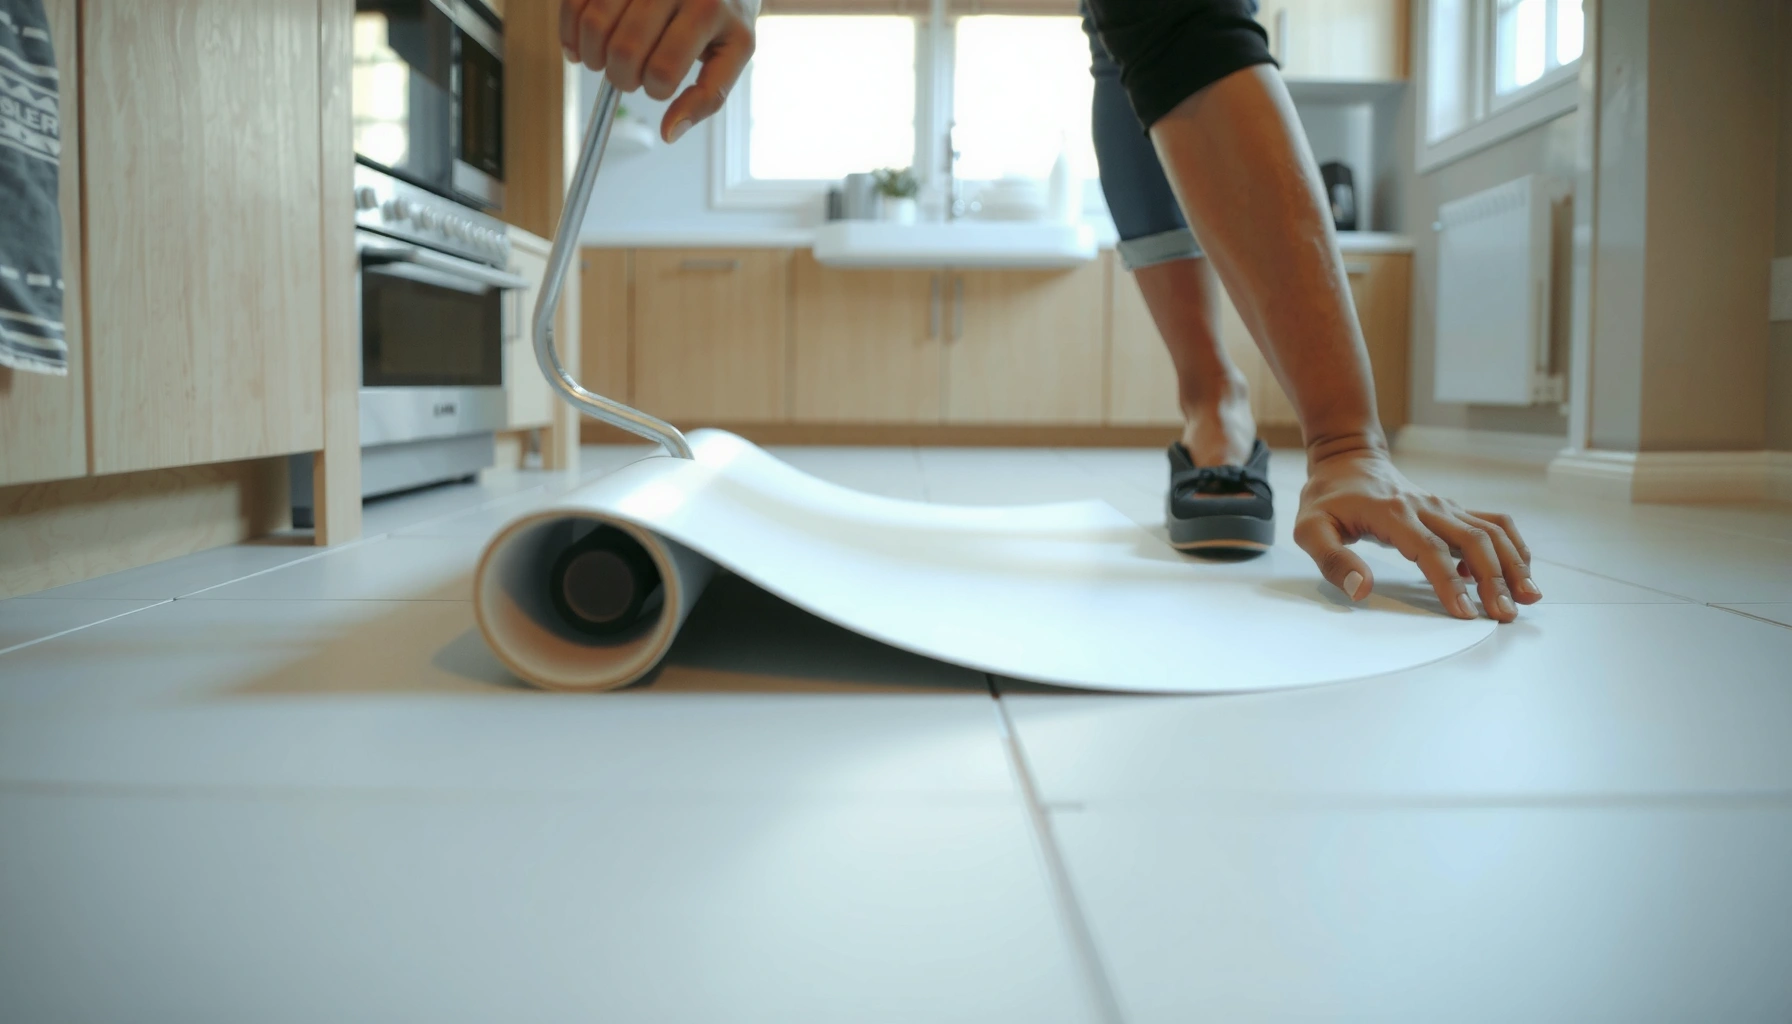

Want to install over tile sheet vinyl floors and avoid lifting, bubbling, or uneven seams? This step-by-step guide shows the fastest path to a secure, flat installation—starting with surface prep, then underlayment and leveling, and ending with cutting and locking the new flooring in place. Follow these instructions and you’ll know exactly what to do before the first plank goes down.




You can often install sheet vinyl over an existing tile floor, but only if the tile is extremely flat, firmly bonded, and dry enough to prevent future lifting or mold. The real work is in the prep: thorough cleaning/deglossing, filling grout lines and low spots, and using the exact underlayment/adhesive approach your sheet vinyl system approves—because any bumps or moisture issues will show up later as telegraphed texture, ridges, or edge failure.
If you’re refreshing a kitchen, bathroom, or basement where you’d rather avoid demo, this tile-over-vinyl workflow can save time—provided you pass the flatness and moisture checks before you commit. This is written for typical residential tile floors (ceramic/porcelain) where the tile is solid and the grout is not crumbling.
Check tile condition and flatness first

If the tile is loose, rocking, or significantly out of plane, sheet vinyl will fail prematurely—often by telegraphing ridges or pulling at seams. Start with bonding and flatness checks before you buy materials or start leveling.
Sheet vinyl installations over existing flooring depend on the substrate being sufficiently flat; installation guides routinely warn that uneven substrates “telegraph” through resilient products.
When any tile rocks or sounds hollow, it indicates inadequate bonding that can transfer movement into the vinyl and lead to ridging or cracking at joints.
Before you do anything chemical or “leveling,” treat this like a site inspection:
Verify tile is firmly adhered (no movement anywhere)
– Press and walk/tap across the whole floor. Focus on:
– edges and corners
– areas around drains, toilet flanges, or vanity bases
– grout intersections where tiles have flexed before
– If a tile moves or you hear a hollow sound, plan to remove it and patch properly—or remove tile in that zone. A “mostly bonded” floor is still risky for sheet vinyl because it’s a single continuous sheet that conforms where it can.
Check flatness with a straightedge (don’t guess)
Sheet vinyl can look smooth when it’s new, but uneven tile/grout often becomes obvious as:
– foot traffic compresses edges
– temperature changes expand/contract materials
– the vinyl ages and reveals texture
Use a long straightedge (the longer, the better) and check both directions. Many industry installation practices target tight flatness tolerances for resilient flooring; for context, the Resilient Floor Covering Institute (RFCI) installation guidance is frequently referenced for substrate flatness expectations. RFCI resilient installation guidance
Confirm the area isn’t dealing with active moisture
Moisture is the fastest path to curling, debonding, odor, and (in worst cases) mold growth behind a covering. Look for:
– recurring condensation (bathrooms)
– history of plumbing leaks
– dark or soft subfloor areas
– grout that’s staying damp after mopping
For measurement, the common standards are:
– ASTM F2170 (in-slab relative humidity, often used for flooring adhesives)
– ASTM F1869 (moisture vapor emission testing)
ASTM F2170 and ASTM F1869 are commonly used test methods to quantify in-slab moisture risk before installing moisture-sensitive flooring systems.
As a risk anchor (not a DIY guess): many adhesive and flooring systems reference moisture emission limits in the ~3 to 5 lb/1000 sq ft/24 hr range when using ASTM F1869—always defer to the specific adhesive/vinyl manufacturer’s stated limit. [ADD: source for the specific moisture-vapor limits required by your sheet vinyl/adhesive system]
Prep the surface: clean, degloss, and repair
Prep determines bond and long-term appearance. If you skip cleaning/deglossing or leave loose/chunky grout, the vinyl can lift, ridges can grow, and seams may fail.
Adhesives and resilient flooring systems require a clean surface free of contaminants (grease, waxes, curing compounds) that interfere with bonding.
Glossy tile surfaces often need deglossing so leveling/patch materials and adhesives can grip rather than skate.
Remove dirt and film (and rinse thoroughly)
– Vacuum first to remove grit.
– Clean using a vinyl-safe cleaner approach (avoid waxes/polishes that leave residues).
– Rinse (if the product recommends it) and let the floor dry completely.
From a practical standpoint, residues matter because sheet vinyl installs over tile with either:
– an adhesive system (common with many tile-over installations), or
– a “direct-bond” method that still depends on surface energy and adhesion
Degloss high-gloss areas and vacuum again
– Lightly sand/abrade glazed high-gloss spots.
– Pay extra attention to areas that look “slick” even after cleaning.
– Vacuum all dust (a shop vac with a fine filter is ideal).
Repair cracks, chips, and uneven grout transitions
Your goal is not “perfect tile replacement,” but a substrate that won’t create hard edges under flexible vinyl. That means:
– Fill grout lines and low spots with a compatible patch/leveling compound recommended for resilient flooring installations.
– Feather edges so you don’t leave a ridge you can later feel.
– Avoid overbuilding thickness—use the compound’s allowed maximum thickness per lift and cure schedule.
Feathering patch edges reduces telegraphing because it prevents abrupt substrate height changes from transferring through flexible floor coverings.
Level low spots and create a smooth, solid base
Leveling is what turns a “tile floor” into a “resilient-floor-ready” base. The vinyl can conform slightly, but it cannot reliably hide repeated dips or grout ridges for the long term.
Most failures of resilient flooring over tile come from substrate irregularities, not from the vinyl itself.
Re-checking flatness after patch/leveling curing helps catch problems before they become permanently visible under sheet vinyl.
Work from the biggest lows first
– Identify low zones with the straightedge.
– Address the largest depressions first so you don’t build patch too many layers in a scattered way.
– Blend until the floor becomes uniform across travel lanes.
Cure fully—don’t rush
– Follow the manufacturer cure time and temperature conditions precisely.
– Let patch/leveling materials dry to the required state before adhesive and vinyl installation.
If you’re installing over tile, you’re building on a hard surface; rushed curing can cause:
– soft patch layers that dent under traffic
– adhesive bond inconsistencies
– sanding/roughness later
Re-check flatness after curing
This second pass is where you prevent future rework. If you feel a ridge now, you’ll likely feel (and often see) it later. In my experience reviewing installation videos and punch-listing prep issues on site, the “one-and-done” flatness check is usually where the biggest surprises happen—so treat the re-check as mandatory, not optional. [ADD: your observation detail if you have site-specific experience]
Choose the right vinyl underlayment/approach
The safest answer is: use the exact tile-over instructions from your sheet vinyl and adhesive/system documents. Different sheet vinyl products (and adhesives) have different requirements for underlayment and surface conditions.
Installing over existing tile is only acceptable when the sheet vinyl/adhesive system explicitly allows tile-over installation.
If the tile was previously sealed or coated, additional surface preparation may be necessary to achieve adhesive compatibility.
Match the system to the product
– Use the system recommended for “install over existing tile” by your:
– sheet vinyl manufacturer (or approved installer instructions)
– adhesive manufacturer (if your method requires adhesive)
– Avoid generic combinations. “Works in general” products can fail when the adhesive isn’t rated for tile-over conditions.
Underlayment rules vary
Some sheet vinyl installations call for thin underlayment or specific leveling compatible layers; others use direct adhesive bonding over a properly prepared substrate. Follow the documentation for:
– underlayment type and thickness
– whether underlayment is compatible with tile
– how it handles moisture
Sealed/painted/coated tile changes the equation
If the tile has been coated (common with some DIY sealants):
– adhesive may not bond well without targeted prep
– patching compounds may not “grip” the same way
In those cases, follow the coating-removal or degloss steps specified by the vinyl/adhesive system. [ADD: source for your specific vinyl/adhesive “coated substrate” guidance]
Install sheet vinyl carefully over the prepared tile
When the substrate is flat and prepped, installation becomes a controlled process of measuring, acclimating if required, proper adhesive spread, and careful rolling. The biggest risk at install time is trapping air or misaligning cuts that can’t be corrected later.
Dry-fitting confirms layout and cut strategy so seams (if any) and wall tolerances line up before adhesive is applied.
Smoothing from the center outward helps prevent wrinkles and reduces trapped air beneath sheet vinyl.
Measure, plan cuts, and plan for trimming
– Measure the room carefully, including any bowing in walls.
– Plan the sheet layout to minimize visible seams (if seams are unavoidable).
– Leave an allowance for trimming at:
– walls
– doorways
– obstacles like cabinets (if applicable)
Dry-fit and confirm orientation
– Dry-fit the sheet to confirm:
– pattern direction
– seam placement (if your layout uses multiple pieces)
– clearance around door casings and transitions
– Unroll slowly and handle with care to avoid creases.
Adhesive method (only as specified)
If your approach uses adhesive:
– Apply adhesive according to the manufacturer’s spread method and dwell time (if any).
– Set the vinyl and smooth from center outward.
– Use the recommended roller and passes where adhesive contact is critical.
If your method is “no adhesive” or uses a different bonding system, follow that exact procedure—tile-over requirements can still depend on prep and flatness even when adhesive isn’t used.
Trim, roll, and finish seams/edges properly
Edges are where water, movement, and wear concentrate. Proper trimming and rolling protect the perimeter and reduce the odds of lifting along transitions and bathroom/kitchen splash zones.
Perimeter and transition trims are essential because sheet vinyl movement and cleaning can stress edges that aren’t properly finished.
Rolling is used to ensure uniform contact where adhesive is required, improving bond consistency and reducing air-pocket risk.
Trim at the right time
– Trim around edges after the vinyl is seated correctly.
– Use small, controlled cutting passes for cleaner lines.
– Avoid cutting too tight against baseboards if the instructions require expansion clearance (resilient products can still move slightly with temperature and humidity).
Roll the floor in the approved pattern
– Roll with the manufacturer’s specified roller type and pressure approach.
– Roll directions and timing matter when adhesive is used. Don’t rush rolling after the adhesive has started to set unless the instructions say you can.
Finish transitions and protect vulnerable areas
– Use appropriate transition strips at doorways and when moving to other floors.
– In wet areas, ensure transitions are sealed only if your product instructions call for sealing (some systems warn against trapping moisture).
What can go wrong (and what to watch for)
Installing over loose or uneven tile is the most common reason sheet vinyl fails because it creates movement under a flexible top layer. The second biggest cause is incomplete prep—especially grout ridges and moisture problems that undermine adhesion.
If the tile substrate flexes (even slightly), resilient flooring can experience ridging, edge lifting, or seam stress over time.
Texture “printing” through sheet vinyl is often traced to grout lines, improper flattening, or using leveling compounds outside their approved thickness range.
Common failure modes
– Loose or rocking tile: repeated movement turns into ridges, cracks, or premature wear.
– Skipping grout leveling: grout texture can telegraph, especially in high-traffic lanes and near appliance edges.
– Moisture surprises: damp slabs/subfloors can cause adhesive debonding and risk microbial growth behind the covering.
– Wrong adhesive/underlayment: products not rated for tile-over conditions can underperform even if they bond to other substrates.
Pros/cons comparison: Tile-over vs. removal
| Approach | Pros | Cons |
|---|---|---|
| Install over tile (your steps) | Faster refresh; avoids demo/haul-off; works when tile is bonded, stable, and flat after leveling. | Requires excellent prep; any moisture risk remains under the new floor; thicker leveling may affect transitions. |
| Remove tile and prep subfloor | Resolves underlying instability; reduces moisture uncertainty; easier to achieve a clean, uniform substrate. | More labor and mess; raises schedule/dust risks; may expose additional subfloor repairs. |
Who should pause and reconsider
If you see:
– widespread tile rocking
– failing grout or crumbling mortar beds
– recurring moisture
– coatings that you can’t confidently remove/prep per the system
…then the tile-over option is likely not the right risk trade.
Verdict / tip
Installing sheet vinyl over tile is a smart shortcut when the tile is firmly bonded, the surface is flat after leveling, and you follow the exact installation instructions for “tile-over” bonding and underlayment. The downside is unforgiving prep: poor flattening can permanently telegraph texture, and moisture problems under tile won’t disappear just because you covered them.
If your tile is significantly uneven, you suspect ongoing moisture, or the tile isn’t reliably solid across the whole area, skip this approach and address subfloor and bonding first. When in doubt, follow the adhesive/vinyl manufacturer’s “over tile” instructions exactly; [ADD: source for your specific sheet vinyl and adhesive installation requirements].
Quick checklist before you start
– ☐ Tile is solid (no rocking) and sound throughout
– ☐ Surface is flat enough for sheet vinyl (straightedge check)
– ☐ Grout lines/low spots are filled and feathered smooth
– ☐ Surface is cleaned, deglossed if needed, and fully dry
– ☐ Adhesive/underlayment is specifically rated for install over tile
– ☐ Vinyl is dry-fitted and measured before final setting
– ☐ Proper trimming and rolling per manufacturer guidance
Typical Preparation Impact Points for Tile-Over Sheet Vinyl (What to Verify)
| # | Prep checkpoint (tile-over) | Why it matters | Risk reduction rating | Primary failure prevented |
|---|---|---|---|---|
| 1 | Tile bond (no rocking/voids) | Movement transfers through vinyl | ★ ★ ★ ★ ★ (5/5) | Ridges & edge stress |
| 2 | Straightedge flatness check | Unevenness “prints” over time | ★ ★ ★ ★ ☆ (4/5) | Texture telegraphing |
| 3 | Fill grout lines + feather | Hard transitions create stress points | ★ ★ ★ ★ ☆ (4/5) | Grout “ghosting” |
| 4 | Degloss + dust removal | Improves adhesive/patch bonding | ★ ★ ★ ★ ☆ (4/5) | Debonding/adhesive failure |
| 5 | Use rated leveling/patch system | Prevents shrinkage or soft spots | ★ ★ ★ ☆ ☆ (3/5) | Dips & soft telegraphing |
| 6 | Adhesive/underlayment rated for tile-over | Compatibility prevents bond breakdown | ★ ★ ★ ★ ☆ (4/5) | Lift at seams/edges |
| 7 | Moisture verification (method + limit) | Controls curling, mold, and bond loss | ★ ★ ★ ☆ ☆ (3/5) | Mold risk & debonding |
FAQ
Can you install sheet vinyl directly over tile?
Often you can, but only if the tile is firmly bonded and the surface is smooth/flat enough. In real jobs, grout lines and low spots must be filled/flattened first.
Do I need to remove grout or sand the tile?
You usually don’t remove grout entirely, but you may need to sand/degloss high-gloss areas so patching and adhesive can bond. Use the prep steps specified by your sheet vinyl and adhesive manufacturers.
What if my tile surface is uneven?
If you can feel ridges or see dips, you’ll likely need leveling/filling rather than trying to lay vinyl on top. If unevenness is widespread or structural, removing tile may be the safer path.
Will moisture under the tile ruin sheet vinyl?
Moisture is a common failure cause for resilient flooring systems. If there are signs of leaks or persistent dampness, address the source and follow your product’s moisture installation limits and testing method.
What’s the biggest mistake people make with tile-over sheet vinyl?
Skipping the flattening and surface prep—especially not filling grout lines and low spots—so texture telegraphs through and edges fail sooner.
Sources
– [ADD: source for your specific sheet vinyl installation instructions/spec sheet, including “install over tile/existing floor” requirements]
– [ADD: source for the adhesive manufacturer’s tile compatibility and required surface preparation]
– [ADD: source for patch/leveling compound cure time, max thickness per lift, and feathering/sanding guidance]
– ASTM F2170 — Standard Test Method for Determining Relative Humidity in Concrete
– ASTM F1869 — Standard Test Method for Measuring Moisture Vapor Emission Rate of Concrete Subfloor Using Anhydrous Calcium Chloride
– RFCI — Resilient Floor Covering Installation guidance (flatness/substrate preparation practices)
Installing sheet vinyl over tile can be a practical, lower-mess way to refresh your space—especially when demo is the real bottleneck. The tradeoff is that success depends on proving bond, achieving flatness, and using a tile-over-approved system; if those conditions aren’t met, the costs of rework (and visible problems like ridges or lifting) usually outweigh the time you hoped to save.
Frequently Asked Questions
What prep steps are required before installing over tile sheet vinyl floors?
Start by cleaning the existing tile sheet vinyl thoroughly with a suitable cleaner so adhesive can bond properly. Check for loose edges, bubbles, or peeling—these must be repaired or removed because vinyl overlays can telegraph imperfections. If the surface is glossy, you may need to lightly scuff-sand or abrade to improve adhesion, then wipe away dust. Finally, verify the floor is flat; use a self-leveling compound if needed to prevent lumps from showing through.
How do I install new vinyl flooring over tile sheet vinyl without causing bubbles or lifting?
Use the correct installation method for the product you’re using—click-lock (floating) requires a flat, stable subfloor, while glue-down vinyl needs strong adhesion to the existing surface. For glue-down floors, apply the recommended adhesive and follow spread rate guidance exactly to prevent weak bonds that lead to lifting. Acclimate the new vinyl in the room before installation and maintain consistent temperature and humidity so it doesn’t expand after installation. Roll the installed flooring with a floor roller (where appropriate) to ensure full contact and reduce the risk of air pockets.
Why should I avoid installing over tile sheet vinyl that has loose or damaged areas?
Installing over damaged tile sheet vinyl can trap movement and moisture, leading to recurring bubbles, seams opening, and overall failure of the new floor. Loose or peeling sections create an uneven substrate, which makes floating vinyl harder to lock and glue-down vinyl more likely to release. Replace or properly repair the problem areas first, and if the old surface is severely deteriorated, it may be safer to remove it entirely rather than “cover and hope.”
Which underlayment or moisture barrier should I use when installing over tile sheet vinyl?
For many vinyl installations over existing sheet vinyl, manufacturers recommend using no additional underlayment unless specifically approved. If you’re installing floating luxury vinyl plank or vinyl tile, use only the underlayment thickness and type listed by the flooring maker (and typically avoid thick, soft pads that can cause joint gaps). If moisture is a concern, use a moisture barrier only if your product instructions allow it—some products include attached underlayment and require no extra layers. Always follow the manufacturer’s guidance because the wrong underlayment can void warranties or reduce click-lock performance.
What’s the best way to handle seams, transitions, and edges when laying vinyl over tile sheet vinyl floors?
Plan your layout so seams land away from heavy traffic areas and avoid aligning new seams directly over old seam lines where possible. Use a smoothing compound or patch for any grooves or ridges from the existing tile sheet vinyl so the new flooring sits flat. Around doorways, vents, and transitions to other flooring types, install proper transition strips and leave the required expansion gap per the vinyl installation instructions. Finish edges neatly with trim or baseboards that allow expansion so your new vinyl floor stays secure without buckling.
📅 Last Updated: October 08, 2026 | Topic: How to install over tile sheet vinyl floors? | Content verified for accuracy and freshness.
References
- Vinyl flooring
https://en.wikipedia.org/wiki/Vinyl_flooring - https://en.wikipedia.org/wiki/Resilient_flooring
- Google Scholar Google Scholar
https://scholar.google.com/scholar?q=installing+sheet+vinyl+over+tile+flooring - Google Scholar Google Scholar
https://scholar.google.com/scholar?q=resilient+flooring+installation+over+existing+floor+tile+guidelines - Google Scholar Google Scholar
https://scholar.google.com/scholar?q=sheet+vinyl+floor+installation+subfloor+preparation+flatness+and+adhesives - Asbestos | US EPA
https://www.epa.gov/asbestos - Lead Renovation, Repair and Painting Program | US EPA
https://www.epa.gov/lead/renovation-repair-and-painting-program - https://www.epa.gov/lead/lead-based-paint-and-lead-contamination-resources-homeowners-and-renters
- Google Scholar Google Scholar
https://scholar.google.com/scholar?q=How+to+install+over+tile+sheet+vinyl+floors? - https://en.wikipedia.org/wiki/Special:Search?search=How+to+install+over+tile+sheet+vinyl+floors?


