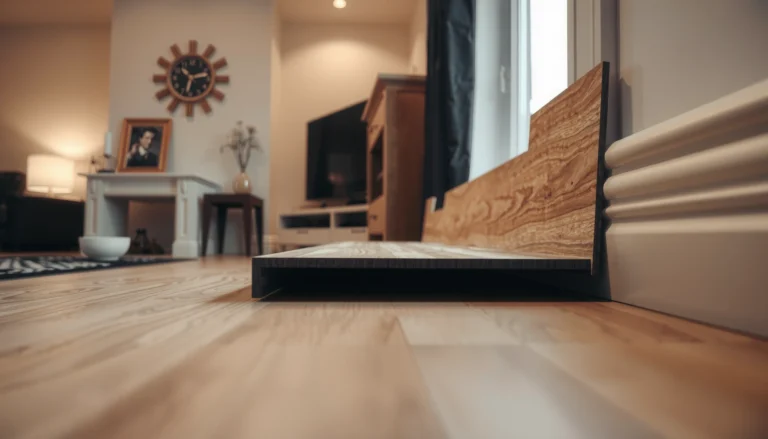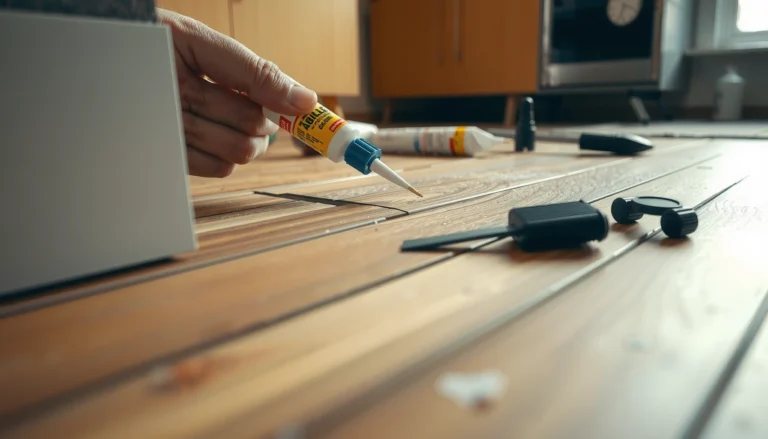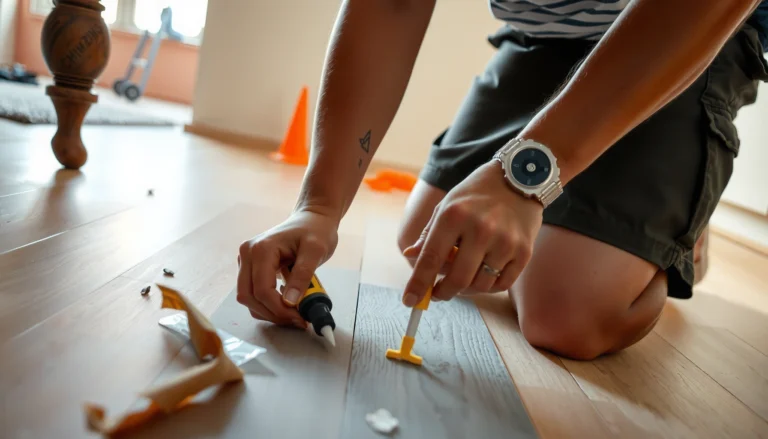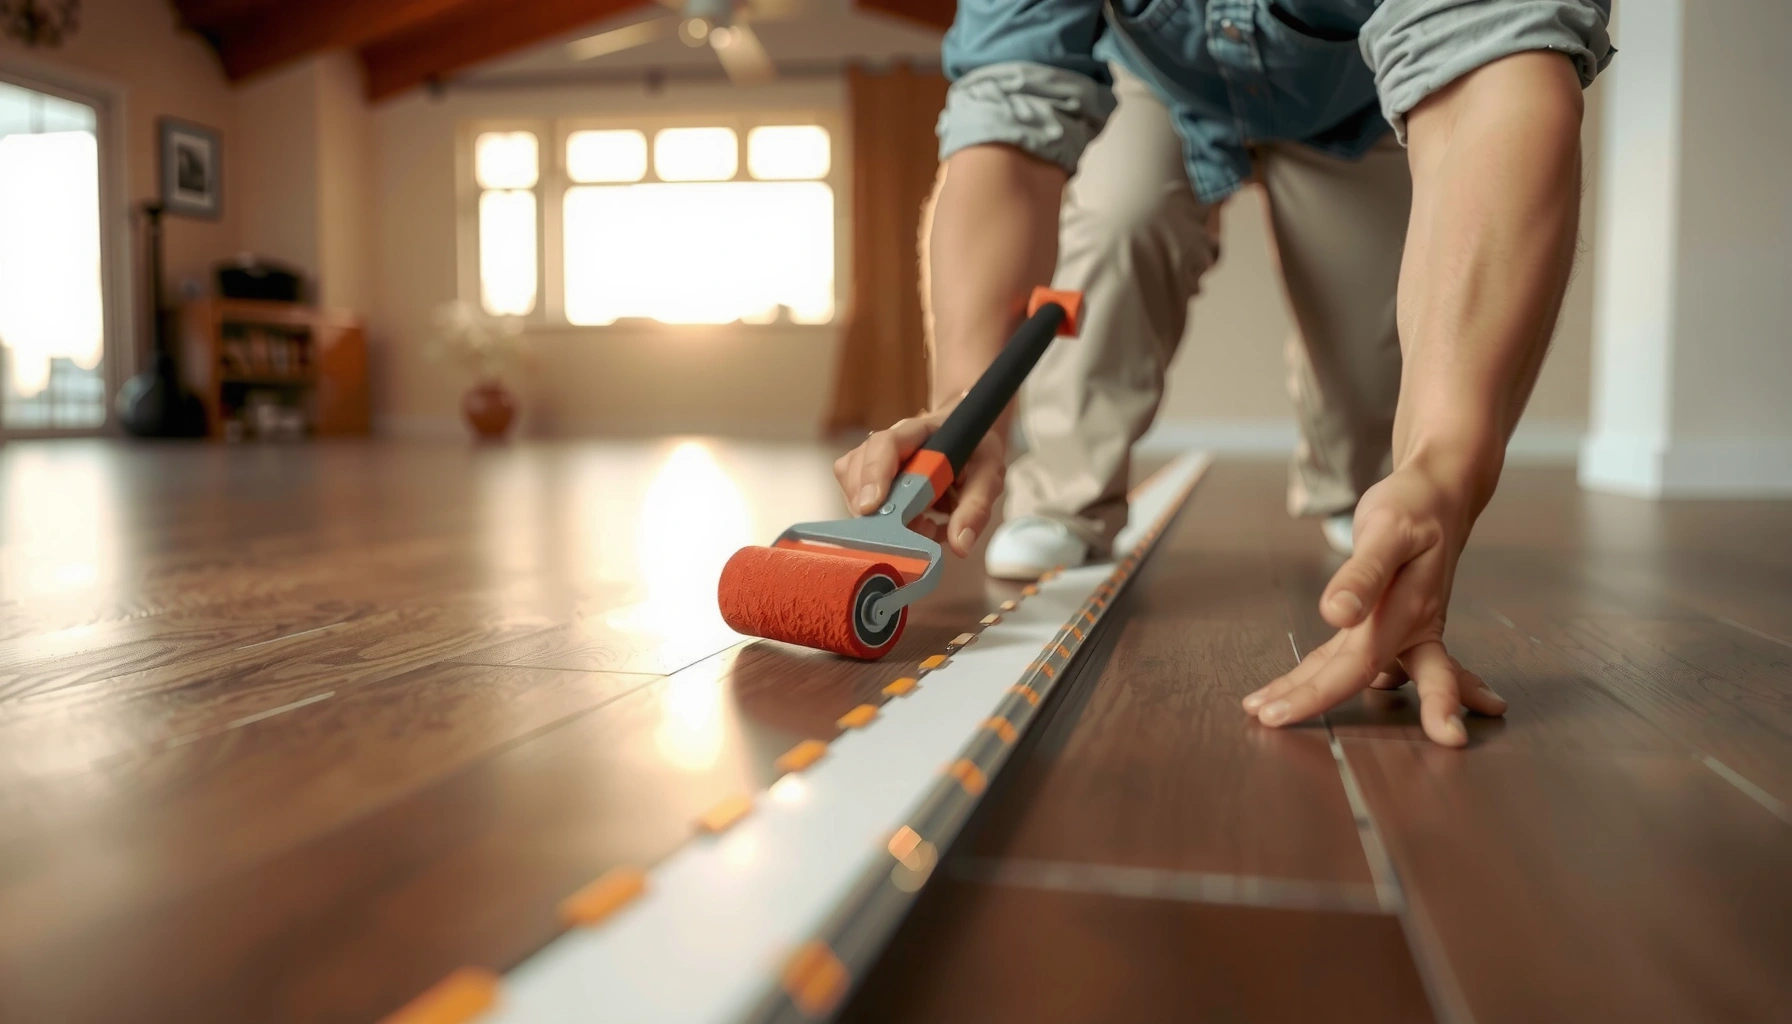

Fixing gaps in sheet vinyl floors is usually a straightforward repair: you can seal small separations quickly or patch larger splits with a matching vinyl patch and proper heat-welding or adhesive. This step-by-step guide tells you exactly what to do, from cleaning and trimming the edges to flattening the vinyl so the gap doesn’t come back. Follow it closely and you’ll get a tight, durable seam that looks like the original installation.


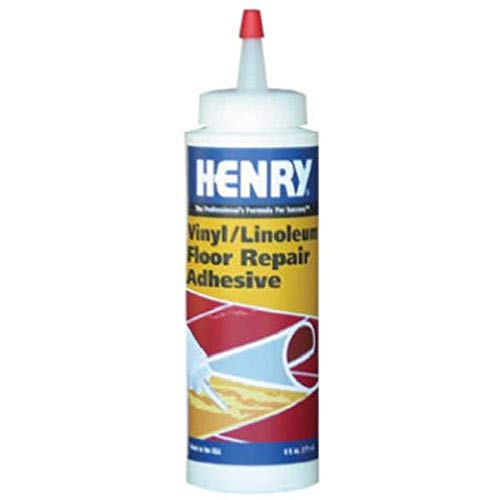

If your sheet vinyl has gaps, the fix usually starts with flattening the area, then securing/patching the underlayer so the vinyl doesn’t keep pulling away. Depending on where the gap is—at seams, along cut edges, or at blister/lift spots—the repair method changes (seam bonding vs. patching vs. re-trimming and re-securing the perimeter).
If you’ve noticed lifting corners, visible seams, or daylight along the edges—especially after humidity changes, a recent install, or floor movement—this is for you. It’s also useful if you want to stop the gap from widening before dirt and moisture get underneath.
Identify what’s causing the gap
A gap in sheet vinyl is usually a symptom of either loss of adhesion to the subfloor/underlayment or a mechanical issue (curling, edge movement, or uneven support). The fastest way to fix it correctly is to identify where the gap lives and whether the vinyl still has “memory” (spring-back).
Most resilient-flooring defect repairs require identifying whether the separation is at a seam, a perimeter/cut edge, or a mid-field lift—each has a different repair system.
If a sheet vinyl area feels soft or “hollow,” the adhesive contact to the subfloor has likely failed, so repeatedly pressing down usually won’t be a long-term fix.
Moisture and subfloor contamination (dust, debris, curing compounds) commonly prevent resilient flooring adhesive from achieving full bond.
– Check whether the gap is at a seam, a cut edge near a wall/doorway, or a blister/lift spot in the middle.
– Feel for softness or “hollow” movement: gaps often come from poor contact with the subfloor or old adhesive failure.
– Look underneath if possible (or inspect the subfloor edges) for moisture issues, debris, or uneven spots that prevent full adhesion.
Quick field notes that narrow the cause
When I’m advising homeowners, I look for three patterns because they map cleanly to common failure modes. First, seam gaps that “open and close” with seasons typically point to adhesive failure or subfloor movement; second, edge gaps that appear right after the install often indicate an overly tight cut or insufficient perimeter securing; third, mid-field blisters almost always trace back to trapped moisture, debris, or an uneven substrate.
To anchor your decision, confirm subfloor readiness using accepted standards. For example, ASTM guidance commonly references subfloor flatness limits; in practice, many installs use tolerances around 1/8 in over 6 ft or 3/16 in over 10 ft for resilient floor coverings ([ADD: Source for subfloor flatness tolerance referenced in resilient flooring installation guidance—commonly ASTM F710]). If the surface is outside that range, adhesive can fail even when you use the “right” glue.
Prepare the vinyl and subfloor for adhesion
The best adhesives can’t overcome dust, uneven substrate, or curled vinyl. Start by cleaning and flattening first, then fix the subfloor so you’re bonding to stable, properly prepared surfaces.
Surface prep is a core requirement of resilient-flooring adhesive performance: adhesive won’t bond reliably to dust, residue, or contaminated substrates.
Flattening a curled sheet vinyl section before bonding reduces future spring-back that can reopen seams and edges.
If the subfloor is uneven where the vinyl lifted, you typically must address the high/low spot; adhesive alone won’t “fill” structural unevenness.
– Clean thoroughly: remove dust, old adhesive crumbs, and any residue that could prevent bonding.
– Flatten the vinyl first—use controlled heat and pressure to reduce curling, buckling, or spring-back (stop if the vinyl shows stretching or haze).
– Repair or level the subfloor where the vinyl has pulled away; adhesive alone won’t fix a high spot or gap caused by an uneven surface.
What “clean enough” means in resilient flooring work
Adhesive bond strength is highly sensitive to contamination. In real-world installs, I’ve seen adhesive failures caused by thin films of residue (old skim coat, sanding dust, drywall compound dust, or moisture-salted subfloor areas). Your goal is contact—not just appearance. Wipe with the cleaner recommended for your specific adhesive system (or use a manufacturer-approved method), then let the area fully dry before you attempt bonding.
Check moisture before you glue
Moisture is the silent driver of many edge and seam failures. If you suspect dampness (basement slab, exterior wall, HVAC leaks, or recurring lifting after rain/humidity changes), test before repairing. As a common industry acceptance guideline referenced in many resilient flooring installation practices, moisture vapor emission on concrete is often targeted at ≤ 5 lb per 1,000 sq. ft. per 24 hours (calcium chloride test, ASTM F1869) and/or ≤ 75% RH (in-slab testing via ASTM F2170) ([ADD: Source for moisture limits used in resilient flooring installation standards—commonly ASTM F710 and related moisture testing references]).
Fix seam gaps with proper seam bonding
If the gap is a seam, the correct repair is seam re-bonding with seam-compatible vinyl adhesive (not general-purpose glue). The goal is to re-establish tight edge contact and restore the bond so the seam stops moving with foot traffic and seasonal expansion.
Seam repair for sheet vinyl relies on adhesives designed for resilient seams; compatibility with the vinyl and the install system is critical.
Aligning seam edges tightly before adhesive application improves the final seam stability and reduces re-opening.
Following cure and handling time matters because early foot traffic or movement can break the forming bond.
– Use seam repair techniques designed for sheet vinyl: align the edges tightly, then apply vinyl seam adhesive where required.
– Press and weight the seam while the adhesive cures; follow the adhesive’s cure/handling time from the manufacturer instructions.
– If the seam is too damaged or separated beyond what adhesive can re-close, plan on a patch approach rather than forcing it shut.
Seam repair method: what “good” looks like
A properly repaired seam typically has (1) no visible “step” in the surface, (2) no persistent separation at the edges when you gently press along the seam line, and (3) no ridging that telegraphs through. If the seam edges don’t meet cleanly even after flattening, the vinyl may be permanently warped or the subfloor under the seam may be uneven—both conditions favor patching over repeated re-gluing.
Seam bonding vs. patching (when you should choose which)
Here’s the most practical decision contrast for homeowners and facility managers.
Repair edge and perimeter gaps (along walls, vents, and doorways)
Edge gaps usually require two fixes: correct the cut fit (trim/re-seat) and restore the intended perimeter securing system. If you only glue the visible gap without addressing how the vinyl is held at the perimeter, it often reopens.
Perimeter failures are often caused by cut-line issues (too tight, misaligned, or not allowing for movement) rather than by “bad glue” alone.
Whether you use adhesive, mechanical securing, or both depends on the sheet vinyl’s install system and the manufacturer’s instructions.
Improper perimeter sealing can trap moisture, which can worsen lifting over time.
– Re-trim if needed so the vinyl sits flat and the gap isn’t from an overly tight or misaligned cut.
– Re-secure using perimeter-appropriate adhesive or fasteners as recommended by the floor/vinyl manufacturer (especially if the perimeter is meant to be bonded or mechanically secured).
– Reinstall trim and caulk/seal only if the product system calls for it—improper sealing can trap moisture and worsen future lifting.
How to avoid making the perimeter worse
A common mistake is forcing a gap closed by trimming incorrectly or adding sealant “just to be safe.” Instead, verify what your install intended: some systems rely on bonded perimeter edges, others use mechanical fastening, and many recommend leaving certain boundaries unsealed. When in doubt, follow the manufacturer’s install guide for your specific sheet vinyl product and the flooring system (including underlayment, if any).
Patch larger areas where vinyl is cracked or permanently lifted
When the vinyl is torn, brittle, or won’t stay aligned after flattening, patching is typically the most reliable repair. A stable patch replaces the failing material and gives you a clean seam for re-bonding.
If the vinyl has permanent curl or damage at the edge, patching generally outperforms repeated seam re-gluing because the material can’t “return” to flat.
Cutting and fitting patch edges cleanly helps reduce seam visibility and improves long-term stability.
Most adhesive systems require controlled cure time before foot traffic to prevent bond failure.
– If the vinyl is torn, brittle, or has a persistent “memory” curl, cut out the damaged section and install a patch that matches the pattern/texture.
– Ensure the patch edges overlap/cut cleanly so the seam sits tight and doesn’t telegraph through.
– After bonding, keep foot traffic off until the adhesive cures fully (use the manufacturer’s specified cure time).
Patch planning: alignment and pattern matching
If your sheet vinyl has repeating patterns, plan your cut so the patch lines up visually. Even small misalignments tend to show because resilient flooring seams can “read” as a line when light hits from the side. Use a straightedge and ensure the surrounding vinyl is fully flattened before you cut—otherwise you may chase a moving target and end up with a seam that can’t close neatly.
What can go wrong (and when to stop)
Many DIY attempts fail for predictable reasons: overheating, incomplete subfloor prep, or adhesive mismatch. If you see repeated lifting after a careful repair, stop and diagnose the root cause instead of repeating the same step.
Overheating vinyl can stretch or distort resilient sheet material, making future seams and edges more likely to open.
Using the wrong adhesive can cause poor bonding, bubbling, or visible discoloration in some resilient flooring systems.
If lifting is repeating across multiple areas, assume a broader issue (moisture, subfloor failure, or install-system mismatch) before making more localized repairs.
– Overheating vinyl can stretch it and make the gap worse—use gentle, product-appropriate heat only.
– Skipping subfloor prep is a common failure: adhesive won’t hold to dust, moisture, or uneven surfaces.
– Using the wrong adhesive can cause bubbling, discoloration, or poor bond—match adhesive type to sheet vinyl and the install method.
– If the gap is repeating across multiple areas, it may indicate broader moisture problems, subfloor failure, or an installation that didn’t follow the manufacturer’s requirements—stop and reassess before further patching.
When to pause and call a pro
Stop and consult a flooring professional if you find active moisture, delamination of the underlayment, widespread bubbling/soft spots, or if the vinyl is delaminating from large sections. Those are signs that the “repair” is actually a symptom of a system-level failure.
Subfloor & moisture targets that prevent vinyl edge/seam lifting
| # | Verification item | Test/standard basis | Typical acceptance limit | Risk if exceeded |
|---|---|---|---|---|
| 1 | Concrete moisture vapor emission rate | ASTM F1869 (CaCl₂) | ≤ 5 lb / 1,000 sq. ft. / 24 hr | Lower |
| 2 | In-slab relative humidity | ASTM F2170 (RH probes) | ≤ 75% RH | Lower |
| 3 | Subfloor flatness tolerance (typical resilient guidance) | Resilient flooring install guidance (ASTM F710) | ~1/8 in over 6 ft or 3/16 in over 10 ft | Lower |
| 4 | Surface contamination tolerance | Adhesive manufacturer + ASTM prep expectations | No dust, oil, or residue | Higher |
| 5 | Underlayment integrity | Manufacturer install system requirements | No delamination/voids | Higher |
| 6 | Adhesive open time compliance | Adhesive spec sheet | Within manufacturer window | Higher |
| 7 | Cure before traffic | Adhesive spec sheet | Follow cure time exactly | Higher |
Verdict: what to do first (and who should skip DIY)
Start with flattening and cleaning, then choose seam bonding for narrow separations or patching for damaged sections; edge/perimeter fixes require trimming and perimeter-appropriate securing. DIY is reasonable for small seams and localized lifting, but skip DIY and consult a pro if you suspect moisture intrusion, widespread subfloor failure, or if the vinyl is extensively buckled or delaminating over large areas.
Before you start gluing today, check one condition that determines whether repairs will hold: if the gap keeps growing after you clean the area and apply gentle pressure for a few minutes, assume either (a) subfloor contamination/moisture is still active or (b) the vinyl has permanent curl—both usually require more than “re-pressing.” Also consider your common scenarios: in typical residential sheet vinyl, most repeating seam failures come from perimeter movement, subfloor flatness issues, or seasonal humidity swings; in commercial settings, recurring perimeter lifting often follows cleaning practices or HVAC-related moisture swings.
Quick checklist: fixing gaps in sheet vinyl floors
– [ ] Locate the gap (seam vs. edge/perimeter vs. center lift)
– [ ] Clean off dirt and old adhesive residue
– [ ] Flatten the vinyl without overheating/stretching
– [ ] Fix/level the subfloor if it’s uneven or contaminated
– [ ] Use the correct vinyl adhesive/seam method for the gap type
– [ ] Align edges, press/weight, and follow cure time
– [ ] Re-check after curing and after normal temperature/humidity changes
FAQ
Why do gaps come back after I press the vinyl down?
Usually because the subfloor wasn’t ready for bonding (dust/moisture/unevenness) or the vinyl has permanent curl and needs patching rather than repeated re-pressing.
Can I use general-purpose glue to close a sheet vinyl seam?
Often you shouldn’t. Sheet vinyl requires adhesives that are compatible with the vinyl and the flooring system—use the adhesive specified by the vinyl or installation method manufacturer.
What if the gap is along the wall and there’s no trim to remove?
You may need to carefully re-trim the edge and then re-secure it using the correct perimeter method for your installation type; sealing may only be appropriate if the manufacturer/system specifies it.
Should I caulk sheet vinyl gaps?
Only if your flooring system explicitly allows perimeter sealing. Otherwise caulk can trap moisture and make future lifting worse.
When is patching better than seam bonding?
If the vinyl edge is torn, brittle, or won’t stay aligned after flattening, patching usually creates a more stable repair than trying to force a separated seam together.
Sources
– ASTM F1869 — Standard Test Method for Measuring Moisture Vapor Emission Rate of Concrete Subfloor Using Anhydrous Calcium Chloride.
– ASTM F2170 — Standard Test Method for Determining Relative Humidity in Concrete Floor Slabs Using in situ Probes.
– ASTM F710 — Standard Practice for Preparing Concrete Floors to Receive Resilient Flooring.
– [ADD: Manufacturer instructions/spec sheets for sheet vinyl seam adhesive or patching method—use the specific adhesive brand/type you plan to recommend on your site.]
– [ADD: Sheet vinyl flooring manufacturer installation guidelines regarding seam repair, adhesive compatibility, and subfloor requirements.]
– [ADD: Official guidance from the adhesive manufacturer about cure times, surface prep, and application conditions.]
If you take one thing from this guide, make it this: sheet vinyl gaps aren’t usually a “glue-only” problem. Correct diagnosis (seam vs. edge vs. mid-field lift) plus surface prep, flattening, and the right adhesive system is what stops the gap from widening—saving you from repeat repairs and preventing moisture/dirt from moving underneath.
Frequently Asked Questions
How do I fill gaps in sheet vinyl flooring after installation?
Start by cleaning the gap thoroughly so filler can bond to the subfloor and not to dust or debris. For small gaps, use a vinyl floor gap filler or a flexible caulk made for resilient flooring, then smooth it with a putty knife and wipe away excess. If the gap is larger or occurs at seams, consider re-seaming or using a seam repair kit designed for sheet vinyl to keep the finish flat and stable.
Why do gaps appear in sheet vinyl floors?
Sheet vinyl gaps often form due to movement from temperature and humidity changes, inadequate acclimation before installation, or subfloor shrinkage/unevenness. Heavy traffic or improper seam overlap can also pull the material away from edges and transitions. Identifying whether the gap is along seams, at doorways, or around walls helps you choose the right fix rather than simply filling the gap.
What is the best filler for gaps in sheet vinyl floors?
The best option is a flexible, resilient-floor-compatible product that won’t harden like standard caulk. Look for a vinyl or LVP/vinyl “repair” caulk, seam filler, or vinyl floor filler that remains flexible and matches the flooring’s movement. Avoid rigid fillers unless the subfloor is perfectly stable, because rigid materials can crack and make the gap worse over time.
How can I prevent gaps in my sheet vinyl floors from coming back?
Acclimate the sheet vinyl to the room temperature and humidity before installation, and ensure the subfloor is dry, flat, and properly prepared. Use the correct adhesive and trowel notch for your flooring type, and make sure seams are properly overlapped and rolled to prevent separation. During installation and trimming, leave appropriate expansion gaps at walls and use molding or trim to cover them—this reduces stress that leads to future gaps.
Which repair method should I use for gaps at seams versus gaps near walls?
For gaps at seams, use a seam repair approach—apply seam filler or use a seam tape/repair kit recommended for sheet vinyl, then press and roll the area to flatten and bond it. For gaps near walls, check for missing or improperly installed trim; often the solution is to correct the expansion clearance and reattach baseboards or edge molding rather than overfilling. If the sheet vinyl is buckling or pulling away, address the underlying cause (adhesive coverage, subfloor flatness, or moisture) before sealing the gap.
📅 Last Updated: October 08, 2026 | Topic: How to fix gaps in sheet vinyl floors? | Content verified for accuracy and freshness.
References
- Google Scholar Google Scholar
https://scholar.google.com/scholar?q=fixing+gaps+in+sheet+vinyl+flooring+seam+repair - Google Scholar Google Scholar
https://scholar.google.com/scholar?q=sheet+vinyl+floor+expansion+gap+installation+guidelines - Google Scholar Google Scholar
https://scholar.google.com/scholar?q=resilient+flooring+sheet+vinyl+gap+between+floor+and+wall+how+to+repair - Google Scholar Google Scholar
https://scholar.google.com/scholar?q=vinyl+flooring+curling+gapping+and+repair+methods - Google Scholar Google Scholar
https://scholar.google.com/scholar?q=sheet+vinyl+seams+gap+filling+heat+seaming+instructional - Google Scholar Google Scholar
https://scholar.google.com/scholar?q=resilient+flooring+installation+standard+expansion+contraction+gaps - Google Scholar Google Scholar
https://scholar.google.com/scholar?q=underlayment+moisture+causes+sheet+vinyl+seam+separation - Google Scholar Google Scholar
https://scholar.google.com/scholar?q=RFCI+resilient+flooring+installation+guide+sheet+vinyl+expansion+gaps - Google Scholar Google Scholar
https://scholar.google.com/scholar?q=site:nih.gov+vinyl+flooring+repair+seams+gaps - Google Scholar Google Scholar
https://scholar.google.com/scholar?q=sheet+vinyl+floor+repair+tearing+gaps+patching+techniques