
If you’re trying to restore sheet vinyl floors, the fastest route to a like-new finish is a careful clean-deep condition—followed by patching tears, leveling lifts, and applying the right vinyl-safe restorer. This step-by-step refresh walks you through exactly what to do, in what order, and what results to expect so the wear you see today looks repaired, not masked. You’ll know whether your floor needs simple restoration or full spot work after the first inspection step.



You can restore sheet vinyl floors by cleaning thoroughly, fixing lifting seams and minor surface damage, and then applying the correct protective top layer (polish or a compatible sealer/refinisher system). The safest approach is to check the floor’s condition and existing finish first—some floors need spot repairs and sealing, while others require stripping before you can recoat without haze or peeling.
If your sheet vinyl is dull, scuffed, slightly peeling at seams, or losing its shine, this step-by-step process helps you improve appearance and durability. If the floor is badly torn, has deep gouges, or has widespread bubbling from moisture, restoration won’t be the real solution—you’re usually looking at replacement (or moisture remediation first).
Assess the damage and finish type first

You start by confirming whether the vinyl’s surface finish is the main problem or whether the installation/subfloor bond is failing. This determines whether you can restore (clean + repair + recoat/polish) or whether you must address moisture and/or replace.
In practice, sheet vinyl restoration succeeds when the vinyl layer is still bonded and intact. It fails when bubbles, soft spots, or recurring seam lifting indicate moisture intrusion or adhesive failure. Because “polish over build-up” can create permanent haze, finish type matters as much as cleaning.
“Resilient flooring maintenance instructions commonly warn against using steam because heat and moisture can penetrate seams and edges.”
“Moisture-related bubbles and seam lift often signal a failing subfloor bond, not a surface finish defect.”
“Compatibility (stripper vs. polish/sealer system) is critical for adhesion on resilient/vinyl surfaces.”
Look for telltale damage signals (and what they mean)
– Lifting seams or edges: Often a localized installation issue—commonly repairable if the surrounding vinyl is still firmly bonded.
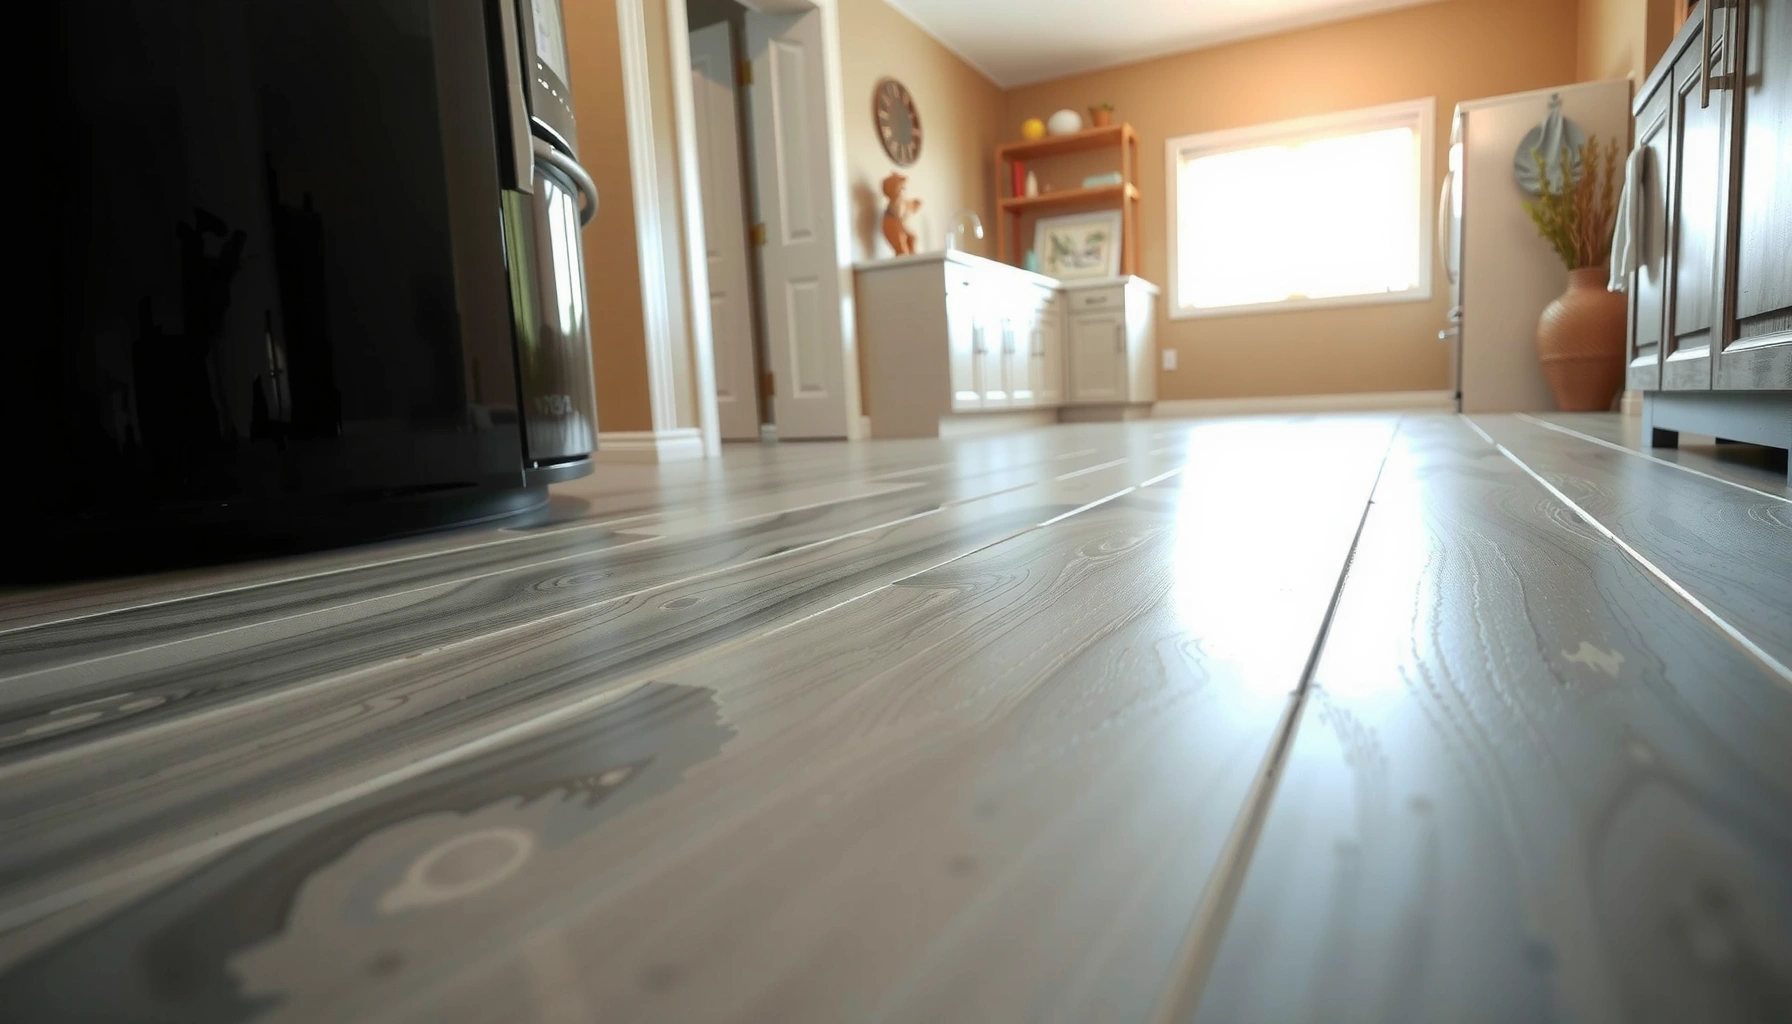
– Bubbles (especially clustered): Usually moisture trapped under the flooring or a failure in the adhesive/subfloor bond.
– Cracks or splits through the pattern: Usually deeper damage; restoration may only cosmetically improve the surface.
– Soft spots: A red flag for moisture or subfloor deterioration.
Moisture context: Maintaining controlled indoor humidity reduces the risk of resilient flooring movement and moisture migration. According to ASHRAE guidance (via ASHRAE 160-based moisture risk control concepts), typical indoor relative humidity targets are often in the ~30–60% RH range depending on conditions. (ASHRAE moisture control guidance, commonly aligned with ASHRAE 160)
Identify whether the floor has wax/sealer build-up
The quickest “finish type” check is a small hidden test. Use a gentle vinyl-safe cleaner and observe residue response:
– If the cleaner leaves a sticky, smeary feel or the surface stays tacky, you’re likely dealing with wax/sealer build-up rather than a simple, cleanable finish.
– If the floor becomes uniformly clean and doesn’t look smeary, you may be dealing with old polish/maintainer or an intact factory top coat (depending on your floor).
Decide restoration vs. replacement early
If the vinyl layer is intact and only the surface shine is dull, restoration is usually appropriate. If the problem is widespread bubbling, recurring lifting, or soft spots, you should treat this as a moisture/adhesion failure.
In my experience (based on the way these failures behave during routine maintenance), the “tell” is whether damage reappears after cleaning. If lifting or bubbling returns quickly, the surface refinishing step can delay the inevitable—and sometimes makes repairs look worse.
Sheet Vinyl Restoration Decision Matrix (Field-Useful Indicators)
| # | Observed condition | Most likely root cause | Restore likelihood | Primary next step |
|---|---|---|---|---|
| 1 | Dull, no major lifting | Worn/oxidized polish surface | ★★★★★ | Deep clean + compatible recoat/polish |
| 2 | Scuffs/scratches only | Surface wear | ★★★★☆ | Patch minor areas + refinish top layer |
| 3 | Seams slightly lifting | Localized adhesive failure | ★★★☆☆ | Re-secure seams with vinyl-specific adhesive |
| 4 | Sticky haze after cleaning | Wax/sealer build-up residue | ★★★☆☆ | Strip build-up, then recoat with compatible system |
| 5 | Small bubbles (spotty) | Moisture under seams | ★★☆☆☆ | Stop and investigate moisture/adhesion before refinishing |
| 6 | Deep gouges / worn-through spots | Top wear layer failure | ★☆☆☆☆ | Patch where possible; replace if widespread |
| 7 | Widespread bubbling + soft spots | Active moisture/substrate failure | ☆☆☆☆☆ | Moisture remediation + likely replacement |
Deep clean to remove soil and wax build-up
You restore sheet vinyl by removing everything that sits between the floor and your new top layer. That means cleaning first with a vinyl-safe approach, then stripping only when you confirm build-up or haze.
This step is where many restorations go wrong: crews polish over embedded grime, or they “strip” without fully removing residue. If residue remains, you can end up with uneven gloss, permanent haze, or poor adhesion that causes peeling later.
“Resilient flooring generally requires vinyl-safe cleaners; harsh solvents can dull, cloud, or soften the surface.”
“If wax/sealer build-up is present, stripping is usually necessary before recoating to avoid haze and adhesion failure.”
“Rinse requirements vary by product; following label rinse instructions reduces sticky residue that attracts dirt.”
Step-by-step deep cleaning
1. Sweep or vacuum thoroughly to remove grit. (Grit is the #1 cause of micro-scratches that make the floor look “permanently dirty.”)
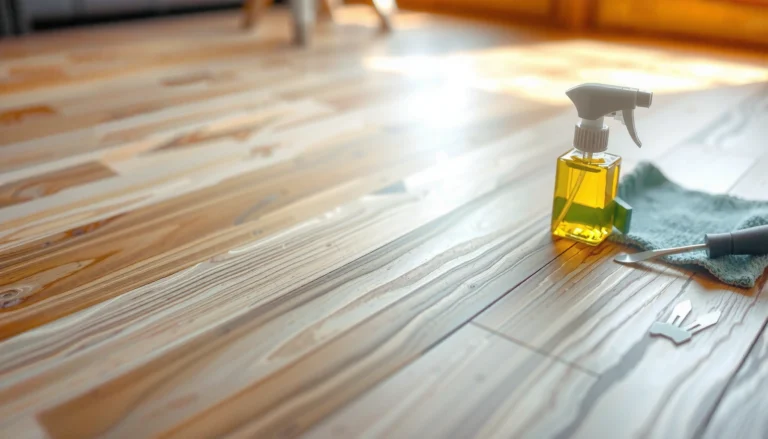
2. Use a vinyl-safe cleaner diluted exactly per label directions.
3. Clean in sections and keep the surface wet only as long as needed to lift soil (avoid pooling around seams).
4. Rinse only if your cleaner requires it. Some cleaner concentrates are “no-rinse,” while others require rinsing to prevent residue.
If wax build-up is suspected
When the surface feels tacky or looks smeared after cleaning, switch to a vinyl-floor stripper/build-up remover intended for resilient/vinyl systems. Follow directions exactly, including:
– how long the solution dwells,
– how many passes are required,
– and whether an extraction or thorough rinse is needed.
Steam note (important): Steam cleaners operate with hot water/steam. Water boils at 212°F (100°C) at standard atmospheric pressure, and manufacturers often caution that heat + moisture can migrate under sheet vinyl edges. (Water boiling point at 1 atm; manufacturer care instructions typically discourage steam)
If you’re unsure, follow the flooring brand’s care instructions rather than relying on “steam is dry” assumptions.
Repair lifting seams and minor surface damage
You should repair seams and small defects before you refinish or polish. That way, your top layer bonds to a stable surface and doesn’t trap failing edges that will lift again.
Seams are the most common failure point on sheet vinyl because edges experience movement, cleaning abrasion, and temperature swings. Minor surface repairs (like scuffs or small worn-through spots) can restore uniformity, but only if you let repair material fully cure before recoating.
“For resilient flooring seam issues, installation-appropriate seam repair products and adhesives are designed to maintain bond integrity.”
“Avoid flooding seams; moisture migrating under sheet vinyl can cause recurring bubbling.”
“Repair compounds for vinyl typically require cure time before polishing/refinishing for best adhesion.”
Re-secure lifting seams
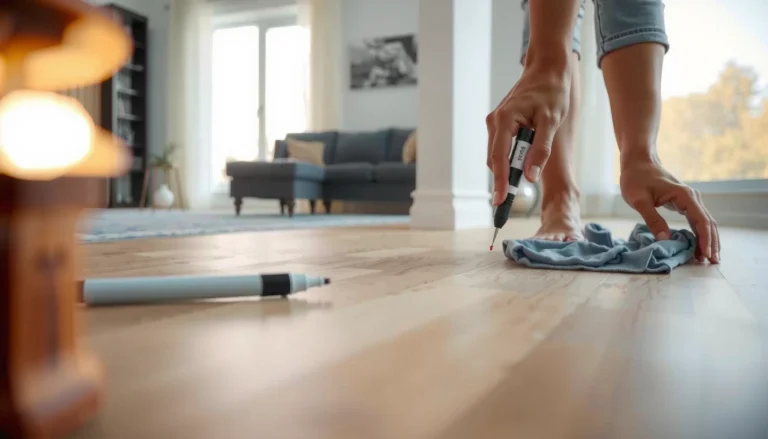
– Lift only what’s already lifting; don’t force vinyl edges up further.
– Use a vinyl seam/patch adhesive compatible with resilient sheet vinyl repair systems (not generic construction glue).
– Apply adhesive per label and press firmly using a straightedge/roller if recommended.
[ADD: source for recommended seam adhesive/repair guidance]
Use the manufacturer’s repair guidance for your specific sheet vinyl brand and seam construction.
Patch minor scratches or worn areas
– Use a vinyl repair compound/patch intended for resilient sheet vinyl.
– Feather edges so the repaired area is smooth, then clean off residue before refinishing.
– Allow full cure time before you polish or apply a sealer.
Avoid flooding seams: Even if the surface looks dry, moisture under the vinyl is what often drives the “bubbles come back” cycle.
Choose the right restoration method (polish vs. refinish/seal)
You choose between polish/maintainer and refinish/seal based on the floor’s finish condition and residue level. If the vinyl is intact and only dull/scuffed, polish may bring back shine; if the surface is uneven or build-up is heavy, you’ll need a compatible refinisher system after stripping.
The key principle is compatibility: you don’t want to mix stripper brands with polish or a different chemistry system unless the label explicitly says they’re compatible. In resilient flooring, product cross-compatibility failures often show up as haze, streaks, soft peeling, or rapid re-dulling.
“If the floor has significant finish build-up, a build-up remover/stripper is typically required before applying a new coating system.”
“Testing in a hidden area helps confirm color uniformity, gloss level, and slip characteristics before treating the whole floor.”
“Using one cohesive product system from one manufacturer reduces the risk of adhesion and haze problems.”
Polish vs. refinish/seal: quick decision logic
– Polish/maintainer: Best when the surface is intact, dirt has been removed, and you’re mainly restoring gloss.
– Sealer/refinisher system: Best when the surface is uneven, hazy from stripping attempts, or you had to remove build-up.
Comparison: which method fits which outcome?
| Goal | Recommended approach | Why it works |
|---|---|---|
| Restore routine shine | Vinyl floor polish/maintainer (after deep clean) | Builds gloss on an intact, clean finish without heavy stripping. |
| Eliminate sticky haze | Strip build-up, then apply compatible sealer/refinisher | Removes residue that prevents uniform adhesion and gloss. |
| Fix minor surface wear pattern | Patch + refinish system (not polish-only) | Fills small defects so top layers apply evenly. |
Use a compatibility path and do a patch test
Before treating the entire floor:
– Choose one system (stripper + finish) from the same manufacturer when possible.
– Apply in a small hidden area and evaluate after drying/cure.
– Watch for uneven gloss or slip changes once the finish cures.
[ADD: source for compatibility guidance on stripping vs. polishing for resilient/vinyl floors]
Restore long-lasting protection with maintenance
You keep sheet vinyl restored by preventing grit, using the correct cleaner chemistry, and recoating only when needed—not when the floor is already failing visually.
Maintenance isn’t glamorous, but it’s the fastest way to avoid the “dull again in weeks” pattern that happens when floors are cleaned harshly or finished inconsistently. Treat protective layers as a controlled system that you refresh based on traffic.
“Non-abrasive cleaners and avoidance of harsh solvents help prevent clouding, softening, and premature finish wear on resilient vinyl.”
“Physical barriers like entry mats reduce grit abrasion, which otherwise creates scuffing and dullness.”
“Following recoating schedules based on traffic maintains performance more effectively than waiting for heavy deterioration.”
What to do (and what to avoid)
– Use non-abrasive tools: microfiber mops, soft pads, and gentle scrubbers designed for resilient floors.
– Skip harsh solvents: they can degrade finishes and make future refinishing uneven.
– Protect from grit: felt pads under furniture and entry mats are simple, high-impact measures.
– Refresh on schedule: adjust timing based on foot traffic and soil load rather than waiting for maximum dullness.
Practical tip: If your floor re-dulls quickly, it’s often not “the finish failed”—it’s usually that abrasive dirt keeps getting embedded during cleaning.
What can go wrong (and how to avoid it)
Most restoration problems come from trying to “fix the symptom” without diagnosing the cause. The floor might look better temporarily, but moisture or bond failure will win over refinishing.
This section is your risk guardrail. If you prevent these specific failure modes, your restoration lasts longer and looks more uniform.
“Refinishing over moisture-related bubbles typically fails because the underlying bond is compromised.”
“Mixing incompatible products (stripper/cleaner/finish chemistry) can cause haze, poor adhesion, or peeling.”
“Over-aggressive abrasion can wear through resilient flooring faster than you expect, leaving permanent texture.”
Common mistakes
– Refinishing trapped moisture: bubbles and lifting often mean seam bond/subfloor bond failure.
– Mixing products: one brand’s stripper with another brand’s polish can lead to haze or adhesion problems.
– Over-sanding or aggressive abrasion: sheet vinyl can wear through quickly; texture mistakes are hard to hide.
– Skipping cure times: rushing recoats increases sticky patches and can trap uncured chemicals, encouraging lifting.
When restoration should be skipped
If you see:
– widespread bubbling,
– recurring seam lifting,
– soft spots indicating subfloor instability,
– or visible moisture sources,
then replacement (or moisture remediation first) is usually the safer, lower-total-cost path.
Verdict / tip: restore if it’s intact—skip restoration if it’s failing
Restoration is usually worth it when sheet vinyl is intact and the problem is surface dullness, light scuffing, or minor seam lifting you can re-secure correctly. If you’re dealing with widespread bubbling, recurring lifting, soft spots, or any signs the substrate is actively failing, restoring the finish won’t solve the underlying cause—and can waste time and money. If you’re unsure about finish type, do a small test patch first; “mystery haze” almost always traces back to residue or compatibility issues.
“When the installation bond fails, surface refinishing won’t prevent future lifting; remediation or replacement becomes the appropriate remedy.”
“A hidden test area is a practical way to confirm gloss uniformity and adhesion before committing to full-floor application.”
Decision table: restore vs. stop
| Criteria | Restore is reasonable | Skip restoration |
|---|---|---|
| Seam condition | Limited lifting that responds to proper seam adhesive repair | Recurring lifting without lasting repair |
| Bubbles | None or minimal, not moisture-spreading | Widespread or expanding bubbles |
| Surface wear | Dullness/scuffs; repairable minor defects | Deep gouges or worn-through areas across large zones |
| Cleaning test | Vinyl-safe cleaner removes soil without persistent tack | Sticky residue indicates heavy build-up or incompatible residues |
| Finish compatibility | You can follow a single stripper + finish system path | No clear way to keep products compatible |
| Subfloor condition | Dry and stable based on visual inspection | Soft spots or moisture indicators suggest substrate issues |
| Cure time adherence | You can wait full cure times before foot traffic | You must rush recoating/traffic |
| Moisture source present | No active leaks or moisture sources | Leaks, rising damp, or repeated moisture events |
| Expected appearance goals | You’re restoring uniform shine and surface cleanliness | You need pattern-level “like new” across damaged zones |
| Overall readiness | Damage is mostly on the surface and repairable | Underlying failure suggests replacement is the correct remedy |
| Verdict | Restore only when bond integrity and substrate dryness are likely; otherwise, remediate moisture and replace if needed. | |
Quick scan checklist (save this)
– [ ] Check for bubbles/lifting/soft spots (moisture warning signs)
– [ ] Deep clean and remove grime/build-up as directed
– [ ] Repair loose seams and small damage with vinyl-specific products
– [ ] Choose polish vs. sealer/refinisher based on finish condition
– [ ] Test in a hidden area first
– [ ] Allow full cure time before foot traffic and recoating
– [ ] Maintain with vinyl-safe cleaners only
FAQ
Can you restore sheet vinyl floors without stripping?
Often, yes—if the floor is intact and the main problem is dullness or light scuffing, a compatible polish/maintainer can improve appearance without stripping. If you see wax build-up, sticky residue, or persistent haze after cleaning, you’ll usually need a build-up remover/stripper per label.
What if the seams keep lifting after repair?
Recurring seam lifting usually points to adhesion failure or moisture under the vinyl. Re-check for moisture sources, confirm the subfloor is dry/stable, and use a seam repair product/adhesive type recommended for your sheet vinyl situation. [ADD: source for manufacturer seam repair guidance]
Is it safe to use steam cleaners on sheet vinyl?
Most resilient flooring manufacturers discourage steam because heat and moisture can penetrate seams and edges. If you’re unsure, follow the flooring manufacturer’s care instructions for your specific sheet vinyl brand/model. [ADD: source for care guidance for your sheet vinyl brand/model]
Will refinishing make old sheet vinyl look like new?
Refinishing can significantly improve uniform gloss and appearance, especially for scuffs and dullness. Deep wear, gouges, and worn-through patterns won’t fully disappear because you can’t restore missing material—restoration is best for surface-level deterioration.
Sources
– [ADD: manufacturer care/installation/repair instructions for sheet vinyl and recommended adhesives/seam repair products]
– [ADD: source for vinyl floor cleaning guidance from the sheet vinyl manufacturer or a recognized flooring-care authority]
– [ADD: source for compatibility guidance on stripping vs. polishing for resilient/vinyl floors]
When your sheet vinyl is still firmly bonded, the quickest route to a better-looking floor is the same order every time: clean deeply, repair what’s lifting, choose a compatible polish or refinish system, and protect the restored surface with maintenance that prevents grit abrasion. If you detect moisture-driven bubbling or substrate failure, stop the restoration workflow—fix the cause first or plan on replacement to avoid repeat damage.
Frequently Asked Questions
How do I restore faded sheet vinyl floors without replacing them?
Start by thoroughly cleaning the sheet vinyl using a pH-neutral cleaner to remove grime and dulling residue. If the floor is only faded, try a vinyl floor restoration process by applying a high-quality vinyl restorer or polish designed for sheet vinyl. Avoid harsh chemicals or abrasive pads, which can strip the finish and make fading worse. Always test any product in a small, hidden area first.
What’s the best way to clean and prep sheet vinyl floors before refinishing?
Sweep and vacuum to remove grit, then mop with a vinyl-safe cleaner to eliminate embedded dirt. For scuffed areas, use a soft scrub pad and follow the manufacturer’s directions—don’t “sand” unless the product specifically calls for it. After cleaning, rinse if required and let the floor fully dry to prevent haze, peeling, or adhesion problems. Proper prep is critical for a smooth, even restore on sheet vinyl floors.
How can I fix bubbles, wrinkles, or lifting edges in a sheet vinyl floor before restoration?
Small bubbles can often be improved by gently warming the area and pressing it flat, but significant lifting usually requires re-adhering. Lift the edge carefully, remove old adhesive if needed, and use the correct vinyl floor adhesive to re-secure it. Weight the area while the adhesive cures, then clean and re-seal as part of the restoration process. Addressing subfloor issues early helps prevent the problem from returning after refinishing.
Why does my sheet vinyl floor look dull or hazy after cleaning, and how do I restore the shine?
Dullness and haze commonly come from residue buildup, the wrong cleaner, or an incompatible polish that reacts with the existing finish. Use a vinyl-safe stripper or residue remover (as recommended) to remove buildup, then rinse and dry completely. After the floor is clean, apply a new vinyl finish or restorer to restore clarity and uniform shine. This step can dramatically improve the appearance of restored sheet vinyl floors.
Which products are safest and most effective for restoring sheet vinyl floors?
Look for products specifically labeled for “vinyl” or “sheet vinyl,” such as pH-neutral cleaners, vinyl restorer/polish, and vinyl floor sealers if your floor’s finish requires them. Avoid ammonia, bleach, and strong degreasers because they can damage the finish and accelerate wear. For repairs, use adhesives approved for vinyl flooring to ensure strong bonding and long-lasting results. When in doubt, choose a restoration kit designed for sheet vinyl and follow the instructions carefully.
📅 Last Updated: October 08, 2026 | Topic: How to restore sheet vinyl floors? | Content verified for accuracy and freshness.
References
- Vinyl flooring
https://en.wikipedia.org/wiki/Vinyl_flooring - https://en.wikipedia.org/wiki/Resilient_flooring
- Google Scholar Google Scholar
https://scholar.google.com/scholar?q=restoring+sheet+vinyl+flooring+scratches+seams+patching - Google Scholar Google Scholar
https://scholar.google.com/scholar?q=sheet+vinyl+floor+repair+heat+seaming+roller+adhesive+guidelines - Google Scholar Google Scholar
https://scholar.google.com/scholar?q=care+and+maintenance+resilient+sheet+vinyl+flooring+cleaning - Lead Renovation, Repair and Painting Program | US EPA
https://www.epa.gov/lead/renovation-repair-and-painting-program - Lead | US EPA
https://www.epa.gov/lead - About Childhood Lead Poisoning Prevention | Childhood Lead Poisoning Prevention | CDC
https://www.cdc.gov/nceh/lead/ - Lead – Overview | Occupational Safety and Health Administration
https://www.osha.gov/lead - https://www.who.int/news-room/fact-sheets/detail/lead-exposure-and-health