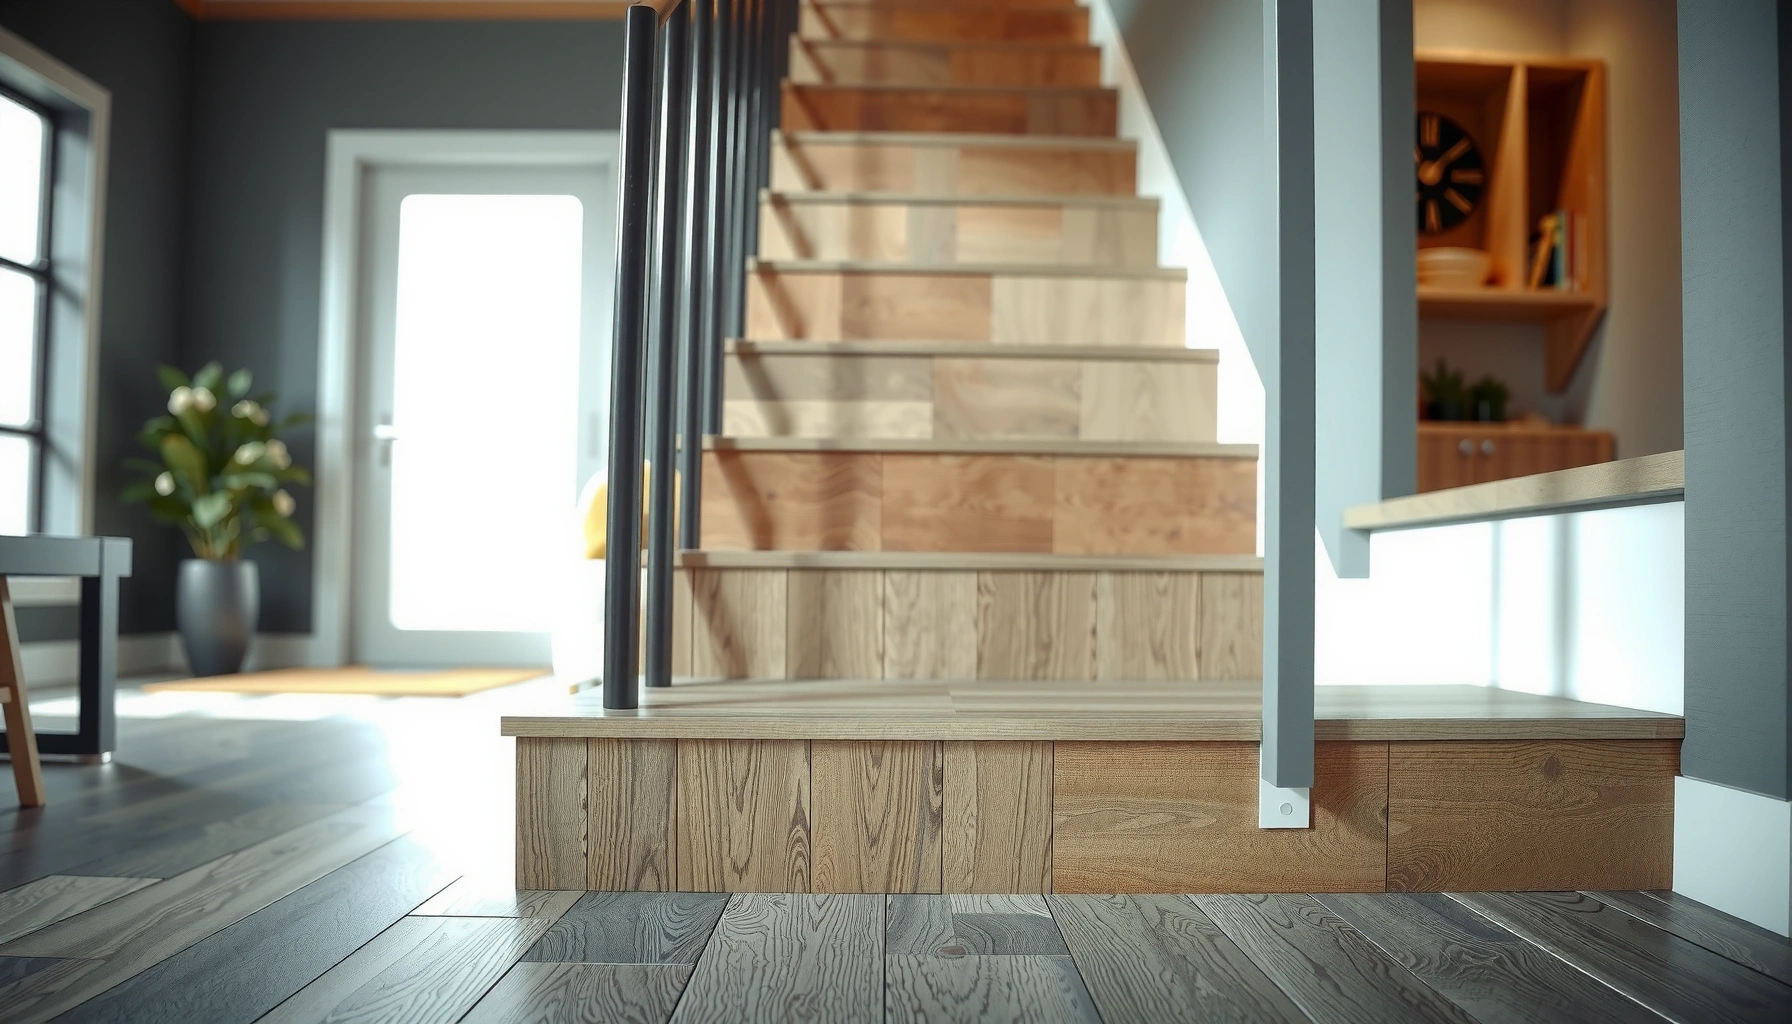

Want to know how to install around stairs LVP floors without gaps, buckling, or messy transitions? The most reliable method is a tight plank fit with proper underlayment cutbacks and a stair-friendly transition detail at each tread and riser. Follow the steps below and you’ll get a clean, durable finish that holds up to traffic where stair edges flex most.


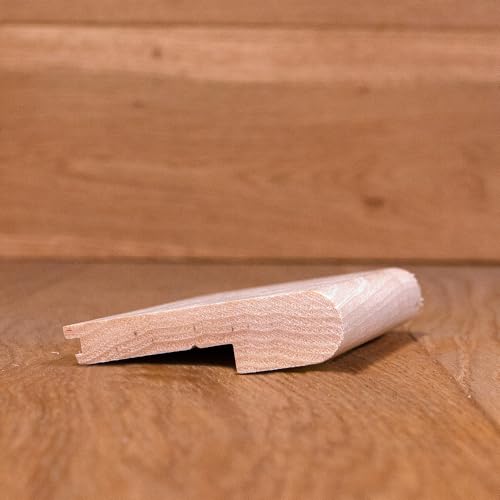

Installing LVP around stairs is mainly about planning your cuts so every plank stays locked solid and your stair edge is finished with the correct nosing/trim. Measure each tread and riser individually, dry-fit multiple steps in sequence, then use an LVP-compatible stair trim system to hide cut lines at every step.
If you’re installing luxury vinyl plank (LVP) on a staircase, the “hard part” isn’t the straight run—it’s the repeated corners and height changes from tread (the horizontal surface) to riser (the vertical face). Done correctly, you get a uniform, stable floor with protected edges; done loosely or without proper trim, you’ll see visible gaps, binding at seams, and accelerated edge wear. As of 2026, most manufacturers still treat stairs as a higher-stakes installation area, so following their stair-specific allowances and transition guidance is essential.
Measure Stair Treads, Risers, and Runout First
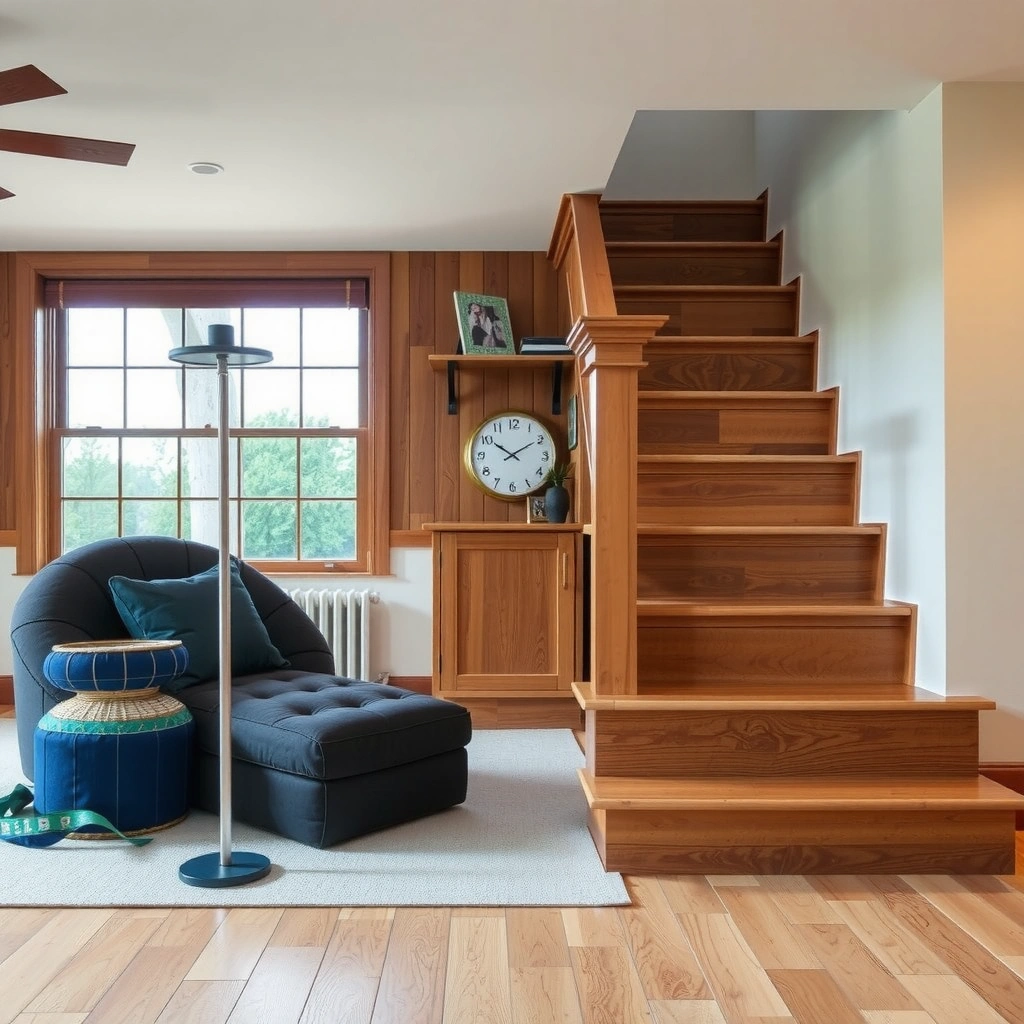
The fastest path to a professional-looking stair LVP install is measurement-by-step, not “measure once and assume.” Get tread depth and riser height for every step, then plan where plank seams will land relative to your stair nosing/trim so the most visible edge looks intentional.
This matters because stairs rarely stay perfectly consistent from bottom to top. Even when stringers (the angled support structures) look straight, you can have slight variations in tread depth, riser height, or the geometry of the nosing. When plank length and edge alignment drift over several steps, you often end up with misaligned seams and uneven-looking “stair shadows” that are hard to fix after adhesive or locking is committed.
– Measure each tread depth and riser height individually (even small differences between stairs can affect fit).
– Check the stair stringers for squareness and note any bulges or uneven surfaces that will change how planks sit.
– Plan where the plank seams will land (try to avoid seams right at the most visible stair edge if possible).
Stair dimensions in common U.S. residential codes typically cap risers at 7-3/4 in (196 mm) and require a minimum tread depth of 10 in (254 mm), which is why “one measurement for all steps” rarely works in real homes. — IRC (International Residential Code) stair provisions, as published in IRC editions such as 2021
ADA accessibility guidance uses different stair constraints (e.g., max riser 7 in and min tread 11 in), reinforcing that stair geometry affects how coverings must be planned and finished. — U.S. Access Board, ADA Accessibility Guidelines
The “runout” (how the stair landing and adjacent floor meet) drives transition layout; if the transition isn’t planned up front, stair-trim and expansion gaps won’t line up cleanly later.
Common Stair Dimension Minimums Used for Covering Planning
| # | Standard / Jurisdiction | Max Riser | Min Tread / Run | Practical Fit Impact for LVP |
|---|---|---|---|---|
| 1 | IRC (Residential) | 7-3/4 in (196 mm) | 10 in (254 mm) | Most common baseline |
| 2 | IBC (Commercial/General) | 7-3/4 in (196 mm) | 11 in (279 mm) | Often implies longer runs |
| 3 | ADA 2010 (Accessibility) | 7 in (178 mm) | 11 in (279 mm) | Tread depth planning is critical |
| 4 | NFPA 101 (Life Safety) | Varies by occupancy/ruleset | Code-specific | Verify exact adopted edition |
| 5 | UK: Approved Document K | Typically up to 220 mm | “Going” typically 220 mm+ | Going often drives riser/trim choice |
| 6 | EU (Local building rules) | Varies by country | Varies by country | Riser/tread tolerances differ |
| 7 | Manufacturer Stair Trim System | Trim-dependent | Profile-dependent | Trim hides edge/cut realities |
Choose the Right Install Method for Stairs
The right install method for stair LVP is the one that matches your product’s system and locks out movement at the stair edges. Confirm whether your LVP is click-lock, glue-down, or loose-lay, then choose the approach that gives the least flex where steps get the most traffic.
Stairs amplify minor installation flaws because the floor repeatedly flexes at corners and sees concentrated impact at the nosing. Most LVP planks are engineered for floor fields (flat areas); on stairs, you’re effectively asking the material to behave like a protective shell with consistent edge support. That’s why stair-specific trim and manufacturer-approved installation method rules are critical.
– Confirm whether your specific LVP is click-lock, glue-down, or loose-lay (stairs typically require the most secure, least-flexible approach).
– Determine how you’ll handle the floor expansion requirements—stairs and adjacent rooms still need proper movement clearance where required by the manufacturer.
– Decide whether you’ll run planks continuously up to the stair area or stop at a transition—your transition trim choice drives what’s easiest.
Manufacturers commonly restrict stair installations to specific locking/adhesive methods because stair zones experience higher flex and edge wear than flat rooms. — LVP product installation guides (stair-specific sections)
Expansion requirements still apply near stairs; even if the stair area feels “contained,” most LVP systems require perimeter clearance or approved transitions to prevent buckling. — LVP manufacturer technical requirements
Transition location is a geometry tool: placing a transition trim where the tread profile and adjacent flooring align can reduce visible seam “drift.”
Install-method tradeoffs (what you gain, what you risk)
| Install method | Best for stairs when… | Key downside to plan around |
|---|---|---|
| Click-lock | Your system allows stair installs and uses approved underlayment/edge support | Loose substrates or uneven steps can cause seam separation |
| Glue-down | You need maximum immobilization at stair edges | Mistakes are harder to correct; adhesive compatibility is non-negotiable |
| Loose-lay / floating | Only where the manufacturer explicitly permits stairs | Extra movement increases risk of edge gapping at nosing |
Quick, practical planning steps
As you decide, map your stair build-up in two layers:
1) Support layer: subfloor flatness, underlayment (if allowed), and any leveling needed so planks sit flush.
2) Edge finish layer: nosing/trim that protects plank ends and creates a consistent tread surface.
[ADD: insert the specific LVP model’s install type and the manufacturer’s stair allowance notes from your project documentation.]
Cut and Fit LVP for Treads and Risers
The cleanest stair result comes from treating treads and risers as separate fit operations, not one combined cut. Cut and dry-fit for each tread depth and riser height, verify alignment across several steps, and only then lock or bond.
Treads and risers don’t behave the same visually or structurally. Treads are where you get direct footfall, so cut edges and plank ends must be protected—usually with nosing/edge trim. Risers are vertical and can telegraph unevenness quickly, especially if you stack planks awkwardly or use oversized pieces that look bulky.
– Cut treads for clean edges and consistent length, then fit planks to each tread carefully before committing to adhesive or locking.
– For risers, use narrower pieces or dedicated riser/trimming materials as needed so edges align and don’t look bulky.
– Dry-fit multiple steps in a row to ensure your layout isn’t “drifting” due to cumulative cut tolerances.
Dry-fitting multiple steps helps detect cumulative error: small cut tolerances can “stack” over several treads, causing visible misalignment at the stair nosing.
Keeping plank ends consistent with your stair trim profile prevents edge pinching or gaps that would otherwise show through under high traffic.
Risers often require narrower pieces or dedicated trim so the tread edge and riser transition stays crisp instead of thick-looking at the corners.
A measurement workflow that reduces rework
1) Start with the longest runout reference: pick your first visible tread (usually the top or bottom, whichever will be most noticeable).
2) Cut a “template step” first: draft one tread + one riser set to validate your cut method against your stair nosing trim profile.
3) Dry-fit 3–5 steps before committing broadly: look for seam alignment and check for binding (a seam that tightens on one edge but opens on the other).
Tools and cutting habits (to aim for clean edges)
– Use a blade suitable for LVP (often carbide-tipped for clean vinyl composite cuts).
– Score-and-snap is sometimes used on thin products, but stairs usually reward the cleanest cut you can get—particularly near edges that will meet nosing trim.
– Vacuum dust as you go; debris can prevent full locking or create lumps that show at tread corners.
[ADD: insert any shop-safe PPE notes or project-specific tool preferences you actually use—e.g., blade brand/type—based on your materials.]
Use Stair Nosing/Trim to Hide Edges and Create a Finished Look
The stair trim system is what turns “cut work” into a finished flooring installation. Use LVP-compatible stair nosing/edge trim designed to cover plank ends, protect the edge from wear, and match your plank thickness so transitions don’t pinch or leave shadows.
Without stair trim, you typically expose raw plank edges and create a weak wear point at the most trafficked location in the home. With trim, you also gain consistent visual geometry: each step looks uniform because the trim defines the tread face while the planks handle the surface.
– Install stair nosing/edge trim designed for LVP so the plank ends and cut lines are covered and protected from wear.
– Make sure the trim profile matches your LVP thickness and the stair tread depth—mismatches can cause gaps or pinching.
– Seal/finish transitions where the stair edge meets the tread surface based on the trim instructions (this is often where longevity is won or lost).
Stair nosing and edge trim are primarily a protection strategy: they cover cut plank edges at the tread nose, which are otherwise the most impact- and wear-exposed points.
Compatibility between trim profile and LVP thickness is crucial because mismatches can create visible gaps or interference that prevents proper fit at the stair corners.
Proper sealing at transitions affects long-term appearance by reducing how moisture/dirt can collect at seams near the tread edge.
Fit checks before final installation
– Thickness match check: confirm your trim’s recommended plank thickness (e.g., 5mm vs 6.5mm products) so the nosing doesn’t sit proud or too recessed.
– Depth match check: ensure the tread depth plus trim lip fully supports the surface where people step.
– Corner alignment check: at each tread-to-riser corner, confirm the trim hides the cut line consistently from one step to the next.
[ADD: name your planned stair trim model/brand and what the manufacturer states about thickness compatibility.]
What Can Go Wrong (And How to Avoid It)
The most common stair LVP problems come from geometry and movement—uneven steps, mis-sequenced cuts, or skipping edge protection. If you measure each step, follow your product’s stair method, and install stair nosing/trim correctly, you avoid most of the failures that show up within the first year.
Stair issues tend to appear in patterns:
– one edge binds while the other opens (often caused by slight unevenness or “drifting” cuts),
– seams misalign from tread to riser (visual, even if structurally acceptable),
– or edges fray because cut ends weren’t protected with proper trim.
– Uneven stair heights or crooked treads can cause planks to bind at one edge—measure each step and dry-fit before installing widely.
– Forgetting expansion/clearance around the perimeter can lead to buckling or separation over time—follow your LVP manufacturer’s requirements for spacing.
– Skipping stair trim often leads to frayed-looking edges and faster wear at the most trafficked spots—use the right edge protection from the start.
– Misaligned seams between tread and riser can look “off” even if the fit is technically correct—check alignment visually as you progress.
Uneven riser heights can create “tight spots” where locked seams feel secure on one side but separate on the other, especially on stairs with slight out-of-plumb geometry.
Perimeter clearance and movement space are not optional in most LVP systems; ignoring them can lead to buckling as temperature and humidity change. — LVP installation guides (expansion/clearance sections)
Skipping edge trim leaves raw plank ends exposed, increasing the risk of chipping and accelerated wear at the tread nose.
Common failure modes (and prevention)
– Plank seam drift: fix by dry-fitting 3–5 steps and adjusting the cutting sequence.
– Pinching at corners: fix by verifying stair stringer flatness and matching trim profile to plank thickness.
– Visible “step seams” (aesthetics): fix by planning seam locations so they land where trim and shadows minimize the eye’s focus.
[ADD: if you have photos from past installs or customer complaints, reference the typical seam/edge failure pattern you’ve seen.]
Verdict: A Practical Approach (When to Skip DIY)
If your stairs are reasonably straight and you’re comfortable doing repeated precise cuts, installing LVP around stairs is doable—especially when you use manufacturer-approved stair trim/nosing. That said, the downside is real: stair geometry mistakes can create a trip-risk look (binding, uneven transitions) and you may not be able to correct it without re-cutting or re-installing sections.
Skip DIY (or at least get installer input) if your stair steps are significantly uneven, the substrate needs major flattening, you’re unsure which install method your specific LVP permits for stairs, or you can’t obtain an approved stair trim system that matches your plank thickness. As of 2026, many manufacturers still emphasize stair-appropriate installation instructions, so your best protection is to follow the product documentation closely.
[ADD: If you want, we can tailor this to your specific LVP type—click-lock vs glue-down—and the stair trim you plan to use.]
Quick Checklist: Installing LVP Around Stairs
– [ ] Measure each tread depth and each riser height individually
– [ ] Confirm your LVP install type is allowed for stairs (per manufacturer)
– [ ] Plan plank seams away from the most visible high-wear edges
– [ ] Dry-fit multiple steps to prevent cumulative misalignment
– [ ] Use stair nosing/edge trim that matches LVP thickness
– [ ] Follow expansion/clearance requirements exactly
– [ ] Finish transitions with the approved trim/seal approach
FAQ
Do I need stair nosing when installing LVP on stairs?
Usually, yes—stair nosing/edge trim protects cut edges and creates a consistent tread profile. Exact requirements depend on your LVP and trim system, so follow the manufacturer’s instructions ([ADD: source for stair nosing requirement for your specific LVP/trim model]).
Should I glue LVP on stairs?
It depends on whether your LVP is click-lock or glue-down and what the manufacturer permits for stair applications. Check the product documentation for stair-specific installation guidance ([ADD: source for your LVP’s stair method]).
How do I handle expansion gaps near stairs?
Use the manufacturer’s specified spacing/clearance rules for perimeters and transitions—stairs don’t remove the need for movement where required. If your product documentation is unclear, get clarification from the manufacturer ([ADD: source for expansion requirement]).
Can I use the same planks for risers?
Often you can, but risers may require different cutting/fit strategies and sometimes different trim materials so edges don’t look thick or uneven. Confirm the intended method with your LVP’s installation instructions ([ADD: source for riser guidance]).
Sources
– [ADD: Your LVP manufacturer’s installation guide for click-lock vs glue-down, stair installation allowances, and expansion/clearance requirements]
– [ADD: Stair nosing/trim manufacturer instructions specifying compatibility with LVP thickness and edge-prep requirements]
– — IRC (International Residential Code) stair provisions
– — IBC (International Building Code) stair provisions
– — U.S. Access Board, ADA Accessibility Guidelines
– [ADD: Any product-specific technical bulletin or PDF that covers stair applications]
Installing LVP around stairs is a “precision + protection” job: measure every tread and riser, use an install method your LVP manufacturer approves for stairs, and finish the nosing/edges with compatible stair trim. If you approach the work as a step-by-step fit process (rather than a single cut plan), you’ll avoid the most common failure modes—gaps, binding, and worn edges—while achieving a clean, consistent look on every tread.
Frequently Asked Questions
What’s the best way to plan LVP installation around stairs and landings?
Start by measuring each step run, rise, and tread width, then confirm your LVP planks cover the tread depth and accommodate any overhang. Plan a layout that minimizes short cuts on visible edges and decide whether you’ll run planks down the stairs or across treads for a cleaner look. Mark transitions at nosings and landings, and dry-fit a few rows to confirm the flooring direction won’t create misaligned seams at the stair edges.
How do you cut and fit LVP planks around stair nosing and tread edges?
Use a fine-tooth saw (or a sharp utility knife system for some click-lock styles) to get straight, clean cuts for tread outlines. For each tread and riser, cut to the exact profile of the nosing—account for any gaps your underlayment or expansion needs. Seal or caulk trim gaps at the nosing where foot traffic and moisture exposure are likely, and test-fit pieces before installing the final run.
How do you transition LVP flooring to stairs without gaps or buckling?
LVP should be installed with proper expansion space around stair posts, walls, and any fixed vertical surfaces, but not in a way that creates loose edges at the tread. If you’re using click-lock LVP, keep planks flat and aligned so the locking mechanism fully engages on each step run; avoid forcing locks that can open later. At transitions, use stair-molding or reducer strips designed for steps to cover small height differences and prevent visible gaps.
Which underlayment and moisture protection should you use for LVP on stair areas?
Choose an underlayment recommended for your specific LVP type and subfloor condition; many waterproof click-lock products include an attached pad, so adding extra underlayment may reduce performance or height compatibility. In stair environments, moisture and debris can work into seams, so ensure the subfloor is smooth and clean, and use a vapor barrier if your manufacturer calls for it. Pay attention to glue-less stair corners—use manufacturer-approved seam sealing only if the product system requires it.
Why is it important to use stair nosing trim when installing LVP around stairs?
Stair nosing trim helps protect the edge of the LVP where wear and impact are highest, reducing the chance of chipped corners and seam separation. It also creates a professional, consistent line at each tread and makes it easier to manage minor variations in step measurements. Using the correct stair trim reduces long-term maintenance and helps the installation look intentional even when stairs aren’t perfectly uniform.
📅 Last Updated: October 07, 2026 | Topic: How to install around stairs LVP floors? | Content verified for accuracy and freshness.
References
- Google Scholar Google Scholar
https://scholar.google.com/scholar?q=installing+LVP+around+stairs - Google Scholar Google Scholar
https://scholar.google.com/scholar?q=luxury+vinyl+plank+stair+installation+stair+nosing - Google Scholar Google Scholar
https://scholar.google.com/scholar?q=resilient+flooring+installation+around+stairs+transition+guidelines - Vinyl flooring
https://en.wikipedia.org/wiki/Vinyl_flooring - Staircase
https://en.wikipedia.org/wiki/Staircase - https://en.wikipedia.org/wiki/Underlayment
- ICC Digital Codes – Home
https://codes.iccsafe.org/ - Google Scholar Google Scholar
https://scholar.google.com/scholar?q=How+to+install+around+stairs+LVP+floors? - How to install around stairs LVP floors? – Search results
https://en.wikipedia.org/wiki/Special:Search?search=How+to+install+around+stairs+LVP+floors? - https://www.ncbi.nlm.nih.gov/search/research-articles/?term=How+to+install+around+stairs+LVP+floors?