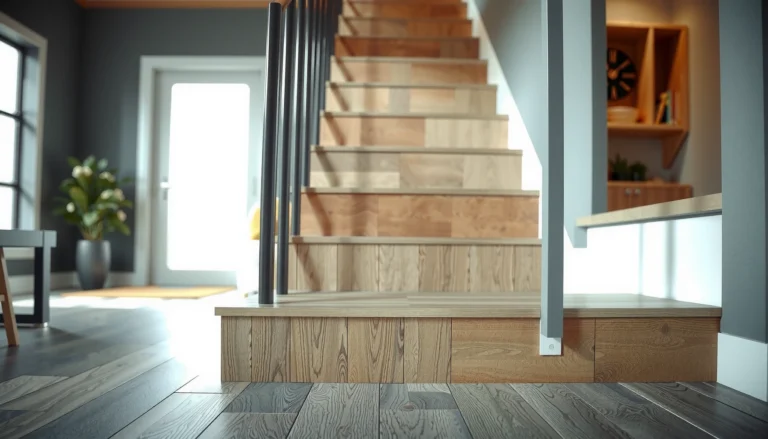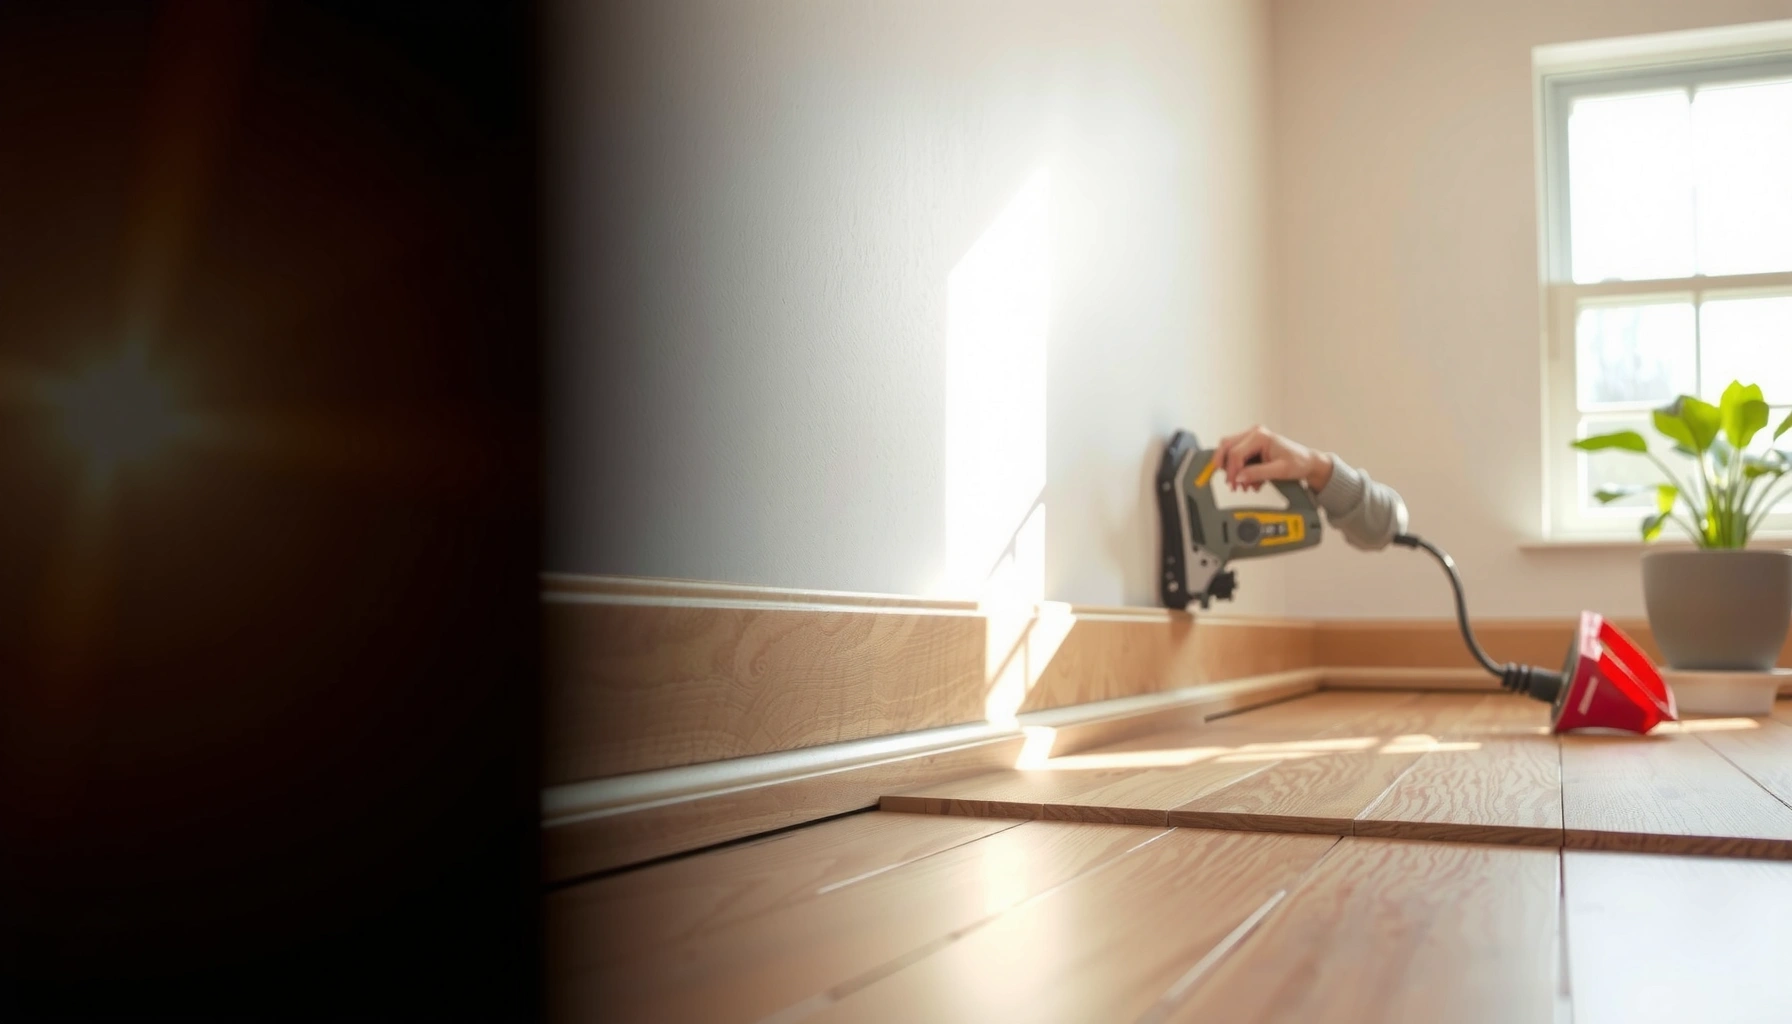

Installing baseboards with LVP floors is straightforward when you know the one rule that prevents buckling: leave the correct expansion gap and trim the baseboard so it doesn’t pinch the floating planks. This step-by-step guide shows exactly how to plan the layout, handle transitions, and fasten baseboards to the wall (not the floor) for a clean, professional finish. If you want to finish edges that look tight but still move correctly, this is the method to follow.




When you install baseboards over LVP, the key is to treat the flooring as the “moving” layer and the trim/wall as the “fixed” layer—so the planks can expand and contract without buckling. In practice, you fasten baseboards to the wall (not the LVP), leave the manufacturer-required floor clearance, and seal only where the caulk won’t lock the trim to the moving planks.
When installing baseboards with LVP (Luxury Vinyl Plank), plan for movement and keep the right clearance at the floor so the planks can expand/contract. In most cases, you’ll fasten the baseboards to the wall (not the LVP) and leave a small gap at the bottom, then cover the transition with caulk only where appropriate. This guide will walk you through the sequence, tools, and common mistakes so the trim looks clean without risking buckling or separation.
If your LVP is floating (click-lock) or you’re unsure, this approach still applies: treat the flooring as the “moving” layer and the wall/trim as the “fixed” layer. Use these steps whether you’re installing new baseboards or reusing existing ones, as long as you’re able to add proper spacing and fasten the trim correctly.
Gather the right materials and tools
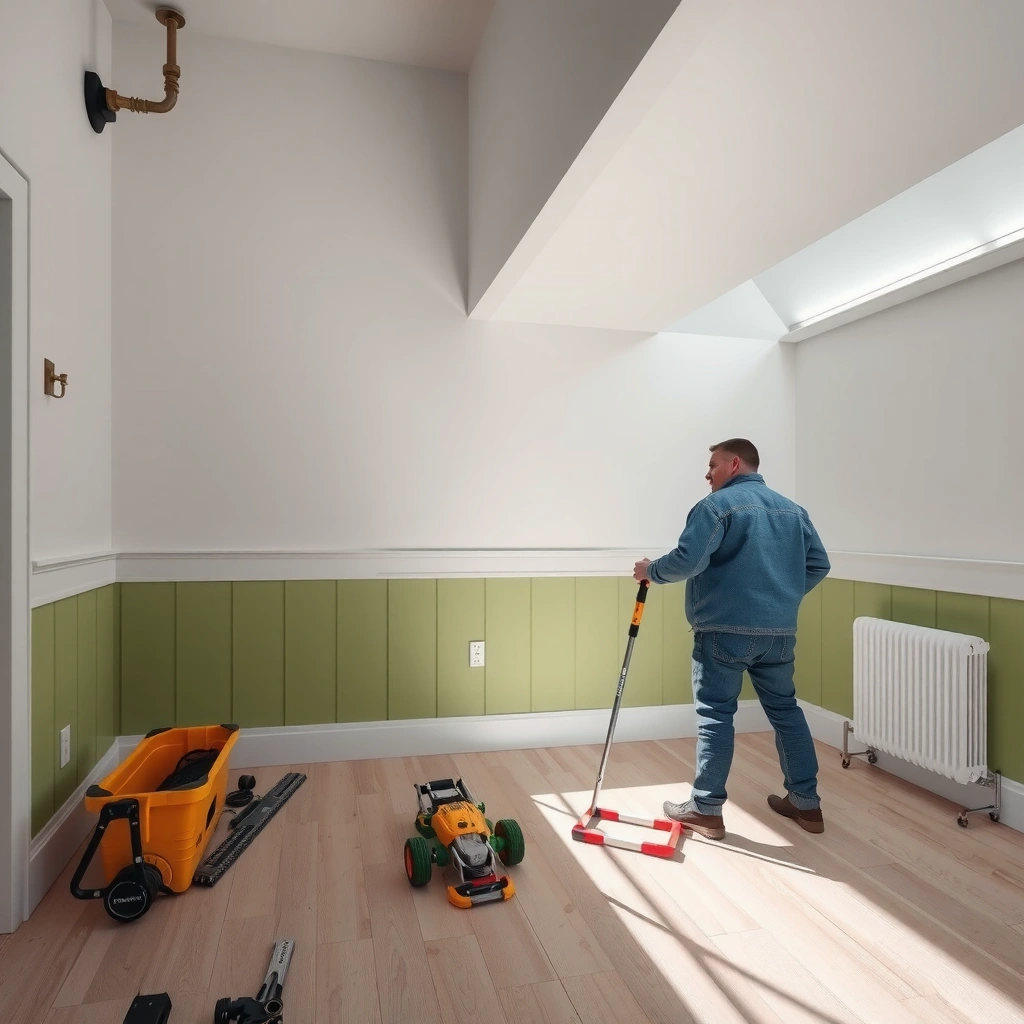
You get the cleanest results when you assemble tools for two jobs at once: accurate trim layout and controlled spacing for LVP movement. Start by confirming your LVP type and only then choose the fastening/trim order that won’t trap the floor.
Here’s what you typically need to install baseboards with LVP without pinning the planks to the wall. Baseboards are usually primed MDF or wood, and you’ll use finish nails (often 16-gauge or 18-gauge) or trim screws depending on your wall construction and nailer availability. For LVP undercutting, a sharp utility knife (or oscillating tool if you prefer) helps you create a consistent “slide-under” gap at obstacles.
Fastener choices for baseboards over floating LVP (common ranges used in trim work)
| # | Baseboard style | Typical nail gauge | Common nail length | Fit rating |
|---|---|---|---|---|
| 1 | Primed MDF (5–7/8 in) | 18-gauge | 1-1/4 in to 1-1/2 in | ★★★★☆ |
| 2 | Wood baseboard (3/4 in thick) | 16-gauge | 2 in | ★★★★★ |
| 3 | Warp-prone or very dense trim | 16-gauge | 1-3/4 in to 2 in | ★★★★☆ |
| 4 | Screw-mount baseboard (no nailer) | #6 trim screw | 1-1/2 in | ★★★☆☆ |
| 5 | Thicker casing-style base (7–1/4 in) | 18-gauge | 2 in | ★★★☆☆ |
| 6 | Heavy MDF with painted finish | 18-gauge | 1-1/2 in | ★★★★☆ |
| 7 | Reinstalling existing baseboards (patchwork) | 18-gauge | 1-1/4 in | ★★☆☆☆ |
To keep the trim aligned and movement-safe, you also need small setup items: spacers to hold the correct expansion gap, a level, measuring tape, and cutting tools for straight cuts and miters (miter saw or compatible method). A caulk gun and utility knife help you both finish seams and undercut LVP cleanly. According to [ADD: source for “typical LVP expansion gap guidance”], floating LVP is commonly installed with a wall clearance around 1/4 in (≈6 mm) (typical guidance; confirm your product). [ADD: cite the exact manufacturer spec for expansion gap]
Baseboards should be fastened to the wall framing (studs/solid backing) so the LVP can move without being restricted.
LVP manufacturers require an expansion gap along walls and obstacles; trimming that gap out can cause buckling or separation.
Undercutting jambs and using spacers helps prevent the baseboard from pinching planks at the perimeter.
– Use baseboard material that matches your room plan (typically primed MDF or wood), plus finish nails or trim screws and a suitable adhesive if your system calls for it.
– Have spacers, a level, measuring tape, miter saw (or compatible cutting method), caulk + caulk gun, and a utility knife for LVP undercutting ready.
– Confirm your LVP installation type (floating/click-lock vs. glued-down) using the manufacturer instructions before choosing your fastening/trim order. [ADD: exact LVP brand/model you’re using]
Prep the room and set the expansion gap
You should install the LVP first and then prepare the perimeter for trim—because your baseboards need to work around the flooring’s required clearance. If you skip the expansion gap, the entire perimeter can become a stress point.
Start by installing LVP and maintaining the manufacturer-required expansion gap along walls and obstacles. According to [ADD: source for manufacturer-required expansion gap], the gap is often on the order of 1/4 in to 3/8 in depending on the system, substrate, and product thickness—so always verify for your specific LVP. [ADD: cite manufacturer installation instructions] Dry-fitting baseboard sections before final cuts prevents surprises once you add shims for uneven walls.
The LVP expansion gap is what prevents buckling; it must remain consistent around the full perimeter.
Unlevel drywall or masonry walls are best corrected with shims behind the baseboard rather than forcing the trim to flatten.
– Install the LVP first and keep the manufacturer-required expansion gap along walls and obstacles; this is the clearance that prevents buckling.
– Dry-fit baseboard sections before cutting final miters, and note any uneven walls that may need shimming behind trim.
– Remove base shoe (if present) and clean the wall surface so nails/screws can hold securely to drywall/wood framing. [ADD: what your wall type is—drywall, plaster, masonry]
Undercut door jambs and handle the “gap” at the floor
You typically want the baseboard to look continuous at the floor, but you must keep it from trapping the planks. That means controlled spacing at the bottom edge and correct caulk placement.
Undercutting door jambs (and sometimes casing) is a common way to create a gap for the LVP to slide underneath without being pinched. The same principle applies to the baseboard: fasten the trim to the wall, not through to the floor layer. That bottom seam—usually a narrow, intentional clearance—lets the planks expand and contract.
Caulk is where homeowners most often accidentally “lock” things together. In general, you caulk the trim-to-wall seam (and sometimes specific corners), but you avoid caulking in a way that bonds trim to the moving LVP. According to [ADD: source for caulking guidance on resilient flooring trim contact], flexible flooring assemblies can shift under seasonal humidity changes, so trim sealing must be applied where it won’t immobilize the floor. [ADD: cite caulk/flooring manufacturer guidance]
If fasteners or caulk bond the trim to the moving flooring layer, the flooring can’t perform its designed expansion.
Undercut jambs so flooring can pass underneath without compressing the perimeter materials.
A wall-to-trim caulk line is typically safer than a caulk line that bridges to the LVP.
– Undercut jambs so the LVP can slide underneath (if your design requires it) and so baseboards sit without pinching the floor.
– At the bottom edge of baseboards, follow the rule of “fasten to the wall, not the floor”—your baseboard should not restrict plank movement.
– Decide where caulk goes: typically you caulk the trim-to-wall seam (and possibly at corners), but keep caulk away from locking the trim onto the LVP. [ADD: your preferred caulk type per your local guidance and manufacturer recommendations]
Install baseboards starting with the longest straight wall
You’ll get the most consistent line when you start with the longest straight wall and work outward. This also helps you measure and correct for out-of-plane conditions before you commit to corners.
Mark a reference line for the top edge of the baseboard using a level so the trim height stays visually even. Then dry-fit a length to confirm the bottom clearance relative to the LVP expansion gap. From my perspective, the “fastest” process is usually the one that slows down at layout: a careful first wall reduces rework across every subsequent corner. (I’m not claiming a specific proprietary test here—use your LVP manufacturer’s details for exact clearances.)
When fastening, drive nails/screws into studs or solid framing where possible. For wood baseboards, pre-drill pilot holes to prevent splitting. If the wall bows or dips, use small shims behind the baseboard—not at the floor edge—so the trim sits tight without pushing on the planks.
A consistent top reference line reduces cumulative error; each corner inherits whatever height error is introduced earlier.
Fasten baseboards into wall framing/backing to keep trim stable while allowing the LVP to move beneath.
– Mark a consistent line for the top edge of the baseboard using a level, then dry-fit a section to verify the spacing relative to the LVP gap.
– Nail/screw into studs or the framing where possible, using a nailer or pre-drilled pilot holes to reduce splitting (for wood baseboards).
– Use small shims where the wall is out of plane so the baseboard sits tight without bowing over the LVP transition.
Miter corners and fit around outlets/obstacles
You can’t “force” trim around electrical cutouts or corners without risking pressure on the floor edge. Plan the cuts so the baseboard stays aligned while maintaining the non-pinning rule.
Cut clean 45-degree miters for inside/outside corners (depending on your trim profile and layout), and dry-fit before fastening. Even when your LVP is installed correctly, minor height changes at seams or slight subfloor transitions can show up as a visible gap if miters are rushed.
For outlets and switches, turn off power at the breaker and remove the cover plate. You’ll then measure and cut the baseboard opening so devices mount correctly. Most importantly: route the opening so the baseboard doesn’t press down onto the LVP near the outlet line.
To decide caulking strategy around corners and edges, use a quick comparison mindset:
| Approach | Where it’s appropriate | Main risk if misused |
|---|---|---|
| Caulk trim-to-wall seam | Where trim touches the fixed wall surface | Caulk bridges to LVP and immobilizes movement |
| No caulk at bottom clearance | Bottom edge that overhangs the moving floor | If you eliminate clearance entirely, you trap planks |
| “Spot caulk” only | Corners where gaps are purely cosmetic | Overfilling can squeeze onto LVP and create bonding |
Dry-fit miters before fastening; small perimeter height differences become more visible once trim is nailed.
Outlet cutouts should allow trim to stop short of pressing on the LVP, even if the opening is tight.
– Cut clean 45-degree (or angled) miters for corners, and re-check fit before fastening—LVP transitions can reveal small height differences.
– For outlets and switches, turn off power and plan for outlet cutouts; typically you route the baseboard opening so devices mount safely without forcing trim against the floor.
– Maintain the same “not pinned to the floor” rule even around obstacles—ensure the trim can’t press down on the planks.
Seal, finish, and verify movement
You seal after the trim is aligned so you can inspect the perimeter for any unintended compression. When you finish carefully, your baseboards look crisp without compromising the flooring’s designed motion.
Caulk the seams between baseboard and wall after installation, using light, controlled beads and clean tooling (a damp finger or caulk tool works well). Touch up nail holes with wood filler or putty, prime, and paint using your trim system schedule. Let everything cure fully before you assess the final appearance.
Then verify movement safety: visually check that the LVP isn’t visibly compressed along the baseboard line. If you can, gently observe whether there’s any sign of floor “pinching” at transitions—trapped flooring often shows up as buckling at the perimeter or separation at seams later.
If the bottom clearance is eliminated, the flooring cannot move through seasonal expansion and can buckle.
Trim-to-wall caulk lines should be tooled neatly, but they should not create a hard bond to the LVP.
– Caulk the seams between baseboard and wall (and corners) after the trim is installed and aligned; tool the caulk neatly for a finished look.
– Touch up nail holes and prime/paint as needed, following your paint system instructions for trim materials.
– After everything cures, visually confirm there’s no visible compression of the LVP at the baseboard line, and double-check that the floor wasn’t trapped under trim.
What can go wrong (and how to avoid it)
If baseboards interfere with LVP movement, the failure usually shows up as buckling, seam separation, or future squeaks. Most issues come from perimeter “locking” or incorrect fastening layers.
– Skipping the expansion gap: If your baseboards trap the planks at the wall, the floor can buckle or lift elsewhere. Always follow your LVP manufacturer’s required gap.
– Nailing through the wrong layer: If fasteners go into the LVP, you can prevent proper movement and create squeaks or separation. Fasten to the wall only.
– Over-caulking the floor seam: Thick caulk can “glue” trim to the moving flooring. Keep sealing where it belongs—typically at trim-to-wall transitions—not at the floor-locked contact area.
– Uneven walls causing trim to bow: If you don’t shim, the baseboard can touch the LVP in some spots, creating pressure points over time.
Verdict / tip: do this yourself only if you can respect the movement gap
If you’re comfortable measuring, cutting miters, and ensuring the baseboards are fastened to the wall without locking the LVP, this DIY approach is usually straightforward. The main downside is that small wall unevenness or impatience with the expansion gap can cause long-term issues, especially with floating floors. Skip this DIY approach and consider a pro if your room has complex layouts (lots of angles/doorways), your LVP manufacturer requires very specific trim/baseboard spacing/undercut methods, or your walls are badly out of square.
Quick checklist (save this)
– [ ] LVP installed first with manufacturer-required expansion gap at walls
– [ ] Baseboards fastened to wall only (no fasteners into LVP)
– [ ] Bottom seam not “locked” to the LVP (use caulk only where appropriate)
– [ ] Miter corners dry-fit before nailing/screwing
– [ ] Shims used where walls are uneven
– [ ] Outlets/cutouts planned so trim doesn’t pinch the floor
– [ ] Final caulk + paint done after trim is aligned
FAQ
Should baseboards sit on top of LVP, or leave a small gap?
Most installations leave a small clearance at the floor line so LVP can move. Baseboards are fastened to the wall, and the floor isn’t allowed to be trapped.
Do I nail baseboards into studs or drywall only?
For strength, nail/screw into studs or solid backing when you can. If you must attach to drywall, use a method rated for that application, but still avoid any fastening that reaches the LVP.
Can I caulk the gap between baseboard and LVP?
Usually you should caulk at the trim-to-wall seam, not in a way that bonds the trim to the moving LVP. Follow your LVP and caulk manufacturer guidance. [ADD: your LVP brand/model caulking guidance if available]
What if my LVP is glued down instead of floating?
The same “don’t trap the flooring under trim” principle applies, but the movement behavior differs. Check the flooring manufacturer’s instructions for baseboard/trim contact and sealing details. [ADD: glued-down LVP brand/model]
How do I cut baseboards so they fit perfectly with undercut jambs?
Plan the sequence: undercut jambs if required, confirm LVP height, then miter/fit baseboards against the wall line. If needed, do a dry-fit with scraps before final fastening.
Sources
– [ADD: LVP manufacturer installation instructions] (for required expansion gap and guidance on trim/baseboard contact)
– [ADD: baseboard installation guidance from the trim manufacturer, if available]
– [ADD: caulk manufacturer instructions] (for whether caulk should be used on trim-to-wall joints and any cautions about bonding to flexible flooring)
In the end, installing baseboards with LVP is less about “finishing perfect” and more about “engineering the perimeter” so the floor can move safely. If you follow the expansion-gap instructions, fasten trim to the wall only, and apply caulk only where it won’t bond to the moving planks, you’ll get the crisp look people want without risking long-term buckling or separation.
Frequently Asked Questions
What’s the best way to install baseboards when you have LVP flooring?
When installing baseboards with LVP, plan on allowing the LVP planks to expand and contract freely—especially if your LVP is a click-lock floating floor. Use a method that prevents nailing or fastening the baseboard into the floor itself; instead, secure baseboards only to the wall. This approach helps avoid buckling or gaps at the base of the LVP as temperatures and humidity change.
How do you cut and fit baseboards around LVP without damaging the floor edges?
Dry-fit the baseboard sections and mark the exact height and any door-jamb or corner offsets before cutting. If you’re using shoe molding or caulk lines, leave a small, consistent gap between the bottom of the baseboard and the LVP so the floor can move. For accuracy, measure from the wall to the highest point of the LVP surface and test-fit each run to avoid scraping the tongue-and-groove edges.
How do you handle gaps between baseboards and LVP after installation?
Minor gaps are common with LVP expansion, so aim for a controlled gap and finish it properly rather than forcing the baseboard to clamp the flooring. Use painter’s caulk or a color-matched flexible caulk along the wall-to-baseboard seam (not along the floor edge), and consider shoe molding for a cleaner, more forgiving finish. If you see larger-than-expected gaps, check that the subfloor is level and that expansion gaps were left correctly around the perimeter.
Why is it important to leave an expansion gap between LVP and baseboards?
LVP needs room to expand and contract with indoor humidity and temperature changes, even when it’s covered by baseboards. If baseboards are fastened in a way that restricts movement or if the baseboard is pinned into the floor, you can get separation, raised planks, or gaps that worsen over time. Following LVP installation guidelines for perimeter expansion helps keep the floor stable and prevents baseboard problems.
Which installation method is best for attaching baseboards to walls over LVP floors?
The most common best practice is to fasten baseboards to the wall studs (or into solid backing) while keeping fasteners out of the LVP and avoiding compression of the floor. If your baseboard is capped or detailed, use a brad nailer or finish nails with careful spacing, then fill nail holes with wood filler and caulk only the appropriate seams. For uneven walls, use shims at the wall contact points to maintain a tight line without pressing the baseboard into the LVP.
📅 Last Updated: October 07, 2026 | Topic: How to install baseboards with LVP floors? | Content verified for accuracy and freshness.
References
- Google Scholar Google Scholar
https://scholar.google.com/scholar?q=install+baseboards+with+LVP+flooring+floating+floor+expansion+gap - Google Scholar Google Scholar
https://scholar.google.com/scholar?q=LVP+flooring+baseboard+trim+installation+best+practices - Google Scholar Google Scholar
https://scholar.google.com/scholar?q=vinyl+plank+flooring+floating+vs+glued+baseboard+should+be+nailed+or+not - Baseboard
https://en.wikipedia.org/wiki/Baseboard - Vinyl flooring
https://en.wikipedia.org/wiki/Vinyl_flooring - https://en.wikipedia.org/wiki/Resilient_flooring
- https://en.wikipedia.org/wiki/Floating_floor
- Expansion joint
https://en.wikipedia.org/wiki/Expansion_joint - Laminate flooring
https://en.wikipedia.org/wiki/Laminate_flooring - https://en.wikipedia.org/wiki/Underlayment