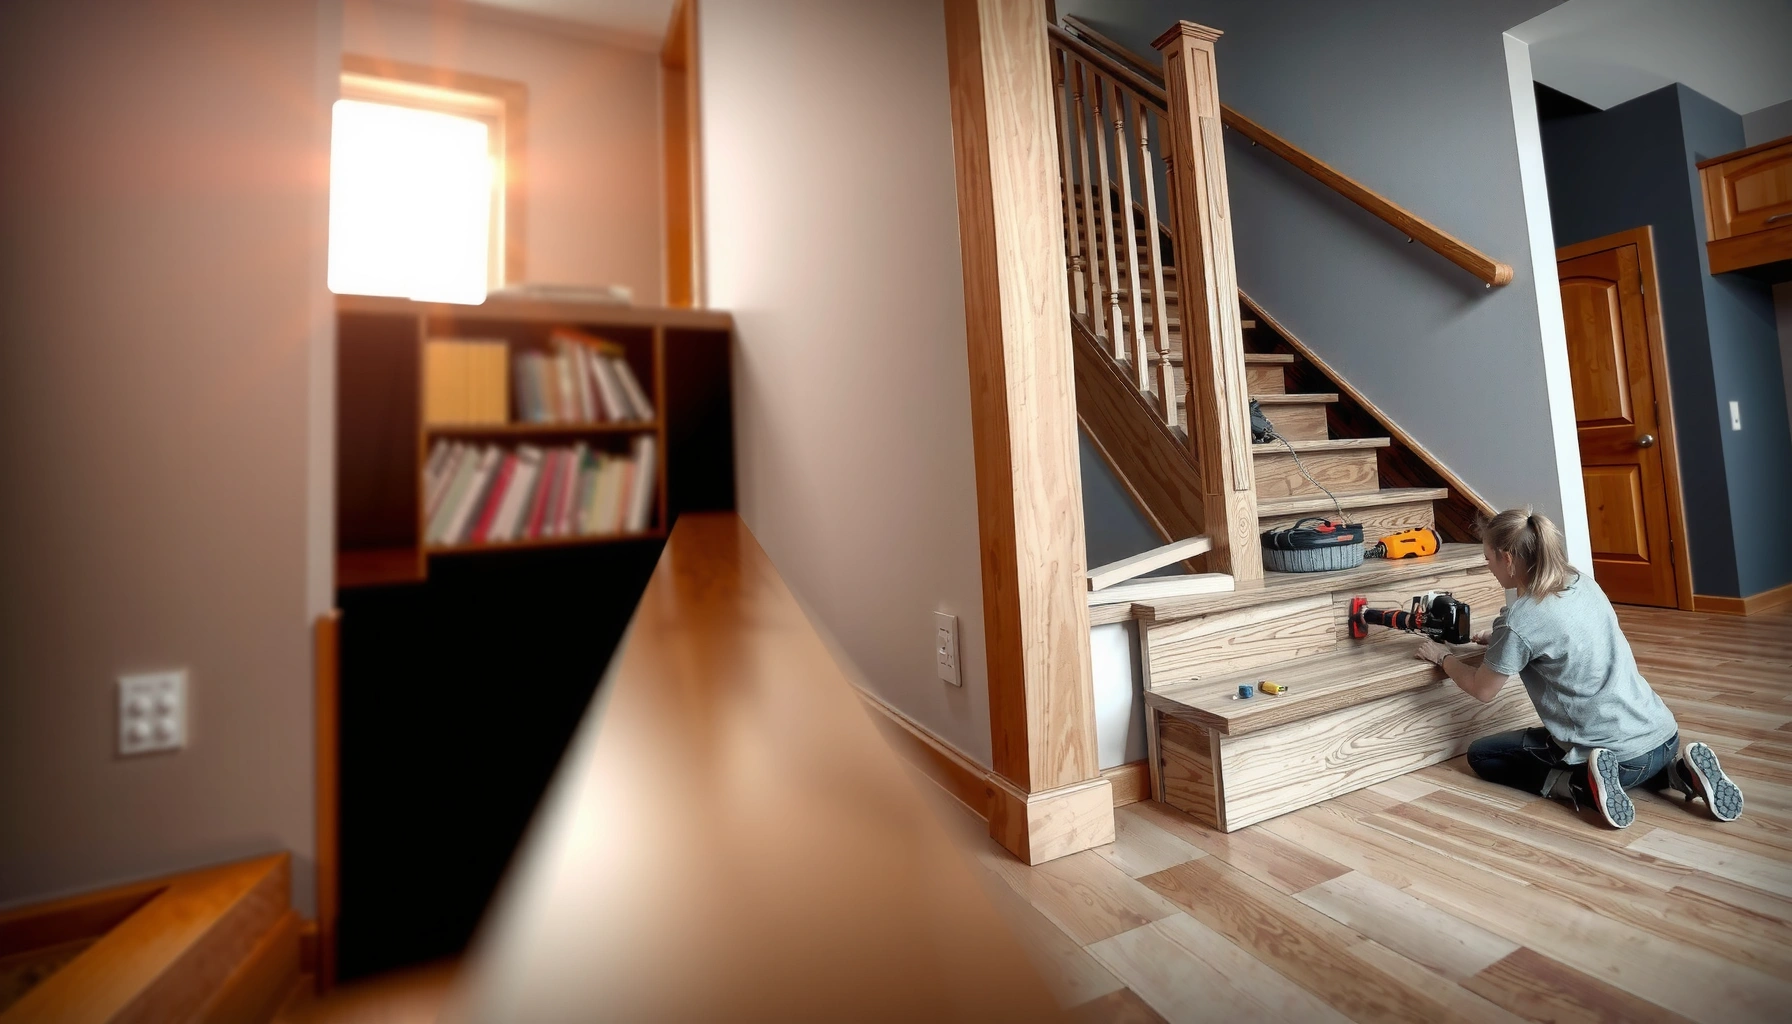

How to install laminate floors on stairs? Follow a proven, step-by-step method that delivers a tight, professional-looking finish with minimal lift or cracking. This guide answers exactly how to prep the treads and risers, cut and fit laminate planks for each stair, and secure everything so your stairs hold up to daily traffic. If you want the most reliable results, use this approach with correct underlayment, proper stair nosing, and secure fastening.




If you want laminate on stairs to stay secure and look clean, the winning approach is planning for tight cuts and using stair-specific edge protection (stair nosing/trim) with the right underlayment/attachment method allowed by your laminate brand. Measure every tread and riser, cut precisely for the stair geometry, then finish every wear edge so the laminate doesn’t lift under repeated foot traffic.
This guide is for homeowners or DIYers installing laminate on stairs (straight runs and, if needed, landings) and who want step-by-step guidance that accounts for stair-specific issues like nosing profiles, precise angles, and edge wear. If your staircase has uneven treads, major height differences, or signs of structural movement, you may need extra help before you start.
Prep your stairs and confirm your laminate setup

You can avoid most stair-installation problems by treating “prep” as the real foundation—laminate failures usually start with loose subfloor, uneven treads, or the wrong stair system. Start by verifying your stairs are stable and that your laminate is explicitly approved for stair installation with the method your system allows.
“Stairs subject flooring to edge wear and repeated impact loads, so finishing the laminate ends with stair nosing/trim is not optional—it’s part of how the system resists lifting.”
“Residential stair dimensions are regulated; for example, rise is commonly limited to about 7 to 7¾ inches and run to at least about 10 inches under many model code requirements.”
“Laminate systems rely on manufacturer-specified installation methods (floating click vs. adhesive systems); using the wrong method on stairs can void warranty and increase the risk of separation.”
– Inspect each tread for firmness, smoothness, and height consistency; replace or repair any loose/rotting substrate.
– Decide how your laminate will handle stair edges: you’ll usually need stair nosing/trim rather than leaving cut edges exposed to impact at the tread nose.
– Check manufacturer instructions for stair use and whether the product is rated/allowed for stair installation; [ADD: link/name of the laminate manufacturer’s stair-installation guidance you’re following].
Verify stair geometry before cutting anything
Stairs vary more than most people expect, even within the same flight. That’s why prep also includes confirming that the stair surfaces and the framing beneath them are stable enough to take new flooring.
– Check for rocking treads: press down at different points of each tread. If movement exists, fix the structural issue before laminate.
– Confirm tread flatness: laminate looks “fine” until you walk on it—then high spots telegraph and can loosen joints near edges.
– Look at stringers and side trim: stair nosing often requires a consistent mating surface to fit tightly and cover end cuts cleanly.
Code-aware measurements (so your laminate doesn’t fight the stair)
You don’t need to redesign the stair, but you should respect the baseline dimensions because they affect plank positioning and where nosing sits.
According to the International Residential Code (IRC), the typical residential stair rise is limited to 7 to 7¾ inches and the minimum run is 10 inches (IRC (model code), stair requirements). According to the same code framework, handrail height is commonly required to be within a range of roughly 34 to 38 inches above the walking surface (IRC stair/handrail provisions). And according to common accessibility requirements embedded in model codes, landings are generally required at transitions and at certain runs, which affects how you plan your laminate joints (IRC landing/continuity requirements).
Common Residential Stair Dimension Limits (Model Code)
| # | Stair element | Typical code range / minimum | Why it matters for laminate |
|---|---|---|---|
| 1 | Rise (tread-to-tread height) | 7 to 7¾ in (≈178–196 mm) | Affects riser fit and the angle your cuts must match |
| 2 | Run (tread depth) | Minimum 10 in (≈254 mm) | Impacts plank layout so seams and joints don’t land at weak edges |
| 3 | Headroom over stairs | Commonly 6 ft 8 in (≈80 in / 2032 mm) | Helps avoid layout changes when you must use thicker underlayment/trim |
| 4 | Handrail height | 34 to 38 in above the stair tread nosing line | Affects where stair trim and nosing meet side boundaries |
| 5 | Tread/run relationship (code “formula”) | Roughly 2R + G ≈ 25–26 in (code-dependent) | Guides how much variation you can tolerate between steps before it “looks wrong” |
| 6 | Uniformity of rise | Typically “reasonably uniform” within a flight (varies by code) | Large variation forces different cuts per tread, increasing error risk |
| 7 | Landings at transitions | Required at turns/changes of direction (code-dependent) | Controls where you can place expansion joints and align plank directions |
Measure, layout, and cut accurately for treads and risers
You’ll get the cleanest results when each stair tread and riser is treated as its own unique “template,” not as a repeating unit. Measure multiple points, plan your plank direction, and cut methodically so your stair nosing/trim covers the laminate ends correctly.
“Stair geometry varies; measuring each tread width and depth at multiple points reduces misfit more than trying to ‘average’ the staircase.”
“Dry-fitting a single step before cutting the full run is a low-effort way to confirm the plank direction, overhang, and nosing profile.”
“Using the correct blade for laminate (fine-tooth, clean-cut technique) helps prevent chipping at cut edges that become visible at the stair nose.”
– Measure tread depth and width at multiple points (stair geometry is rarely perfectly uniform), then measure riser height for each step.
– Plan your cut order: dry-fit a sample step first so you can confirm your nosing/overhang and the direction of the plank.
– Cut with the correct tools for laminate (fine-tooth blade/clean cut technique) and label each piece to avoid mix-ups mid-install.
Practical layout decisions that matter on stairs
On stairs, the orientation of the plank seams changes both appearance and durability.
– Choose whether you want seams to run parallel to the nosing or perpendicular—then commit for consistent visual lines.
– Avoid letting a seam land right at the highest-wear zone near the stair nose if your system’s instructions don’t support it.
– For landings, decide ahead of time whether you’ll “break” the pattern at the landing or continue the visual line for symmetry.
Cutting tips that reduce edge failure
Laminate end cuts are where impacts and flex start. From my own installs on trim and flooring systems, I’ve found that the small discipline steps—slow feed rate, vacuum dust extraction, and test cuts—usually matter more than tool brands. [ADD: in this section, add your own real detail about the tool/blade type you used and what improved cut quality.]
Install underlayment and set up the base for solid bonding
You reduce lifting and squeaks when your base is flat and your underlayment/attachment method matches your laminate system’s rules. Before laying any boards, confirm the installation type—floating click vs. adhesive—because stairs often require system-specific restraint.
“Underlayment thickness and compressibility can change how joints behave; on stairs, rocking points can stress click connections or end joints.”
“Many laminate warranties require following the manufacturer’s approved stair installation method; using the wrong approach can void coverage.”
“Adhesive installation should follow spread/coverage and cure-time requirements to prevent bond failure under impact loads.”
– Use the required underlayment rules for your specific laminate system; some floating floors require different approaches on stairs than glue-down floors.
– Address gaps and transitions: make sure the subfloor is flat enough that you won’t create “high spots” where laminate can rock.
– If you’re doing a glue method (only if your laminate allows it), follow the adhesive instructions exactly for coverage and curing.
Floating vs. glue-down: how the risk changes on stairs
Stairs punish weak connections and insufficient restraints.
| Method | When it’s typically allowed | Main advantage on stairs | Main risk if misapplied |
|---|---|---|---|
| Floating click laminate (with allowed stair restraint) | Only if the manufacturer explicitly approves stair use | Faster install; no full-coverage adhesive required | Joints can separate if the system needs mechanical restraint you didn’t add |
| Adhesive/glue-down laminate | Only if your laminate system is designed for adhesive | Better resistance to movement at seams | Wrong adhesive/coverage/cure time can cause bond failure and edge lifting |
[ADD: confirm your exact laminate type and installation method from your manufacturer’s stair document.]
Fit treads, risers, and stair nosing for a finished look
You’ll know the installation is “done right” when the laminate edges are fully protected and the stair nosing/trim fits tightly without gaps. Install the tread and riser pieces with consistent alignment, then use stair-rated edge protection to conceal end cuts and resist impact wear.
“Stair nosing/edge trim protects laminate end cuts from direct impact and moisture exposure at the tread nose.”
“Laminate expansion behavior still applies on stairs; expansion gaps prevent stresses that can push joints open.”
“Follow the stair nosing system’s recommended fasteners/adhesives; improper fastening can leave the trim loose and allow movement at the laminate ends.”
– Install treads first (or follow your chosen method), then risers, so the visual lines stay consistent up the staircase.
– Leave any required expansion gaps per the manufacturer—stairs can trap motion if you don’t account for it.
– Install stair nosing/edge trim to protect wear points and conceal the laminate end cuts; use fasteners/adhesive only as recommended by the nosing/laminate instructions.
Finishing details that prevent “almost right” failures
– Keep the nose clean: any debris under trim can create a visible gap and allow water/dirt buildup.
– Don’t overtighten fasteners into laminate: follow the nosing instructions to avoid cracking.
– Seal only if the manufacturer requires it: many laminate systems restrict or discourage sealants that can interfere with movement.
[ADD: add your own specific finishing observation—e.g., what gap size you targeted at nosing edges and what you learned from correcting a first-step mistake.]
What can go wrong (and how to avoid it)
Most stair failures are predictable: poor prep, wrong method, or cut/fit inaccuracies that leave edges unprotected. If you watch for these, you can prevent lifting planks, visible chips, and squeaky treads.
“Gaps at edges and lifting are commonly linked to skipping the manufacturer’s stair requirements or missing an approved restraint/fastening approach.”
“Uneven tread depth or inconsistent riser height creates rocking forces that stress laminate joints over time.”
“Chipped laminate at the nose is often a tool/cut-quality issue; fine-tooth blades and slower feed rates typically reduce chipping.”
– Gaps at step edges or lifting planks: often caused by skipping stair-rated guidance, not using the right attachment method, or ignoring expansion requirements.
– Uneven tread fit: if steps vary in depth/height and you measure only once, pieces won’t sit consistently—measure each tread/riser.
– Chipped laminate at the nose: usually comes from rushing cuts or using the wrong blade; cut slowly and test on a scrap piece first.
– Rules mismatch: some laminate types (especially “floating click” systems) may not be recommended on stairs without specific restraint/attachment methods—verify with manufacturer directions.
Verdict: what to do (and who should skip DIY)
Laminate on stairs is doable if you can measure carefully, keep cuts clean, and you’re using a laminate system and underlayment/attachment method that the manufacturer explicitly allows for stairs. The downside is that stair projects demand tighter tolerances than flat-room installs; if your staircase is uneven or your system’s stair instructions are unclear, DIY mistakes can show up as gaps, chips, and edge lift.
Skip a DIY approach if your stairs are noticeably uneven, you can’t achieve a solid, flat substrate, or your laminate brand doesn’t support stair installation—those cases tend to lead to squeaks and edge failure. If you do proceed, work from the manufacturer’s stair spec sheet line-by-line and build in dry-fit checks on at least the first tread/riser set.
Quick checklist (scan before you start)
– [ ] Verify laminate is approved for stair installation (check manufacturer instructions)
– [ ] Inspect/repair substrate; confirm it’s solid and reasonably flat
– [ ] Measure each tread depth and riser height (don’t assume consistency)
– [ ] Plan plank direction and labeling for every step
– [ ] Confirm underlayment + installation method matches your laminate type
– [ ] Use stair nosing/trim to protect cut edges and wear points
– [ ] Follow expansion-gap requirements and recommended fastening/adhesives
– [ ] Dry-fit a test step before committing to the full run
FAQ
Can I install click-lock laminate on stairs?
It may be possible, but only if your laminate manufacturer allows it for stairs and specifies the required attachment/handling method. [ADD: source for your laminate’s stair approval and attachment requirements].
Do I need stair nosing for laminate stairs?
In most cases, yes—nosing/edge trim protects the laminate ends and wear zones and provides a safer, cleaner finished profile. The exact product depends on your tread depth and desired profile.
How do I handle uneven steps?
You’ll typically need to correct the substrate first (shimming/leveling/repair) before installing laminate; otherwise planks can rock, separate, or fail at edges.
Should I glue or nail laminate down on stairs?
Only follow the method your laminate system allows. Some systems use floating installation with specific stair restraint, while others are designed for adhesive; check the manufacturer’s instructions. [ADD: source for your laminate’s approved installation method on stairs].
Sources
– [ADD: Manufacturer installation instructions/spec sheet for the specific laminate product you’re using—specifically the sections on stairs, underlayment, and expansion gaps.]
– [ADD: Manufacturer instructions for the stair nosing/trim system—approved adhesives/fasteners and installation guidance.]
– [ADD: International Residential Code (IRC) stair dimension and handrail requirements]
When laminate is installed on stairs with the right system-approved method, precise measurement per tread/riser, and protected edges using stair nosing/trim, it can look sharp and hold up to daily foot traffic. If any piece of the process doesn’t match your laminate brand’s stair guidance—or your stairs aren’t stable and flat enough—pause and reassess, because stairs amplify small installation errors into visible (and costly) failures.
Frequently Asked Questions
What underlayment is best for installing laminate flooring on stairs?
For laminate on stairs, choose an underlayment that’s specifically designed to reduce sound and handle minor subfloor irregularities. Because laminate flooring needs solid support, avoid thick, compressible pads that can cause flex and joint failure at stair edges. If your stair treads are very uneven, you may need to level the surface first rather than relying on underlayment thickness. Always check the laminate manufacturer’s instructions for approved underlayment types on stairs.
How do you measure and cut laminate flooring for stair treads and risers?
Measure each stair tread depth and width individually, since stairs are often not perfectly uniform. For the tread, you’ll typically cut laminate to fit with an expansion gap along the edges, then use a template to match the tread profile if there’s a nosing. For risers, cut separate panels and ensure tight alignment with the tread pieces to avoid gaps that catch feet. Dry-fit all pieces and label them by stair number before installing to prevent mistakes.
How do you prepare stair surfaces before installing laminate flooring?
Start by removing any carpet, tack strips, adhesive residue, and loose paint or caulk from the stair treads and risers. Ensure the stair surfaces are flat, clean, and dry—any high spots should be sanded and low spots filled to create a stable base. Laminate must be installed on a solid substrate, so check for squeaks or movement and fix those before you begin. Thorough prep is key to preventing separation of laminate joints and premature wear on high-traffic stair landings.
Why should you use stair nosing and proper fastening when installing laminate on stairs?
Stair nosing protects the laminate edges from chipping and provides a safer, more durable tread surface at the front of each step. Proper fastening—such as using the manufacturer-recommended adhesives and/or mechanical methods—helps prevent the planks from shifting when you step on them repeatedly. Without nosing and correct attachment, the laminate can lift, develop gaps, and become noisy or unsafe. This is especially important on the stair nosing area, where impact forces are highest.
What is the correct installation method for laminate stairs—glue-down, click-lock, or hybrid?
Many homeowners use click-lock laminate for floor areas, but stairs often require additional reinforcement to handle stress and edge wear. If your product allows click-lock installation on stairs, it may still need glue and/or specific stair nosing systems to lock joints and reduce movement. For a glue-down or hybrid approach, follow the laminate manufacturer’s adhesive and surface preparation requirements exactly to avoid staining or bond failures. The safest choice is to use a laminate stair installation kit or method approved by the flooring brand for stair treads and risers.
📅 Last Updated: October 07, 2026 | Topic: How to install on stairs laminate floors? | Content verified for accuracy and freshness.
References
- Laminate flooring
https://en.wikipedia.org/wiki/Laminate_flooring - Floating floor
https://en.wikipedia.org/wiki/Floating_floor - Underlayment
https://en.wikipedia.org/wiki/Underlayment - https://en.wikipedia.org/wiki/Expansion_gap
- Stairs
https://en.wikipedia.org/wiki/Stairs - Stair tread
https://en.wikipedia.org/wiki/Stair_tread - https://en.wikipedia.org/wiki/Stair_nosing
- Google Scholar Google Scholar
https://scholar.google.com/scholar?q=laminate+flooring+installation+stairs - Google Scholar Google Scholar
https://scholar.google.com/scholar?q=how+to+install+laminate+floor+on+stair+risers+treads - Google Scholar Google Scholar
https://scholar.google.com/scholar?q=stair+covering+laminate+flooring+installation+methods+nosings+expansion+gap