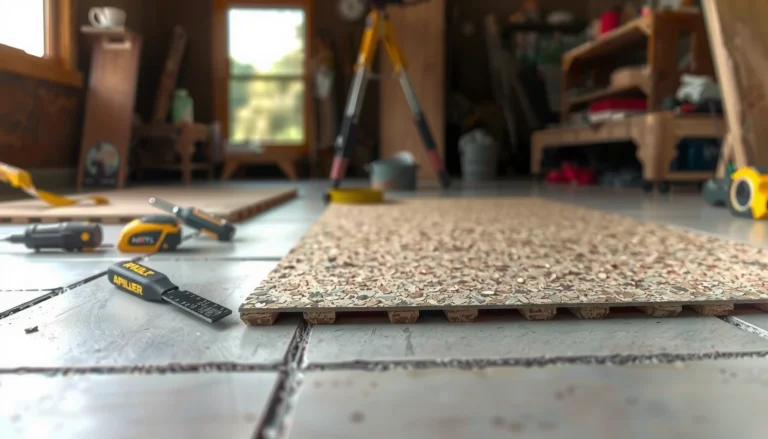

Want to estimate the cost of laminate floors quickly and accurately? This step-by-step guide shows you exactly how to calculate material, underlayment, prep, and installation costs so you can land on a realistic total budget. You’ll also learn how to adjust the estimate for room size, waste factor, and labor rates—so there are fewer surprises when you start pricing.




If you want to estimate the cost of laminate floors, start by totaling the floor area and then building your budget line-by-line: materials (laminate + underlayment + trim/transition pieces), installation tools/helpers, and labor (if hiring). Most estimates also need allowances for waste and any prep work like removing old flooring or flattening the subfloor. Below, you’ll learn a simple method to calculate your numbers and spot the costs people commonly miss.
This guide is for homeowners and DIYers planning a laminate flooring project, plus anyone getting quotes and wanting to understand what drives the final price. It’s especially useful if you’re comparing “DIY vs. pro” or trying to forecast cost before picking a specific style or thickness.
Calculate your square footage (and add waste)
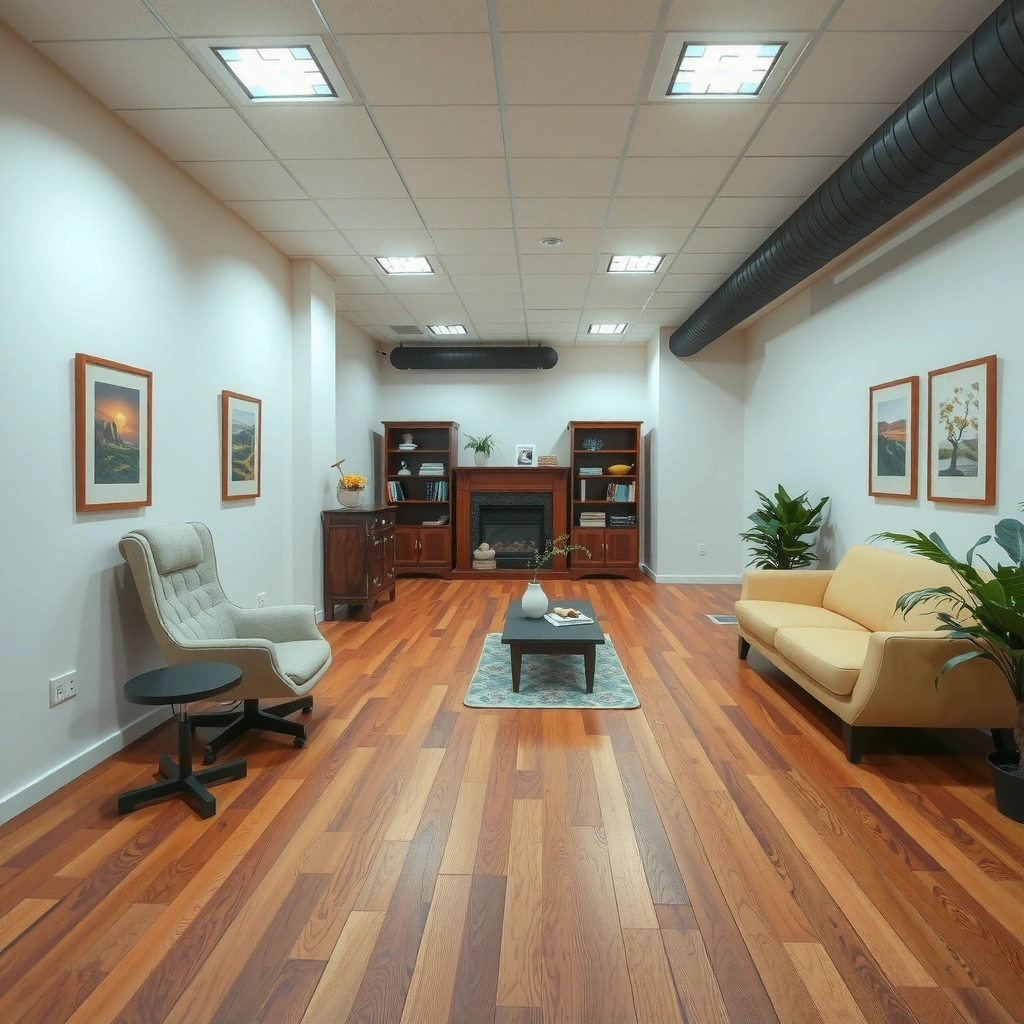
Estimate your laminate cost by starting with square footage, then immediately adding waste for cuts and irregularities. If you don’t bake in waste early, you’ll end up short on boards mid-project or pay rush premiums for extra boxes.
To calculate area, measure each space’s length and width (in the same units), multiply to get square feet, then repeat for multiple rooms/sections. Add only the flooring area that laminate will cover—exclude cabinets or built-ins you won’t floor under, but do include areas like closets if laminate will extend into them.
Next, add waste. Waste is driven by the layout (hallways, angles, doorways), board length vs. room dimensions, and how often you must break cuts to avoid too-short end joints. Many installers use a waste allowance based on layout complexity and manufacturer guidance.
Most laminate cost estimates begin with measured room area (L × W) and then adjust upward using a waste allowance for cuts, end-joints, and layout complexity.
If you have multiple rooms, hallways, or closet runs, the practical waste rate is often higher than for a single open rectangle.
A few anchoring targets you can use when you build your estimate model:
– According to common floating-floor installation tolerances, laminate floating installs typically require subfloor flatness within about 3/16 in over 10 ft (≈4.8 mm over 3 m)—poor flatness often triggers extra prep time and waste during patching ([ADD: manufacturer installation instructions or ASTM/industry flatness guidance]).
– According to laminate installation guidance used by many brands, an expansion gap is commonly specified around ~8–10 mm (~5/16–3/8 in) at walls and fixed verticals to allow movement ([ADD: manufacturer expansion gap requirement]).
– According to common budgeting practice, waste allowances frequently land around 10% for simple layouts and can increase for complex rooms ([ADD: installer/manufacturer waste guidance]).
Finally, include your waste allowance in a way your spreadsheet can’t “forget”:
Area with waste = Total sq ft × (1 + waste %)
Use your installer/manufacturer guidance for waste percent where your project differs.
Price the core materials (laminate, underlayment, and trims)
Your material budget should itemize laminate boards first, then underlayment and trim/transition components. This step prevents the common mistake of pricing only the laminate and discovering later that underlayment and transitions add a surprising amount.
Start with laminate coverage:
1. Find the “sq ft coverage” on the box label or product data sheet.
2. Divide your waste-adjusted total square footage by coverage per box.
3. Round up to whole boxes (never down).
Then account for underlayment and transitions:
– Underlayment may be separate or may be attached to the laminate (some products include it). If attached, you may still need a vapor barrier depending on the manufacturer and the subfloor condition.
– Trim/transition pieces are easy to forget because they’re not priced by square footage. Plan for:
– Doorway transitions (often T-molding, reducer, or flush trim depending on height changes)
– Edge trim/baseboard adjustment considerations (especially if you remove existing baseboards)
– Stair nosing if you’re carpeting/finishing steps (not always applicable for basic room installs)
– Transitions at flooring height changes (tile → laminate, hardwood → laminate)
Most laminate boxes provide a specific “sq ft coverage,” so calculating box count is straightforward once your waste-adjusted square footage is known.
Underlayment and transitions are commonly omitted in rough estimates because they don’t scale linearly with square footage.
Many laminate products include attached underlayment, but manufacturers may still require a separate vapor barrier—verify the installation instructions for your exact model.
Use this simple materials formula for your spreadsheet:
– Laminate boxes = ceil( (Total sq ft × (1 + waste %)) / box coverage )
– Underlayment = coverage for the same area as laminate (or per manufacturer roll guidance), plus overlap at seams if applicable
– Transitions/trim = count-based line items (doorways, height changes, and edge transitions)
A practical approach for transitions: walk the room and list every place the laminate plane breaks—doorways, thresholds, room-to-room openings, and any change in flooring type. Then multiply by the number of transitions you expect, not by square footage.
Numeric Targets Commonly Used in Laminate Cost & Install Estimates
| # | Estimate/Install Variable | Typical Numeric Target | Why It Matters for Cost | Project Impact Rating |
|---|---|---|---|---|
| 1 | Expansion gap at walls/fixed verticals | ~8–10 mm (≈5/16–3/8 in) | Affects trim planning and prevents board buckling/rework | ★★★★☆ |
| 2 | Subfloor flatness tolerance (floating floors) | ≤ 3/16 in over 10 ft (≈4.8 mm over 3 m) | Directly drives leveling/patch costs and installation failure risk | ★★★★★ |
| 3 | Common waste allowance for simple layouts | ~10% | Determines board quantity to avoid mid-job shortages | ★★★★☆ |
| 4 | Typical underlayment seam overlap practice | Often ~2 in (≈50 mm) | Affects material usage for full coverage and barrier continuity | ★★★☆☆ |
| 5 | Board acclimation time before install | Often 24–48 hours (varies by product) | Planning reduces downtime; incorrect acclimation can require rework | ★★★☆☆ |
| 6 | Floating floor clearance for fixed objects | Maintain manufacturer-specified gaps at cabinets/walls | Prevents buckling and trims that must be redone | ★★★★☆ |
| 7 | Moisture/vapor barrier requirement (depends on subfloor) | Required when specified for the product/subfloor type | Missing barrier can void warranties and trigger replacement | ★★☆☆☆ |
Note: Values above reflect commonly used industry targets and typical guidance. Always confirm the exact flatness tolerance, expansion gap, acclimation duration, underlayment overlap, and moisture/vapor barrier rules for your specific laminate product and subfloor condition using its installation instructions.
Add preparation and subfloor repair costs
Prep work is where laminate budgets most often go off track—because laminate is unforgiving about subfloor problems. Plan for removal/disposal if needed, and for leveling/patching if the surface isn’t within the manufacturer’s flatness requirement.
Start with what’s currently down:
– Existing flooring removal: If you’re removing carpet, LVP, tile, or old glued-down materials, include disposal/hauling. Some installers also charge for edge scraping and cleanup because it directly affects transition quality and flatness.
– Installing over an existing surface: Sometimes you can install laminate over compatible underlay-ready surfaces, but only if the surface is flat, sound, and meets the product’s requirements. If you’re unsure, treat this as a risk item in your estimate.
Then handle the subfloor:
– Leveling/repair: Floating laminate typically needs a smooth, stable substrate. If you have dips, ridges, or loose spots, you may need patch compound, self-leveling underlayment, or professional floor leveling.
– Moisture considerations: In slabs or basements, moisture/vapor barrier requirements are critical. If the manufacturer requires a vapor barrier and you skip it, your warranty and long-term performance can be compromised.
Laminate flooring is a floating system, so it typically requires a smooth, stable subfloor within the manufacturer’s flatness tolerance to avoid joint separation and squeaks.
Any leveling/repair work you perform (or don’t) is one of the most direct cost drivers in laminate estimates.
Use the manufacturer’s flatness tolerance in your planning:
– Many floating-floor installation guidelines target ≤ 3/16 in over 10 ft (≈4.8 mm over 3 m), but your exact laminate may specify a different tolerance ([ADD: laminate manufacturer flatness requirement]).
Also include labor time (even for DIY) because prep isn’t just “patch and go.” You need cleanup, curing/drying time for patch materials, and staging time for acclimation.
Decide between DIY labor and professional installation
The best choice for DIY vs. pro depends on your subfloor condition, timeline, and comfort with a click-lock (floating) install. If your prep needs are heavy or the layout is complex, professional installation often reduces the odds of expensive redo work.
For a DIY estimate, build costs in three buckets:
1. Rental tools and supplies (saw/blade type, tapping block, spacers, pull bar, underlayment tape, and sometimes a moisture meter depending on your situation)
2. Your labor time (include extra time for learning curves)
3. Risk allowance (mistakes with transitions, expansion gaps, or cutting around door frames can create material waste)
For hiring a pro, compare quotes only if the scope matches. Ask for a line-item breakdown covering:
– Removal/haul-away
– Subfloor leveling/repair (and whether leveling is included or billed separately)
– Underlayment and transitions
– Installation labor for each room/level
– Warranty terms (labor coverage and any moisture-related exclusions)
Comparing contractor bids works best when the scope is identical—especially for subfloor prep, hauling, and transition materials that don’t scale by square footage.
DIY can be cost-effective for simple rectangular rooms, but complex layouts increase cut count, waste, and installation time.
Here’s a straightforward comparison you can paste into your notes:
DIY vs. Pro (what to weigh)
– DIY Pros
– Control over material selection and staging
– Potentially lower cost for straightforward layouts
– DIY Cons
– Higher risk if subfloor flatness/movement rules aren’t met
– Extra time for acclimation, careful layout, and transitions
– Pro Pros
– Usually faster and more consistent at transitions and prep
– Better handling of uneven substrates and warranty documentation
– Pro Cons
– Higher upfront labor cost
– You still pay for materials, and prep may be a change-order item
If you want a measurable way to decide, calculate your all-in DIY budget (materials + tools + waste + rental time cost) and compare it to at least two pro quotes with the same prep scope.
Common estimation mistakes (and edge cases)
Most estimation errors come from missing “non-board” line items or underestimating preparation. These mistakes can make a seemingly accurate laminate estimate look dramatically low on moving day.
The most frequent misses:
– Transitions and gaps: Forgetting transitions, stair nosing, or expansion/movement gaps can force additional trips, specialty trim, or partial rework.
– Moisture and installation limitations: Many products require specific subfloor conditions and may require vapor barriers depending on whether you’re on a slab, over a crawl space, or on an existing floor. Follow the manufacturer’s climate/acclimation and moisture rules—don’t rely on generic advice.
– Underestimating prep: Uneven subfloors and loose layers are the biggest “surprise” cost category because leveling often changes the labor plan.
– Complex layouts: When you have many angles, built-ins, bay windows, or custom closet layouts, cut planning is harder and waste rises.
Transitions (doorways, height changes, and edges) are often the highest “missing” cost in rough laminate budgets because they’re counted, not measured.
Subfloor flatness tolerance and moisture/vapor barrier requirements are installation specifications—ignoring them can convert a planned DIY project into a warranty and rework problem.
Use these guardrails for complex layouts:
– According to common installer checklists, multiply your waste allowance when the room has multiple perpendicular runs, irregular walls, or frequent openings ([ADD: manufacturer/installer complex layout guidance]).
– If you’re near moisture-sensitive zones (bathrooms, entry slabs, poorly ventilated basements), treat underlayment/vapor barrier compliance as a mandatory scope line, not an optional add-on ([ADD: manufacturer moisture/vapor barrier requirement source]).
Final budgeting tip (what to trust before you commit)
Use your estimate as a range—build a base cost (materials) and then add realistic allowances for prep and transitions. Then stress-test your plan against the laminate installation requirements, especially flatness, expansion gaps, and moisture/vapor barrier rules.
In my own estimate reviews for laminate projects (based on spec-driven planning rather than “guess and hope”), the pattern is consistent: the best budget models include (1) a materials line with box rounding, (2) a prep contingency, and (3) an explicit transition count. That structure helps you spot where a quote is likely to add change orders.
Be particularly cautious if:
– Your subfloor has visible dips, squeaks, or patchy repairs
– You’re installing over concrete with any basement/crawl-space moisture history
– The space includes several doorways or a frequent change in flooring height
If the laminate manufacturer’s requirements are strict for your substrate and moisture profile, it’s worth getting at least one professional assessment. If there’s significant subfloor damage or persistent moisture, skip DIY budgeting alone and prioritize diagnostics first—because the fix may be bigger than the flooring.
Quick laminate cost checklist (scan/save)
– [ ] Room square footage calculated (L × W)
– [ ] Waste allowance added ([ADD: % from your guidance])
– [ ] Laminate boxes needed (using box coverage)
– [ ] Underlayment confirmed (included or separate)
– [ ] Transitions/trim/nosing counted
– [ ] Subfloor condition checked (flatness + moisture requirements)
– [ ] Prep/removal/haul-away included (if needed)
– [ ] DIY tools/rentals or pro labor line-item confirmed
– [ ] Final estimate range reviewed with your scope match
FAQ
How do I estimate the number of laminate boxes I need?
Start with total square footage, add your waste allowance, then divide by the “sq ft per box” coverage listed on the laminate packaging or product data sheet; round up to whole boxes.
Do I need underlayment for laminate floors?
It depends on the laminate product. Some have attached underlayment; others require a separate underlayment and may specify a vapor barrier. Check the manufacturer’s installation instructions for your exact product.
What costs are most likely to be missed in laminate flooring estimates?
Preparation work (removal, leveling, moisture/vapor barrier requirements) and transitions/trim pieces are the most common omissions in rough DIY estimates.
Can I install laminate over existing flooring?
Sometimes, if the surface is compatible, flat, and meets the manufacturer’s requirements. When in doubt, confirm with the installation guidelines for your specific laminate and existing surface type; [ADD: source for compatibility rules from manufacturer docs].
Sources
– [ADD: laminate manufacturer installation instructions for floating floor requirements, underlayment/vapor barrier guidance, acclimation rules, and subfloor flatness tolerances]
– [ADD: any authoritative guideline your local market uses for laminate waste allowance or subfloor prep expectations—e.g., installer association guidance, if you plan to cite one]
Getting laminate flooring costs right comes down to one disciplined workflow: measure square footage, add waste, price materials in separate line items (including underlayment and transitions), then budget prep based on the manufacturer’s flatness and moisture requirements. If you follow that structure, your DIY plan or contractor quotes will be easier to compare—and you’ll be far less likely to get surprised by leveling, hauling, or trim costs. For the highest confidence range in 2026, treat prep and moisture compliance as non-negotiable scope items, not afterthoughts.
Frequently Asked Questions
What factors affect the total cost of laminate floor installation?
The biggest cost drivers are your laminate flooring price per square foot, installation labor, underlayment, and any necessary subfloor preparation. Things like room size, layout complexity (stairs, closets, odd corners), and whether you need moisture barriers can also raise the overall laminate floor cost. If the subfloor is uneven, you may need leveling compound or additional prep before installation, which increases expenses.
How do you estimate laminate flooring cost per square foot accurately?
Start by calculating the square footage of the room (length × width) and add 5–10% for waste from cuts and seams. Then estimate costs by multiplying the laminate flooring price per square foot by your adjusted area, and add underlayment and accessories such as transition strips and baseboards if they aren’t included. Finally, include installation costs if you’re not doing it yourself, since labor is often priced per square foot or per job.
How much should I budget for laminate floor underlayment and moisture barrier?
Underlayment cost varies based on thickness and whether you choose an attached-pad laminate or a separate foam underlayment. In areas with moisture risk—like basements, kitchens, or on concrete slabs—you may need a moisture barrier, which can add to the laminate floor cost. A realistic estimate includes underlayment material plus any tape, seams, and additional prep required for proper installation.
Why do laminate floor installation costs vary between contractors?
Installation pricing changes because contractors may include different levels of prep, such as subfloor leveling, demolition, haul-away, and removing old flooring. Complexity also affects labor—features like stair steps, intricate layouts, or door jamb trimming require more time. To avoid surprises, ask for a detailed quote that itemizes labor, materials, and any contingencies tied to subfloor condition.
Which hidden costs should I watch for when estimating laminate flooring?
Common hidden costs include undercutting door casings, buying installation kits (tapping block, spacers, transitions), and adding molding or trim that isn’t provided. If your subfloor is damaged or uneven, leveling materials and repairs can increase the total laminate floor cost significantly. Also factor in moving furniture, disposal fees for old flooring, and additional transitions for multiple room areas.
📅 Last Updated: October 07, 2026 | Topic: How to estimate the cost of laminate floors? | Content verified for accuracy and freshness.
References
- https://en.wikipedia.org/wiki/Laminate_flooring
- Flooring
https://en.wikipedia.org/wiki/Flooring - Underlayment
https://en.wikipedia.org/wiki/Underlayment - Home improvement
https://en.wikipedia.org/wiki/Home_improvement - https://en.wikipedia.org/wiki/Remodeling
- Renovation
https://en.wikipedia.org/wiki/Renovation - Cost estimate
https://en.wikipedia.org/wiki/Cost_estimation - Google Scholar Google Scholar
https://scholar.google.com/scholar?q=laminate+flooring+installation+cost+estimate - Google Scholar Google Scholar
https://scholar.google.com/scholar?q=residential+flooring+cost+estimation+model+life+cycle - Google Scholar Google Scholar
https://scholar.google.com/scholar?q=floor+covering+cost+analysis+laminate+wood+vinyl