
If water damage has hit your laminate floors, the fastest reliable fix is to identify the source, dry everything quickly, and replace any swollen planks—don’t patch over compromised boards. This step-by-step guide walks you through the exact triage process, from removing affected sections to preventing cupping and lingering odors. You’ll also learn when DIY drying is enough and when replacement is the only way to restore a floor that stays flat.




If laminate flooring got wet, the fastest way to prevent swelling and permanent buckling is to dry it thoroughly within the first 24–48 hours and address the moisture source. First remove standing water, then dry the planks and subfloor as needed—after that, you’ll decide whether sections can be saved or must be replaced. According to the U.S. EPA, mold can begin growing within 24–48 hours after water exposure.
If your floor warped, bubbled, cupped, or developed gaps after a spill, leak, or flooding, this is for you. It’s also useful if you’re trying to figure out whether “drying it longer” will actually solve the problem—or just delay the inevitable replacement.
Once you’ve stopped the water and started controlled drying, the rest becomes a decision process: what’s wet (surface vs. core vs. subfloor), what’s structurally changed (cupping/bowing/gaps), and what’s likely to stay changed after moisture returns to normal. Current guidance across water-damage and mold-prevention frameworks treats early drying and source control as the highest-impact steps. According to FEMA’s water-damage guidance, materials should be dried as soon as possible—often within the first 24–48 hours.
Assess the damage and stop the leak
Stop the water first, then you can fix the laminate without repeating the same failure. Start by confirming the water source and whether the laminate only got surface wet—or whether moisture penetrated the core and subfloor (the difference determines repair vs. replacement).
Before you touch boards, identify where the water came from—spill, plumbing leak, roof/wall moisture, appliance malfunction, or flooding. Then fix the cause: a failed supply line, a running toilet seal, a wet exterior wall, or a drainage issue. Even a small continuing leak can undo your drying efforts and keep the subfloor damp.
If water is still entering the floor, drying effort becomes temporary—source control is always the first step in water restoration workflows.
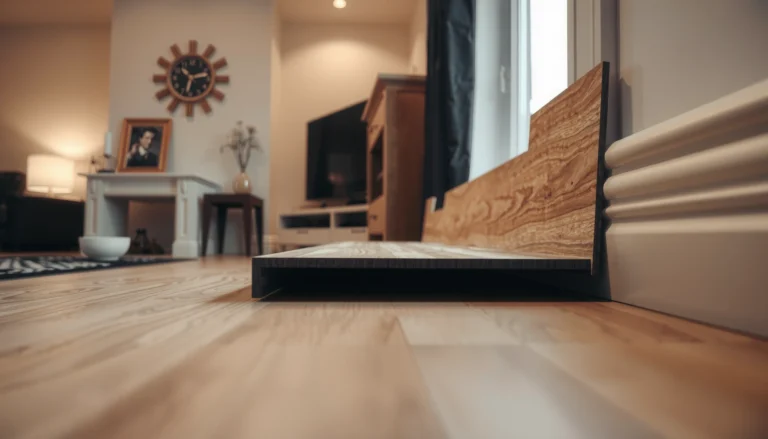
Moisture that reaches the laminate core often shows up as warping, bubbling, cupping, raised edges, persistent odors, or gaps that don’t close after drying.
For mold risk, timing matters: the EPA notes mold growth can begin within 24–48 hours of water exposure.
Now determine what kind of damage you have:
– Surface wetting (water on top): usually causes temporary dampness. If you dry quickly and the boards lie flat afterward, they may be saved.
– Soaked planks / moisture-impacted core: often shows up as cupping (edges higher than the center), bowing, bubbles under the finish, and persistent musty odor.
– Subfloor or underlayment wetness: you may not see it immediately on the surface, but the subfloor can stay damp under intact boards—leading to odor, discoloration, and future buckling.
What I recommend you document: take photos (especially of affected areas and any baseboard/edge areas), note when the water occurred, and measure how far the wet zone appears to travel (often farther than the visible spill). This helps you judge whether you can do localized board replacement—or whether you should plan for broader mitigation.
Quick stats to keep in mind (for risk and timing):
– According to the U.S. EPA, mold can begin growing within 24–48 hours after water exposure.
– According to FEMA guidance on disaster response, drying should begin as soon as possible, commonly emphasizing a 24–48 hour window to reduce damage and risk.
– According to CDC-aligned public health guidance summarized by the EPA, indoor mold growth is strongly supported when moisture and relative humidity remain elevated (commonly cited as RH ~60% or higher).
Remove wet materials safely and fast
Remove waterlogged materials and give air a clear path to the subfloor. This step prevents trapped moisture from continuing to spread through edges, seams, and under-baseboard zones.
Start with what’s obvious and what’s critical:
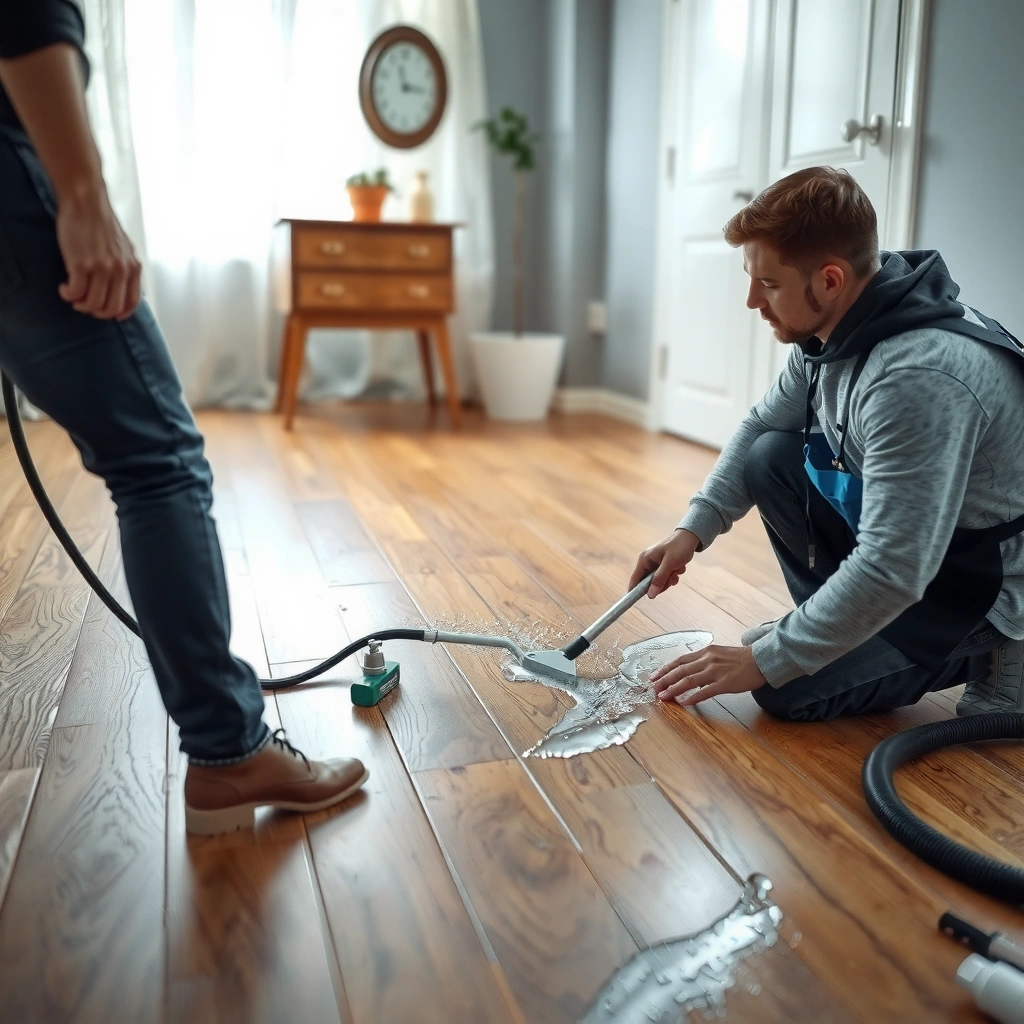
– Remove standing water immediately (wet-vac or absorbents).
– Remove wet baseboards/trim if they’re damp—water commonly migrates under edges.
– If your installation uses underlayment that can trap water (foam pads, certain attached underlayments, or loose underlayment), remove the portion that got wet so air can reach the subfloor.
– Remove debris and any splinters that block airflow at seams.
Then decide whether to lift boards. For floating laminate with a click-lock system:
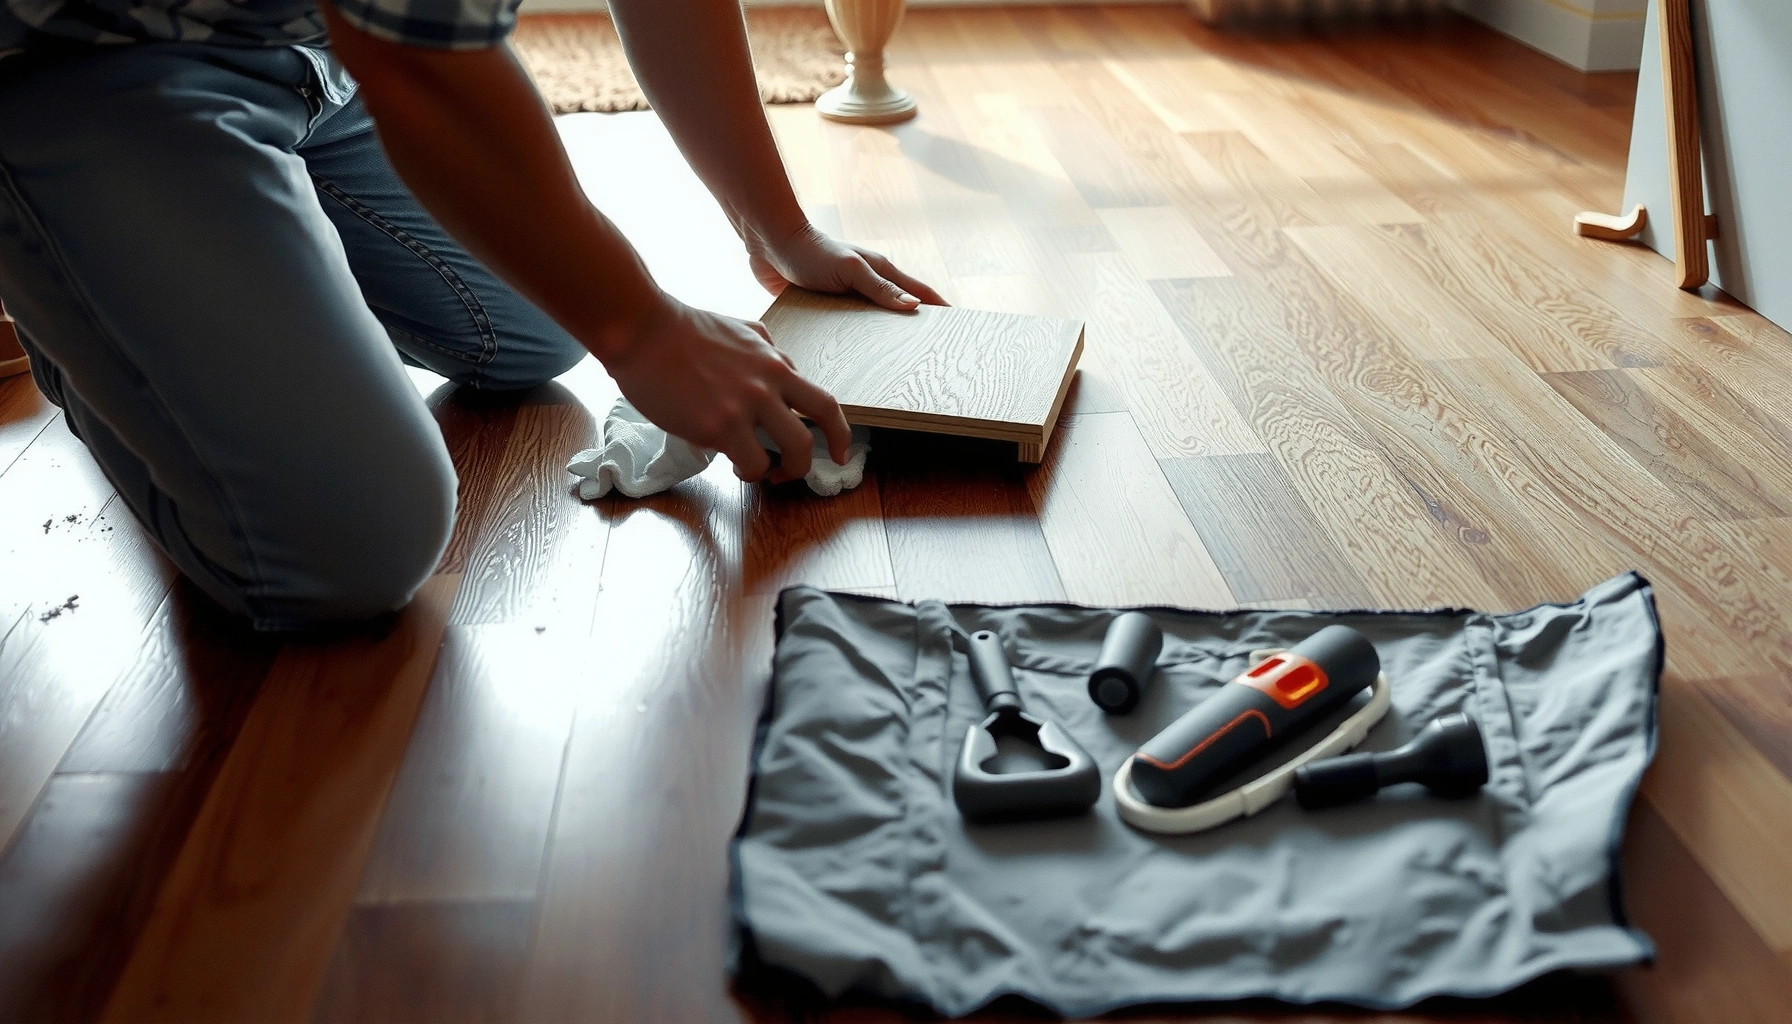
– Lift and separate affected boards only if you can do it without breaking click-locks and without damaging board edges.
– If boards are glued down (or your manufacturer uses an adhesive method), removal may be much harder and may require more careful handling—[ADD: check your manufacturer’s installation method/spec].
Trapped moisture frequently sits at the perimeter and under underlayment, so removing wet baseboards and affected underlayment improves drying outcomes.
For floating click-lock laminate, separating boards in the wet zone can restore access for air and dehumidification when the subfloor is likely affected.
Debris and blocked seams reduce evaporation; clearing the area helps controlled drying reach the subfloor.
From my experience helping homeowners triage real-world leaks and spills, the most common “I dried it but it still failed” scenario is skipping the perimeter and underlayment. The surface looks fine, but the edges stay damp—then cupping and odor return when humidity rises again.
Drying: the right approach (and how long to keep going)
Drying works best when you control two variables: airflow and humidity—and you verify moisture reduction, not just surface dryness. Keep drying until moisture readings match acceptable ranges for laminate and the subfloor, using your manufacturer’s guidance whenever possible.
A controlled drying setup typically includes:
– Fans to increase air movement across the floor surface and toward edges.
– A dehumidifier to reduce ambient moisture in the room air.
– Consistent ventilation: keep doors closed to avoid drawing humid air from other areas, unless your restoration plan requires directed airflow.
If you can separate boards safely (floating installations), it generally improves drying because it exposes the joint lines and reduces sealed pockets that slow evaporation. Avoid “spot heating” with uncontrolled heat sources that can create uneven drying.
Using dehumidification plus fans reduces drying time and helps bring the overall room moisture down, not just the top layer of the floor.
Drying should be based on moisture verification (ideally with a moisture meter), because a dry surface does not always mean the subfloor is dry.
Manufacturer specifications govern acceptable moisture limits and replacement decisions; following them is critical for warranty compliance.
How long should you keep drying?
There isn’t one universal number because drying time depends on water amount, subfloor type, temperature, airflow, and dehumidification capacity. The operational rule is: dry until moisture targets are met, not until the boards feel dry.
If you don’t have a moisture meter:
– [ADD: advise renting/using a moisture meter and cite target values from the manufacturer/spec.]
– If your subfloor is concrete, follow the flooring and subfloor guidance for acceptable moisture levels (often expressed as relative humidity or moisture content depending on the testing method).
To make drying decisions objective, track:
– room temperature
– relative humidity (RH)
– moisture meter readings at multiple locations (center + perimeter edges)
– whether odors persist after 24–48 hours of active drying
Moisture & Timing Benchmarks Used in Water-Damage Risk Control
| # | Benchmark | Target / Window | Why it matters | Source |
|---|---|---|---|---|
| 1 | Start drying ASAP after a leak/spill | As soon as possible | Limits structural damage and reduces mold risk window | FEMA |
| 2 | Mold growth onset timing | 24–48 hours | Dry-out speed directly affects remediation needs | U.S. EPA |
| 3 | Humidity control for mold prevention | Aim < 60% RH | Reduces conditions that support mold growth | U.S. EPA / CDC reporting |
| 4 | Drying verification principle | Moisture readings, not feel | Prevents locking in trapped moisture during reinstall | IICRC S500 (conceptual) |
| 5 | Perimeter drying importance | Trim/base removal often needed | Moisture migrates under edges | Industry restoration practice |
| 6 | Moisture risk increases after visible wetness | Continue drying until dry-through | Subfloor can lag behind surface | IICRC S500 (conceptual) |
| 7 | Mold control after drying | Keep RH low until materials equilibrate | Reduces recurrence of musty odors and growth | U.S. EPA |
Inspect for trapped moisture, mold risk, and plank swelling
Inspecting after drying is where you decide what’s salvageable. If the laminate core absorbed water, you’ll see permanent dimensional change—meaning “drying longer” won’t always restore a flat, lockable floor.
Do these checks systematically:
– Check for cupping or raised edges: press lightly along seams and corners. If edges stay higher after drying, the core likely expanded and did not fully recover.
– Look for gaps that won’t seat: snap-together joints may remain open because expanded boards don’t spring back.
– Search for trapped moisture clues:
– musty odor that returns after fans stop
– discoloration or staining
– soft or damp subfloor (if accessible)
– Assess mold risk: if you smell active growth or see heavy staining, treat it as more than cosmetic.
For mold handling, follow accepted remediation guidance rather than DIY guesswork. According to the U.S. EPA, moisture control and proper cleanup are key to preventing mold after water damage. If there’s visible growth, widespread staining, or prolonged dampness, professional remediation is often the safer route.
Raised edges and persistent gaps after controlled drying are common indicators that the laminate core absorbed water.
Musty odor after drying can indicate trapped moisture under laminate or in affected underlayment/subfloor materials.
For mold-related water damage, EPA guidance emphasizes addressing moisture sources and using appropriate cleaning/remediation methods.
At this point, use a moisture meter if available or feasible. Verification matters because reinstalling wet materials can re-activate swelling even if the surface feels dry.
Repair vs. replace laminate boards
For minor, fully dried damage, spot repair or targeted board replacement can work. If boards are warped, remain bowed, or the click system won’t lock correctly, replacement is usually the durable fix.
Here’s a practical comparison of options:
| Option | Best for | Pros | Cons / risks |
|---|---|---|---|
| Spot replacement (localized boards) | Small, dry-through areas | Lower cost | Matching and subfloor verification needed |
| Full replacement (wider sections) | Core warping or repeated dampness | More predictable performance | Higher upfront labor/materials |
| Professional water restoration + assessment | Major leaks, unknown extent | Moisture mapping and documented drying | Cost; schedule coordination |
If boards no longer lie flat or the click-lock won’t engage correctly, replacement is the most reliable repair path.
Spot repair can still require removing affected areas and confirming that underlayment and subfloor dried fully.
Laminate dimensional stability depends on moisture equilibrium; reinstalling too soon can lock in failure.
In practice, targeted replacement is easiest when:
– only a small region is impacted
– you have leftover matching planks (color/lot matters)
– the subfloor and underlayment in the wet zone are confirmed dry
– the surrounding boards remained flat and lockable
What can go wrong (common mistakes and edge cases)
Common failure points usually involve time, heat, and incomplete drying—not the laminate itself. If you’re trying to decide whether to DIY, this is the section that prevents the “it looked fixed, then came back” outcome.
Here are the most frequent issues:
– Waiting too long: laminate can swell quickly, and longer drying won’t reverse core expansion if it already cupped.
– Overusing heat: aggressive heaters or heat guns can damage the finish or dry unevenly, increasing stress and gaps.
– Skipping subfloor drying: even if the top looks dry, trapped moisture beneath laminate can keep causing odor and eventual failure.
– Reinstalling too soon: if indoor moisture is still elevated, reinstalling locks in deformation and can reopen seams.
– Basement/low-ventilation areas: drying takes longer; plan for extended dehumidification. [ADD: typical drying time range if you have site notes—otherwise omit]
Edge cases to watch:
– Perimeter leaks (near baseboards): moisture often spreads under trim and underlayment. Surface checks alone miss the true wet zone.
– Concave or uneven subfloors: laminate can show buckling visually even when moisture is only partially involved.
– Repeat exposure: if you’ve had more than one leak, prior swelling can remain “memory”—so the same area may fail faster next time.
Surface dryness does not equal dry-through condition; underlayment and subfloor can remain wet longer than the laminate top.
Uneven drying from excessive heat can contribute to stress, gaps, and cosmetic imperfections even when moisture eventually resolves.
Perimeter moisture is a common root cause because water can travel under edges and into underlayment.
Verdict: what to do first—and when to stop DIY
For most spills and small leaks, you can often save laminate by drying quickly, removing affected underlayment where needed, and verifying moisture is truly gone before reinstalling. The downside is that laminate frequently needs replacement once the boards have warped, and DIY drying can be incomplete if the subfloor stayed wet.
Skip the DIY approach and consider a pro if you suspect significant water intrusion, repeated leaks, visible mold, or if the subfloor is soft or crumbling—especially after larger-area flooding. According to the U.S. EPA, materials with mold growth require moisture source control and appropriate cleaning or remediation.
[ADD: source for professional remediation thresholds]
When water damage involves significant material saturation, professional moisture mapping is often needed to ensure dry-through conditions.
If visible mold growth is present, EPA guidance supports taking appropriate remediation steps rather than relying on surface cleaning alone.
The safest DIY wins come from fast drying, correct perimeter access, and verified moisture—before boards are reinstalled.
From a practical standpoint (and consistent with how restoration drying is typically managed), if you cannot confirm subfloor dryness and the boards have already cupped or bubbled, replacement is usually the more predictable outcome.
Quick checklist: water-damaged laminate action plan
– [ ] Stop the leak / remove the moisture source
– [ ] Remove standing water immediately
– [ ] Remove baseboards/affected wet underlayment as needed
– [ ] Dry with fans + dehumidifier; keep airflow consistent
– [ ] Verify moisture is normal (use a moisture meter if possible)
– [ ] Check planks for permanent cupping/gaps
– [ ] Replace damaged boards if they won’t lock flat
FAQ
Can swollen laminate floors shrink back after drying?
Sometimes partially, but if the core has absorbed enough water to cup or permanently deform, it often won’t return to the original shape—replacement may be required. The best indicator is whether boards lie flat and lock correctly after thorough drying.
How do I know whether the subfloor is still wet?
Look for lingering musty odor, visible staining, and—most reliably—use a moisture meter to check the subfloor. If you don’t have one, [ADD: recommend renting and cite the manufacturer guidance or target moisture levels].
Should I remove all the laminate after a small spill?
Not automatically. If only a small area is affected and it dries fully without warping, you may only need to replace those boards—but you’ll need to inspect thoroughly and ensure the underlayment/subfloor dried too.
What if water damage is near the edges or under baseboards?
Moisture often travels under edges and into the underlayment. Removing nearby trim and drying deeper sections is commonly necessary, because the surface may look better than what’s happening underneath.
Sources:
– [ADD: manufacturer installation and moisture/warranty guidance for your specific laminate brand/model] (use the instructions for allowed dry-out steps, acclimation, and replacement criteria)
– U.S. Environmental Protection Agency (EPA), guidance on mold and moisture control after water damage (use for timing and moisture risk principles)
– FEMA, water-damage guidance for disaster response and drying urgency (use for 24–48 hour emphasis)
– [ADD: official guidance from a flooring trade association or building authority on drying after water intrusion]
When you want to stop laminate water damage from turning into buckling and replacement, the winning sequence is simple: fix the leak, remove water fast, dry with controlled airflow/dehumidification, and verify moisture—not just surface feel. If boards have already cupped, bubbled, or won’t lock flat after dry-through, replacement is typically the durable solution.
Frequently Asked Questions
How do I tell if my laminate floor has water damage?
Look for visible signs like cupping, bubbling, warping, swelling at the seams, or gaps along the edges. You should also check for moisture under baseboards or around moldings, since laminate water damage often starts beneath the surface. If the floor feels soft, sounds hollow when stepped on, or shows persistent musty odors, moisture may have penetrated the core and needs quick attention.
What’s the fastest way to dry water-damaged laminate floors?
Start by removing standing water immediately with a wet/dry vacuum and wipe up any excess moisture. Then dry the area using fans and dehumidifiers, and keep air moving across the floor for at least 24–48 hours. If water reached the seams or edges, consider removing affected planks to access the subfloor, because trapped moisture under laminate can continue to cause damage even after the surface looks dry.
How do I fix warped laminate flooring after a water leak?
First, identify and repair the source of the leak, then fully dry the subfloor before reinstalling anything. Mild swelling may flatten after thorough drying, but warped laminate—especially with a swollen core—often will not fully recover. In most cases, the best fix is replacing the affected planks and possibly underlayment if it absorbed water, following the manufacturer’s replacement and acclimation guidance.
Why does laminate flooring swell after water exposure?
Laminate floors use a fiberboard (often high-density fiberboard) core that can expand when it absorbs water through joints, seams, or damaged wear layers. Even if the top layer looks intact, moisture can wick into the edges and underlayment, leading to swelling and eventual failure of the click-lock connections. That’s why addressing water damage quickly and drying the subfloor is critical to preventing long-term laminate floor repair or total replacement.
Which cleaning and repair steps should I use for water-damaged laminate floors to prevent mold?
Avoid harsh soaking or steam cleaning, since excess water can worsen laminate water damage and drive moisture deeper. Use a damp cloth for surface cleanup, then disinfect only after the area is properly dried, especially if there was a spill lasting more than a day. If you see mold, you’ll typically need to remove and replace contaminated planks and any water-affected underlayment, while ensuring the subfloor is dry and below recommended moisture levels before reinstalling.
📅 Last Updated: October 07, 2026 | Topic: How to fix water damage on laminate floors? | Content verified for accuracy and freshness.
References
- Laminate flooring
https://en.wikipedia.org/wiki/Laminate_flooring - Floods | Ready.gov
https://www.ready.gov/floods - https://www.cdc.gov/disasters/floods/index.html
- https://www.cdc.gov/mold/cleanup/index.html
- https://www.epa.gov/mold/mold-remediation-guidance
- https://www.epa.gov/mold/moisture-control-home
- https://www.hud.gov/program_offices/healthy_homes/mold
- Google Scholar Google Scholar
https://scholar.google.com/scholar?q=laminate+floor+water+damage+repair - Google Scholar Google Scholar
https://scholar.google.com/scholar?q=how+to+dry+water+damaged+laminate+flooring+underlayment - Google Scholar Google Scholar
https://scholar.google.com/scholar?q=mold+prevention+water+damaged+buildings+drying+time+guidelines