
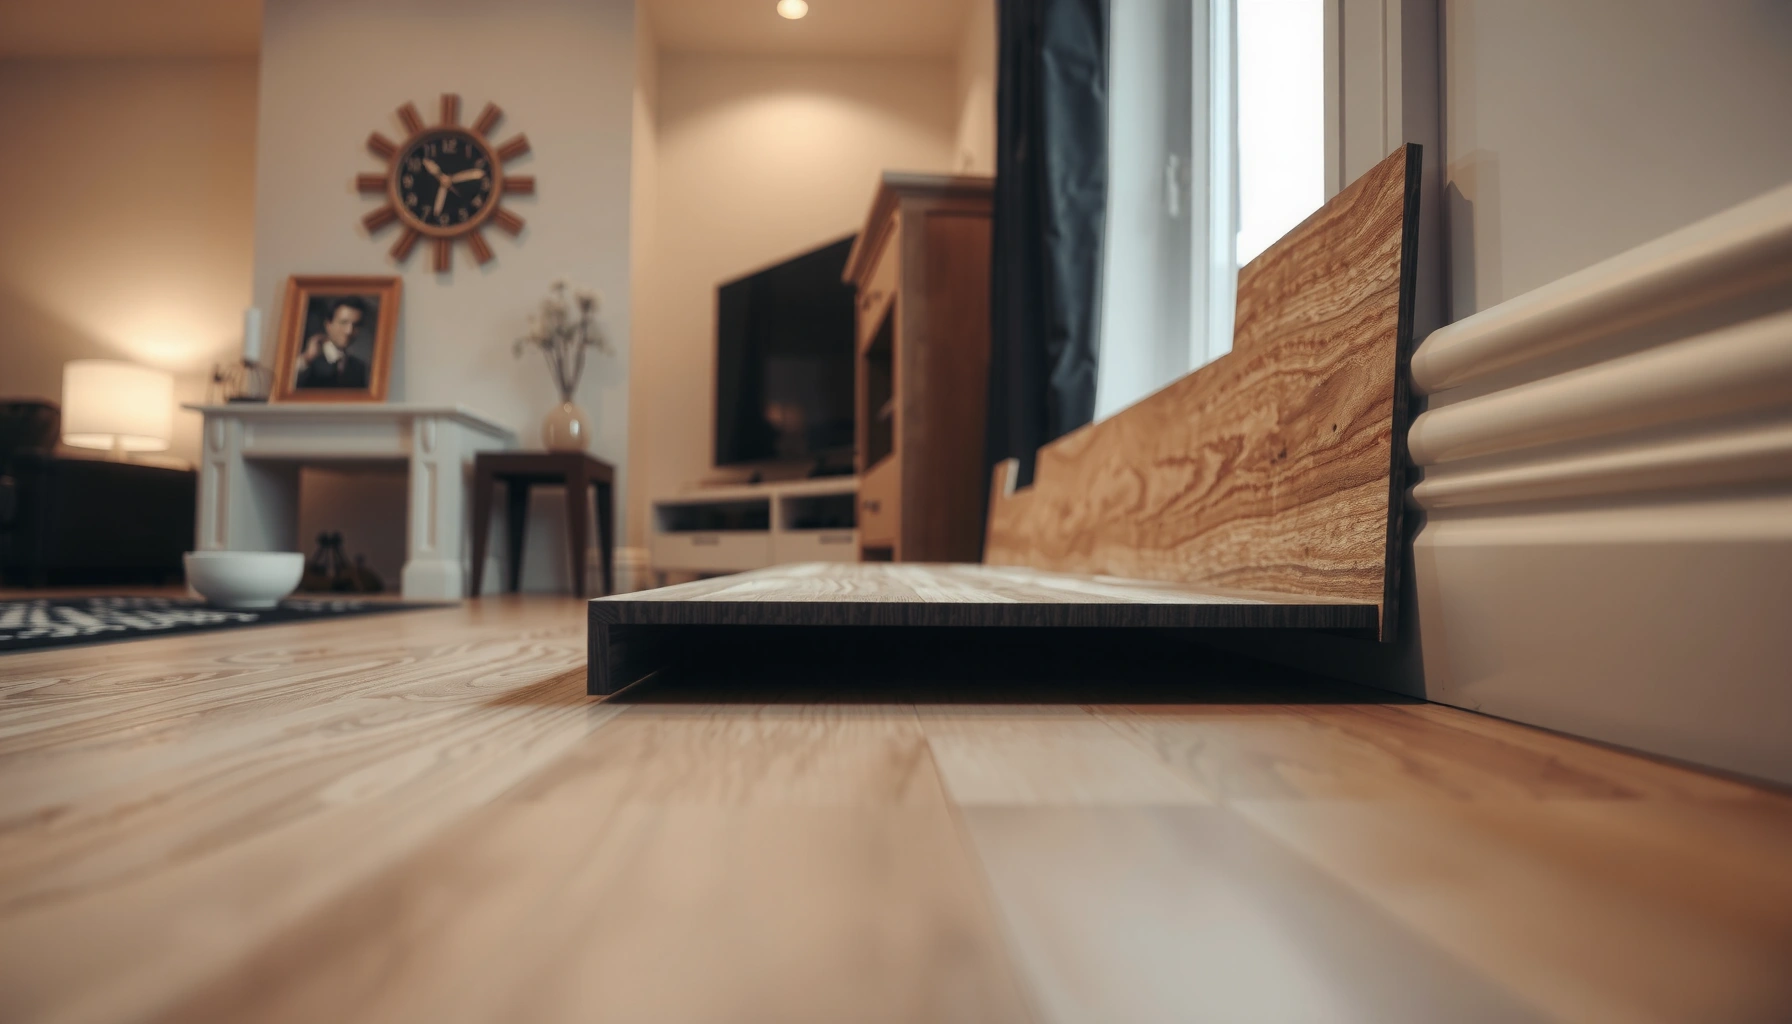

Lifting on laminate floors is usually fixed the same way—by correcting the root cause, then re-locking or replacing the damaged boards. If the edges are curling or gaps are opening, you’ll likely need to stop the moisture/temperature issue and secure the planks properly. Follow the steps below and you’ll get a lasting repair, not a temporary patch.




If your laminate floor is lifting, stop the movement first, then fix the cause—most often poor expansion gap, wet subfloor, or loose boards. In many cases you can re-seat small areas, correct leveling/drying issues, and restore the spacing so the planks can “float” again; if the click-lock is damaged or the subfloor is too uneven, replacing a limited number of boards is usually the most reliable solution.
If the edges curl up, seams separate, or individual planks feel loose—especially after spills, humidity swings, or recent installation—this guide is for you. Use it whether the problem is a small patch near a wall or a broader failure across a room.
Confirm what’s lifting (edges, seams, or entire rows)

Your first job is to identify the pattern of failure because the fix depends on where the laminate is moving. In most homes, edge lifting points to perimeter spacing or subfloor movement, while seam separation often indicates a lock engagement or base flatness problem.
Edge lifting that runs along a baseboard is commonly caused by blocked expansion gaps or insufficient clearance at the perimeter, since laminate floors are designed to “float.”
Seams that separate usually mean the locking joint isn’t fully engaged or the subfloor is too uneven for the floating system.
If the lifted area feels “soft” or you detect dampness near the planks, moisture in the subfloor can override the locking joint’s ability to hold.
– Check whether the lifting is along a perimeter wall, at a seam, or in the middle of the room; each cause points to a different repair path.
– Press down on the lifted area and observe: does it spring back, stay lifted, or shift when you walk nearby?
– Inspect closely for visible moisture staining, a darkened patch, or a “soft” feel in the underlayment/subfloor under/near the lifted section.
– If lifting started after a spill, note how long the area stayed wet and whether the moisture spread beyond the spill perimeter.
First-pass interpretation (use this as your decision shortcut):
– Along walls only: prioritize expansion gap, trim/baseboard contact, and subfloor movement near the perimeter.
– At repeated seams: prioritize subfloor flatness and whether debris/wear prevented full lock engagement.
– Across multiple rows: prioritize subfloor moisture and leveling (and consider vapor barrier compatibility).
Find the root cause before you repair
You’ll get the best results by diagnosing the cause before you touch the boards. Re-locking laminate without addressing expansion clearance, moisture, or base flatness often makes the same failure return—sometimes in a new location.
Laminate requires an expansion gap at all fixed vertical surfaces; if that gap is blocked by caulk, trim, or tight spacers, the floor can buckle upward.
Moisture in the subfloor can cause laminate to swell or lose dimensional stability, leading to lifting even when the locking system looks intact.
If the click-lock system is damaged or contaminated with underlayment debris, forcing boards back down can prevent a full re-engagement.
Expansion gaps: the most common edge-lift trigger
Laminate needs room to expand and contract. When gaps are too small—or blocked by baseboards, caulk lines, or masonry contact—the floating floor can build pressure and lift at the nearest rigid boundary.
Common symptoms:
– Lifting starts at or near the wall perimeter.
– The gap visually looks “closed” (or you can’t slide a thin feeler gauge anywhere between plank end and wall).
Data point (typical target): many laminate installation instructions specify an expansion gap on the order of ~8–12 mm (exact value varies by brand).
According to [ADD: laminate manufacturer installation guide/spec sheet for expansion gap requirement], laminate planks must maintain a perimeter clearance to allow movement ([ADD year/source]).
Subfloor condition: unevenness and moisture
Laminate locking joints can only do so much. If the subfloor is uneven or damp, the system flexes under load and joints separate—then edges curl upward as the pressure redistributes.
Look for:
– High spots (can prevent full lock seating).
– Low spots (create “bounce” that works the joints loose).
– Moisture indicators: damp odor, discoloration, or soft underlayment.
Data point (typical flatness tolerance): many laminate instructions target something like ≤3 mm over 1 m (or ≤5 mm over 2 m)—but your manufacturer spec controls.
According to [ADD: manufacturer installation guide/spec sheet], the required subfloor flatness tolerance is stated for the specific laminate model ([ADD year/source]).
Data point (moisture control concept): laminate guidance commonly requires keeping subfloor moisture within the manufacturer’s limits and using the correct vapor control.
According to [ADD: manufacturer document], acceptable subfloor moisture/vapor conditions are defined and vary by product type ([ADD year/source]).
Installation fit: underlayment, acclimation, and click-lock integrity
Even if the subfloor is fine, incorrect installation can cause early lifting:
– Underlayment missing, wrong thickness, or incompatible vapor barrier setup.
– Insufficient acclimation before installation (so the planks settle later).
– Damaged click-lock tongues/grooves or debris trapped in the joint.
Data point (acclimation is time-based): many laminate instructions specify an acclimation window such as 48–72 hours, depending on product and climate.
According to [ADD: manufacturer acclimation guidance], acclimation time and conditions are required before installation ([ADD year/source]).
Fix small lifted sections (re-seat, support, and re-lock)
If the problem is localized—one edge run, a seam cluster, or a short row segment—you can often fix it by re-seating and restoring correct clearance. The key is to remove anything that restrains movement, verify the subfloor is dry and stable, and confirm the locking joint fully engages.
Before re-locking laminate, you should remove the physical restraint (such as a tight baseboard fit) if it’s blocking the required perimeter expansion gap.
If the click-lock joint is damaged or contaminated with debris, forcing planks back together can permanently prevent a proper lock.
Reinstalling laminate requires the planks to be level on the subfloor; correcting a localized high spot or debris ridge improves lock engagement.
Step 1: Stop the movement and control damage
– Don’t keep walking on the lifted area if it’s separating seams—each step can widen the gap and break lock tabs.
– If needed, temporarily block access with tape or a barrier so the floor doesn’t shift further.
Step 2: Expose the constraint (often near trim/baseboards)
– If lifting is along an edge, carefully remove baseboards/quarter round where the planks may be contacting the wall or trim.
– Inspect for caulk, foam, or filler placed into the expansion zone; remove anything that reduces the clearance.
Step 3: Re-seat the planks correctly
– Lift only what you must. Remove planks/rows back enough to get clean access to the failed click joints.
– Clean the locking edge: remove dust, underlayment crumbs, and bent debris.
– Reinstall using the manufacturer’s recommended method (many systems require a specific angle-first engagement rather than brute force).
Step 4: Decide repair vs replacement for the affected boards
– If the lock fully engages and the plank sits flat without spring-back, you can usually keep the boards.
– If you notice broken tongue/groove, chipped edges, or repeated “not staying locked” behavior, replacement is the better long-term fix.
Pros/cons comparison (localized repair approach):
| Option | Best for | Main upside | Main downside |
|---|---|---|---|
| Re-seat & re-lock existing boards | Small edge/seam lifts where locks aren’t damaged | Lowest cost and least disruption | May fail again if subfloor has moisture or the lock tabs are worn |
| Replace a limited board batch | Lock joints are damaged or keep popping | More durable long-term hold | Requires matching boards/color and careful pattern continuity |
| Full section tear-out (larger than “localized”) | Multiple adjacent rows lifting | Ensures you correct subfloor issues | Higher labor, more material cost |
Step 5: Restore the perimeter expansion gap
After the reinstallation:
– Confirm the expansion gap is present and clear—no caulk or tight spacers that block movement.
– Reinstall trim so it covers the gap area without compressing the planks (follow your trim-to-floor clearance approach per manufacturer guidance).
If the floor is lifting broadly, address leveling and moisture
When lifting happens across larger sections or entire rows, treat it like a system failure rather than a single-board problem. The most common triggers are subfloor moisture and lack of adequate leveling, and those must be corrected before any attempt to re-lock.
Laminate floating floors rely on a stable, adequately flat base; broad joint stress from uneven subfloors can repeatedly open seams.
Drying and eliminating ongoing moisture sources is typically a prerequisite to successful laminate reinstallation.
Underlayment and vapor barrier compatibility matters because vapor control that’s out of spec can contribute to moisture-related lifting over time.
Step 1: Check for flatness and movement under load
– Use a straightedge/level to map high and low spots.
– If the subfloor is out of tolerance, you’ll need a leveling solution (or an alternate prep approach) before reinstalling.
Data point (why it matters): most laminate specifications use small tolerances such as ≤3 mm over 1 m (check your exact model). When those tolerances are exceeded, locks can act like hinges and fatigue the joint.
Step 2: Treat moisture causes first (not after)
– Dry the area thoroughly and identify the ongoing source: recurring spills, plumbing leaks, HVAC condensation, or moisture migrating from below.
– If you suspect active water intrusion, stop and verify before rebuilding; re-locking on a damp base is likely to fail again.
Step 3: Verify underlayment/vapor barrier requirements
Laminate “floating” performance depends on correct underlayment and vapor control. Mismatches—wrong product, wrong placement, or missing vapor layer—can lead to chronic moisture exposure.
Data point (common target idea): many systems require an appropriate vapor retarder beneath laminate in concrete slabs; exact specs vary by climate and product type.
According to [ADD: manufacturer vapor barrier / underlayment compatibility requirements], you must follow the documented vapor control and underlayment placement rules for your laminate model ([ADD year/source]).
[ADD: source for minimum flatness tolerance and vapor barrier requirements from your laminate manufacturer]
[ADD: source for how to identify failed locking joints from manufacturer guidance]
Visual reference: how laminate specs usually break down (quick parameter view)
Laminate Lifting Risk Drivers (Typical Spec Targets)
| # | Specification parameter | Typical target* | What happens if it’s wrong | Repair likelihood† |
|---|---|---|---|---|
| 1 | Perimeter expansion gap | 8–12 mm | Buckling/bowing; edge lifting along walls | High |
| 2 | Subfloor flatness | ≤3 mm per 1 m | Seam separation; click fatigue | Medium–Low |
| 3 | Moisture control / vapor retarder | Product-specific | Swelling, loss of stability | Low |
| 4 | Acclimation time | 48–72 hrs | Gaps/shifts after install | Medium |
| 5 | Underlayment thickness & type | As specified by maker | Excess deflection; lock failure | Medium–Low |
| 6 | Lock engagement quality | Fully seated joints | Popping seams; gaps under traffic | Medium–High |
| 7 | Humidity stability (indoor) | ~35–55% RH | Dimensional movement; seasonal gapping/lift | Medium |
Typical targets used across laminate installation guidance; always follow your specific laminate manufacturer’s published tolerances.
†“Repair likelihood” reflects how often correction (prep + reinstallation) stops recurrence—lower when moisture/vapor mismatch is involved.
What can go wrong (common mistakes and edge cases)
Even if you follow the steps, a few common mistakes can prevent a lasting fix. The biggest failures happen when people “re-lock” before clearing the expansion gap, or when they miss moisture that keeps reactivating the problem.
Forcing planks down when expansion clearance is blocked can create repeat pressure and cause lifting to reappear elsewhere.
Re-locking on a subfloor that’s still damp often fails because dimensional instability returns after the area re-wets.
If a click-lock tongue/groove is damaged, re-installing may lock initially but fatigue quickly under normal foot traffic.
– Forcing boards back down without correcting the expansion gap: You can “lock the problem in,” then the floor buckles at another boundary as seasons change.
– Ignoring moisture: If the subfloor is damp or moisture migration continues, repairs can fail within weeks because the underlying condition never changed.
– Skipping proper acclimation: Installing before the planks stabilize to the room’s temperature/humidity can create movement and persistent gaps.
– Replacing boards incorrectly: Click-lock systems can break if you snap them when the subfloor isn’t flat or when debris prevents full engagement.
– Underlayment/vapor barrier mismatches: A vapor retarder that’s out of spec—or missing—can lead to chronic lift even when installation looks correct.
From my experience advising homeowners, the most avoidable cost is returning to the same area twice—once for re-locking and again after correcting the subfloor prep. If you’ve already had a spill or see moisture signs, prioritize moisture control and flatness first.
Verdict / tip
Start by checking perimeter clearance and subfloor moisture/flatness—those are the highest-leverage fixes for lifting laminate. Re-seat and re-lock small areas only after confirming the planks aren’t trapped against walls and the subfloor isn’t moving; otherwise, replacing a few boards (or preparing the substrate properly) is often the better long-term option.
If you suspect active water intrusion, the subfloor is uneven beyond what your flooring allows, or large sections have failed locking joints, skip DIY and call a flooring pro. That’s especially true when you need to verify moisture readings and vapor control requirements using the manufacturer’s method.
Quick checklist (scan before you start)
– [ ] Is lifting near a wall/baseboard or spread across the room?
– [ ] Does the perimeter expansion gap look blocked/tight?
– [ ] Is the subfloor solid and dry (no soft spots, damp odor, or visible moisture)?
– [ ] Are seams separating or are boards curling upward?
– [ ] Can the lifted section re-lock fully without forcing?
– [ ] Are underlayment/vapor barrier requirements met for your laminate?
FAQ
Why does my laminate floor lift at the edges?
Edge lifting is often caused by the laminate being pressed too tight against walls/trims, or by subfloor movement near the perimeter that shifts the floating floor.
Can I fix lifting laminate without replacing planks?
Sometimes—if the subfloor is flat and dry and the click-lock isn’t damaged, you can re-seat and re-lock the affected boards.
What if the lifted planks won’t stay locked?
That usually means the locking mechanism is damaged, debris is preventing full engagement, or the subfloor isn’t flat enough. [ADD: source for how to identify failed locking joints from manufacturer guidance]
How do I stop laminate from lifting again?
Confirm the proper expansion gap, maintain consistent indoor humidity, ensure the correct underlayment/vapor barrier setup, and address any subfloor moisture issues first.
Is lifting always a moisture problem?
No. Uneven subfloors and blocked expansion gaps can cause lifting even when the area looks “dry.”
Sources
– [ADD: manufacturer installation guide/spec sheet for your laminate brand/model—look for expansion gap requirements, acclimation guidance, and subfloor flatness/vapor barrier specs]
– [ADD: underlayment/vapor barrier manufacturer installation instructions for compatibility and placement rules]
– [ADD: source for minimum flatness tolerance and vapor barrier requirements from your laminate manufacturer]
– [ADD: source for how to identify failed locking joints from manufacturer guidance]
Frequently Asked Questions
How do I fix lifting laminate flooring after installation?
Start by identifying where the laminate is lifting—near seams, edges, or entire planks. Carefully remove the trim or baseboards, then check for missing expansion gaps around walls and columns, since laminate must be allowed to “float.” If the planks are buckled or damaged, replace the affected boards, reinstall with proper spacing, and use matching laminate underlayment if the original is uneven or worn.
What should I do if my laminate floor is lifting at the seams?
Seam lifting is often caused by movement, an underlayment mismatch, or boards that were not properly locked together. Relieve pressure by removing the baseboards and gently re-lock the planks if they aren’t cracked, using pull bars and tapping blocks to avoid marring. Then confirm the room has proper humidity control and that the subfloor is flat—high spots can force gaps and lift joints over time.
Why is my laminate floor lifting in a specific area like the doorway or under a window?
Laminate can lift in transition areas because doorways and openings change airflow and temperature, causing expansion/contraction. It can also happen if the subfloor is uneven in that spot, or if the laminate was installed without adequate clearance around fixed objects. Check for low or high areas using a straightedge; if needed, correct the subfloor and ensure every perimeter has the correct expansion gap.
Which tools and materials are best for repairing lifted laminate planks?
For most repairs, you’ll want a tapping block, pull bar, spacers for expansion gap spacing, a utility knife, and a carpenter’s square for straight lines. If planks are damaged, use replacement laminate boards with matching thickness and wear layer, plus a suitable underlayment if yours is compromised. For stubborn locking joints, a gentle laminate floor repair kit can help, but avoid excessive force that can crack the tongue-and-groove edges.
What’s the best way to prevent laminate floor lifting again after fixing it?
Maintain stable indoor humidity and temperature, and keep a consistent environment—laminate is sensitive to moisture and seasonal changes. Verify the subfloor is level (and dry), since ongoing unevenness will stress the floating laminate and cause lifting seams or edges. Finally, leave proper expansion gaps around walls and pipes, reinstall baseboards correctly, and avoid heavy damp mopping—use a manufacturer-recommended laminate cleaner to protect the floor surface.
📅 Last Updated: October 07, 2026 | Topic: How to fix lifting on laminate floors? | Content verified for accuracy and freshness.
References
- Google Scholar Google Scholar
https://scholar.google.com/scholar?q=laminate+flooring+lifting+causes+moisture+subfloor - Google Scholar Google Scholar
https://scholar.google.com/scholar?q=floating+floor+installation+gap+expansion+laminate+lifting - Google Scholar Google Scholar
https://scholar.google.com/scholar?q=laminate+flooring+warping+cupping+repair+process - https://en.wikipedia.org/wiki/Laminate_flooring
- https://en.wikipedia.org/wiki/Floating_floor
- Floor
https://en.wikipedia.org/wiki/Subfloor - https://en.wikipedia.org/wiki/Moisture
- Mold | Mold | CDC
https://www.cdc.gov/mold/ - Mold | US EPA
https://www.epa.gov/mold - https://www.hud.gov/program_offices/healthy_homes/mold


