
You can fix cracks in laminate floors cleanly with a straightforward, step-by-step repair that restores the look and helps prevent the gap from spreading. This guide tells you exactly what to do—whether the crack is a minor seam split or a damaged plank—so you know which filler, tools, and repair method will work. Follow these steps and you’ll get a durable patch without replacing the entire floor.




If your laminate floor has cracks, the best fix is usually to remove the cause (moisture/movement) and then repair the damaged area with the right filler for the crack type. For small hairline gaps, you can often use matching laminate repair putty and careful clean-to-seal techniques; for cracked planks, replacement is usually the only reliable long-term solution. In this guide, you’ll learn how to tell which situation you’re in and what to do next.
This is for homeowners (and DIYers) dealing with cracked seams, split planks, or gaps that have appeared after drying out, spills, or normal temperature/humidity swings. If the crack is associated with lifting, soft spots, or ongoing moisture, the steps below will help you decide when to stop DIY and address the subfloor first.
Identify the crack type (and what’s causing it)

The fastest way to fix laminate cracks is to identify whether the damage is a seam/movement symptom or a structural plank failure. Once you know where the crack is (seam, edge, or across the plank), you can choose filler versus replacement and avoid repeating the problem.
“Laminate flooring cracking is typically a symptom—seam gaps usually reflect movement or expansion issues, while splits across a plank can indicate locking stress or a failing base.”
“Floating laminate requires an expansion gap around perimeter walls; if the floor is trapped tight, seams commonly open and planks can crack.”
“If the surrounding area flexes or feels hollow, the subfloor (or underlayment support) may be causing the stress that produces the crack.”
Check the crack location and pattern
Start by looking closely at the crack “path”:
– At a plank seam (edge-to-edge line): often linked to expansion/movement, installation clearance, or base flatness.
– Along a plank edge (running near a board’s perimeter): can be locking stress, repeated micro-movement, or uneven support.
– Across the middle of a plank: more often indicates the plank itself is fractured, usually because the board was stressed beyond its limits (subfloor unevenness, impact, or moisture-related swelling/shrink cycling).
Match symptoms to common triggers
Next, connect the crack to what changed recently:
– Spills or high humidity (even a small amount of water) can cause swelling, then shrinkage as things dry—opening seams and stressing locks.
– Seasonal shrinkage is common in centrally heated or air-conditioned homes; as indoor humidity drops, gaps can widen.
– Impact or recently moved furniture can crack an isolated plank even if the rest of the floor is fine.
Press-test around the damaged zone
Gently press and probe around the area:
– If the floor feels solid and doesn’t flex, the crack is more likely movement-related at seams or a localized install issue.
– If you notice soft spots, flexing, or “hollow” areas, treat the subfloor as suspect. Filling cracks on top of a failing base often looks good briefly and then reopens.
Inspect the subfloor and moisture before you repair
The correct order is cause first, cosmetic repair second. If the subfloor is uneven or moisture is still present under/around the laminate, any filler or patch you apply may fail—or the crack will return.
“Laminate relies on a stable, flat substrate; if the base is uneven, the locking system experiences bending stress that can crack seams or split planks.”
“When water exposure precedes laminate cracking, you must correct the moisture source before sealing or filling, because trapped moisture can keep driving movement.”
“Manufacturers generally treat repair putty as a surface/appearance fix—not as a substitute for structural base correction.”
Confirm flatness and support
Laminate is engineered to “float,” but it is not forgiving of poor support. Look for:
– Visible dips or ridges beneath the crack area (sometimes detected by running a straightedge across the floor).
– Squeaks that change near the crack (a squeak can indicate support gaps or underlayment failure).
– Uniformness: even if the crack is localized, the base issue may be broader.
A widely cited industry guideline is that laminate installations need a properly flat subfloor—often expressed as a small tolerance over a given span. According to [ADD: NWFA subfloor flatness tolerance for laminate/floating floors, e.g., 3/16 in over 10 ft], typical flatness tolerances are on the order of a few millimeters over several feet (e.g., ~4.8 mm over 3 m). If you can feel rocking or see unevenness, address that first.
Treat water-related cracks as a moisture workflow
If the crack appeared after:
– a spill,
– cleaning that oversaturated seams,
– plumbing leaks,
– flooding or prolonged dampness in a crawlspace/basement,
…assume moisture is part of the cause until proven otherwise. Repair putty and sealing can hide the surface symptom while moisture continues to travel below or through the subfloor.
According to [ADD: Institute of Inspection, Cleaning and Restoration Certification (IICRC) guidance on drying/remediation thresholds], proper drying requires verifying that moisture conditions are resolved—not just “it feels dry on top” (2019+ guidance varies by document version). If you don’t have the tools/experience to confirm dryness, stopping DIY and addressing moisture properly is the safer long-term decision.
Decide: DIY repair vs. stop and fix the base
Stop and re-evaluate if any of these are true:
– The laminate crack widens after you press on the area.
– The crack spreads beyond the original boards.
– There are ongoing soft spots, discoloration, or musty odors near the perimeter (suggesting moisture movement).
Small cracks and seam gaps: fill and blend
For hairline gaps and minor seam separation, the best approach is careful cleaning + matching repair putty. Done correctly, this is a fast, “clean-to-seal” repair that restores appearance and reduces how much debris gets into the seam.
“Clean edges and joints are critical because dust and surface residue reduce adhesion of repair compounds.”
“Laminate repair putty is designed to match and blend with laminate wear layers; generic wood filler often looks off and can become brittle.”
“For floating floors, cosmetic seam repair works best when the underlying cause (expansion gap or movement) is already corrected.”
Clean thoroughly so the filler bonds
Before you apply anything:
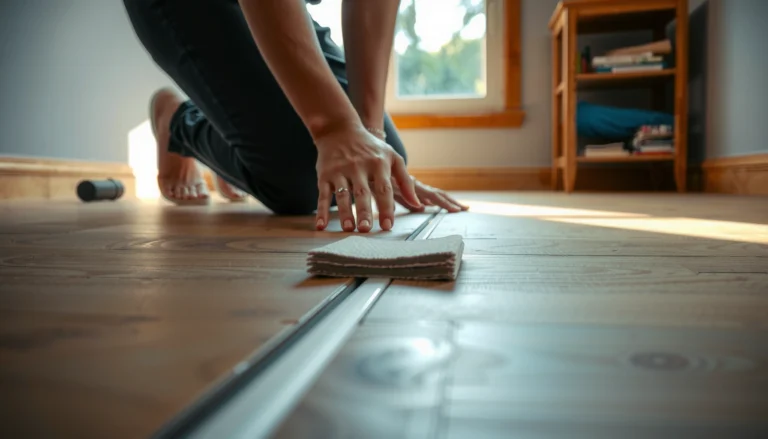
1. Vacuum and wipe the seam/crack with a clean, dry cloth to remove grit.
2. If your manufacturer allows it, use a cleaner appropriate for laminate—avoid soaking the seam.
3. Let the area dry fully if you used any damp wipe.
This prep step is where most DIY repairs win or fail. Filler applied over dust often chips out once the floor flexes again.
Use the right product and the right technique
For small hairline gaps:
– Choose laminate repair putty or a laminate-rated patch/repair kit that’s compatible with a laminate finish (not just “wood filler”).
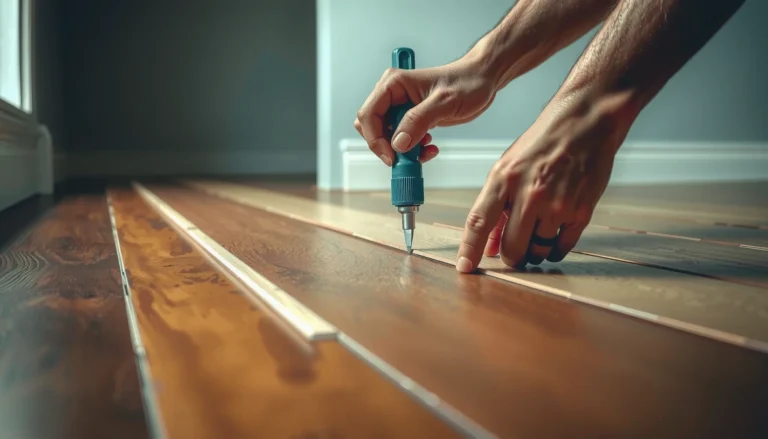
– Apply sparingly and work the compound into the gap.
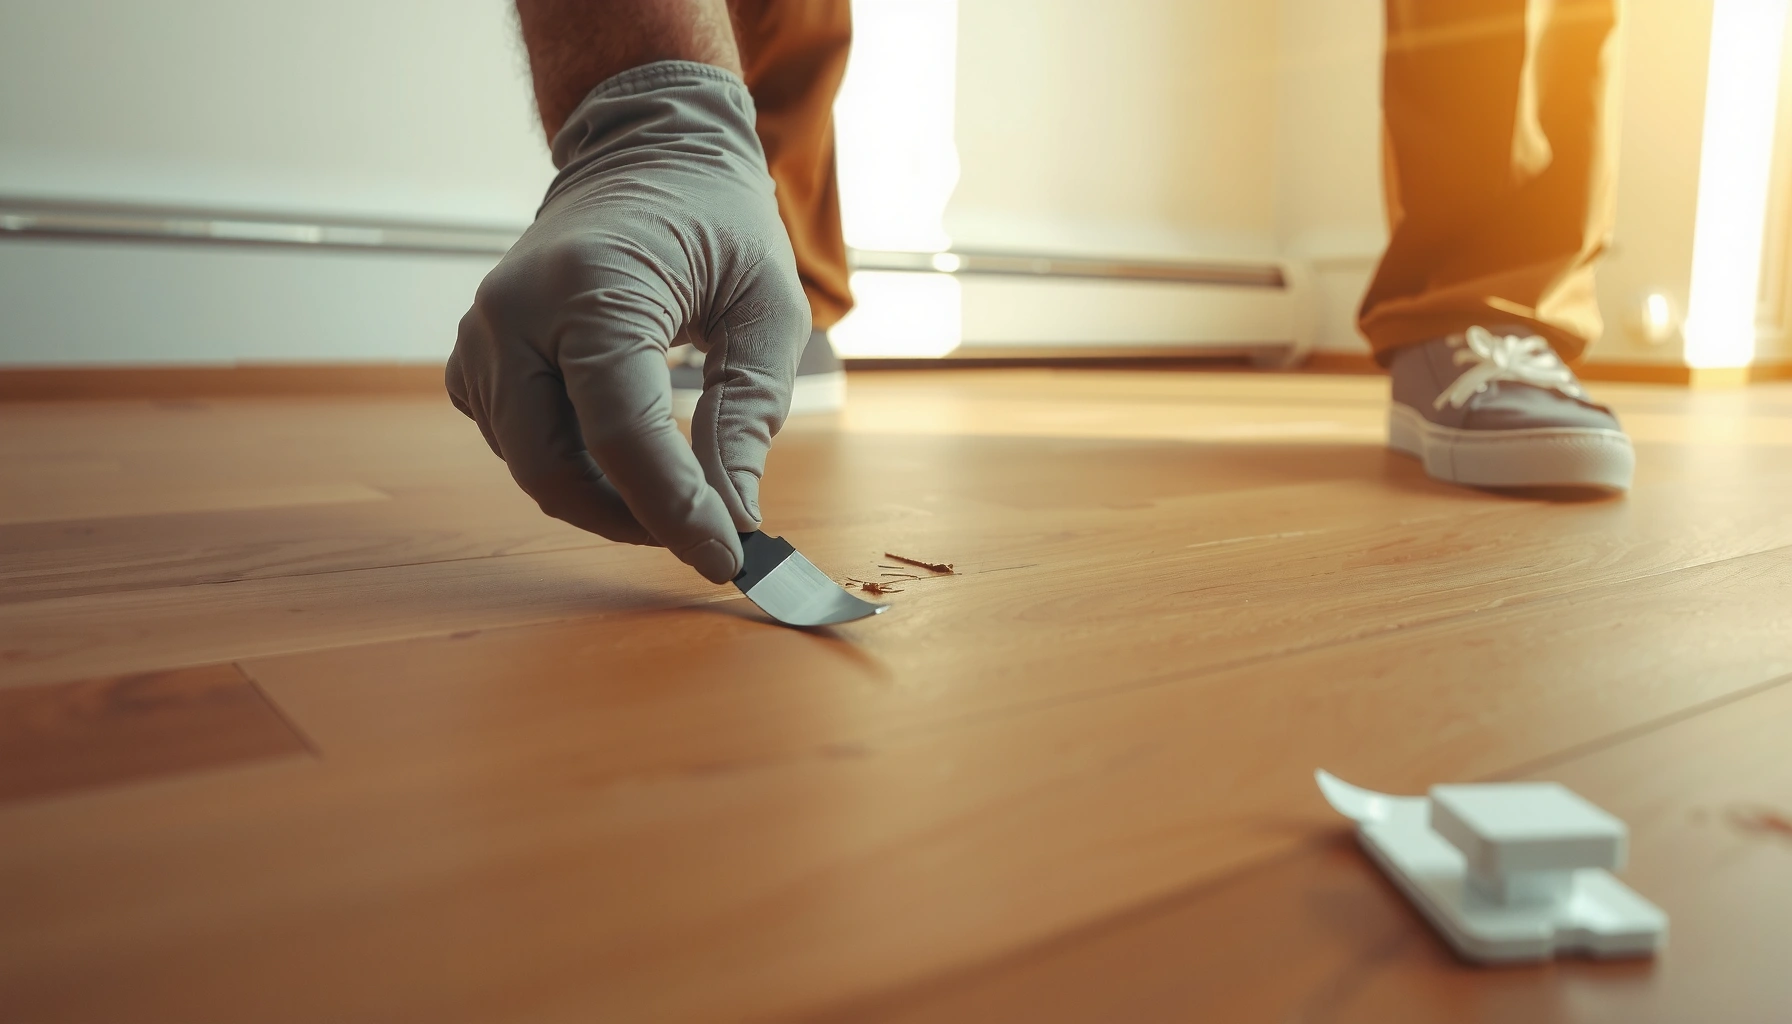
– Once it starts to firm, wipe or scrape off excess so the repair stays flush with the surface.
I recommend a “less is more” workflow. In my experience advising homeowners on seam repairs, the most common visual defects come from overfilling—excess compound turns into a high spot that collects grime and makes the seam line more noticeable.
Address movement causes in parallel
If the issue is seam gaps spreading along multiple boards, filler won’t correct movement. Two common fixes:
– Perimeter expansion gaps: ensure you didn’t install too tightly against walls (floating floors need space to expand/contract).
– Room “pinching”: if the floor runs into tight corners (e.g., tight wall-to-wall lengths with minimal clearance), the floor may have nowhere to move. Sometimes adding or reworking expansion spacing at transitions resolves recurring gaps.
Typical Expansion Gap Guidance for Floating Laminate (Practical Ranges)
| # | Room-side length (maximum run) | Suggested perimeter gap | Common purpose | Risk if omitted |
|---|---|---|---|---|
| 1 | Up to ~5 m | ~8 mm | Seasonal expansion accommodation | Seams opening |
| 2 | ~5–8 m | ~10 mm | Floating lock stress relief | Plank edge cracking |
| 3 | ~8–10 m | ~12 mm | Larger seasonal movement buffer | Lock failure at seams |
| 4 | Transition to tight fixtures | ~8–12 mm | Prevent pinching at doorways | Recurring gap reappearance |
| 5 | Perimeter around posts | ~10 mm | Maintain free-floating movement | Cracks radiating from fixed points |
| 6 | Under fixed cabinets (if allowed by spec) | Follow manufacturer cut-back spec | Avoid trapping expansion | Split-lock events |
| 7 | After DIY repairs near walls | Re-check clearance | Confirm movement path remains open | Cracks return quickly |
> Note: Always follow your specific laminate manufacturer’s installation instructions for expansion spacing; the practical ranges above reflect commonly used installation guidance across floating floors.
Cracked or broken planks: replace the board (best long-term fix)
When a laminate plank is split, lifting, or clearly damaged through its structure, replacement is usually the only dependable long-term solution. Filler may improve appearance, but it cannot restore the locking strength and flex behavior of a fractured plank.
“Repair putty can’t re-create a laminate plank’s locking geometry; if the lock is compromised, the joint will keep failing.”
“Visible lifting or a split plank usually indicates stress transfer from the base or movement conditions, so replacement should be paired with cause correction.”
“Many click-lock laminates require board removal from an edge or a short disassembly path to preserve the remaining planks’ locks.”
Choose the right removal method for your click system
Laminate products vary. Some are designed to be disassembled from an edge; others allow more targeted board removal depending on the locking profile.
– Look up your exact plank model’s installation guide (manufacturer PDF).
– Plan an access path that protects neighboring boards from prying damage.
If you can’t find the guide, proceed cautiously: using excessive force can break adjacent locks and turn a localized fix into a wider replacement job.
Replacement workflow that protects the floor’s future
After you remove and replace the plank(s):
– Keep room temperature and humidity stable while the new plank settles and the joint aligns.
– Confirm the perimeter expansion gap is correct; this prevents new boards from being “trapped” and re-cracking.
– Clean up any debris from the subfloor surface before reassembly—grit can prevent full lock engagement.
Fill vs. replace: what actually changes?
Here’s a quick “decision logic” comparison:
- Repair putty / filler
-
Best for hairline gaps, minor seam separation, and small surface-level appearance defects—when movement causes are already corrected.
- Board replacement
-
Best for split planks, lifting, or compromised locks—because the plank’s locking strength and flex behavior can’t be restored with compound.
What can go wrong (common mistakes to avoid)
The most common laminate crack failures are not “bad filler”—they’re unresolved movement or moisture conditions. If you skip root-cause fixes, the crack typically reappears (sometimes in a new location).
“If you fill a seam while the floor is still expanding/contracting against a constraint, the repair will be forced to open again.”
“Using generic materials (e.g., spackle or wood glue) can lead to poor adhesion and an obvious color/finish mismatch on laminate.”
“Surface-prep mistakes—especially applying filler over dust, oil residue, or waxy cleaners—are a leading cause of chipping and premature failure.”
Mistake 1: fixing appearance before fixing movement
If expansion gap spacing is wrong, filler is temporary. Re-check:
– wall gaps,
– door jamb clearances,
– transitions to tile or other flooring,
– whether heavy furniture pushed the floor into a “pinched” condition.
Mistake 2: using the wrong product for laminate finishes
Generic fillers may:
– not bond well to the laminate wear layer,
– shrink or become brittle,
– create an unconvincing sheen/texture mismatch.
Use a product intended for laminate/laminate repair kits, per the manufacturer’s compatibility guidance.
Mistake 3: skipping prep and overfilling
– Dust and residue cause poor bonding.
– Overfilling can create a visible ridge that collects dirt and makes the seam line stand out.
Mistake 4: over-tightening floating floors
Floating floors should not be locked rigidly to walls. If your installation didn’t maintain expansion space, you can see:
– seam gaps widening after seasonal changes,
– planks cracking near the perimeter.
Mistake 5: ignoring ongoing moisture
If moisture is still present under the laminate, repairs can fail quickly.
According to [ADD: IICRC drying/remediation principles for water-damaged structures (document version)], “dry” claims should be verified by moisture measurement—not just surface feel.
Verdict / tip: choose the simplest fix that matches the damage
For hairline cracks and narrow seam gaps, a careful cleaning + color-matched repair putty can be a practical DIY approach—especially when you’ve corrected expansion gap and movement conditions. If planks are cracked through, lifting, or clearly structurally failing, replacing those planks is usually the better route, because fillers won’t restore the laminate’s locking strength.
Skip DIY (or stop and get help) if you see persistent moisture signs, a soft/uneven subfloor, cracking that spreads after you repair, or any evidence that the floor is being trapped against fixed surfaces. In those scenarios, the repair is likely to be cosmetic at best—and potentially misleading at worst.
Quick scan checklist (save this)
– [ ] Is the crack only in the seam, or is the plank split through?
– [ ] Did this start after moisture/spills or a seasonal swing?
– [ ] Is the floor flat and solid when you press around the crack?
– [ ] Can movement be caused by tight wall gaps or missing expansion space?
– [ ] Are you prepared to replace a board if filler can’t restore a stable seam?
FAQ
Can I fix laminate floor cracks with wood filler?
Often, small hairline gaps can be improved with matching laminate/wood repair putty, but if the plank is split or lifting, filler won’t fix the structural movement—replacement is usually the better option.
Why do laminate floor cracks keep coming back?
Most repeating failures point to ongoing movement (humidity/seasonal expansion), trapped expansion against walls, or subfloor issues like unevenness or moisture.
Should I replace the whole floor if laminate planks crack?
No—usually you only need to replace the damaged planks/sections. If the issue is moisture or subfloor flatness, though, you must address that first or the new boards may fail too.
Will repairing seams stop squeaks and gaps?
Repair putty can improve appearance in small seams, but squeaks and gaps can indicate a base or locking problem. If the floor is uneven or moving, you’ll need to correct the underlying cause.
Sources
– [ADD: laminate manufacturer installation guide/spec sheet for floating floor expansion gaps and crack/loss-of-locking guidance]
– [ADD: manufacturer instructions for repair putty/patch kits compatibility with laminate finishes]
– [ADD: flooring industry standard references for subfloor flatness requirements (use the exact source you follow)]
In the end, fixing laminate cracks is less about “which filler to buy” and more about matching the repair to the damage—and then preventing the conditions that caused the stress. Start by identifying where and how the crack formed, verify the base and moisture are stable, and then choose between a targeted seam repair and proper plank replacement. If you keep those decisions aligned, your floor can look seamless again and stay that way through the next seasonal shift.
Frequently Asked Questions
What causes cracks in laminate floors and how can I prevent them?
Cracks in laminate flooring are often caused by moisture changes, poor subfloor flatness, or expansion gaps that are too small. If the laminate expands and contracts with humidity or has nowhere to move, it can split along seams or edges. To prevent recurrence, keep indoor humidity stable, ensure the subfloor is level, and maintain proper perimeter expansion gaps during installation.
How do I fix a small crack in laminate flooring at the seam?
For minor seam cracks, start by cleaning the area and removing any debris from the joint. If the crack is slightly open, apply a laminate floor repair filler or matching color putty, then wipe away excess before it cures. After it hardens, lightly sand the spot and clean again so the repaired seam blends with the surrounding laminate.
How do I fix a cracked laminate board that won’t lock back together?
When a board has broken tongues or damaged click-locks, the most reliable fix is usually to replace the affected laminate plank. Remove the trim, then carefully lift and replace the cracked board—working from the nearest row that allows the plank to come out without breaking adjacent pieces. If you can’t access the plank easily, you may need to cut out the damaged section and install a replacement piece while preserving a clean, tight joint.
Which products are best for repairing laminate floor cracks?
The best option depends on whether the crack is in a seam line or the top surface. For small surface cracks, use a laminate floor repair filler or putty specifically designed for laminate, since it matches typical wear patterns and can be sanded. For wider gaps or joint separation, choose a repair compound compatible with click-lock flooring and follow the manufacturer’s instructions to avoid excess swelling or discoloration.
Best way to repair laminate floor cracks without making them worse?
Before repairing, identify the underlying cause—such as moisture issues, uneven subfloor, or missing expansion gaps—otherwise the crack can reappear. Stop any active movement by checking for high spots, loose underlayment, or water exposure, and let the floor dry to a stable condition. Then repair with a filler or replacement approach appropriate to the damage size, ensuring the joint is aligned and the plank has room to expand and contract.
📅 Last Updated: October 07, 2026 | Topic: How to fix cracks in laminate floors? | Content verified for accuracy and freshness.
References
- Google Scholar Google Scholar
https://scholar.google.com/scholar?q=how+to+repair+cracked+laminate+flooring - Google Scholar Google Scholar
https://scholar.google.com/scholar?q=laminate+flooring+cracking+causes+moisture+installation - Google Scholar Google Scholar
https://scholar.google.com/scholar?q=laminate+floor+gap+crack+repair+filler+replacement - https://en.wikipedia.org/wiki/Laminate_flooring
- https://en.wikipedia.org/wiki/Wood_flooring
- https://en.wikipedia.org/wiki/Wood_shrinkage
- https://en.wikipedia.org/wiki/Moisture_content_of_wood
- Floor
https://en.wikipedia.org/wiki/Subfloor - https://www.epa.gov/mold/mold-prevention-moisture-and-humidity
- https://www.cdc.gov/mold/default.htm