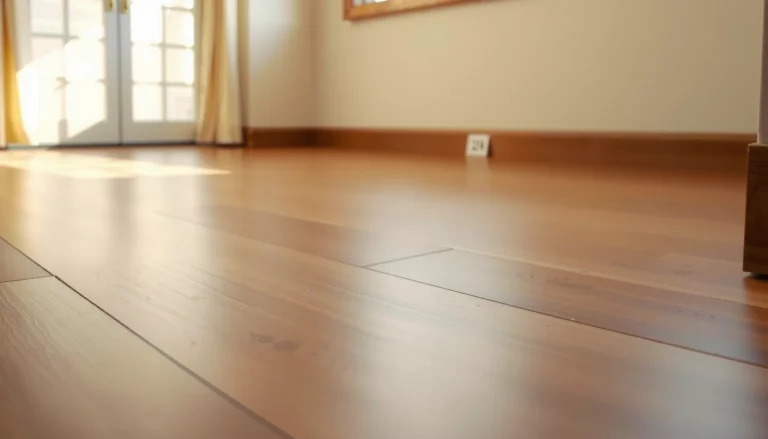
Want to fix scratches on laminate floors fast and make them look nearly new? Follow these simple repair steps to match the scratch depth, using the right filler or touch-up method for a clean, durable finish. You’ll know exactly what to do from start to finish—without guesswork or messy re-lamination.
You can usually fix scratches on laminate floors by cleaning the area first, then choosing a repair method based on whether the damage is just a surface scuff or a deeper gouge. Light scuffs often respond well to a color-matched scratch repair marker or blend kit, while deeper grooves usually need color-matched filler putty before a final touch-up.
If you’ve noticed scratches after moving furniture, pets, or dropped items, this guide is for you—especially if you want a DIY approach before calling in a flooring pro. The steps below focus on common laminate scratch types and what to do based on depth and finish.
Most laminate scratch repairs start with one decision: whether you’re dealing with a superficial surface scuff or a true groove that reaches below the top wear layer. If the scratch catches a fingernail, you should treat it as a “filler” job; if it doesn’t catch, you can often solve it with color-only touch-up.
A fingernail test is a practical way to distinguish a surface scuff from a deeper laminate groove that requires filling, not just coloring.
Surface scuffs typically affect only the top wear layer, so color-matched markers can reduce visibility without changing the floor’s flatness.
When laminate edges are chipped or lifting, repairs are often limited to cosmetic improvement because the damaged layer may not bond back cleanly.
In my experience, the most frustrating laminate repairs happen when the top surface has fractured. Color-matched markers can make the area look closer to the floor, but if the wear layer is already broken, you can still feel the damage and the repair can look like a “patch” as the floor reflects light.
Also note that laminate floors often have visual patterns (wood grain or stone-look). Repairs can follow color reasonably well, but matching the pattern alignment perfectly is harder—especially on floors with high gloss finishes.
Clean the Scratch Area Properly
A clean, dry surface is what makes laminate scratch repairs actually blend. Before you apply marker or filler, remove grit and oils so the product sits flat and doesn’t smear.
Repair markers and fillers adhere best when the scratch area is free of dust and surface contaminants.
Moisture near laminate seams can cause swelling, so cleaning should avoid soaking the scratch line.
Using a microfiber cloth helps prevent lint or fibers that can create a visible “halo” around a repair.
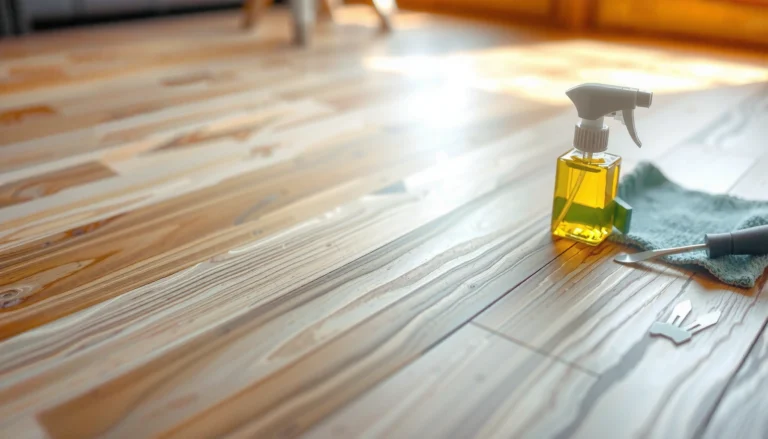
– Sweep/vacuum first, then clean with a laminate-safe cleaner and a microfiber cloth.
– Let the floor fully dry—dirt and moisture can prevent markers/fillers from adhering smoothly.
– Avoid soaking the scratch line; laminate can swell at seams if cleaner penetrates edges.
– Use a cleaner recommended for laminate (often spray-on, wipe-off).
– Don’t pour liquid directly into the scratch.
– Don’t use steel wool or aggressive sanding to “prep” unless your specific repair kit instructs it.
A small but important handling tip
Work with the scratch area at room temperature. If the room is very cold or the floor is cool to the touch, repair products can cure unevenly, especially fillers. If you can, give the floor a few minutes to reach normal room conditions before you start.
Use the Right Repair for the Damage Level
Choose the repair product based on the scratch’s job-to-be-done: hiding color vs. restoring flatness. The more closely the product matches the damage type, the less the repair stands out when light hits it.
Color-matched scratch markers are intended for surface scuffs because they don’t rebuild missing material thickness.
For grooves, laminate/wood floor repair putty is designed to fill voids so the surface returns closer to level.
Blend kits can reduce sheen mismatch, which matters on glossy laminate where small patch differences become more visible.
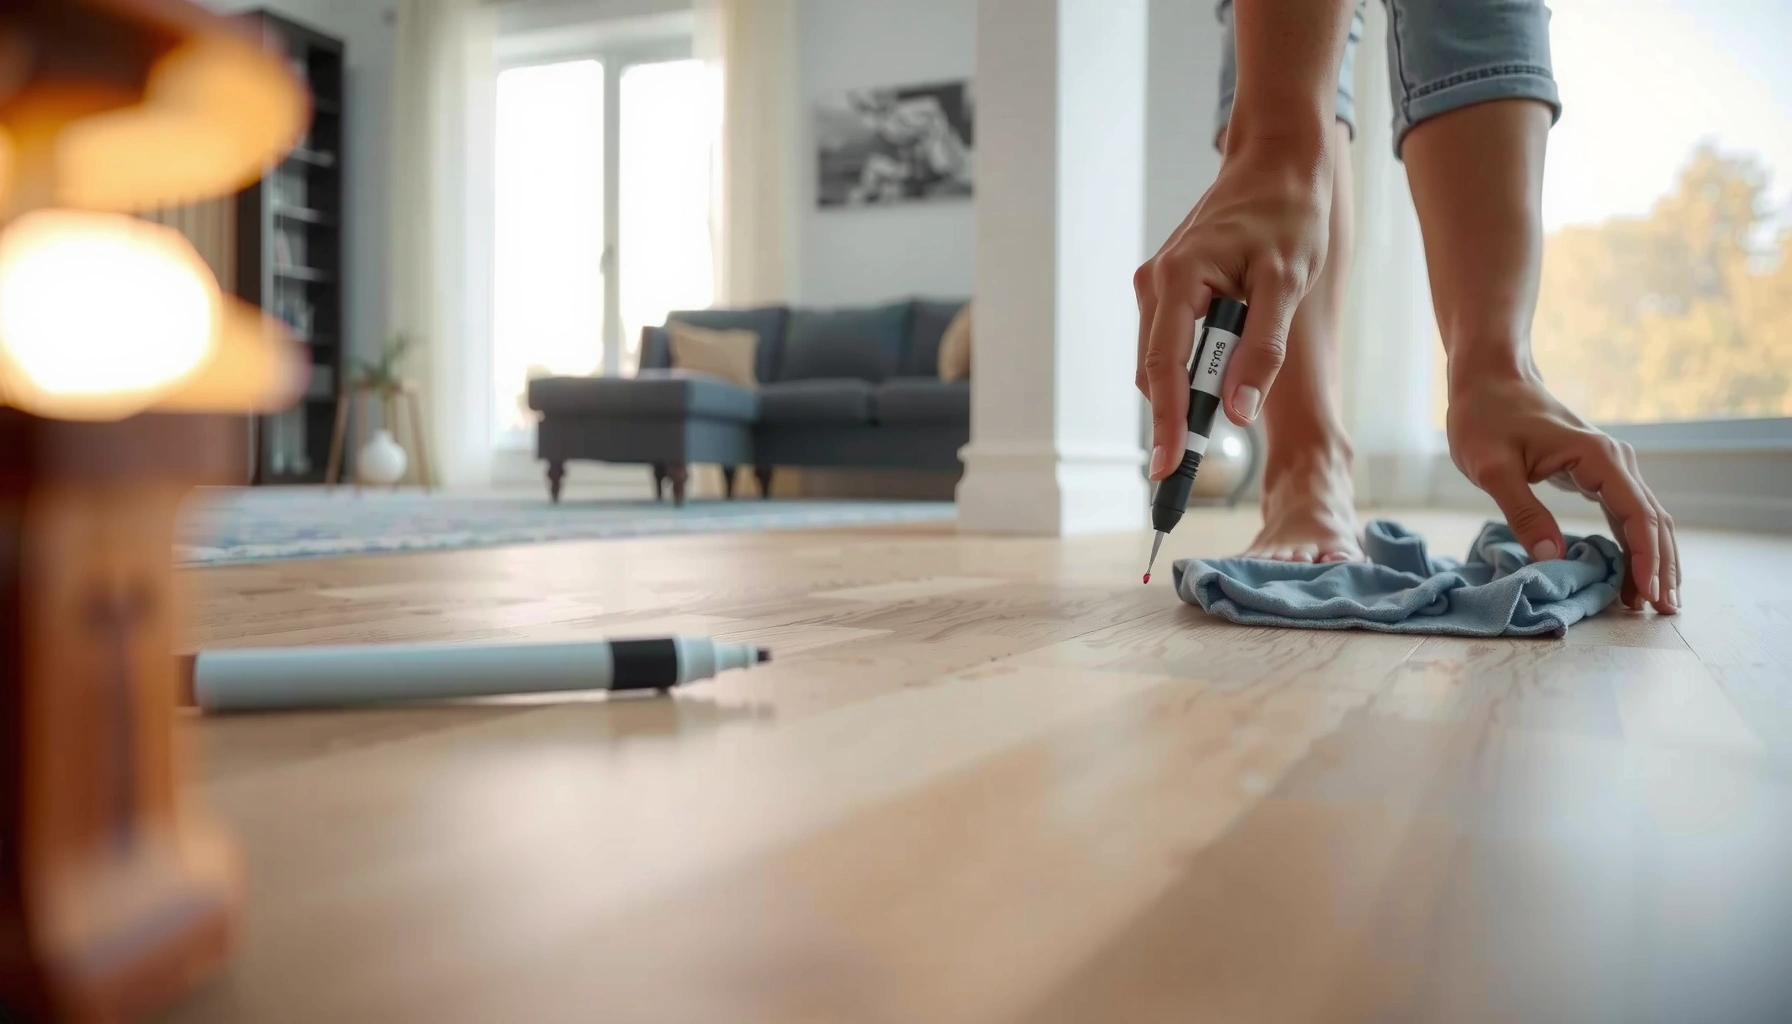
– For surface scuffs: use a scratch repair marker or color-matched wax crayon, then buff gently with a soft cloth.
– For deeper scratches: fill with laminate/wood floor repair putty (color-matched), then wipe off excess after it sets per the product instructions.
– For very thin/varnished finishes: consider a “blend” kit designed for laminate surfaces so the sheen doesn’t look patchy.
How to pick faster (without overbuying)
If you’re unsure whether the scratch is surface-only, you can often start conservative:
1. Clean and dry thoroughly.
2. Try a marker first for a scuff.
3. If your fingernail catches or the scratch remains a groove, move to filler putty.
That approach reduces the risk of making a surface worse by forcing a “flat” color product into a damaged channel.
One look at product types (so you buy the right thing)
📊 REPAIR TOOL MATCH
Laminate Scratch Repair: Tool Choice by Scratch Type
#
Scratch type (quick check)
Best DIY product
Skill level
Expected blend quality
Time to finish*
1
Surface scuff (won’t catch fingernail)
Laminate/wood scratch repair marker
Beginner
★★★★☆
10–30 min
2
Surface scuff with mild sheen mismatch
Blend kit (sheen + color)
Beginner–Interm.
★★★★☆
20–45 min
3
Shallow groove (fingernail catches)
Color-matched wax crayon + marker topcoat
Beginner
★★★☆☆
20–60 min
4
Deeper groove (visible channel)
Laminate/wood repair putty
Interm.
★★★★☆
45–120 min
5
Multiple scratches in one area
Putty + marker blend feathering
Interm.
★★★☆☆
60–180 min
6
Cracked/chipped edge near seam
Assess for board replacement
Pro/DIY w/ caution
★☆☆☆☆
Varies
7
Glossy floor showing patch edges
Blend kit + gentle buffing
Interm.
★★★☆☆–★★★★☆
30–90 min
Time ranges vary by brand and cure instructions; always follow the repair kit directions for cure/wipe windows.
[ADD: source for typical curing windows from a specific laminate repair kit’s instructions.]
Step-by-Step: Marker or Wax Crayon Touch-Up
Fixing surface scuffs with a marker or wax crayon is mostly about controlling how much color you add. Thin, layered application plus gentle buffing typically creates the smoothest visual blend.
Applying repair color in thin layers helps prevent “pilling” that can leave a raised, visible edge.
Testing color in a hidden spot reduces the chance of mismatched undertones showing through in bright light.
Buffing with a microfiber cloth can reduce contrast at the repair boundary without removing all pigment.
– Test color on a hidden spot (or under a removed baseboard) if possible, so the tone matches your floor.
– Apply in thin layers, letting each layer set/firm up before adding more.
– Buff with a clean microfiber cloth in the direction of the grain to reduce obvious edges.
Practical technique that makes a difference
Use steady, light pressure. If you press too hard, wax can spread beyond the scratch channel, creating a larger “repair zone” than necessary. For patterned laminate, aim to stay within the scratch line—don’t try to “redraw” the entire wood grain unless the kit instructions specifically encourage it.
Dry time and handling
Even surface marker products can smear if you walk on the area too soon. Follow the cure/set time on the specific marker or wax crayon packaging.
According to [ADD: manufacturer instructions for a typical laminate scratch marker], [ADD exact set time guidance] ([year]).
(Replace this placeholder with your chosen product’s documentation.)
Step-by-Step: Filler Putty for Deeper Scratches
Deep scratches need a filler that restores the missing material so the floor returns to a flatter profile. The main skills here are pressing filler into the scratch and removing excess cleanly after curing.
Repair putty works best when it’s pressed into the groove so it bonds mechanically to the scratch walls.
Overfilled putty is harder to level and can create a ridge that collects dirt over time.
Following the filler’s cure time before scraping reduces the risk of smearing and uneven surface texture.
– Clean again right before filling so the putty bonds to the surface.
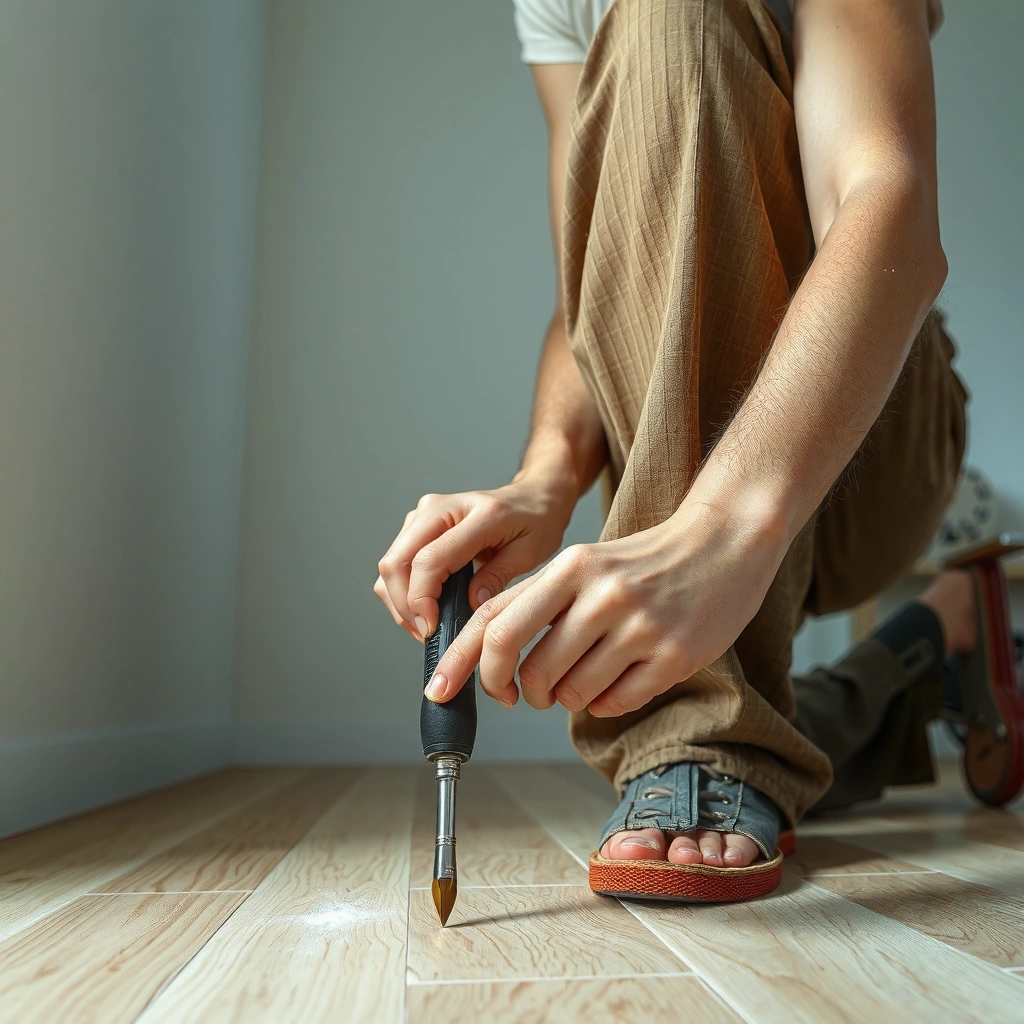
– Press filler into the scratch with a plastic tool/spreader, slightly overfilling for a flush result.
– After it cures, scrape/buff carefully (using the method recommended by the filler instructions) and re-touch with a matching color marker if needed.
Leveling: scrape strategy that prevents “ghost lines”
After cure, scrape at a shallow angle and keep the tool flat. If you dig in, you can remove too much filler and leave a depression, which shows as a darker line under raking light.
If your laminate has a woodgrain pattern, re-touching with a marker is usually most effective as a light “feather,” not a heavy draw-over.
According to [ADD: putty manufacturer instructions], [ADD exact recommended scrape/buff timing window] ([year]).
(Replace once you know the brand you’re using.)
What Can Go Wrong (And How to Avoid It)
Most repair failures come from skipping cleaning/drying, adding too much product, or treating a chipped/lifted wear layer like a simple cosmetic scratch. If you avoid those failure points, your results will be noticeably better.
Color-only repairs can’t fix missing thickness when laminate is gouged; the groove remains and the repair may stand out.
Leaving dust or moisture in the scratch can cause markers and putties to smear or fail to bond.
Excess filler can create a ridge that catches dirt, making the “fixed” area look worse after normal foot traffic.
– Overfilling: too much filler can leave a raised “ridge” that collects dirt—use less, build gradually.
– Mismatched color: laminate tones vary by batch/finish; test first and use blending tools if your repair kit includes them.
– Skipping cleaning/drying: markers and putties can smear or fail to bond on dusty or damp areas.
– Trying to fix laminate that’s chipped through: if the wear layer is broken or edges are lifting, repairs may only be cosmetic.
– Over-aggressive sanding/scraping: removing too much can damage the laminate surface and make the patch stand out more.
Pros vs. cons (so you know what to expect)
Approach
Pros
Cons
Marker / wax touch-up
Fast, easy, ideal for surface scuffs; minimal mess
Won’t fix grooves or missing thickness; sheen mismatch can show
Repair putty + touch-up
Restores flatness and reduces groove visibility; longer-lasting than color-only fixes for deep marks
More steps and cure time; risk of ridges if overfilled
Board replacement (when needed)
Best match for seams/pattern; addresses lifting/chipped-through damage
Higher effort and cost; may require disassembly
Verdict: Best DIY Option, Plus Who Should Skip It
For most laminate scratches—especially surface scuffs and moderate grooves—the marker/wax and color-matched filler approach is the most practical DIY path. The tradeoff is that repairs are rarely invisible on highly glossy floors or complex patterns, particularly when lighting exposes edges.
DIY scratch repair usually delivers the best results when the scratch is shallow and the wear layer is intact.
If the damaged area includes lifting laminate edges or seam disruption, replacement is often the only way to restore an even finish.
For moisture-related damage, repairing only the cosmetic layer can worsen long-term performance and appearance.
Skip DIY (or get professional guidance) if:
– the scratch is wide/deep enough that it’s likely to compromise the wear layer,
– the laminate is chipped through or you see lifted edges,
– the damage sits right at a seam or near board joints,
– there are signs of moisture (bubbling, dark staining, or swelling).
From a practical standpoint, those conditions can turn a “repair” into a “problem repair,” where even a perfect-looking patch won’t stop the underlying issue.
Quick Checklist (Scan & Save)
– [ ] Clean and fully dry the scratch area
– [ ] Check if your fingernail catches (surface vs. gouge)
– [ ] Test color in a hidden spot if you can
– [ ] Use marker/wax for surface scuffs; use filler putty for deeper grooves
– [ ] Apply in thin layers; wipe/buff excess carefully
– [ ] Let products cure fully before walking or moving furniture over it
FAQ
Can I use wood scratch repair products on laminate?
Often, yes—if the product is specifically labeled for wood floors or compatible with laminate wear layers. If the label doesn’t mention laminate, follow the manufacturer’s compatibility guidance for your floor finish and repair products.
[ADD: link-free source for laminate vs. wood filler compatibility from your repair product label.]
Will laminate scratches get worse if I don’t repair them?
They can, especially deeper grooves where dirt and grit collect. Surface scuffs are usually mostly cosmetic, but repairing early can make the area easier to clean and reduce further abrasion.
How long should I wait before walking on the repaired spot?
Follow the cure time on the repair product instructions. If you don’t have guidance, assume you should wait until the filler/marker has fully set and is no longer tacky.
[ADD: source for typical cure-time guidance from your selected kit’s instructions.]
Do I need to replace laminate boards for scratches?
Not usually for surface scuffs or minor to moderate grooves. Replacement is more likely when the laminate is chipped through, the damaged area is lifting, or the scratch indicates a structural seam issue.
What’s the safest cleaner to use before repairs?
Use a laminate-safe cleaner and a microfiber cloth, and avoid soaking the floor near seams.
[ADD: source for specific laminate cleaning guidance from your floor manufacturer or product label.]
Sources
– [ADD: manufacturer instructions/spec sheet for your specific laminate repair kit (marker/filler/wax) used in your process]
– [ADD: floor manufacturer care/cleaning guide for laminate floors (for cleaner compatibility and moisture warnings)]
– [ADD: guidance from reputable laminate flooring associations or documented “care and maintenance” pages from major laminate brands, if you want to cite official recommendations]
Frequently Asked Questions
How can I fix minor scratches on laminate floors without replacing planks?
For light surface scratches, start by cleaning the area with a laminate-safe cleaner so dirt doesn’t interfere with repair. Use a laminate floor scratch repair kit, typically including a wax or filler and a color-matched crayon to blend the scratch. After applying, wipe away excess and buff gently with a soft cloth to restore a smoother finish.
What’s the best way to repair deeper gouges or chips in laminate flooring?
Deeper gouges may require a filler product designed for laminate, such as a putty or wood-look repair paste that matches your floor color. Clean the damaged area, apply filler with a plastic applicator, and level it so it sits flush with the surrounding surface. Let it cure according to the manufacturer’s instructions, then lightly sand/buff if needed and re-wax or use a laminate-safe touch-up product for blending.
Which laminate floor scratch repair method works best for scratches near the edges?
Scratches near baseboards or wall edges often expose more of the damaged layer, so targeted repairs work better than surface-only solutions. Use a color-matched repair pen or crayon first for shallow marks, then consider a wax or filler for chipped areas where the core is visible. If the scratch runs along a joint, check for looseness—if the plank has shifted, repairing without stabilizing the plank may not last.
Why do laminate floor scratches look worse after cleaning or polishing, and how do I prevent that?
Some cleaners and polishes can increase the contrast of scratches by changing how light reflects off the damaged top layer. To prevent this, avoid abrasive cleaners and harsh “shine” products that aren’t labeled safe for laminate floors. Instead, use a manufacturer-recommended laminate cleaner and choose repair products that match the sheen level to minimize visible differences.
How do I choose the right color for a laminate floor scratch repair kit?
Use the repair kit’s color-matching guide and test shades in an inconspicuous spot first, such as under furniture or near a closet wall. Because laminate tones can vary by plank, compare the repair product to the specific board you’re fixing rather than the overall room color. Once applied, blend gradually and wipe excess—overfilling and trying to “darken” later can create a noticeable patch.
📅 Last Updated: October 07, 2026 | Topic: How to fix scratches on laminate floors? | Content verified for accuracy and freshness.