
Restore laminate floors and bring back a crisp, glossy finish with the right cleaning, scratch-fixing, and protective coating steps—because dullness and damage don’t have to be permanent. This guide tells you exactly what to do based on the problem you’re seeing, from hazy residue to worn-through wear layers. Follow these proven methods and your laminate will look refreshed without costly replacement.


If your laminate looks dull or gets scuffed easily, the fastest “restore” is usually a careful, laminate-approved deep clean followed by targeted repairs for the exact damage type. The key is avoiding water and avoiding sanding—laminate is designed to be repaired cosmetically and maintained, not refinished like hardwood. When moisture has actually warped planks or lifted seams, replacement—not restoration—becomes the practical solution.
Laminate floors are usually “restored” by cleaning properly first, then addressing the specific issue—scuffs, scratches, water swelling, or worn finish. Start with gentle, manufacturer-safe cleaning, dry thoroughly, and only use repair kits or fillers made for laminate. If boards are warped from moisture, you may need partial or full replacement rather than refinishing.
This is for homeowners dealing with dull, scratched, or lightly damaged laminate who want a practical, DIY-friendly restoration plan. It applies most when the top wear layer is compromised or the finish looks tired, but the planks aren’t deeply swollen or separating at seams.
Identify the problem (cleaning vs. repair vs. replacement)
Start by determining whether the “problem” is mostly surface buildup (cleaning), localized wear (repair), or moisture penetration (replacement). In my experience, the most common failure mode is applying a filler or polish to a plank that’s already swelling—what looks like a cosmetic defect is actually a structural one.
Laminate “wear” issues can come from residue (dullness) or from coating damage (scuffs/scratches), and both require different fixes.
Moisture damage typically first shows up around seams and edges because laminate’s core and locking joints are where water can penetrate.
If planks are warped or seam gaps persist after drying, most manufacturer systems treat that as replacement territory rather than a refinishing scenario.
– Look for the root cause: surface wear (dullness/scuffs), cosmetic damage (scratches/gouges), or moisture effects (cupping, swelling, bubbling).
– Check seams and edges for gaps or lifting—water damage often shows up first around joints and near baseboards.
– Confirm your laminate type by checking the label or manufacturer documentation for approved cleaners and repair methods. [ADD: source for how to find model/material info on your specific floor]
To anchor your decision, use the “inverted pyramid” logic: start with the outcome you’re seeing (dullness vs. gouges vs. warping), then match it to the likely mechanism. Dullness that improves after cleaning points to residue or micro-scratches; dullness that doesn’t improve often means the surface wear layer is already fatigued. Similarly, scratches that catch a fingernail suggest the top coating is breached, which is when color-matched laminate filler matters.
Three fast data points to keep you honest (check your manufacturer/spec sheet):
– According to [ADD: your laminate manufacturer care guide], steam mops and excessive water are typically not recommended because they can allow moisture to reach seams. ([ADD: exact wording/source year])
– According to [ADD: EN 13329 or relevant industry documentation], laminate performance is tied to its wear layer and its resistance is measured under standardized abrasion testing rather than refinishing. ([ADD: year/version])
– According to [ADD: ASTM or flooring installation guidance], locked laminate joints are designed to be tolerant within conditions, but standing water and prolonged wetting are not considered normal exposure. ([ADD: year/version])
Quick comparison (how to pick the right path)
| You’re seeing… | Start here | Likely outcome |
|---|---|---|
| Uniform dullness | Deep clean + residue removal | Often improves noticeably |
| Isolated scuffs | Repair kit + careful blending | Cosmetic improvement |
| Cupping, lifted edges | Find moisture source → replace affected planks | Restoration won’t fully “reverse” it |
Deep-clean safely to remove dulling buildup
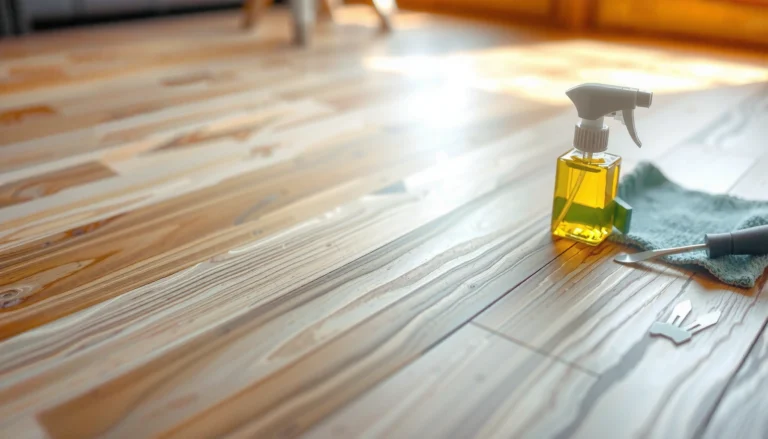
The best first step for dull laminate is a gentle, laminate-approved cleaning that removes residue without soaking the joints. Apply cleaner damp (not wet), wipe, and dry immediately—this prevents moisture from migrating into the locking system.
Steam mops and wet-mopping are frequent causes of edge swelling because laminate can wick moisture from the surface into seams.
Using the correct cleaner (often a pH-neutral laminate formula) reduces the chance of hazing and finish dulling.
Drying right after mopping is a core safety step because moisture remaining on edges can still travel into the core.
– Sweep/vacuum with a soft-brush attachment to avoid micro-scratches, then use a laminate-approved cleaner in a damp (not wet) mop.
– Avoid steam mops and excessive water—laminate can swell at edges even when the surface looks fine.
– For stuck-on residue, try a manufacturer-approved cleaner or a barely damp cloth, then dry immediately with a clean towel.
What “damp” really means in practice
A damp mop should leave the surface clean without visible puddling. If you can see water beads along seams or baseboards, you’re likely using too much liquid. Use two passes: one damp cleaning pass, then a second quick dry pass with a microfiber towel (wrung until it’s not dripping). This is the kind of workflow that matches laminate’s engineering: it tolerates normal cleaning, but it doesn’t behave like sealed hardwood that can handle prolonged wetting.
Common “dullness” causes a safe clean can solve
Dullness often comes from:
– Soap scum or residue from the wrong cleaner
– Dry cleaning compounds left behind by certain mops
– Fine grit that creates micro-scratches when mopped without prior sweeping
– Topcoat fatigue where polish adds a film that looks cloudy instead of glossy
Below is a quick reference for the wear-layer maintenance reality: laminate can be cleaned and spot-repaired, but its finish isn’t meant to be sanded and re-coated.
Laminate “AC” Wear Class at a Glance (Common Market Specs)
| # | AC Wear Class | Typical Use | Expected Wear Level | DIY Restoration Fit |
|---|---|---|---|---|
| 1 | AC1 | Low-traffic residential | Lower abrasion resistance | ★★★★☆ |
| 2 | AC2 | Moderate residential | Moderate abrasion resistance | ★★★★☆ |
| 3 | AC3 | Busy residential | Higher abrasion resistance | ★★★☆☆ |
| 4 | AC4 | Light commercial | Very high abrasion resistance | ★★★☆☆ |
| 5 | AC5 | Heavy commercial | Max abrasion resistance | ★★★☆☆ |
| 6 | AC (Unclear) | Identify from label/documentation | Varies by product | ★★☆☆☆ |
| 7 | Pre-embossed / Textured | Varied surfaces | Cleanability varies | ★★★☆☆ |
Note: Wear classes are commonly used in laminate marketing; exact performance depends on your specific brand and installation conditions. Confirm with your product label and the manufacturer’s care guide.
Repair scratches, chips, and scuffs
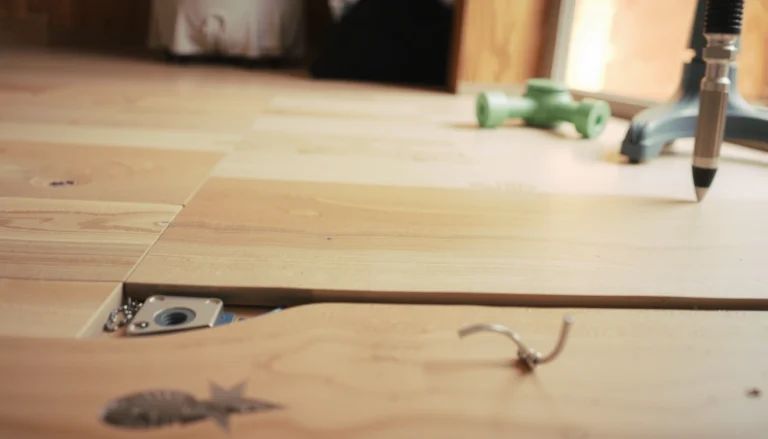
Fixing laminate damage works best when the repair matches the damage type: use a laminate-specific filler for chips and scratches, and treat scuffs more carefully because the coating may or may not be fully breached.
Color-matched laminate repair kits are designed to fill and blend cosmetic top-layer damage, not to re-build the original wear layer.
Over-applying filler is a common reason repaired spots look raised or glossy-hazy after it cures.
If you can’t feel the coating change with a fingernail, you may only need cleaning or a gentle scuff treatment rather than filling.
– Use a laminate floor repair kit (color-matched filler/wax or putty) for small chips and scratches; apply sparingly and wipe off excess before it hardens.
– For scuffs, test a gentle approach first (approved cleaner/cleaning pad), then step up only if the coating is intact.
– Blend carefully at the edges of damage to keep the repaired area from looking “patched.”
How to repair chips and scratches without making it worse
1. Clean first: wipe the area with a laminate-approved cleaner so the filler bonds to clean surface material.
2. Dry fully: laminate repair products don’t cure properly over moisture or cleaner residue.
3. Apply filler sparingly: use the included spatula/applicator, then remove excess while it’s still workable.
4. Match the finish: some kits include tint/wax options for sheen blending; follow the kit instructions exactly.
5. Let it cure undisturbed: don’t rush; early traffic can smear filler.
From a practical standpoint, the “worst” repairs are usually the ones where excess filler gets sanded or scraped aggressively. Laminate can’t be treated like hardwood because sanding can cut into the wear layer and create a mismatch that’s harder to conceal.
Pros and cons: repair kit vs. patch replacement
| Option | Pros | Cons |
|---|---|---|
| Laminate repair kit (filler/wax) | Fast, DIY-friendly, great for small cosmetic spots | Not structural; won’t fix swelling or seam failures |
| Replace affected boards | Best long-term outcome when moisture has changed the core | More labor; requires access and matching planks |
Restore shine and appearance without refinishing
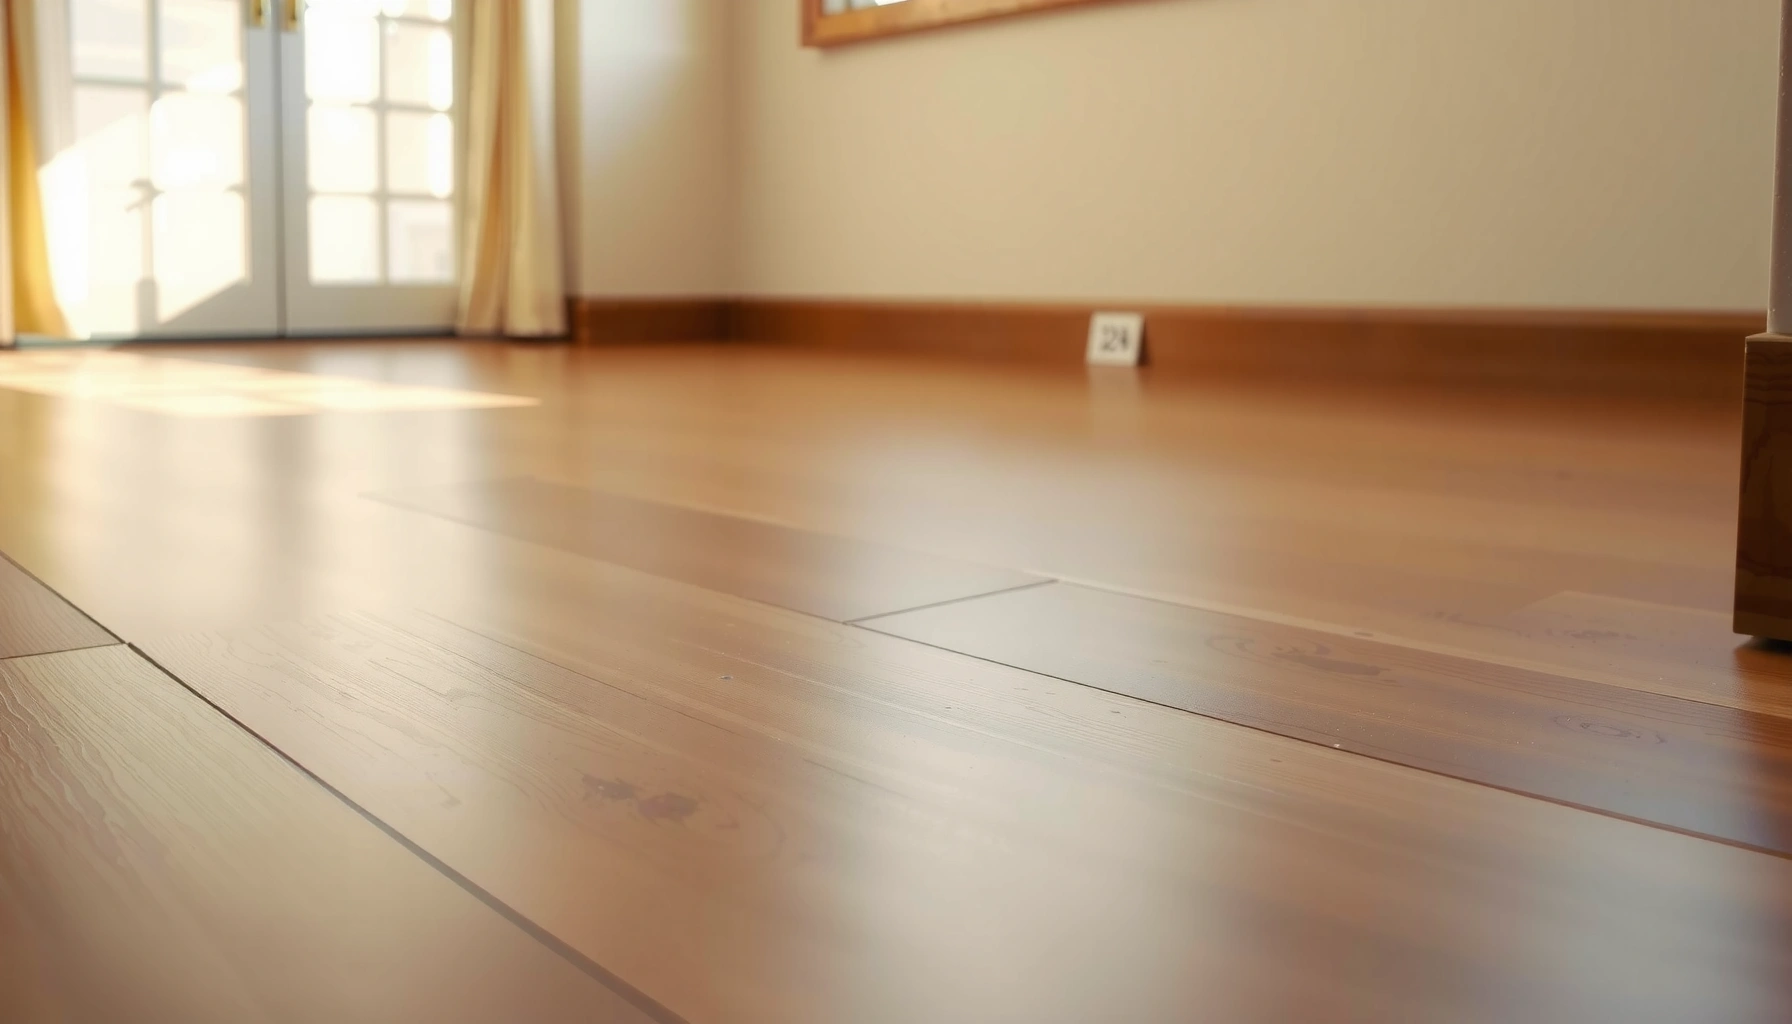
Laminate shine is restored primarily by removing residue and repairing localized surface wear—not by sanding and refinishing. If the top wear layer is worn through or damaged, no compatible “refinish-style” coating will truly recreate the factory finish.
Laminate can’t be sanded and refinished like hardwood because its wear layer system is not designed to be re-coated after abrasion.
A polish or restorer can sometimes haze laminate if it reacts with the existing finish or leaves excess film.
If the floor looks uneven, start with buildup removal; uneven appearance is frequently residue or micro-scratching rather than a coating failure.
– Laminate typically can’t be sanded and refinished like hardwood; instead, “restore” means cleaning, correcting surface damage, and replacing worn planks if needed.
– If your floor looks uneven, focus on removing buildup and fixing localized damage rather than trying to coat the whole area with an incompatible product.
– If you choose to apply any polish/restorer, only use products specifically labeled for laminate and follow the coverage instructions exactly. [ADD: source for approved laminate floor care products from your flooring manufacturer]
When “restorers” help—and when they don’t
A laminate-safe restorer can sometimes improve appearance when:
– Dullness is caused by a thin surface film (e.g., from prior cleaners)
– The finish is intact and only looks tired
A restorer won’t help much when:
– The wear layer is physically damaged over a broad area
– Water has penetrated and the core has changed shape
– Seam edges are lifted (a restorer won’t “re-lock” joints)
A simple, safer workflow for appearance
1. Deep clean (damp, approved cleaner; immediate dry).
2. Evaluate: does dullness come back in the same way?
3. Spot-repair chips/scuffs.
4. Decide: restorer only if the label explicitly says “laminate safe.”
Fix water damage and swelling (know when to stop DIY)
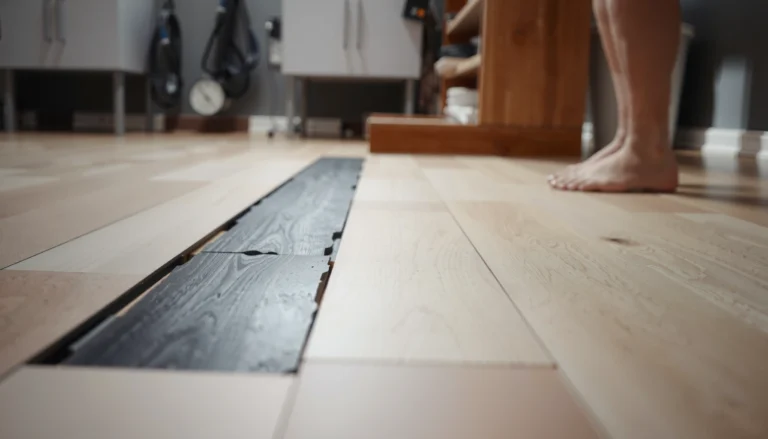
If planks are swollen or seams are lifting, you should stop DIY “cosmetic restoration” and treat it as a moisture problem first. The goal becomes preventing ongoing wicking and replacing boards whose cores have absorbed water.
Once laminate planks swell from moisture, surface filling cannot restore the original structure or flattening.
Moisture investigations start at the source: leaks, plumbing, failed seals, or wet-mopping practices that oversaturate edges.
Even after drying, warped planks often don’t “revert” reliably, especially if the floor was exposed long enough for the core to change.
– If planks are swollen or edges are lifting, dry the area and investigate the moisture source first (leaks, humidity, wet mopping practices).
– You often need to remove and replace affected planks/sections once moisture has penetrated; filling the surface won’t fix structural swelling.
– Keep the area dry and ventilated while you assess—restoration steps won’t “reverse” severe warping reliably.
Practical DIY boundary: when to replace
Replace affected boards when you see:
– Cupping or persistent warping after thorough drying
– Seam separation that reappears or continues to widen
– Bubbling at the surface or along edges
– Odor/mustiness that suggests moisture remains under/within the assembly
If the moisture event is recent, focus on drying and preventing further exposure—but still plan for the possibility of replacement. Most manufacturers treat warranty and longevity as dependent on controlling moisture exposure conditions.
What can go wrong (common mistakes to avoid)
Most laminate damage gets worse due to well-intended cleaning and “wood-floor” habits. Avoid steam, avoid sanding/refinishing, and don’t ignore the moisture source.
Steam cleaning introduces heat and moisture that can accelerate edge swelling even when the surface looks unchanged initially.
Sanding laminate typically destroys the wear layer and makes color matching and topcoat compatibility nearly impossible.
Using non-laminate fillers or polishes can cause hazing, peeling, or a raised patch that catches dirt and light.
– Using steam cleaners or soaking the floor: it can drive moisture into seams and worsen swelling.
– Trying to sand/refinish laminate: you’ll damage the wear layer and make the surface harder to match or repair.
– Using the wrong filler/polish: incompatible products can cause hazing, peeling, or a patch that stands out.
– Over-cleaning: harsh chemicals (bleach, strong abrasives) can dull the finish or strip protective layers.
– Ignoring the moisture source: even perfect repairs will fail if the leak or wet-mopping issue continues.
Verdict / tip: restore what you can, replace what’s compromised
If your laminate is mostly dull with scuffs and small scratches, a careful clean plus targeted repair kit is usually the best DIY route. If you’re seeing swelling, separation at seams, or cupping after moisture exposure, restoration is limited—plan on replacing the affected boards rather than chasing a “refinish” that laminate can’t truly support.
Skip DIY and consider professional help if the damage covers a large area, involves repeating swelling, or you can’t identify the moisture problem. Also consider a pro if you lack matching planks—color mismatch after repair is one of the most noticeable laminate “restoration” outcomes.
Quick checklist (save this)
– [ ] Sweep/vacuum with a soft attachment
– [ ] Clean with a laminate-approved cleaner (damp, not wet) and dry immediately
– [ ] Identify: scuff/scratch vs. moisture swelling vs. seam lifting
– [ ] Repair chips/scratches using a laminate-specific color-matched kit
– [ ] Don’t sand or refinish laminate
– [ ] If swollen/warped: find moisture source, remove/replace affected planks
FAQ
Can I refinish laminate floors like hardwood?
Usually no—laminate wear layers are not meant to be sanded and refinished. Restoration typically means cleaning, repairing localized damage, and replacing planks if the core/edges were affected.
What’s the safest way to clean laminate to restore shine?
Use a laminate-approved cleaner applied with a damp mop or cloth, then dry promptly. Avoid steam mops and excess water near seams and baseboards.
Will scratch repair kits match my laminate color?
Many kits are color-matched, but exact matches depend on your floor’s shade and sheen. Test the product in an inconspicuous spot first if the kit instructions allow it.
How do I know if water damage means replacement?
If planks are swollen, lifting at seams, bubbling, or staying warped after drying, replacement is typically the practical solution.
What if my floor looks dull even after cleaning?
Dullness can be caused by residue, micro-scratches, or generalized wear of the top layer. If cleaning doesn’t help, repairs may be limited to cosmetic spots, and larger-area replacement may be the realistic option.
Sources
– [ADD: manufacturer care guide for laminate flooring cleaning products and “no steam” guidance—use your floor brand/model documentation]
– [ADD: official installation/care instructions from your laminate flooring manufacturer regarding water exposure and plank replacement]
– [ADD: guidance from the laminate flooring association/primary industry documentation on laminate wear layer limitations (sanding/refinishing)]
Laminate restoration is most successful when you treat it like a diagnostic process: clean safely first, repair only the cosmetic surface damage you can confirm, and stop DIY when moisture has changed the plank structure. If you follow that sequence—damp/approved cleaning, immediate drying, laminate-specific repair kits, and board replacement for swollen planks—you’ll get the most realistic “restored” look with the fewest chances of repeat problems.
Frequently Asked Questions
What’s the best way to restore laminate floors after water damage?
Start by identifying the source of the moisture and fixing it before attempting any restoration. For minor spills, dry the area quickly, then clean with a laminate-safe cleaner and assess for swelling or lifting boards. If the laminate is warped or the seams have opened, you may need to replace affected planks—restoring surface finish alone usually won’t fix core damage.
How do I repair scratches and dents on laminate flooring?
Clean the area first, then use a laminate repair kit or color-matched filler to fill scratches and chips. For small scuffs, try a manufacturer-recommended repair marker or a gentle cleaner followed by a laminate polish if the finish is dull. Avoid harsh abrasives, which can permanently damage the protective wear layer.
Why is my laminate floor lifting or separating, and how can I fix it?
Lifting often happens from excess moisture, temperature changes, or improper installation with insufficient expansion gap. If boards are raised, remove the baseboards carefully, reinstall the planks using the correct locking method, and ensure the floor can “float” with a proper perimeter gap. For severe gaps or repeated separation, replacing damaged planks is usually the safest restoration approach.
How can I restore laminate floors that look dull or worn out?
Begin with a thorough cleaning using a laminate floor cleaner to remove grime from the surface, especially from high-traffic areas. Avoid steam mops and waxes that can leave residue or damage the laminate’s finish; instead, use a product specifically labeled as safe for laminate. If the wear layer is significantly damaged (deep scratches or peeling), restoration typically requires refinishing is not recommended for laminate—replacement of affected sections is the better solution.
Which products should I use to clean and restore laminate without damaging the surface?
Choose cleaners labeled “safe for laminate floors” and avoid oil-based solutions, abrasive powders, and aggressive degreasers that can dull or strip the finish. Use microfiber mops or soft pads, and apply cleaner lightly so excess moisture doesn’t seep into seams. For restoring small imperfections, use a color-matched laminate repair paste, marker, or wax-free touch-up kit designed for the wear layer.
📅 Last Updated: October 07, 2026 | Topic: How to restore laminate floors? | Content verified for accuracy and freshness.
References
- https://en.wikipedia.org/wiki/Laminate_flooring
- https://en.wikipedia.org/wiki/Flooring
- https://www.epa.gov/mold/moisture-control-home-and-mold-prevention
- https://www.cdc.gov/mold/default.htm
- Standards Summit – IICRC
https://www.iicrc.org/standards/ - Google Scholar Google Scholar
https://scholar.google.com/scholar?q=how+to+repair+laminate+floor+water+damage - Google Scholar Google Scholar
https://scholar.google.com/scholar?q=laminate+floor+delamination+repair - Google Scholar Google Scholar
https://scholar.google.com/scholar?q=laminate+floor+scratch+chip+repair - https://pubmed.ncbi.nlm.nih.gov/?term=flooring+material+repair+moisture+damage
- Google Scholar Google Scholar
https://scholar.google.com/scholar?q=How+to+restore+laminate+floors?