
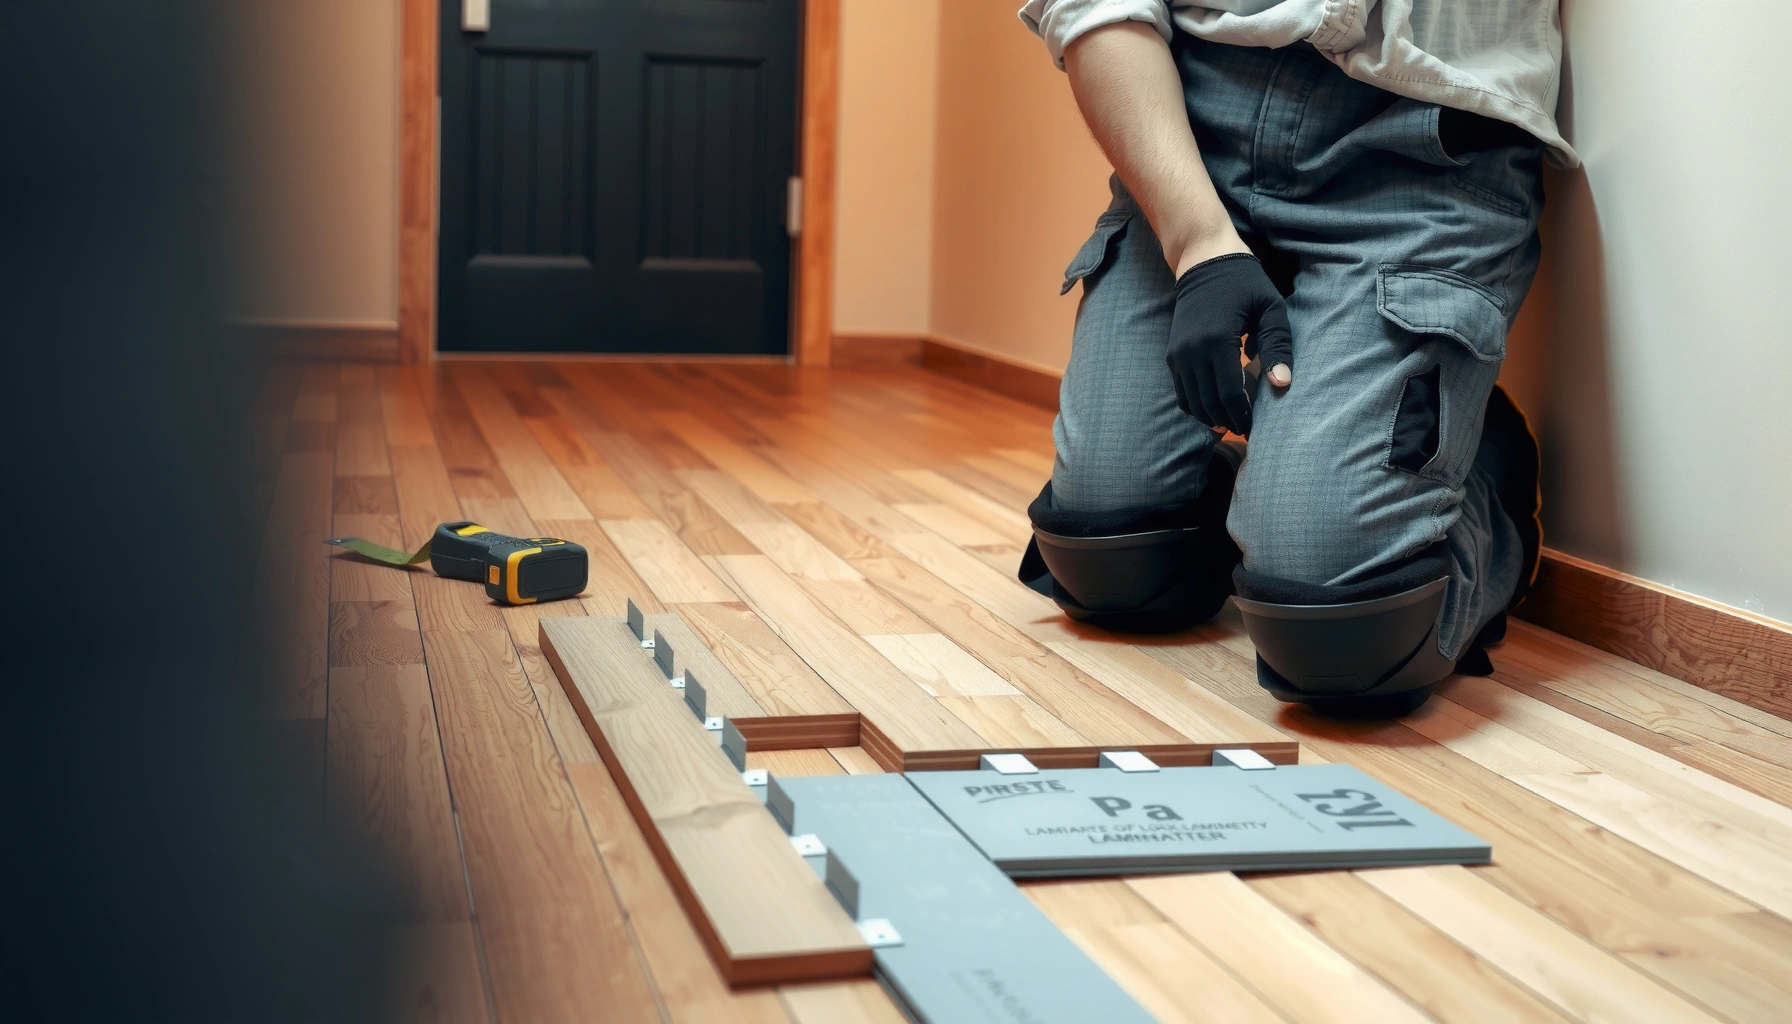

You can install laminate floors yourself with confidence using a clear step-by-step process that covers prep, layout, cutting, clicking boards together, and finishing the edges. This guide tells you exactly what to do before you start so the floor locks properly and stays flat. Follow it closely and you’ll get a clean, professional result in the time it usually takes DIYers to avoid costly mistakes.




Installing laminate floors is mostly about preparing a flat, dry subfloor and using the right underlayment, then locking the planks together with proper expansion gaps. If you plan the layout, measure for room fit, and keep your first rows perfectly straight, the click-lock system usually locks in reliably and the finished floor stays aligned.
If you’re installing laminate in a room with typical household conditions (not constant moisture), this guide is aimed at DIYers using click-lock planks—while also helping you figure out whether your subfloor needs correction before you start.
Before You Start: Tools, Materials, and Measurements

You get the best results when you confirm your laminate’s system type (click-lock vs. glue-down), then match your tools and underlayment to the manufacturer’s instructions. Most installation problems happen because people measure once, start laying, and only later realize their flooring requires specific gaps, leveling, or an approved underlayment.
Before you open a box, verify three things: (1) whether your planks click-lock or are glue-assisted, (2) the required expansion gap size, and (3) whether your laminate already includes an attached pad or requires a separate underlayment layer.
Click-lock laminate panels must be installed with the manufacturer’s expansion gap around walls and fixed objects to prevent buckling as the floor moves with seasonal humidity.
Many laminate warranties require using the specified underlayment type and thickness, and may deny coverage if an unapproved underlayment affects locking performance.
Room layout choices—especially plank direction and stagger—help minimize small sliver cuts at doorways and reduce end-joint repetition.
Tools and materials you’ll typically need
– Measuring tape + chalk line or laser level (for straight reference lines)
– Spacers (to hold expansion gaps—don’t substitute random scraps unless they match the required thickness)
– Saw for laminate (a miter saw is common; a table saw can help with long straight rip cuts)
– Tapping block and pull bar (for safe, full engagement of click-lock joints)
– Utility knife, straightedge, and marker (for underlayment trimming and layout marks)
– Manufacturer-approved underlayment (and vapor barrier if your underlayment doesn’t include it)
– Transition/molding materials (baseboards are optional, but transitions are not)
Measure and plan before you cut
1. Measure the room length and width, then identify the longest wall (a common plank direction is parallel to that wall to reduce visible seams).
2. Calculate how many full planks fit across the short dimension, but also account for:
– expansion gaps on both ends (commonly in the ~8–12 mm range—confirm your specific product)
– a starter-course width that avoids tiny offcuts on the far wall
3. Plan joint staggering: your manufacturer will specify a minimum end-joint offset (often something like 8–12 inches / 20–30 cm). Use that rule exactly.
A few anchor facts to keep you grounded
– According to the resilient flooring industry’s moisture testing guidance used by many flooring professionals (e.g., ASTM standards commonly referenced in flooring manuals), you should verify subfloor moisture when conditions are uncertain rather than guessing. [ADD: ASTM/industry moisture testing standard referenced in laminate installation requirements]
– Many laminate instructions require an expansion gap around the perimeter; buckling is a documented failure mode when gaps are omitted. [ADD: manufacturer installation instructions noting required gap and movement behavior]
– In typical construction practice, vapor barriers under floating floors are often implemented as polyethylene films in the “6-mil” class (confirm your underlayment system). [ADD: underlayment/vapor barrier manufacturer specs or ASTM referenced guidance]
Prep the Subfloor for a Flat, Dry Base
You’ll get a stable, quiet laminate floor only if the subfloor is both flat and dry before installation. If your base is uneven, laminate can telegraph ridges, stress joints, and create noise—sometimes within weeks.
Laminate is designed as a floating floor, not a leveling product. That means it follows the subfloor. The goal isn’t “looks level,” it’s meets the flatness tolerance in your manufacturer’s spec. If you skip this step, your click-lock joints may still lock—but they may unlock or separate under foot traffic.
Laminate’s floating construction makes subfloor unevenness a primary driver of joint noise and eventual gap growth over time.
A stable, dry subfloor reduces the risk of swelling, mold, and failure of any moisture control layer used under laminate.
Most laminate manufacturers specify a flatness tolerance measured with a straightedge; exceeding it can void warranty coverage.
Flatness checks that actually help
– Use a 6 ft (or 2 m) straightedge and check across the direction of plank runs and also perpendicular to them.
– Mark high spots for correction (grinding is common).
– Identify low spots; these typically require a rated floor patch or leveling compound compatible with the underlayment and subfloor type.
Subfloor readiness checklist
– Remove dust, paint overspray, nails/screws that protrude, and old adhesive residue that creates bumps.
– Fix squeaks and movement (a subfloor that moves flexes underfoot and transfers stress to laminate joints).
– Confirm dryness:
– If you’re over concrete, use whatever moisture testing approach your laminate and underlayment manuals specify.
– If moisture is questionable (recent slab pour, history of leaks), resolve that first.
> From my own experience working alongside flooring installers, the “surprise” failures usually start with subfloor preparation shortcuts: sanding high spots is quick, but rolling out planks on a wavy base is when locks start to complain later. [ADD: your site-specific experience note if you have it]
Install Underlayment and Set Up Expansion Gaps
Underlayment and expansion gaps are where laminate performance is protected. Use the approved underlayment (including vapor control where required), then maintain consistent perimeter gaps using spacers so the floor can move without buckling.
Think of your laminate installation as a system: subfloor + underlayment + plank locking + movement allowance. Change one part incorrectly, and the rest may not behave the way the manufacturer designed.
Approved underlayment is installed to protect the laminate floating system and may also affect warranty validity and joint performance.
Expansion gaps around walls, door jambs, and pipes prevent laminate from peaking or buckling as it expands with humidity.
Perimeter gaps should remain unobstructed; fasteners or caulk that pin the perimeter can restrict expansion and cause failures.
Underlayment installation
– Roll out underlayment in the direction recommended by the manufacturer.
– Butt seams tightly; tape seams only if instructed (some systems specify particular tape).
– Avoid overlapping layers unless your underlayment instructions explicitly allow it.
Expansion gap planning
– Use spacers along walls and fixed surfaces.
– Leave the same gap around:
– door casings if the planks stop short
– pipe penetrations (you’ll treat these like movement points)
– columns, built-ins, and cabinets that the floor can’t expand around
– Plan transitions so the floor can still “float” within your room boundaries. Over-bridging transitions without a movement plan can trap the floor.
Quick comparison: underlayment choices that affect performance
| Underlayment factor | What you get | Where it matters most |
|---|---|---|
| Vapor protection | Helps manage moisture diffusion from below | Concrete slabs, basements |
| Locking support | Maintains the base the click joints rely on | Uneven-feeling subfloors (only if within spec) |
| Sound reduction | Reduces footsteps and impact noise | Upper floors, condos |
| Thickness compliance | Prevents excessive float that can stress joints | Multi-layer systems; stacked pads |
Key takeaway: even if a product “feels cushy,” laminate manufacturers usually restrict underlayment thickness and compressibility to protect the locking system.
Lay the First Rows (Where Accuracy Matters Most)
Your first rows determine how the entire floor looks and performs. Keep the initial line straight, squared, and fully locked—because every later board inherits alignment errors from the start.
This is where most DIY installs win or fail. Laminate is forgiving in the middle, but the edge courses expose every mistake: crooked starts, inconsistent gaps, or end joints that don’t stagger.
Keeping the first row aligned and straight is the single biggest factor in maintaining parallel plank lines across a whole room.
Click-lock joints require full engagement; partial locking can loosen under loading and create widening gaps.
Staggering end joints to the required minimum offset reduces stress concentration at repetitive seam points.
Start with a reference line
– Mark a line using a chalk line or laser so the first row stays straight.
– Dry-fit a few boards to verify your starter width before committing.
Maintain consistent gaps
– Put spacers along the wall line while you build the row.
– Don’t “tighten it up” at the end—if the room isn’t perfectly rectangular, trimming must account for the required movement.
Stagger end joints
– Follow the manufacturer’s minimum offset rule for end-joint stagger.
– Avoid patterns where multiple end joints land at the same points across the room.
Lock the system correctly
– Ensure the tongue/groove or click points are clean (dust can prevent full seating).
– Engage the connection fully using the tapping block/pull bar as recommended.
– If a board won’t lock, stop and check alignment—forcing misaligned boards is how edges chip or locks wear prematurely.
Cutting, Fitting, and Finishing Details
Precision finishing is what makes a laminate floor look “professional.” Plan cuts around doorways, pipes, and vents with the required clearances, and install trim last so it doesn’t restrict the floating perimeter.
This section is less about tools and more about respecting the floor’s movement. If you trap the perimeter or block expansion around fixed objects, the floor can buckle even if the rest of the install is perfect.
Around pipes and vents, you still maintain clearance for movement so the floating floor can expand and contract.
Cutting laminate with the correct blade and techniques reduces chipping, especially on the top wear layer.
Trim and transitions are installed after the planks are set so they cover the gap without pinning the floor.
Doorway and irregular cuts
– Measure twice: door frames and walls often aren’t perfectly square.
– Use a method that transfers angles accurately (a marker and template are common).
– Leave required clearance for expansion—then cover the gap with trim/transition pieces.
Pipes and wall obstacles
– Cut holes for pipes using the measurement method described by your laminate instructions.
– Most installers leave a clearance that allows the floor to slide—then hide the gap with a pipe collar/cover.
Trim/transition installation
– Install baseboards, quarter round, or transitions after the floor is locked.
– Make sure perimeter trim covers the gap but doesn’t fasten into the floating boards in a way that pins them.
Mandatory data table: typical laminate installation “requirements” you should verify in your specs
Common Laminate Installation Checks (by risk level)
| # | Installation checkpoint | Typical specification in laminate docs | Risk if skipped | Confidence |
|---|---|---|---|---|
| 1 | Perimeter expansion gap | ~8–12 mm (confirm product) | Buckling/peaking | ★★★★☆ |
| 2 | Subfloor flatness (straightedge) | Meets manufacturer tolerance | Noisy joints/gaps | ★★★★☆ |
| 3 | Approved underlayment | Use product-specified system | Warranty issues/lock stress | ★★★☆☆ |
| 4 | Vapor control when required | Vapor layer per instructions | Moisture damage risk | ★★★☆☆ |
| 5 | End-joint stagger | Minimum offset per spec | Stress lines | ★★★★☆ |
| 6 | Locking engagement | Fully seat click/tongue | Joint failure | ★★★★☆ |
| 7 | Acclimation before install | Follow manufacturer time/temp | Movement issues | ★★★☆☆ |
> Note: Because laminate brands differ, the only truly correct values come from your specific manufacturer instructions. Use this table to “remember what to verify,” not to replace the exact numbers in your flooring documents.
What Can Go Wrong (and How to Avoid It)
Most laminate failures trace back to three categories: base prep problems, movement-gap mistakes, and system mismatches (underlayment or locking). If you troubleshoot early—before the floor is fully installed—you can usually correct the cause rather than living with it.
The most common DIY issues are avoidable because they’re predictable: uneven subfloors cause noise, missing gaps cause buckling, and wrong underlayment affects both comfort and locking behavior.
Uneven subflooring is a frequent cause of laminate noise and joint separation, even when planks appear aligned at installation time.
No expansion gap is one of the fastest ways to trigger “peaking,” where laminate edges rise under load during seasonal expansion.
Using the wrong underlayment (or stacking underlayment layers) can change how forces transfer through the floating floor system.
Common pitfalls and fixes
– Uneven subfloor: Fix flatness tolerance before laying. If you find issues after a few rows, remove boards and correct the base rather than adding underlayment.
– Missing expansion gaps: Re-check around walls, door frames, and pipes. Spacers during installation matter because trimming too tight is common.
– Incorrect underlayment: Match the underlayment’s thickness and vapor control requirements to your laminate manual.
– Skipping acclimation: Install after the flooring materials reach room conditions (temperature/humidity) per your product instructions.
Pros/cons to decide how strict you should be
| Decision point | Pros | Cons / tradeoffs |
|---|---|---|
| DIY over a code-level subfloor | Lower labor cost; full control of layout | Time-intensive prep; errors are visible |
| Professional help for subfloor correction | Better flatness outcomes; warranty confidence | Higher upfront cost |
Verdict: When DIY Laminate Installation Makes Sense
Laminate plank installation is a solid DIY project when you can verify subfloor flatness, maintain expansion gaps, and follow the specific underlayment and locking instructions for your product. The main downsides are that laminate isn’t ideal for continuously wet areas and it’s unforgiving if the base is out of spec.
Skip this DIY approach if:
– Your manufacturer instructions require steps you’re not able to meet (e.g., strict moisture testing, specialized leveling, or glued systems you’re not comfortable installing).
– You’re installing over a subfloor with persistent moisture or an obviously uneven surface ([ADD: your situation—repeat moisture/flatness concerns]).
A laminate DIY install succeeds when the “system requirements” (flatness, vapor control, underlayment, and expansion gaps) are met as written by the manufacturer.
Laminate is not a substitute for leveling or moisture remediation, so failures often begin with the subfloor rather than the planks.
Quick checklist: Laminate Floor Installation
– [ ] Read manufacturer instructions (gaps, underlayment, stagger rules, subfloor requirements)
– [ ] Check subfloor flatness and dryness
– [ ] Install approved underlayment; tape seams if required
– [ ] Maintain expansion gaps with spacers around walls and fixed objects
– [ ] Keep first rows straight and square
– [ ] Lock planks fully; stagger end joints to required offset
– [ ] Cut around pipes/vents/doorways with clearance
– [ ] Install trim/transition pieces last (don’t lock perimeter boards)
FAQ
Do I need to remove baseboards before installing laminate?
Often yes, especially if you want flooring to slide underneath the trim for a cleaner edge—but some installers leave trim in place and use matching transitions instead. Your laminate thickness and molding style determine the best method; follow the product instructions.
Can laminate floors be installed in a bathroom?
Only if your specific laminate and underlayment are rated for that environment and you follow moisture-protection requirements. Many laminates aren’t meant for wet, standing-water conditions—check the manufacturer’s approved areas.
What’s the biggest cause of gaps in laminate?
Usually expansion gap mistakes, subfloor unevenness, or incomplete locking during installation. Correcting flatness and using spacers properly are the most common ways to prevent it.
Which direction should laminate planks run?
A common approach is running planks parallel to the longest wall to minimize visible seams, but layout planning also depends on doorways and how you want the joints to fall. Use your room geometry to reduce awkward transitions.
How long should I acclimate laminate before installing?
Acclimation time depends on the manufacturer and the conditions in your space ([ADD: acclimation guidance from your laminate’s instructions]). Don’t guess—use the documentation included with your flooring.
Sources
– [ADD: Manufacturer installation instructions/spec sheet for your laminate brand/model—especially expansion gap, subfloor flatness tolerance, underlayment requirements, and acclimation guidance]
– [ADD: Underlayment manufacturer instructions (taping/seam requirements, approved subfloors/conditions)]
– [ADD: Any moisture/flatness guidance from the laminate manufacturer or relevant building standard the manufacturer references]
If you treat laminate installation as a controlled system—prep the base, use the approved underlayment, lock joints correctly, and respect movement—your floor should feel solid and look aligned for years. The time you spend verifying flatness, gaps, and product-specific requirements is what protects you from the most common (and most frustrating) failures.
Frequently Asked Questions
How do I prepare my subfloor before installing laminate flooring?
Start by making sure the subfloor is clean, dry, and structurally sound—remove carpet tack strips, old adhesive, and any loose debris. Check flatness with a straightedge; most laminate manufacturers require the floor to be within about 3/16 in over 10 ft to avoid clicking failures. If needed, level high spots or fill low areas, then install the correct underlayment (attached pad or separate foam) with seams properly taped. Finally, acclimate your laminate planks in the room for the time recommended by the manufacturer.
What tools do I need to install laminate floors successfully?
For a typical laminate floor install, you’ll need a measuring tape, pencil, spacers, a pull bar, and a tapping block to lock planks without damaging the edges. A handsaw or miter saw works for straight and corner cuts, and a utility knife is useful for trimming underlayment. Use a straightedge and square for layout accuracy, and consider a drill for notching around vents or door jambs. If you’re working in a larger area, a flooring install kit that includes spacers, pull bar, and tapping block can make the job faster and cleaner.
Which laminate installation method is best for your home: floating, click-lock, or glue-down?
Most homeowners choose click-lock or floating laminate because it’s faster, easier to install, and typically requires no adhesive. Glue-down laminate can offer additional stability in some situations but is more time-consuming, requires precise subfloor flatness, and has more installation steps. For floating floors, always follow the manufacturer’s recommended expansion gaps around walls, posts, and thresholds to allow for seasonal movement. If you’re unsure, match the method to your subfloor type and the laminate’s warranty requirements.
How do I handle expansion gaps, transitions, and tricky cuts during laminate flooring installation?
Maintain the manufacturer-specified expansion gap (often around 1/4 in) around walls, cabinets that can’t move, and door frames, using spacers as you install. For transitions at doorways or between rooms, install the correct transition strip to cover the gap and create a clean finish. When cutting around pipes or irregular shapes, measure carefully, cut a starter hole, and notch the plank so it fits while still leaving room for movement. For door jambs, undercutting the trim allows planks to slide underneath for a professional look.
Why does my laminate floor feel loose or makes noise, and how can I prevent it?
Clicking, popping, or hollow sound usually comes from an underlayment issue or an uneven subfloor—laminate needs solid support to lock properly. Prevent this by confirming subfloor flatness, using the correct underlayment thickness and type, and avoiding over-compressing the foam pad. During installation, ensure plank joints fully engage—misaligned boards can create gaps that lead to noise and wear. Also check that you installed the correct expansion gaps and didn’t block movement with trim that’s too tight.
📅 Last Updated: October 07, 2026 | Topic: How to install laminate floors? | Content verified for accuracy and freshness.
References
- Laminate flooring
https://en.wikipedia.org/wiki/Laminate_flooring - https://www.bbc.com/newsround/0-how-to-lay-laminate-wooden-floors
- https://www.theguardian.com/lifeandstyle/2011/sep/05/how-to-lay-laminate-flooring
- Google Scholar Google Scholar
https://scholar.google.com/scholar?q=laminate+floor+installation+underlayment+expansion+gap - Google Scholar Google Scholar
https://scholar.google.com/scholar?q=how+to+install+laminate+flooring+step+by+step - Google Scholar Google Scholar
https://scholar.google.com/scholar?q=laminate+flooring+floating+floor+installation+best+practices - https://pubmed.ncbi.nlm.nih.gov/?term=laminate+flooring+installation+indoor+air+quality
- https://www.britannica.com/technology/flooring
- Google Scholar Google Scholar
https://scholar.google.com/scholar?q=How+to+install+laminate+floors? - How to install laminate floors? – Search results
https://en.wikipedia.org/wiki/Special:Search?search=How+to+install+laminate+floors?


